I ripped out my glossy modern cabinets and kept the one thing that changed the room: character. Vintage 1900s kitchen details transform a cold remodel into a lived-in kitchen. Here are 11 exact details worth stealing from old houses, mostly under $75, a few splurges around $120, that I used to make my kitchen feel like an heirloom.
My focus is layered, lived-in kitchens that balance function and charm. Most ideas are under $50, with a couple of $80 to $120 splurges. These suit farmhouse, cottage, and small urban kitchens, and I’ve noticed a steady return to tactile materials and warmer metals.
1. Open Shelving With Warm Wood And White Ceramics
Style: Bright & Airy | Budget: Under $75 | Best For: Small kitchens

Open shelving keeps daily dishes reachable and showcases vintage finds. I use 24-inch acacia shelves in a honey finish paired with a matte white ceramic canister set to keep utensils tidy. Tip: anchor shelves into studs and stagger shelf heights for tall pitchers. Price-wise, the shelves were about $35 to $60 each for 24-inch; the canisters ran $30 to $50. Ugly truth: open shelving looks messy fast if you don’t edit weekly, but when curated it reads like a home that’s been lived in for decades.
Shop this idea:
2. Porcelain Butcher Sink Or Farmhouse Basin
Style: Farmhouse | Budget: $120 to $450 | Best For: Renovations
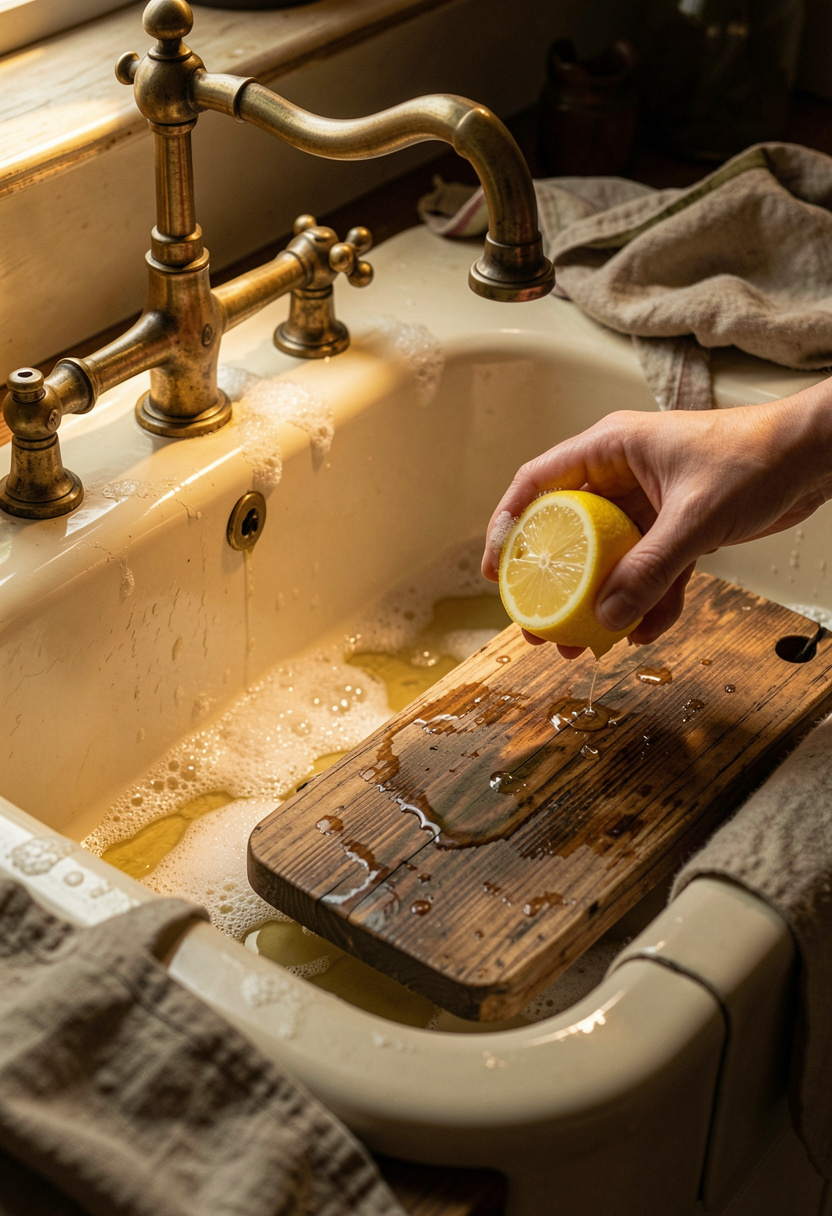
A deep porcelain basin changes how you prep and clean. I replaced a shallow stainless sink with a 36-inch farmhouse sink in glossy cream and paired it with an aged brass bridge faucet. Tip: ensure cabinet reinforcement and check sink apron depth for door clearances. Expect splurges around $120 to $450 depending on apron and size. Ugly truth: farmhouse sinks can overwhelm tiny bases, so measure before you fall in love.
Shop this idea:
3. Turn-Of-The-Century Tin Or Cast-Iron Backsplash Panels
Style: Moody & Cozy | Budget: Under $100 | Best For: Accent walls

Pressed tin panels or reproduction cast-iron tiles add texture and period charm. I installed a 2-foot strip behind my range and finished edges with brass trim. Tip: use adhesive rated for heat and seal edges with high-temp caulk. Price anchor: panels ran $20 to $40 per square foot in my area. Ugly truth: cheap metal kits can look toy-like; pick a thicker gauge and read reviews.
Shop this idea:
4. Cupboard Glass Doors With Wavy Glass Or Reproduction Glass
Style: Vintage Cottage | Budget: $40 to $120 | Best For: Upper cabinets
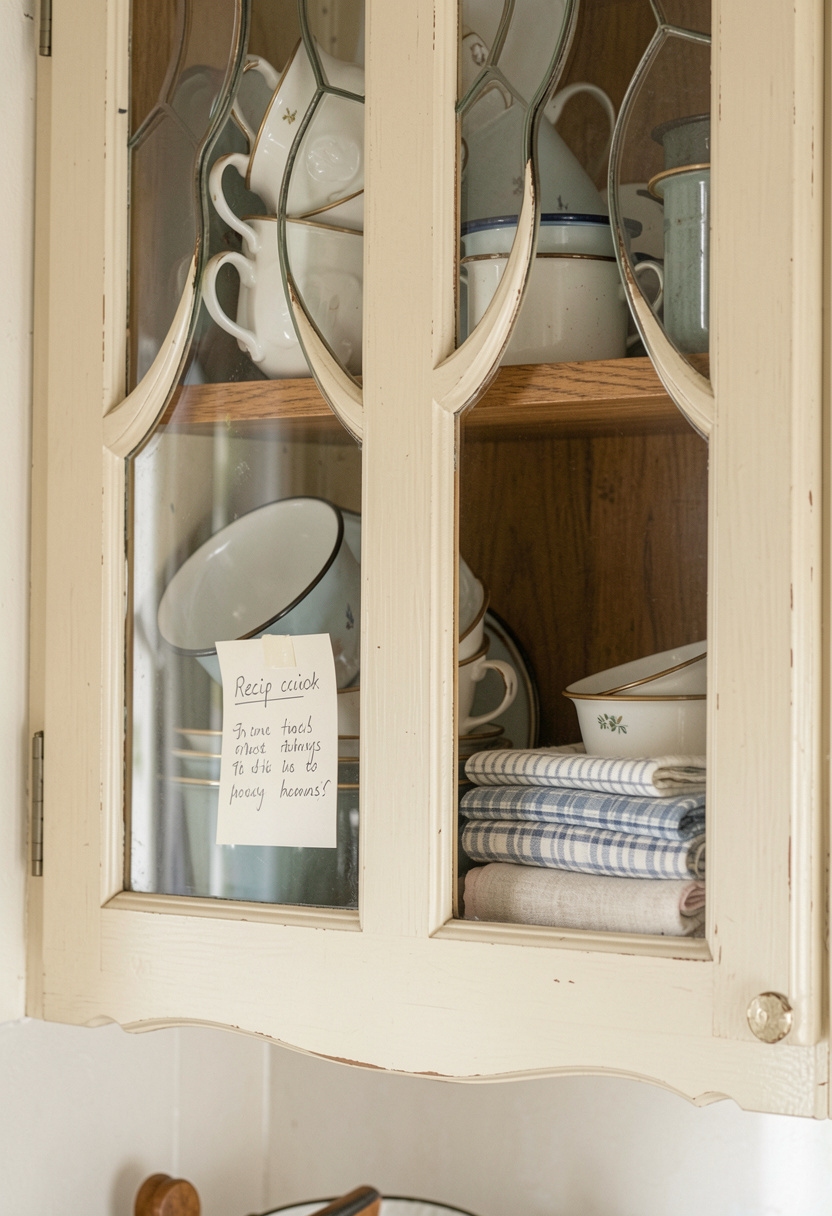
Swapping solid doors for glass with a wavy texture makes a cabinet feel like an antique without gutting the kitchen. I swapped two doors and used wood mullions painted in cream. Tip: back the cabinets with wallpaper or paint to hide clutter. Price: replacement glass doors or kits cost $40 to $120 each. Personal note: people always lean in to look at my teacup collection when I open those doors.
Shop this idea:
5. Ceramic Farmhouse Canisters With Wooden Lids
Style: Bright & Airy | Budget: Under $50 | Best For: Countertop styling

Simple ceramic canisters keep flour, sugar, and coffee accessible and look intentionally collected. I scored a three-piece set in cream with acacia lids for about $28 to $45. Tip: label the bottoms with a Sharpie so you don’t swap contents. Maintenance: hand wash lids to protect wood oil finish. Ugly truth: glass jars show every fingerprint; ceramic hides it better.
Shop this idea:
6. Period Hardware: Cup Pulls And Porcelain Knobs
Style: Farmhouse | Budget: Under $40 per set | Best For: Cabinets and drawers
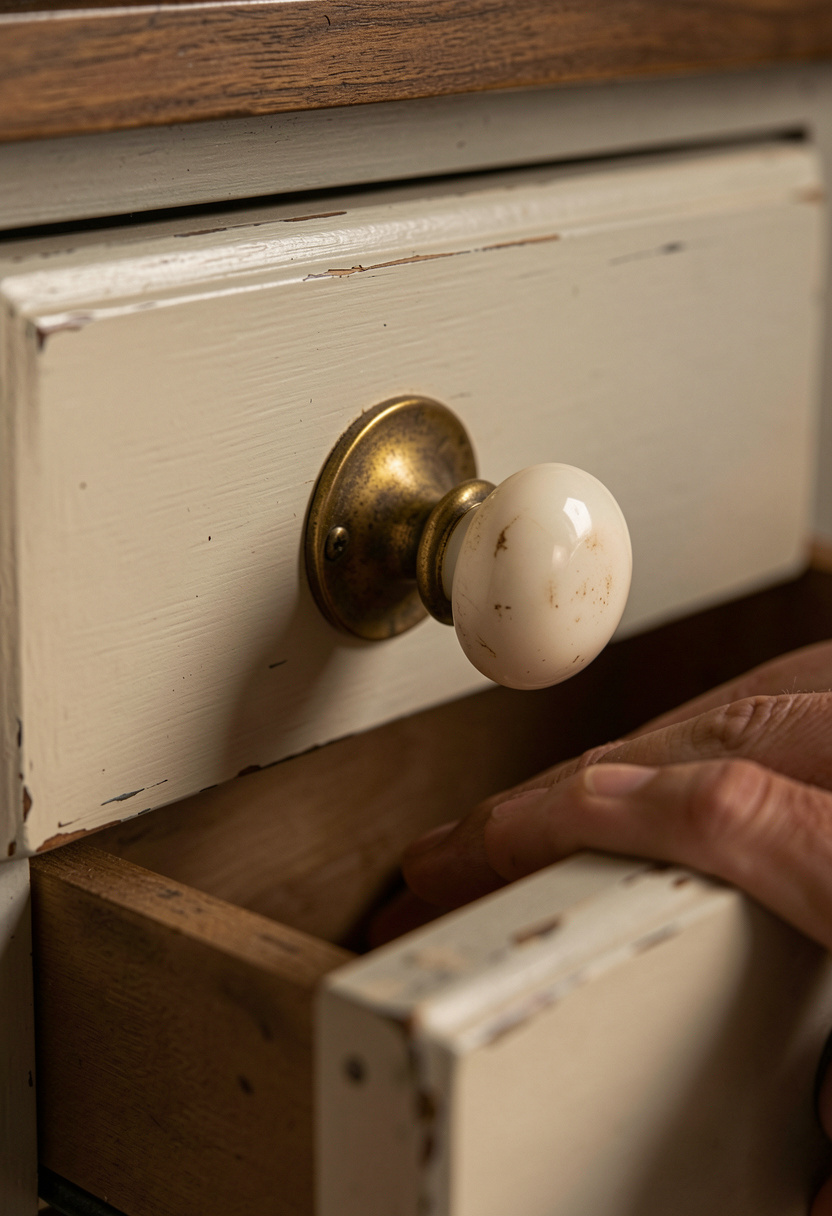
Switching drawer pulls to aged brass cup pulls and adding porcelain knobs instantly reads vintage. I replaced 12 pieces for about $30 to $45 total when I shopped a hardware kit. Tip: match screw lengths to drawer thickness and fill old holes for clean installs. Personal lesson: mismatched screws were my first rookie mistake, so label hardware during removal.
Shop this idea:
7. Tiled Countertop Edges Or Waterfall Tile Trim
Style: Vintage Cottage | Budget: $25 to $120 | Best For: Backsplash edges

Instead of replacing counters, add a tiled bullnose trim to the counter edge for a period feel. I used 1×6 subway bullnose in glossy cream and redid grout to match. Tip: choose sealed grout to avoid staining; tile trim runs $1.50 to $6 per piece, so project cost was $25 to $120. Ugly truth: DIY tile looks uneven if you rush the spacers, so take your time.
Shop this idea:
8. Built-In Plate Rack Or Plate Groove
Style: Cottage | Budget: $40 to $160 | Best For: Upper cabinets
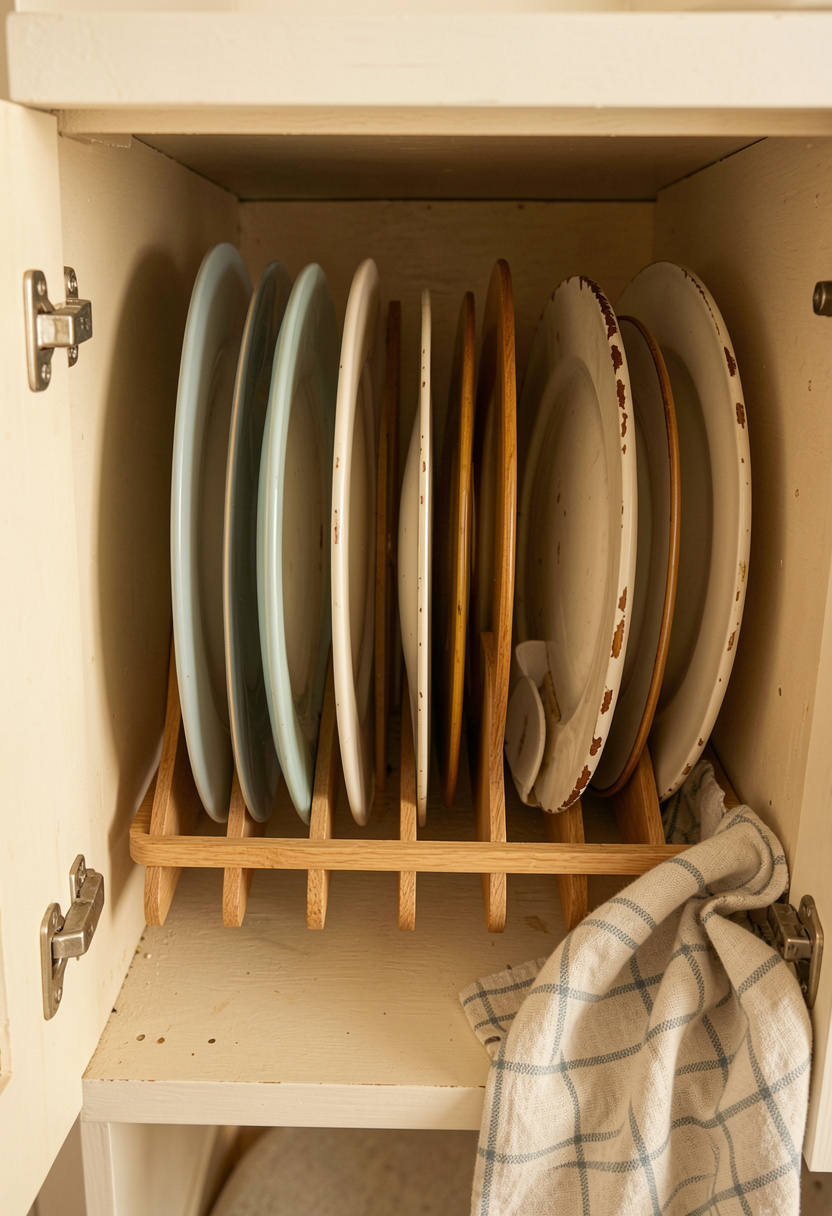
A simple built-in plate rack displays plates and saves cabinet space. I retrofitted one into an existing cabinet for about $40 to $80 with routed slots and a shallow shelf. Tip: angle the grooves slightly toward you so plates slide out easily, and sand slots smooth to avoid chips. Personal note: guests always comment on the old-house detail, it feels like a small secret.
Shop this idea:
9. Hanging Pot Rail With S-Hooks
Style: Rustic | Budget: Under $60 | Best For: Above island or range
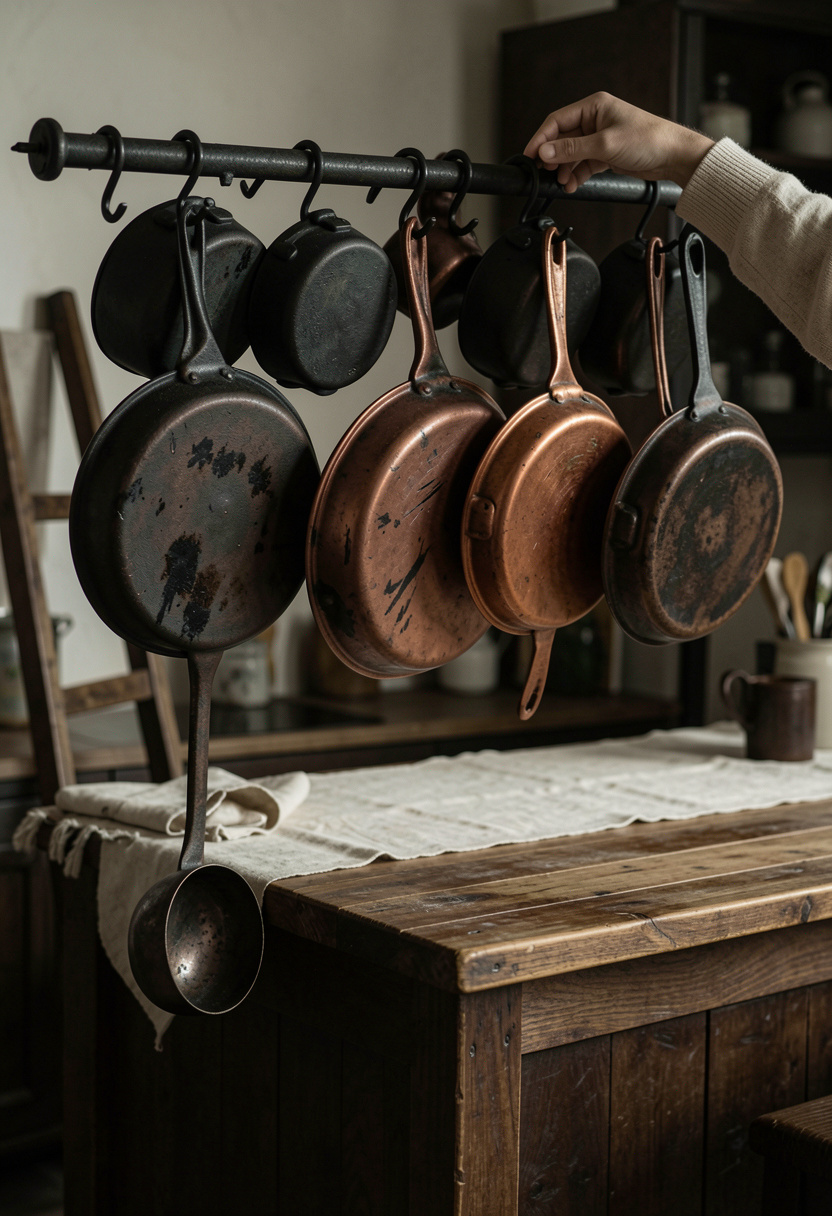
A single pot rail keeps cookware accessible and reads like a lived-in cook’s kitchen. I installed a 36-inch iron rail and hung three pans using S-hooks for about $25 to $45 total. Tip: secure mounting into studs and stagger weights; balance cast iron with lighter copper. Ugly truth: pot rails gather grease, so plan for regular degreasing with vinegar and hot water.
Shop this idea:
10. Period Lighting: Schoolhouse Globe Or Brass Pendant
Style: Bright & Airy / Moody Mix | Budget: $45 to $120 | Best For: Over table or island

Swapping a flush modern fixture for a milk-glass schoolhouse globe or simple brass pendant gives instant period authenticity. I changed two pendants for about $60 to $110 each. Tip: check canopy size and wire length, and use warm 2700K bulbs for vintage glow. Personal moment: the first evening with schoolhouse globes felt like I was home before I cooked dinner.
Shop this idea:
11. Open Recipe Shelf Or Pegboard For Utensils
Style: Collected & Functional | Budget: Under $40 | Best For: Near stove or prep area
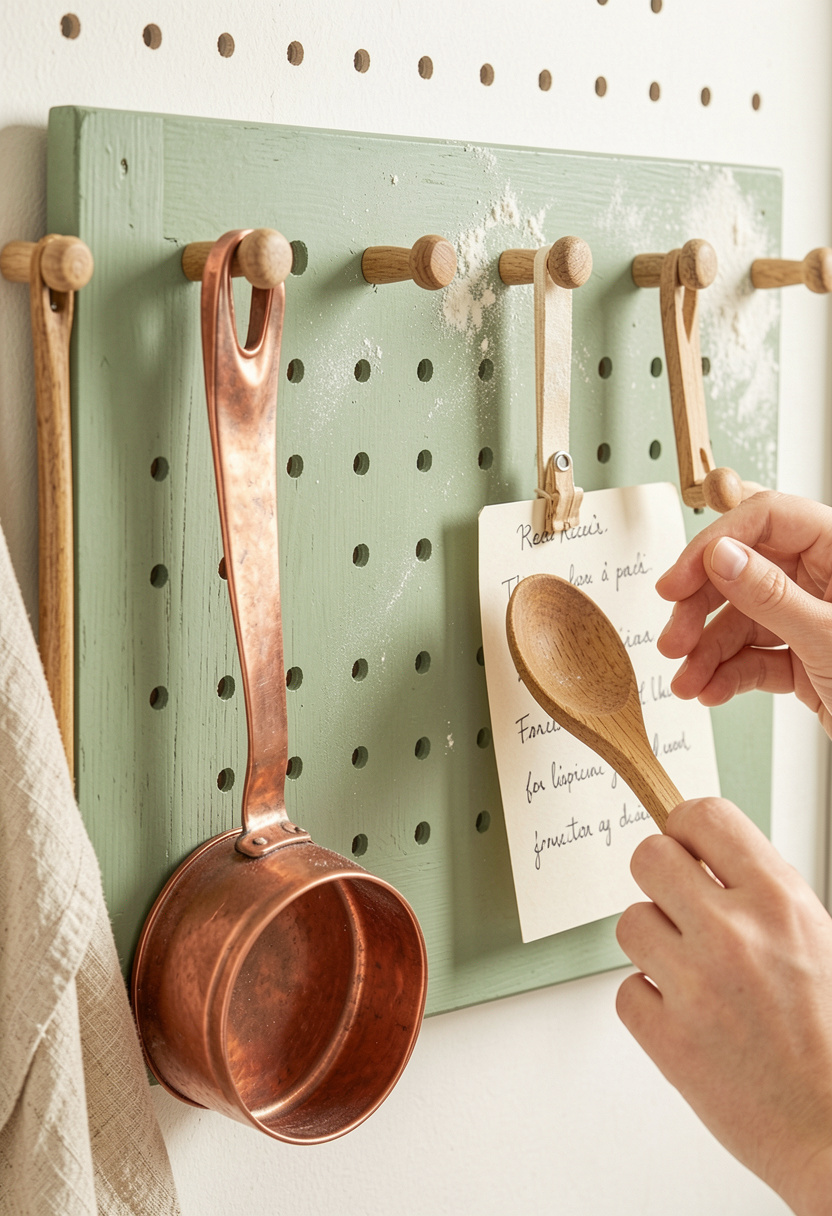
A narrow pegboard or open utensil shelf keeps tools visible and swaps chaos for curated utility. I painted mine sage and installed it beside the stove; project cost was $12 to $35. Tip: use wooden pegs for a period look and group items by function. Ugly truth: pegboards reveal clutter faster than drawers, but when edited they feel purposeful.
Shop this idea:
What You'll Need to Get This Look
Countertop & Storage
- Cream ceramic canister set around $28 to $45
- Acacia floating shelves 24 inch around $35 to $60 each
- Porcelain farmhouse sink 36 inch around $120 to $450
- Acacia wood cutting board small around $15 to $35
Wall Decor & Open Shelving
- Antique pewter tin panels around $20 to $40 per sq ft
- Wavy reproduction cabinet glass around $40 to $120 per door
- Small sage pegboard panel around $12 to $35
Textiles & Soft Goods
- Sage linen dish towels set of 4 around $15 to $30
- Muted cream cabinet paint sample around $6 to $15
Greenery & Freshness
- Small terracotta herb pot around $5 to $18
- Potted rosemary plant around $8 to $25
Budget Swaps
- Thrifted enamelware plates, similar at HomeGoods for less, paired with white stoneware dinner plate around $20 to $50
- Salvaged brass knobs from flea markets, backed up by Porcelain cabinet knobs around $10 to $30
- Reclaimed wood shelf from Habitat Restore, or Acacia floating shelves 24 inch as new option
Shopping Tips for These Looks
Tip: Time the sales: Buy brass hardware during spring lighting sales, I saved 20% last May with a lighting promo, check clearance pages like the one for Aged brass bridge faucet for deals.
Tip: Thrift then top up: Hunt local salvage for bigger pieces then buy matching small items online like Matte white ceramic canister set.
Tip: Seasonality matters: Buy herb pots in spring for better selection, I bought rosemary in April for $9 vs $18 in winter; try Potted rosemary plant.
Tip: Mix finishes: Pair aged brass with warm wood rather than cool chrome; the look ages more gracefully and hides fingerprints. See Aged brass cup pulls set.
Tip: Read gauges on metal panels: For tin backsplashes choose thicker gauges to avoid denting; compare Antique pewter tin panels.
Tip: 2025 trend note: People are adding tactile paint finishes and warm metals for layered kitchens; try paint samples like Muted cream cabinet paint sample.
Frequently Asked Questions
Q: Will open shelving make my kitchen look cluttered?
A: It can if you keep everything. Edit to a few pieces per shelf and mix ceramics with cookbooks. Try White stoneware dinner plate to create a unified look.
Q: Are farmhouse sinks practical for everyday use?
A: Yes for heavy use and large pots, but check cabinet width and faucet reach. Reinforce cabinets and consider a Porcelain farmhouse sink 36 inch.
Q: How do I keep brass hardware from tarnishing?
A: Wipe regularly and use a microfibre cloth; for deeper care use a gentle brass cleaner once or twice yearly. I keep a small jar of polish under the sink and link to Aged brass cup pulls set for replacements.
Q: Can I add vintage tile without a full reno?
A: Yes, small accents like a 2-foot tin strip or bullnose tile trim freshen the look without full demo. I used Glossy subway bullnose tile to frame my counter edge.
Conclusion
Start small: add canisters, swap a light fixture, or install one floating shelf and live with it for a month. Those tiny investments teach you what to keep. Which vintage detail could you try this weekend—shelves, hardware, or a schoolhouse globe?

