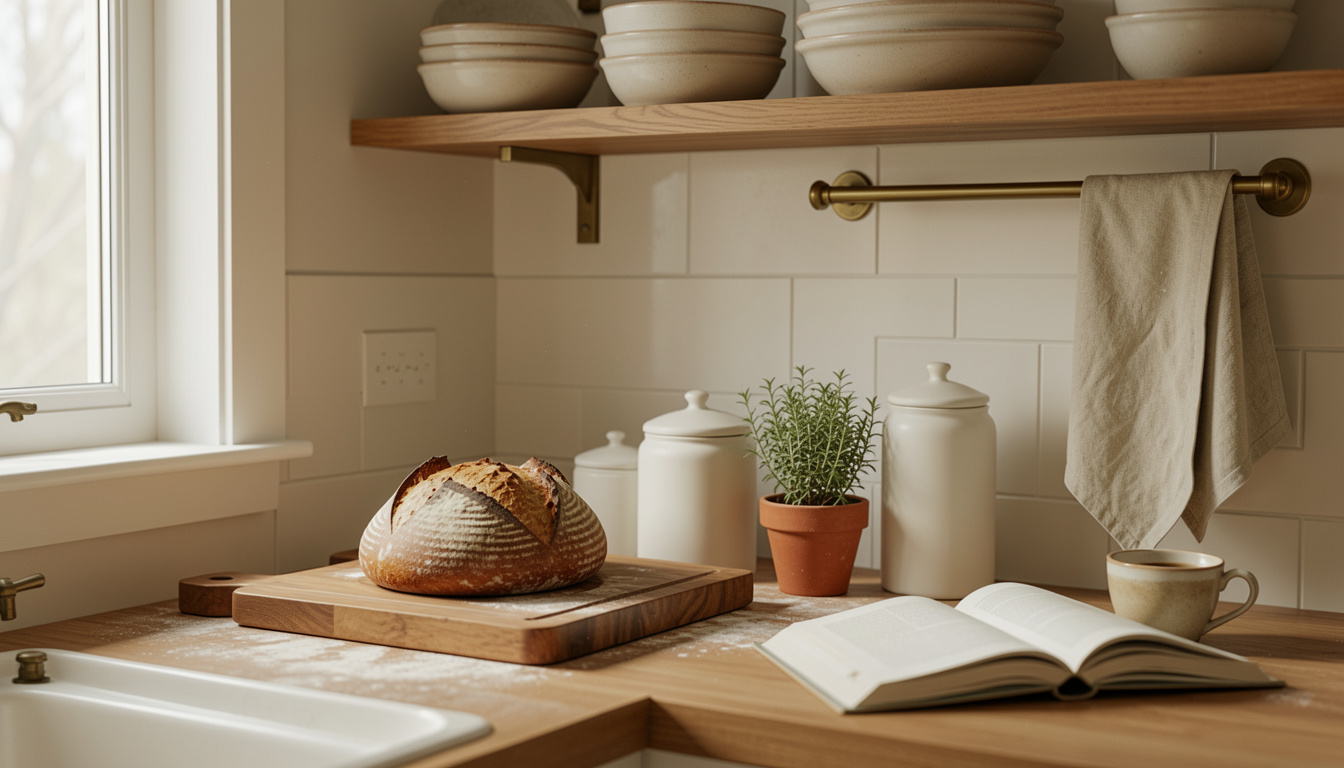
My tiny kitchen taught me the hard lesson that small bakers kitchen organization matters more than pretty photos. I needed 15 practical tricks to keep counters clear, keep dough tools handy, and still have a cozy look. Most fixes are under $75, a few splurges around $120. The weird truth I learned is open shelving only works if you edit it constantly.
This edit leans warm wood, linen, and vertical solutions that keep your counters free for rolling dough, proofing bowls, and a good cup of coffee.
1. Open Shelving With a Curated Everyday Set
Style: Modern Farmhouse | Budget: Under $120 | Best For: Small kitchens with upper wall space
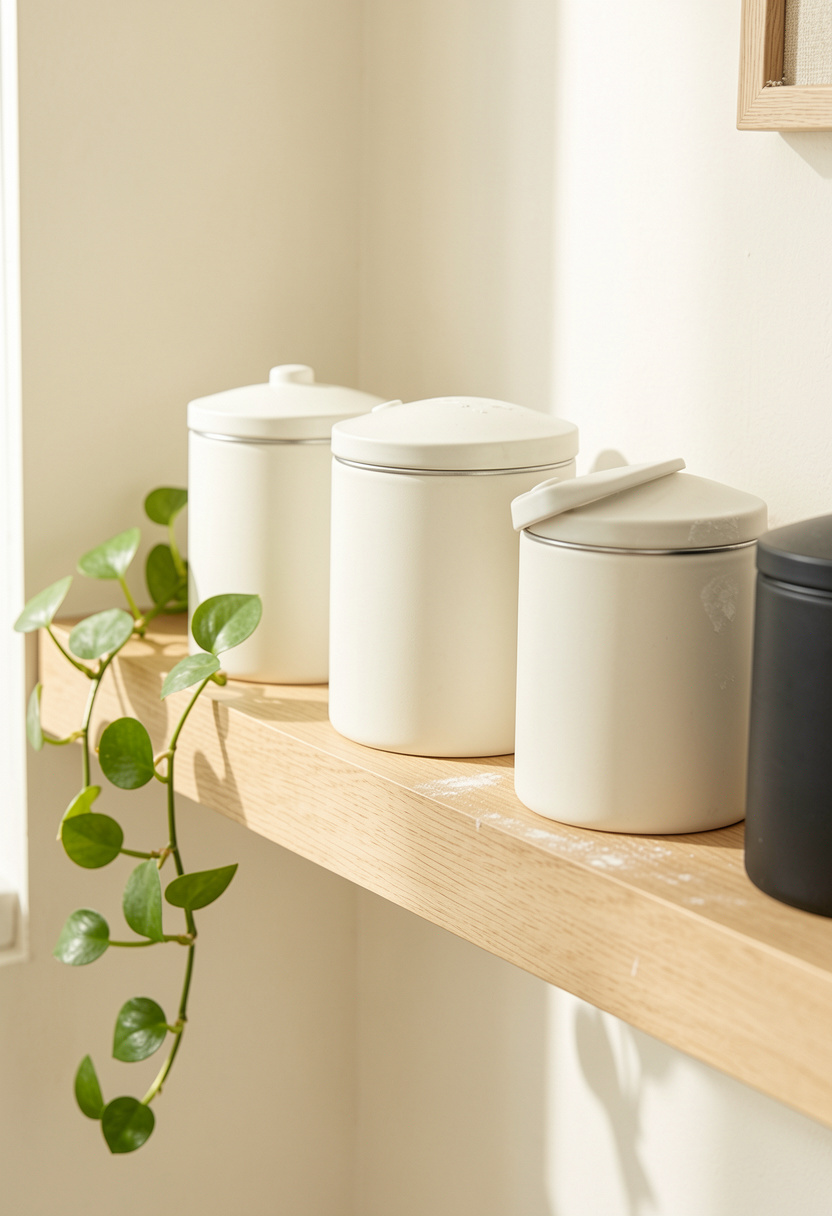
I keep a single row of matching canisters on one shelf for flour, sugar, and cookie mix. The material is matte ceramic and acacia lids, which reads more intentional than random jars. Tip: label the backs of lids so refills are fast when you are mid-bake. I paid around $35 to $50 for my canister set at HomeGoods and I still find people compliment the shelf. Ugly truth: overstuffed shelving becomes clutter in a week.
Shop this idea:
2. A Counter Tray Trio: Board, Crock, Plant
Style: Warm Minimalist | Budget: Under $60 | Best For: Busy bakers who want calm counters
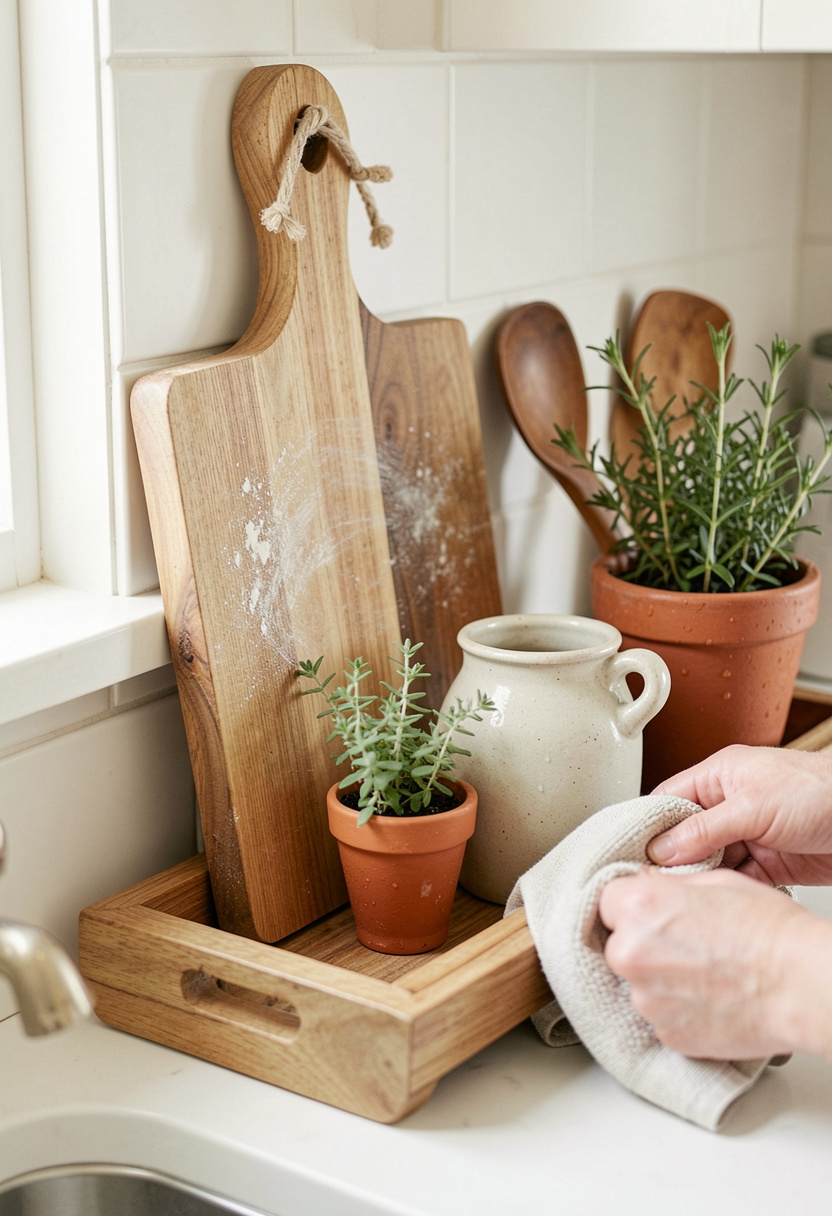
I group my most-used tools on a small tray by the stove: an acacia cutting board, a stoneware utensil crock, and a basil pot. The mix of wood and stoneware keeps it tactile. Practical tip: choose a tray with a lip so crumbs and flour stay contained when you move it. I picked my acacia board for around $25 to $40 and it instantly makes that corner look edited.
Shop this idea:
3. Magnetic Knife Strip Above Counter
Style: Functional Modern | Budget: Under $40 | Best For: Renters and small spaces
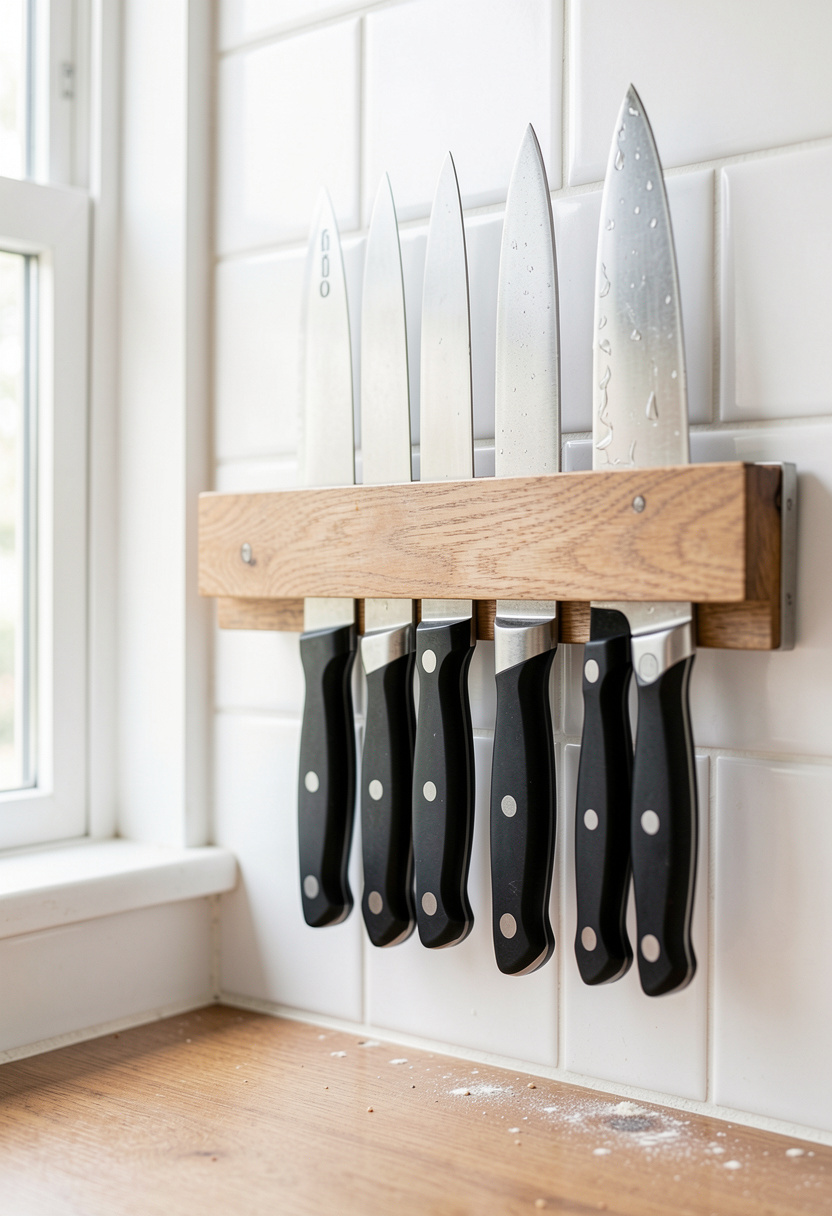
Magnetic strips free drawer space and keep knives within reach while saving counter real estate. Pick a matte black or walnut-backed strip to match your hardware. Tip: mount it at a height that clears your tallest mixing bowls. I installed a removable adhesive version for around $25 to $40 so I could take it when I moved.
Shop this idea:
4. Under-Cabinet Shelf Riser for Small Appliances
Style: Minimalist | Budget: Under $60 | Best For: Kitchens that need appliance garages
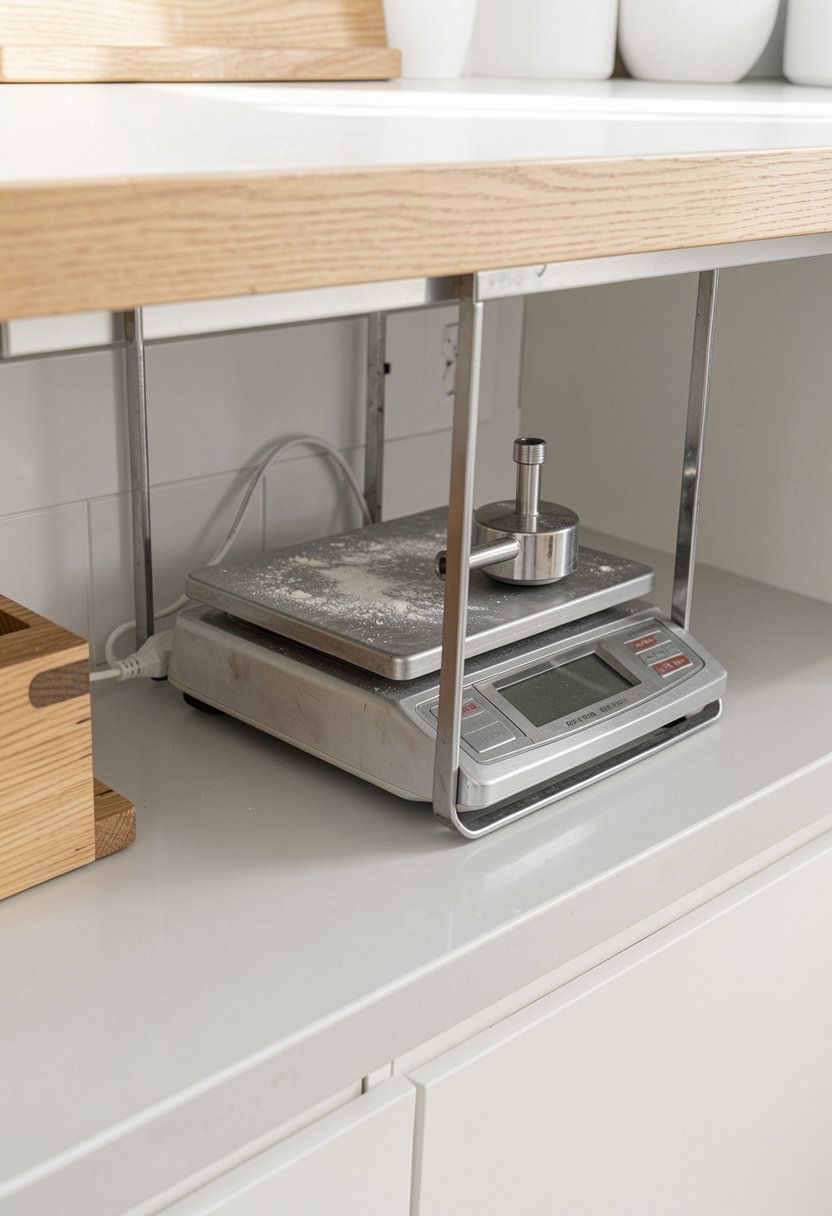
I lifted my scale and hand mixer onto an under-cabinet riser to clear counter space for rolling dough. Metal risers add a slim second tier for tools you don’t use every day. Tip: measure your appliance height before buying, and expect to spend around $20 to $50. Ugly truth: keeping everything visible with no tiers makes counters unusable for a real baking session.
Shop this idea:
5. Leaning Board Display for Height and Warmth
Style: Modern Farmhouse | Budget: Under $80 | Best For: Adding texture without taking space
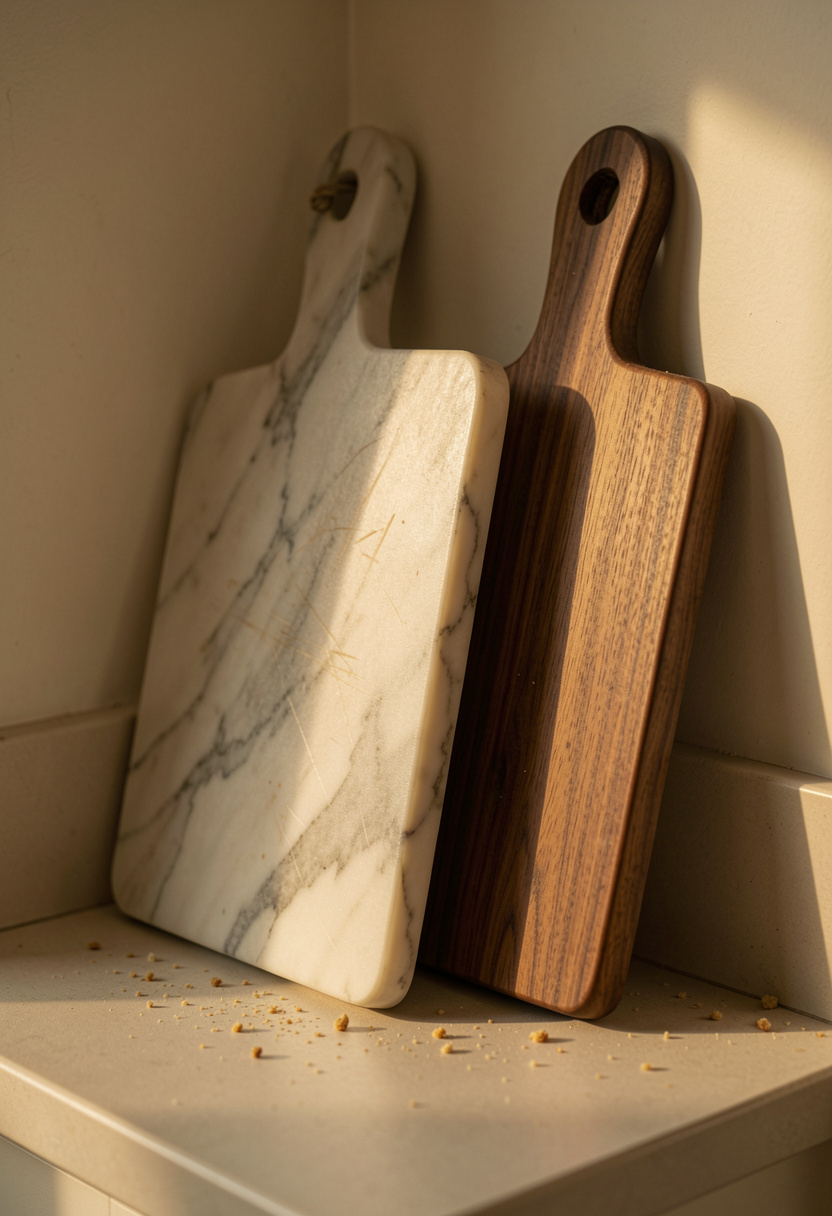
Instead of crowded décor, I lean one marble board behind a taller acacia board for instant depth. The contrast between marble and wood reads editorial. Tip: choose one large board and one medium, then keep the rest stored. I splurged on a tucked-away marble slab for around $60 to $120 and it still feels worth it for photos and function.
Shop this idea:
6. Slim Rolling Rack on the Kitchen Sidewall
Style: Industrial | Budget: Under $120 | Best For: Bakers who need vertical trays
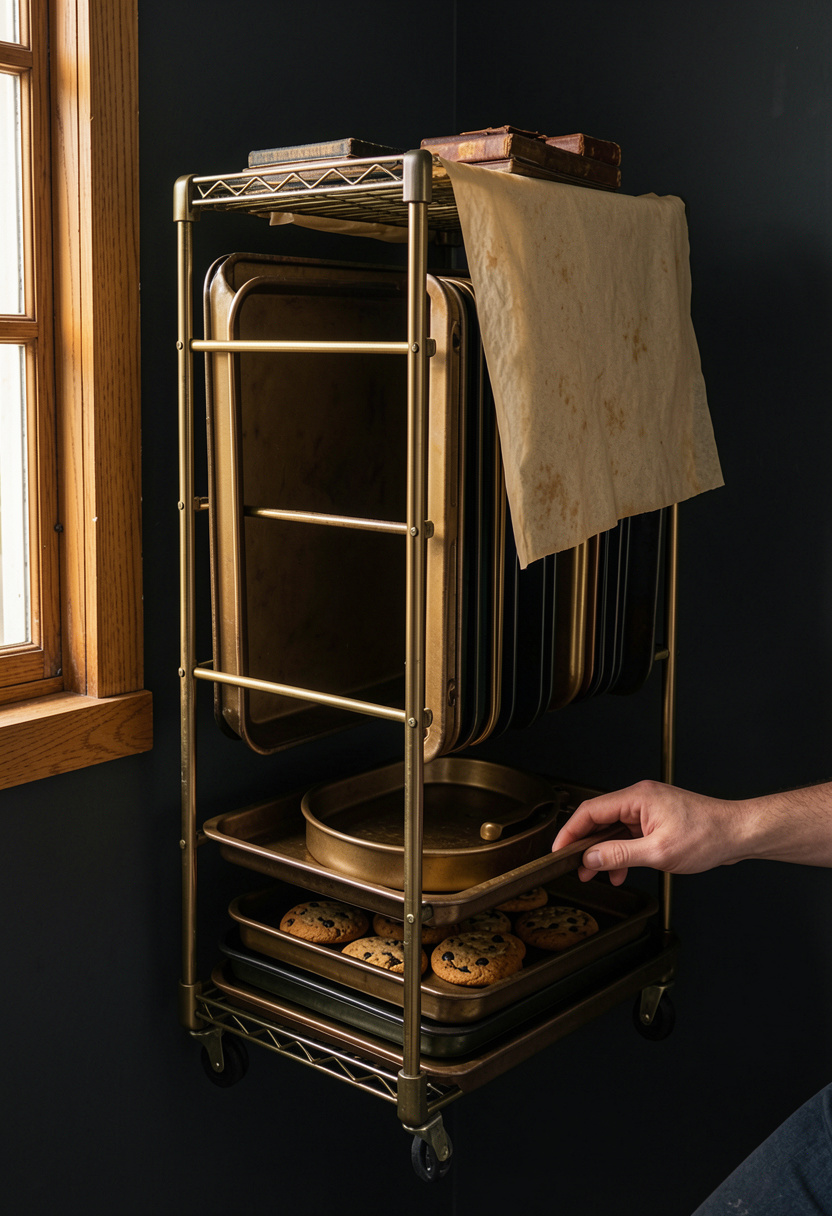
A thin wall-mounted rack stores cooling trays vertically where no one looks. I installed a black metal peg rail style that holds baking sheets and cooling racks. Tip: mount near the oven for direct transfer. I found mine for around $40 to $120 and it cleared two drawers worth of baking gear.
Shop this idea:
7. Windowsill Herb Trio Instead of a Big Counter Plant
Style: Cottage Transitional | Budget: Under $30 | Best For: Fresh herbs without losing prep space
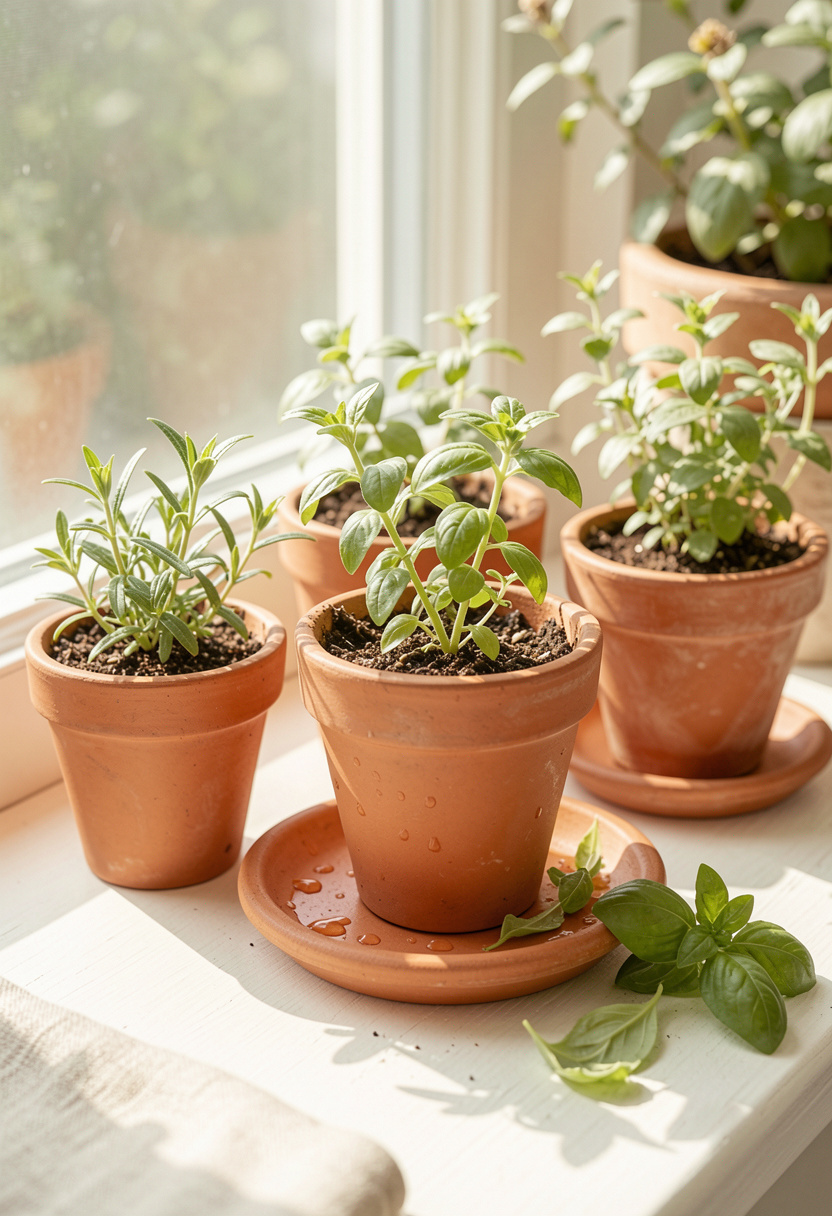
I use the windowsill for thyme, basil, and rosemary so my counter stays clear for dough. Small terracotta pots fit perfectly and give a pop of color. Tip: pick slim pots with saucers so you can water without spills. I paid around $10 to $25 for my three-pot set at a local market.
Shop this idea:
8. Slim Cookbook Stand That Doubles as a Display
Style: Collected | Budget: Under $35 | Best For: Bakers who follow recipes while keeping counters tidy
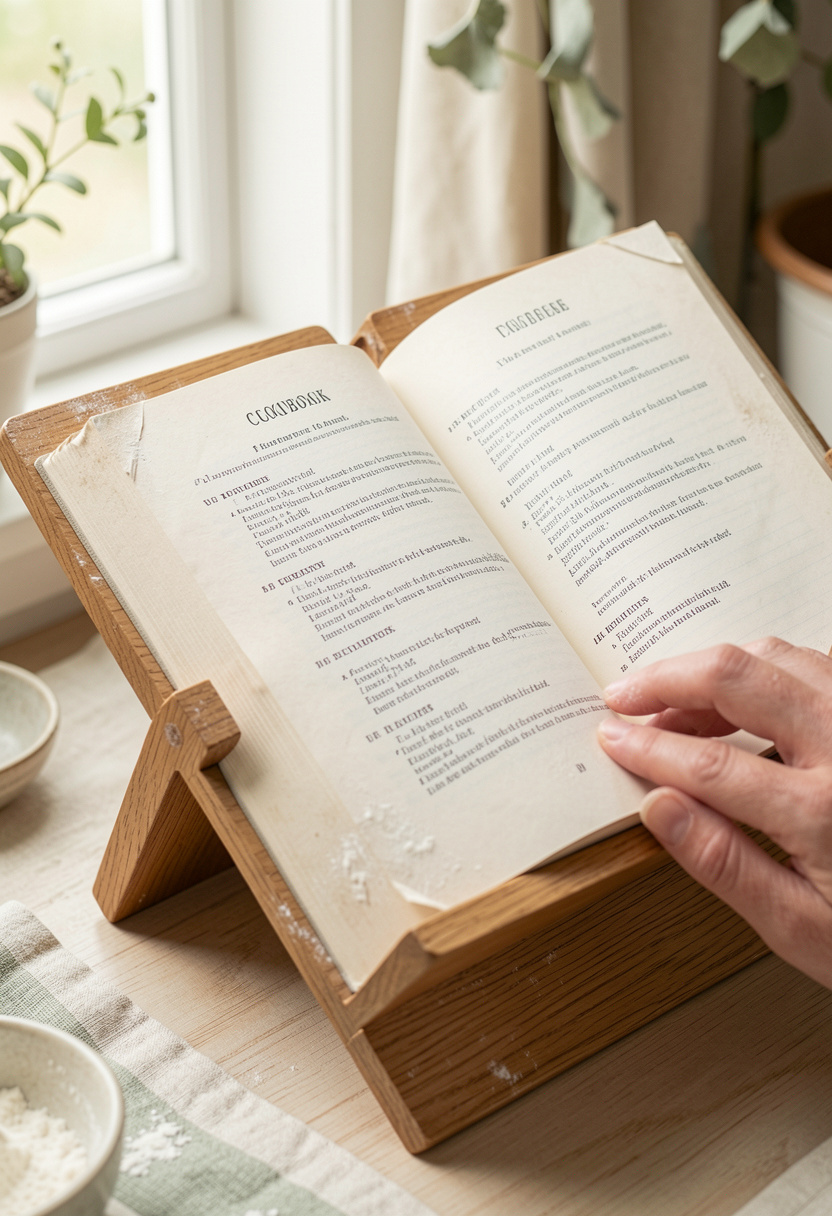
A small cookbook stand keeps my active recipe visible without a book splayed across the counter. Choose a slim oak finish that matches your cutting board. Tip: wipe the stand after each use, paper crumbs collect underneath. I grabbed mine for around $20 to $35 at Target and it feels like a simple luxury.
Shop this idea:
9. Lidded Baskets on Top of Cabinets for Overflow
Style: Practical Farmhouse | Budget: Under $60 | Best For: Extra flour, napkins, and seasonal tins
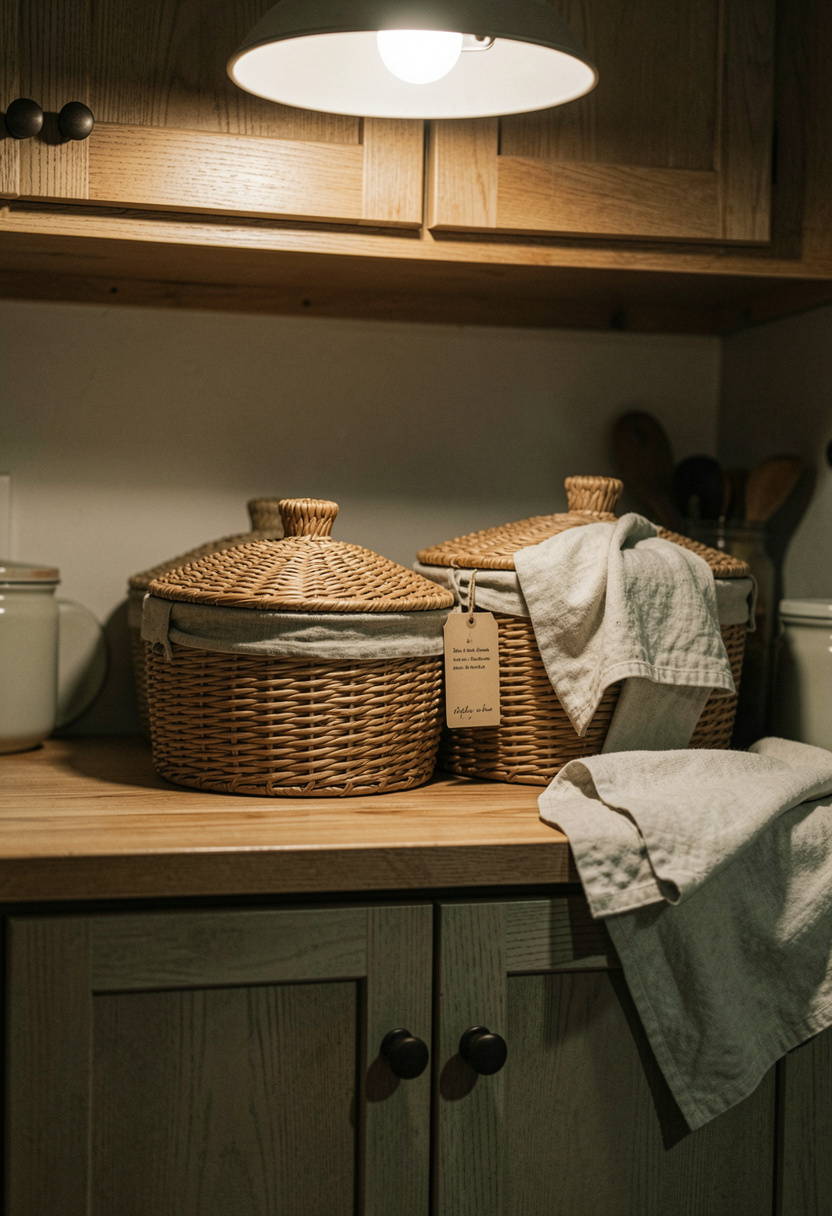
I store overflow flour bags and seasonal tins in lidded baskets above the cabinets. The baskets hide utilitarian items and read intentional. Tip: label each basket on the side you can see from the step stool. I found woven lidded baskets for around $30 to $70 and they make the top-of-cabinet look edited.
Shop this idea:
10. Appliance Garage That Hides the Mixer
Style: Functional Modern | Budget: Under $120 | Best For: Households that use a stand mixer daily
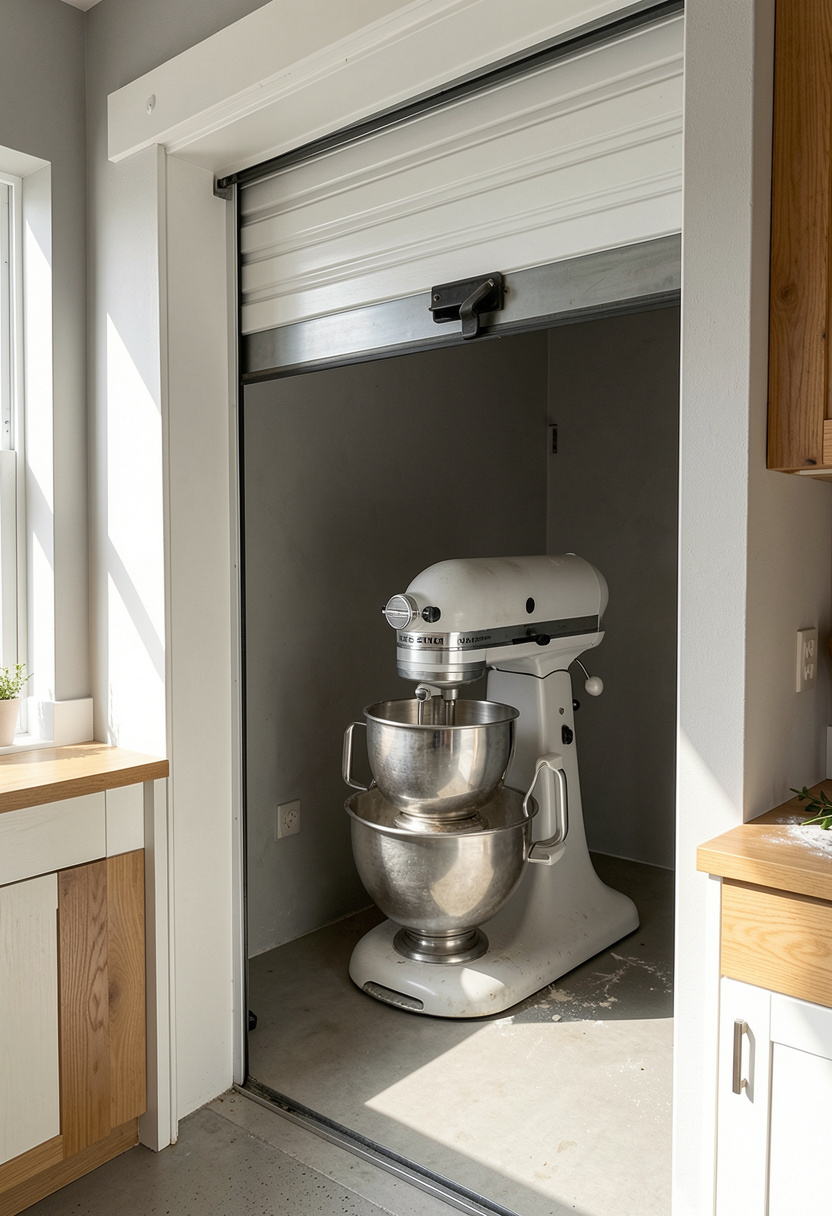
An appliance garage is a small investment that makes a stand mixer look tidy instead of taking over the counter. I used a pull-down door unit in a warm cream finish to match cabinets. Tip: measure the mixer height with bowl attached. Building or buying a garage cost me around $80 to $120 but it transformed my prep area.
Shop this idea:
11. Narrow Rolling Cart Tucked Between Fridge and Counter
Style: Collected Minimal | Budget: Under $90 | Best For: Extra prep surface and storage
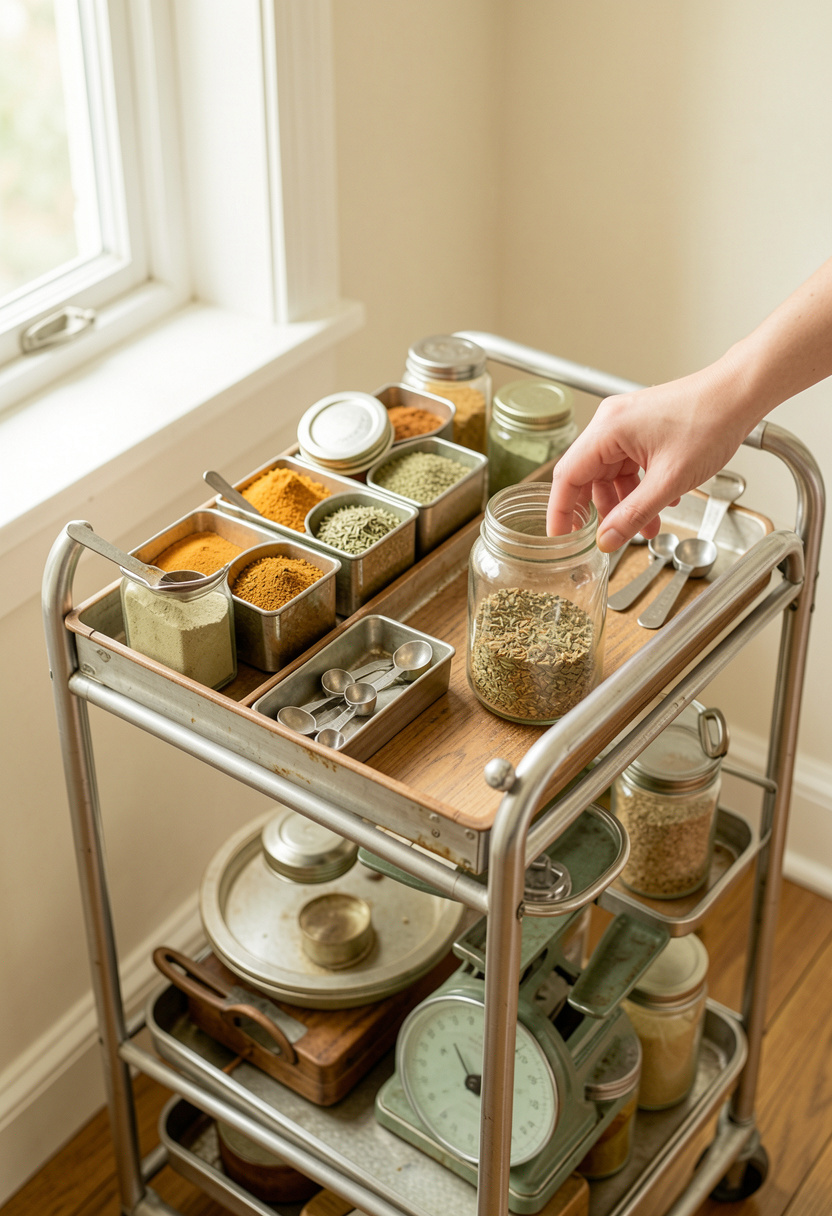
A slim rolling cart fits into the tightest gaps and becomes an extra prep surface while baking. I keep baking powder, scales, and parchment here. Tip: pick one with casters that lock so it stays steady while you knead. I scored mine for around $45 to $90 on sale and it doubled my usable space.
Shop this idea:
12. Wall Rail with Hooks for Pans and Towels
Style: Modern Farmhouse | Budget: Under $70 | Best For: Bakers who use multiple pans
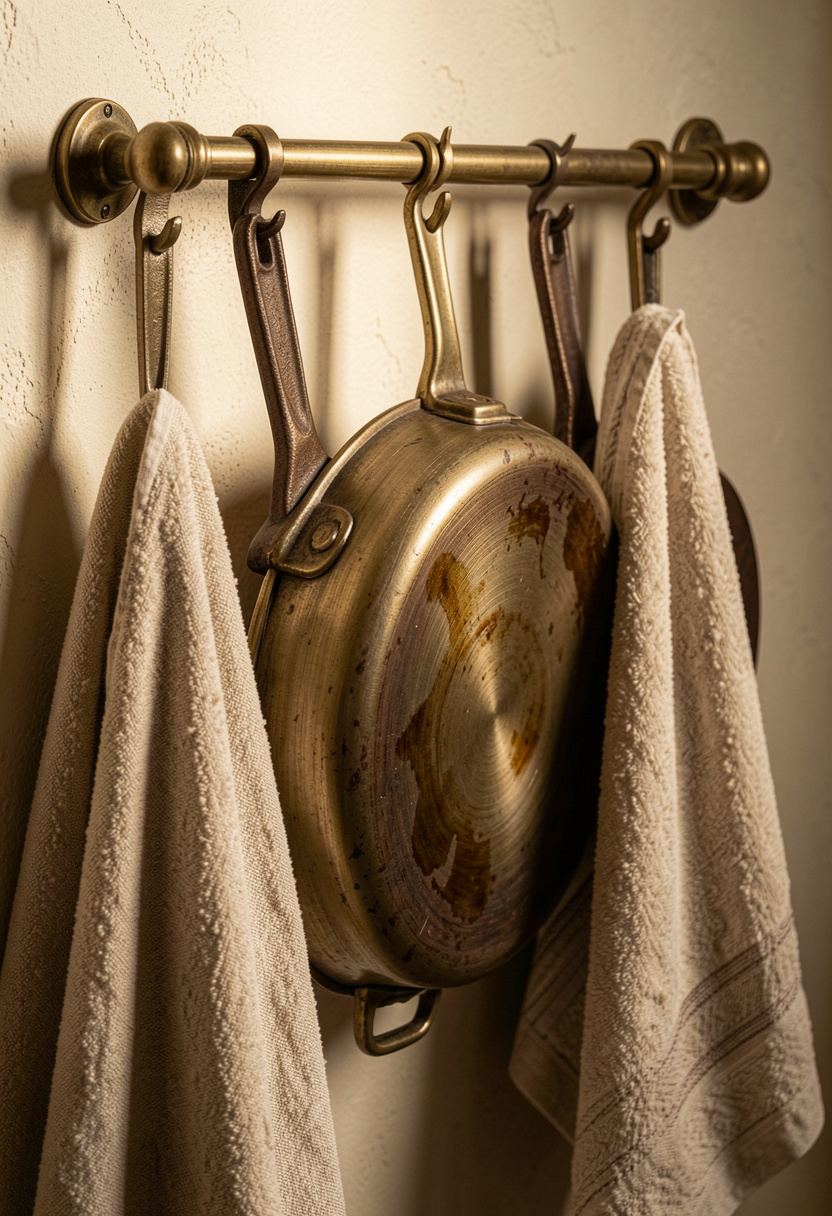
A brass wall rail keeps sauté pans and linen towels off the counter and within reach. The warm brass pairs with wooden handles and ties hardware together. Tip: install studs or use heavy-duty anchors for cast iron pans. I swapped my old rail for brass for around $40 to $80 and it made the wall feel intentional.
Shop this idea:
13. Tiered Corner Shelf for Small Jars
Style: Japandi Minimal | Budget: Under $50 | Best For: Spices and small baking add-ins
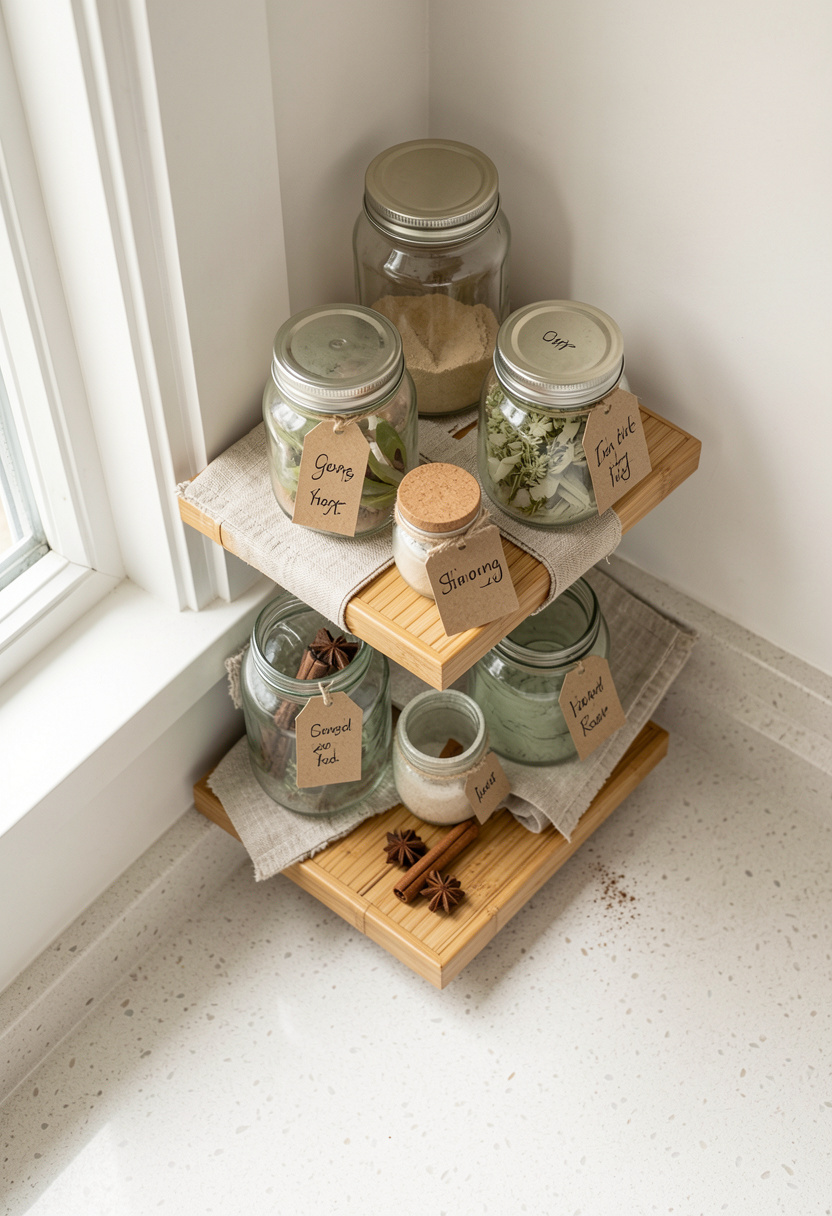
I added a narrow tiered corner shelf for my often-used spices and sprinkles. Matching glass jars with bamboo lids make the corner look calm. Tip: only keep 8 to 10 jars out or the corner becomes visually heavy. I bought my jar set for around $20 to $45 and it cut drawer rummaging in half.
Shop this idea:
14. One Washable Runner to Anchor the Baking Zone
Style: Coastal / Transitional | Budget: Under $90 | Best For: Protecting floors and adding color
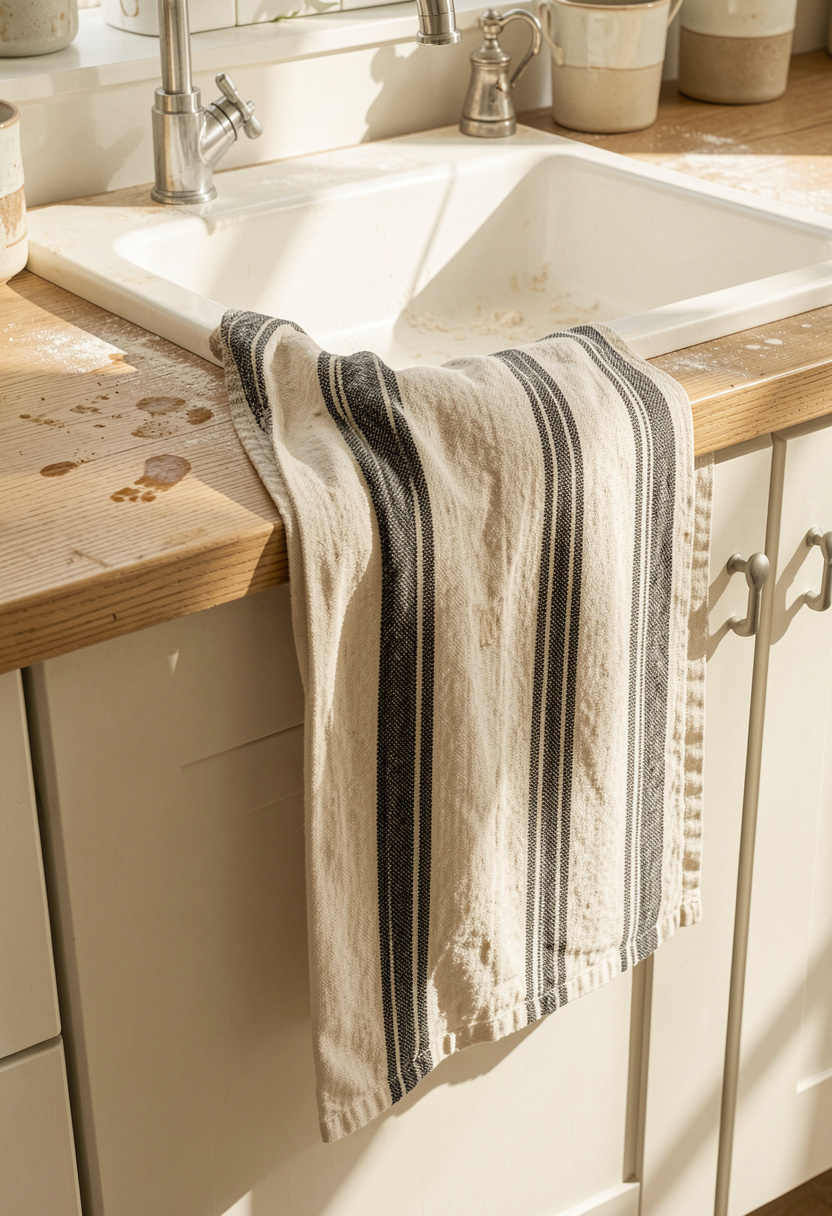
A washable runner keeps crumbs and flour contained where you stand most. I use a 2×6 foot striped runner in oatmeal and black that hides wear. Tip: pick low-pile washable materials for easy machine cleaning. I spent around $35 to $80 and it makes the space feel put together without fuss.
Shop this idea:
15. Contain Loose Tools in a Lidded Bread Box
Style: Collected Rustic | Budget: Under $60 | Best For: Small tools and proofing wraps
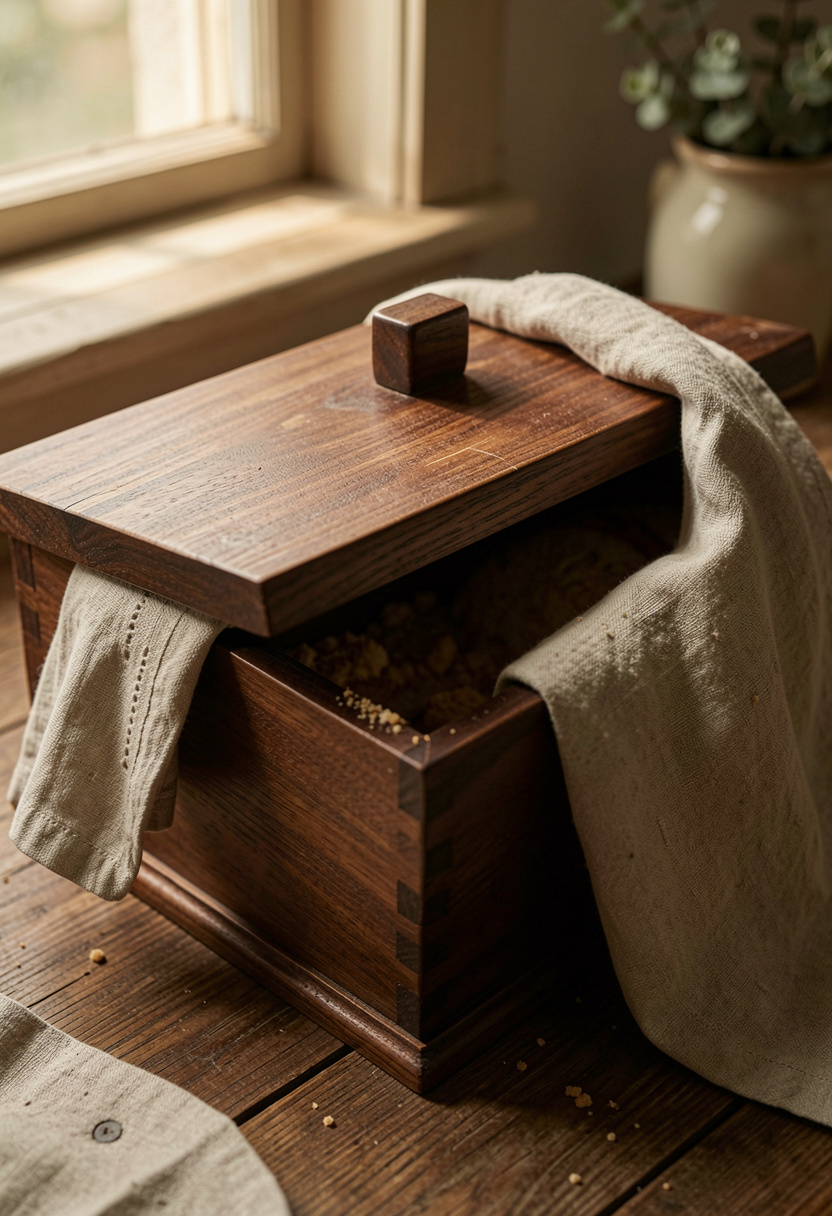
A lidded bread box hides bench scrapers, proofing cloths, and pastry brushes while still being accessible. Pick one in acacia or walnut for warmth. Tip: line the box with a linen towel for airflow. I picked mine for around $30 to $60 at TJ Maxx and it keeps the counter visually simple.
Shop this idea:
What You'll Need to Get This Look
Countertop & Storage
- Matte white ceramic canister set with acacia lids around $35 to $50
- Acacia cutting board 18 inch around $25 to $40
- Lidded woven basket large around $30 to $70
Wall Decor & Open Shelving
- Narrow floating shelf oak around $30 to $90
- Magnetic knife strip walnut around $25 to $40
- Brass wall rail for kitchen storage around $40 to $80
Textiles & Soft Goods
- Sage linen tea towels set of 4 around $20 to $45
- Striped kitchen runner 2×6 ft washable around $35 to $80
Greenery & Freshness
- Small terracotta herb pots set of 3 around $10 to $25
- Trailing pothos plant in ceramic pot around $15 to $40
Budget Swaps
- Try thrifted cutting boards and thrift-shop baskets, or pick glass storage jars with bamboo lids set around $20 to $45 as a cheap matching solution
Shopping Tips for These Looks
Buy one statement board first: Start with a good acacia board, then buy matching items. Acacia cutting board 18 inch around $25 to $40.
Hunt seasonal sales: Appliances and pendant lights drop 20 to 30 percent during holiday sales, so wait if you can.
Thrift the texture: Linen towels and wooden bowls are easy thrift finds that feel high-end. Try HomeGoods or TJ Maxx for quick wins.
Renters: use removable fixes: Adhesive magnetic strips and peel-and-stick brackets work and can be removed later. Magnetic knife strip walnut around $25 to $40.
Repeat one finish: Pick one metal finish, like brass, and repeat it on rails and pulls to make a small kitchen feel cohesive. Brass wall rail around $40 to $80.
Timing tip: Buy textiles at the start of the season for better selection and use washable runners for mess-prone bakeries.
Frequently Asked Questions
Q: How do I keep counters clean while I bake daily?
A: Keep an anchor tray for tools and a lidded box for cloths so counters clear quickly. I recommend an under-cabinet shelf riser to lift less-used items off prep space.
Q: What’s a renter-friendly way to add open shelves?
A: Use freestanding narrow shelves or removable floating shelves with adhesive brackets. Try a narrow floating shelf oak that installs without major changes.
Q: Can I style open shelves without constant dusting?
A: Yes. Display only 3 to 5 items, rotate seasonally, and keep the rest in labeled jars. A set like glass storage jars with bamboo lids makes swapping easy.
Q: What’s worth splurging on for a small baker’s kitchen?
A: Spend on a solid cutting board or a single beautiful canister set, both of which double as tools and decor. I splurged on an end-grain board around $60 to $120 and still use it daily.
Conclusion
Start by clearing your counters and picking one surface to style, then add vertical storage and a tray vignette for daily tools. A few small swaps, like an acacia board and matching canisters, make a tiny baking kitchen feel calm and capable. Which corner of your kitchen will you clear first?