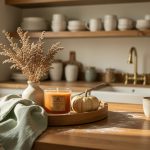
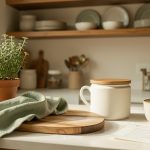
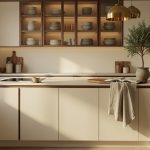
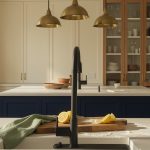

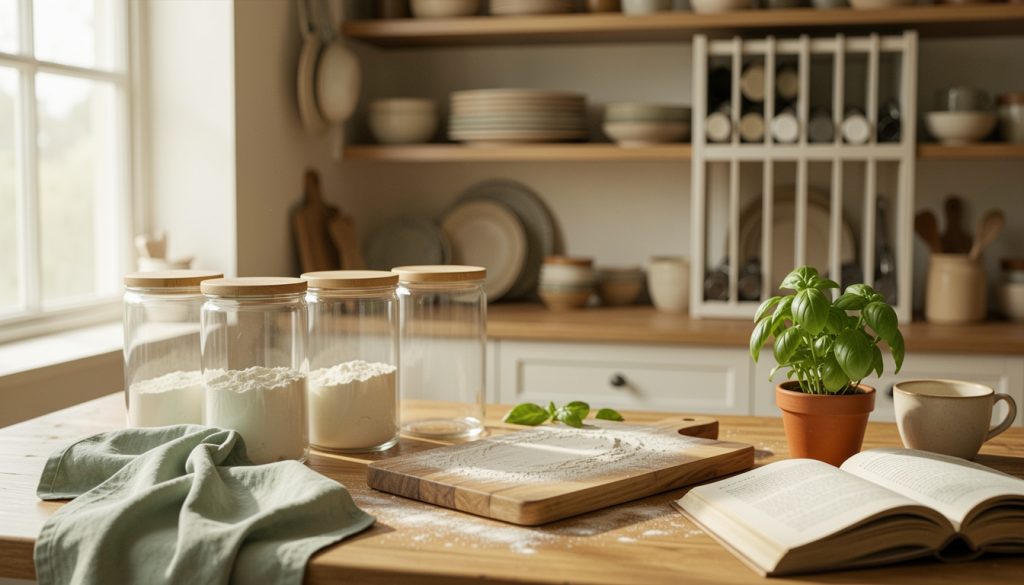

I learned one truth the hard way: bakers kitchen pantry storage looks beautiful only when it works. These 11 ideas made flour and sugar stop migrating into every cabinet and turned my chaotic corner into a calm baking station. Most ideas cost under $75, with a few splurges around $120. Expect warm wood, clear jars, and renter-friendly hacks that actually stay pretty during real baking.
My focus here is warm-minimal, practical styling that survives weekly baking. These ideas suit modern farmhouse and small kitchens, and most pieces are portable for renters. Lately I’ve leaned into visible organization as decor, so the look favors clear jars, acacia accents, and one styled counter trio.
1. Open Shelving With Warm Wood And Matching Jars
Style: Modern Farmhouse | Budget: Most under $75 | Best For: Open-plan kitchens
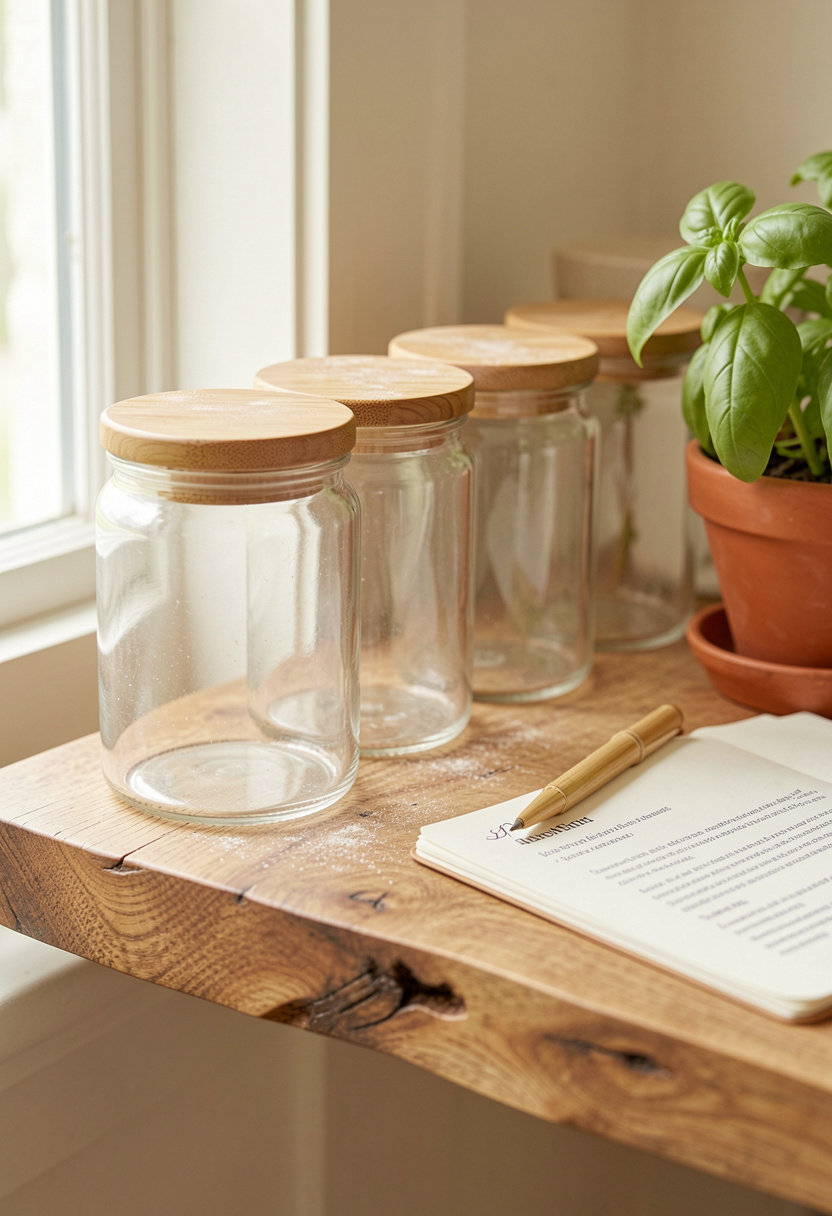

Open shelves are where storage becomes decor. I lined identical clear airtight glass storage jars with bamboo lids so my flour, sugar, and oats read like a recipe display. The trick is one shelf only, not all of them, so dust and clutter stay minimal. I keep frequently used flours front and center and reserve upper shelves for backup bags. Cost-wise, these jars are around $25 to $45 each depending on size, and the shelves themselves can be a simple 24-inch floating wood shelf.
Shop this idea:
- Clear airtight glass storage jars with bamboo lids
- Floating wood shelf for kitchen wall
- Sage linen tea towels set of 4
2. Deep Drawer Baking Station With Airtight Canisters
Style: Modern Transitional | Budget: $80 to $220 | Best For: Small kitchens, drawers


If you have a deep drawer, use it as a baking station. I swapped sacks for a trio of clear airtight canisters so flour and sugar don't clump or spill when I reach in with wet hands. Put heavier items in the back and the everyday 00 flour or sugar closest to the front. A good set runs around $35 to $70 for three sizes, and a shallow drawer organizer keeps lids from clacking. My first attempt left lids jammed, so now I label lid orientation with a small dot.
Shop this idea:
3. Vertical Bakeware Rack For Sheet Pans And Cooling Racks
Style: Functional Industrial | Budget: $35 to $90 | Best For: Narrow cabinets


Vertical dividers turned my pan chaos into order. I installed a file-style pan organizer and now pans slide out without a wrestling match. The practical tip is to line dividers with a thin non-slip pad so metal pans don’t clank. Vertical storage also frees up horizontal shelf space for baskets. A solid organizer is about $30 to $60 and saved me from bending and noisy searches.
Shop this idea:
4. Hidden Mixer Garage With One Styled Front Zone
Style: Minimalist Transitional | Budget: $50 to $150 | Best For: Counter clutter control
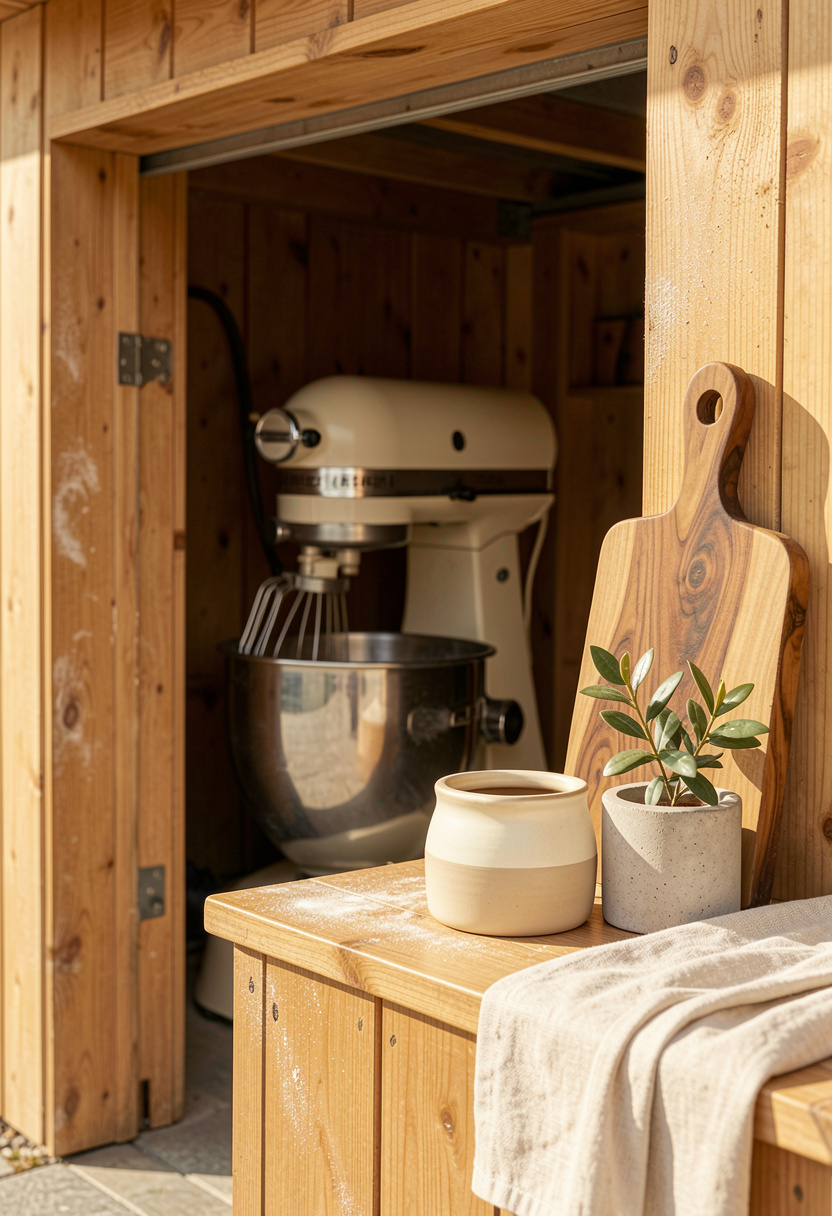

My stand mixer lives behind a little appliance garage so the counter looks calm. I keep a pretty stoneware utensil crock and one canister visible as the styled front zone. The secret is to have the mixer on a shallow pull-out shelf so you can use it without dragging it across the counter. An appliance garage or pull-out cart runs about $80 to $200 depending on hardware.
Shop this idea:
5. Label-Forward Pantry With Visual Consistency
Style: Organized Contemporary | Budget: $20 to $60 | Best For: Busy bakers
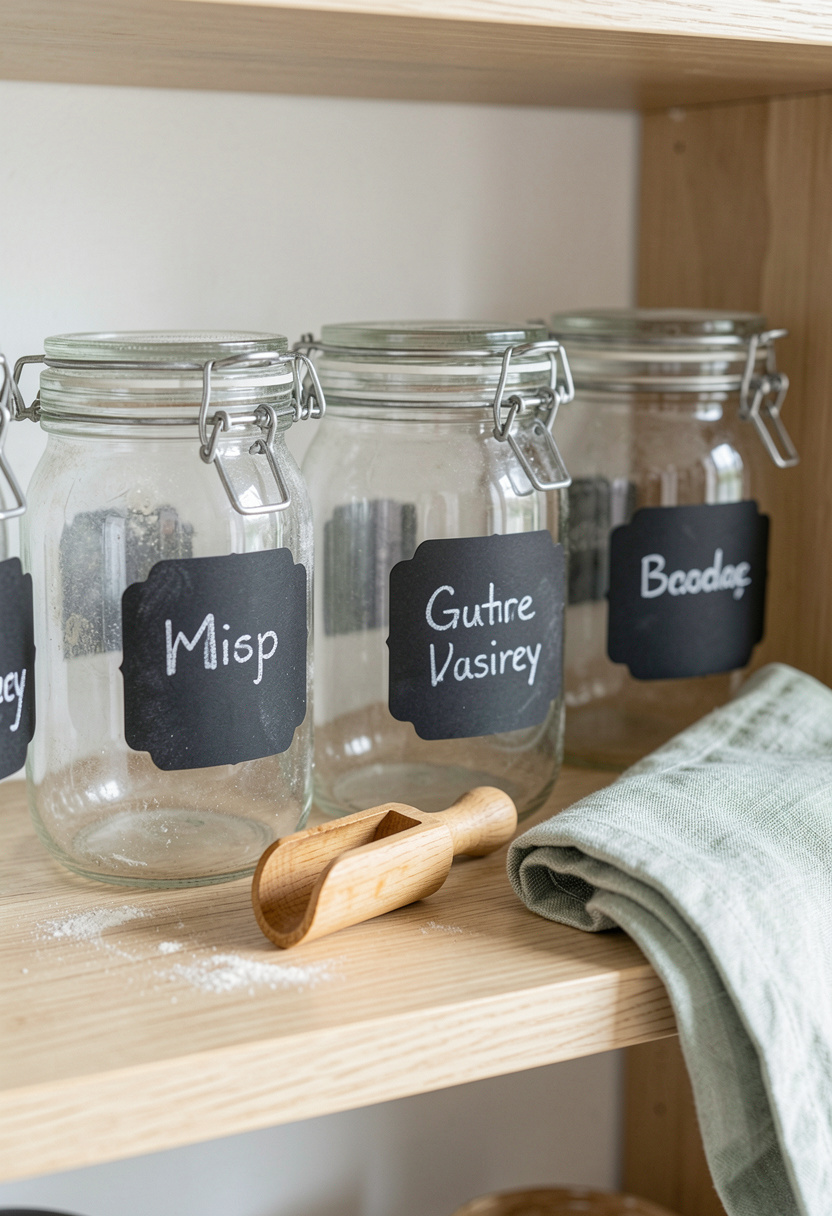

Labels are the low-cost win that keeps a pantry photo-ready. I use consistent label fonts and place them at the same height on every jar so the eye reads a calm row rather than chaos. Tip: label both lid and jar for baskets and opaque containers. A label kit runs about $10 to $25 and prevents mixups during midnight baking.
Shop this idea:
6. Rolling Baking Cart Styled Like Furniture
Style: Small-Space Modern | Budget: $70 to $250 | Best For: Renters
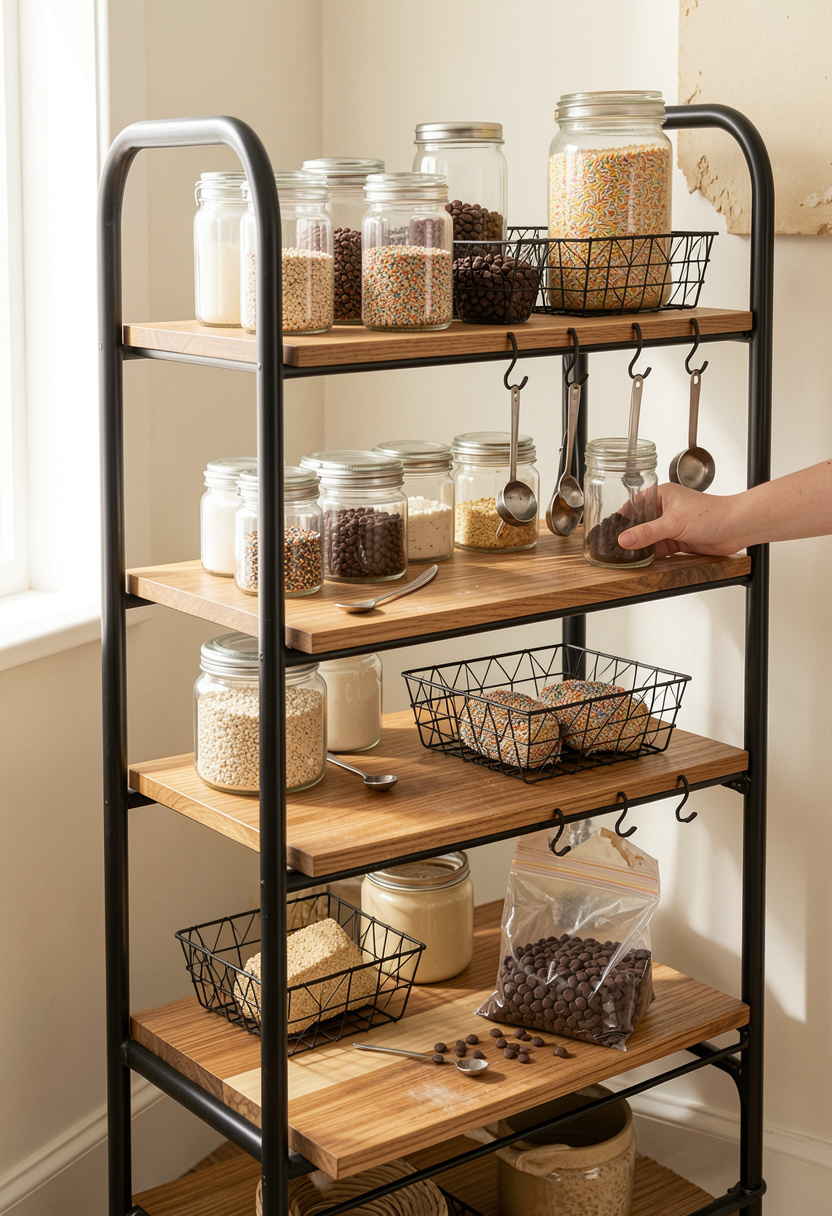

I transformed a narrow gap into a mobile baking station with a rolling cart. It holds my mixer when cooking, then tucks away when not needed. My tip is to anchor the cart visually by styling the top shelf with a cutting board, one canister, and a plant so it reads like furniture. Expect to spend around $80 to $180, and choose wheels with locks for safety.
Shop this idea:
7. Tiered Drawer Inserts For Sprinkles, Extracts, And Tips
Style: Compact Functional | Budget: $25 to $90 | Best For: Small tools


Tiny baking items are the usual pantry style-ruiner. Tiered drawer inserts changed everything; I can see bottles of vanilla and all my piping tips at a glance. Pro tip: small craft organizers fit into a deep drawer and keep everything from rolling. These inserts cost about $20 to $50 and stop me from dumping sprinkles across the counter mid-recipe.
Shop this idea:
8. Cozy Baking Corner With Mixed Materials
Style: Cozy Farmhouse | Budget: $50 to $160 | Best For: Lived-in looks
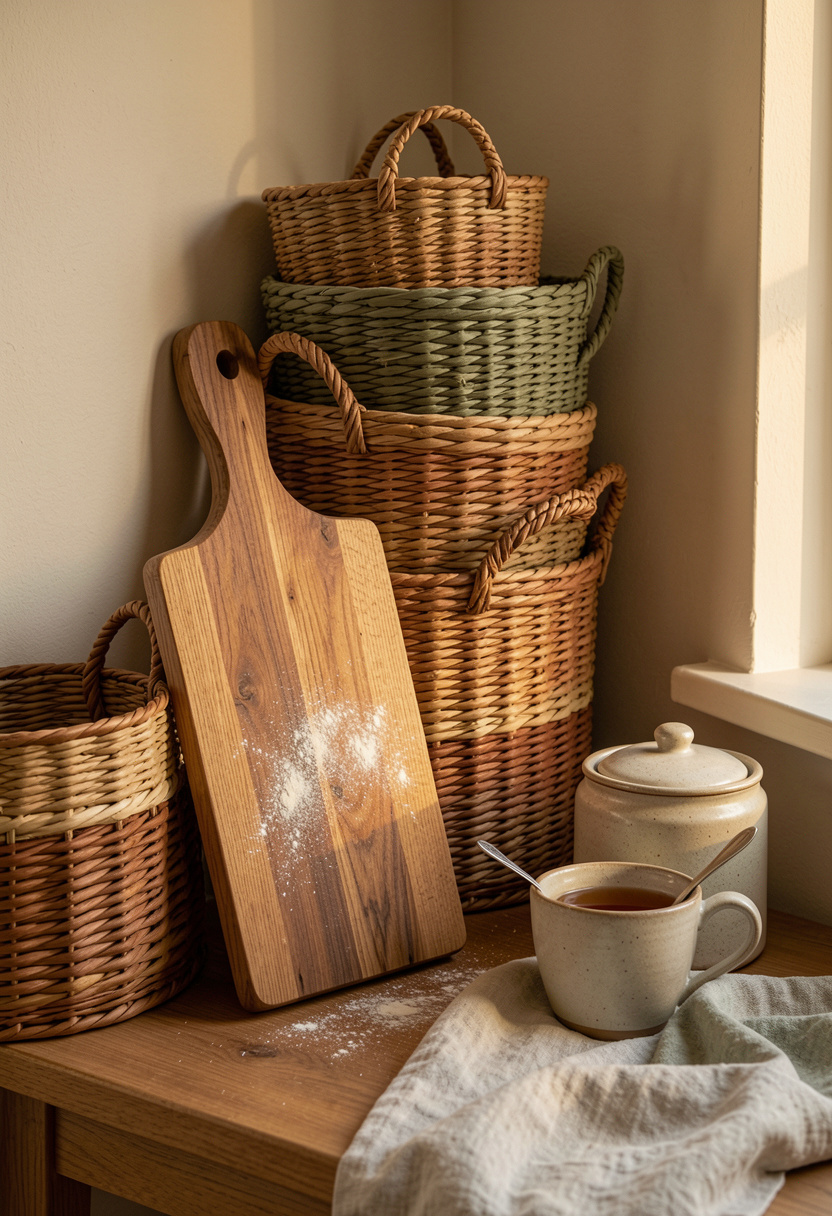

A styled corner makes baking feel welcoming, not staged. I mix woven baskets for bulk, a stoneware canister for frequently used sugar, and an oversized acacia cutting board as the backdrop. The ugly truth: all-white looks sterile; texture saves the day. Budget about $50 to $120 to layer baskets, a board, and a canister. Real life test: keep one basket for open flour bags, lined with a plastic bag for cleanliness.
Shop this idea:
- Woven storage basket set
- Oversized wood cutting board for countertop display
- Stoneware canister set in sage green
9. Vertical Cabinet Door Storage For Lightweight Tools
Style: Rental-Friendly Small Kitchen | Budget: $10 to $40 | Best For: Renters
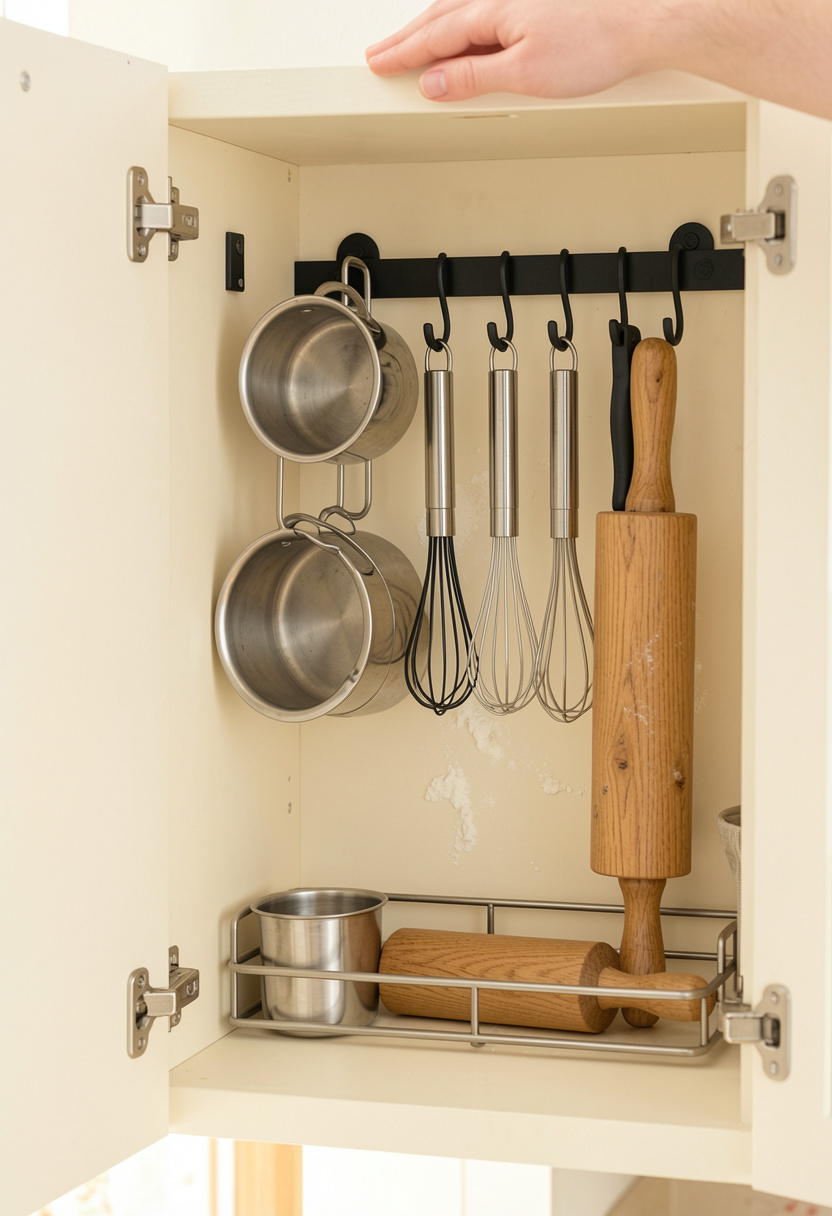

Use the inside of cabinet doors for measuring spoons, rolling pins, and thin baking tools. I added adhesive hooks and a slim rack so everything is instantly reachable. The catch is weight: only lightweight items belong here. This renter-friendly trick cost me under $20 and rescued counter space without a single screw.
Shop this idea:
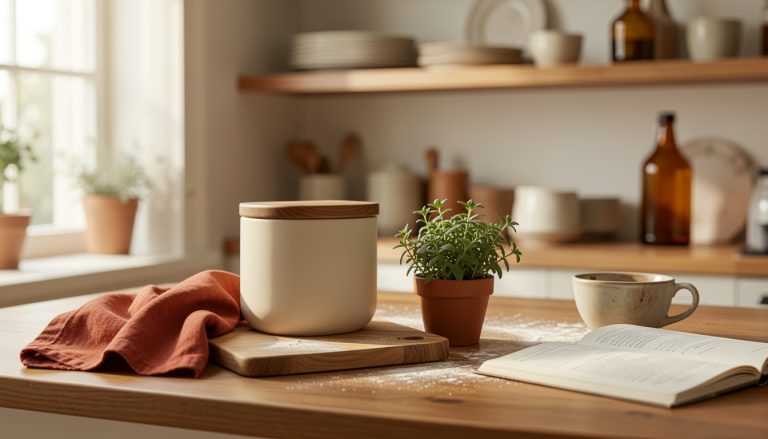
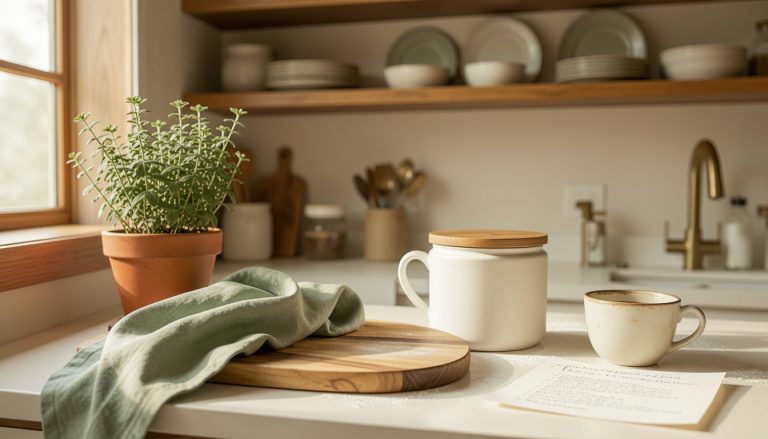
10. Counter Trio Vignette: Board, Canister, And Greenery
Style: Warm Minimalist | Budget: $45 to $140 | Best For: Countertop styling
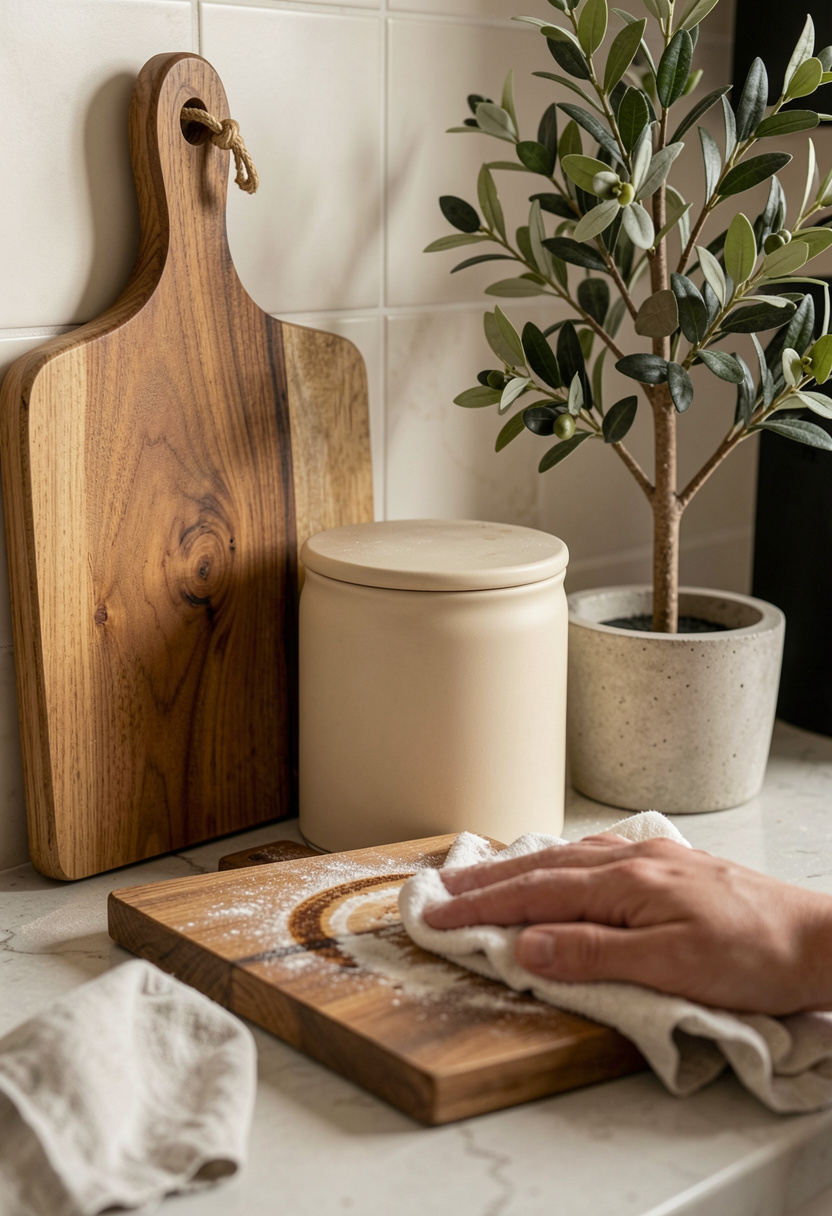

Three things is my answer to counter clutter. I keep one acacia cutting board, one ceramic canister for spoons, and one small olive tree. It looks editorial and remains usable. The maintenance tip is to leave at least 12 inches of empty counter next to the trio so the setup reads intentional. The trio cost me about $60 to $110 and earned compliments without sacrificing prep space.
Shop this idea:
- Acacia cutting board with juice groove 18 inch
- Matte white ceramic canister set
- Small faux olive tree in cement pot
11. Keep High-Low Storage: Everyday Within Reach
Style: Practical Transitional | Budget: $40 to $120 | Best For: Active bakers
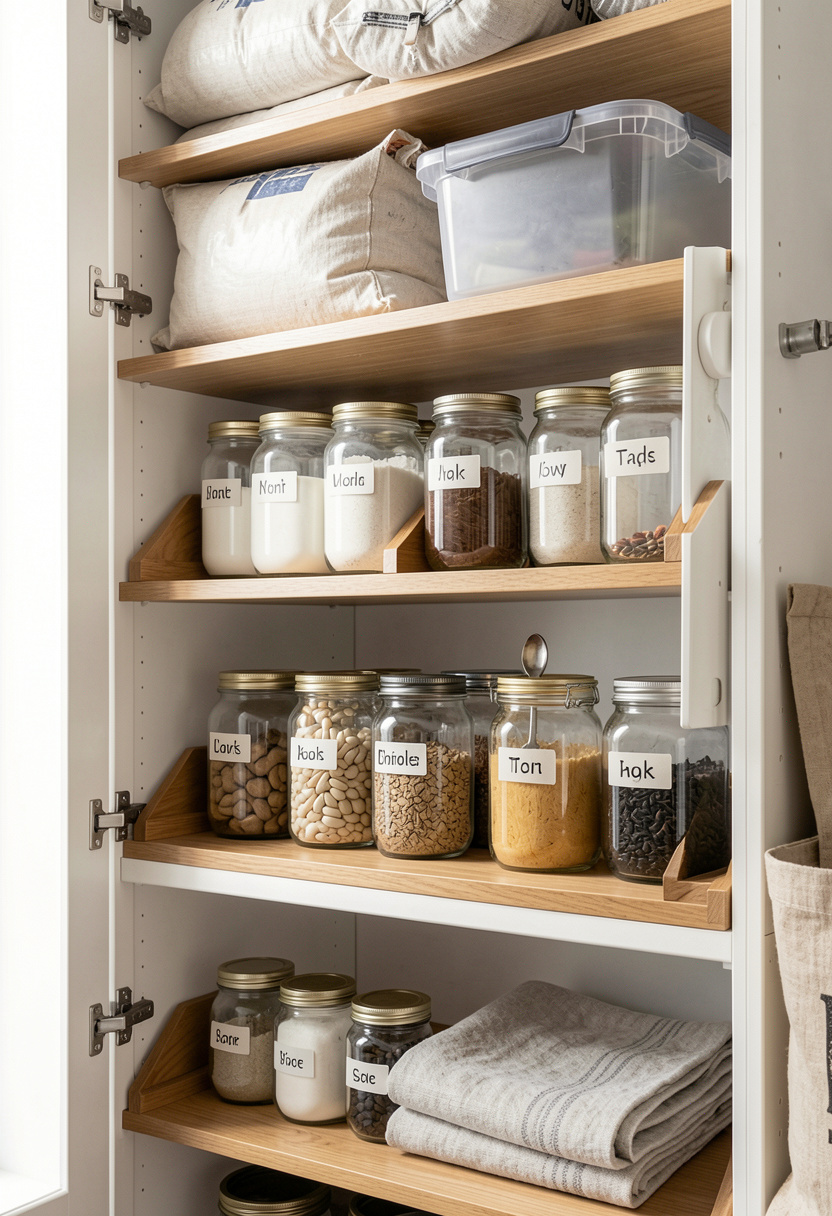

Store what you use daily in easy reach and tuck backups higher up. I keep my go-to flour, sugar, and baking soda on lower shelves in clear jars and reserve whole-grain flours and specialty items on top. The rule of thumb is “arm’s reach for weekly items.” Stackable bins run about $15 to $40 and make the top shelves readable instead of a dusted mystery. I learned this after repeatedly knocking down a heavy bag from a high shelf.
Shop this idea:
What You'll Need to Get This Look
Countertop & Storage
- Clear airtight glass storage jars with bamboo lids around $25 to $45
- Matte white ceramic canister set around $35 to $70
- Acacia cutting board with juice groove 18 inch around $25 to $80
Wall Decor & Open Shelving
- Floating wood shelf for kitchen wall around $40 to $120
- File-style pan organizer around $30 to $60
Textiles & Soft Goods
- Sage linen tea towels set of 4 around $18 to $45
- Oatmeal waffle weave dish towels set around $12 to $30
Greenery & Freshness
- Small faux olive tree in cement pot around $40 to $100
- Potted basil herb plant for kitchen windowsill around $10 to $25
Budget Swaps
- Woven storage basket set similar at HomeGoods for less, around $15 to $40
- Adhesive cabinet hooks set around $6 to $18
Shopping Tips for These Looks
Time purchases for seasonal sales: Buy canisters and cutting boards during holiday kitchen sales, when sets drop about 20 to 30 percent; I bought a sealed set in November and saved $40. Matte white ceramic canister set
Mix thrift and new: Scout HomeGoods or TJ Maxx for one sculptural cutting board or vintage jar and pair with new clear canisters for cohesion. Oversized wood cutting board for countertop display
Look for stackable shapes: Square or slightly rectangular containers use space better than round tubs; measure shelf depth before buying. Stackable storage bins for pantry
Buy the visible few: Spend more on the most visible items like a quality cutting board or ceramic canister and save on internal bins. Acacia cutting board with juice groove 18 inch
Seasonal swap for freshness: Rotate a small herb pot in winter with a faux olive to keep the counter lively without extra maintenance. Small faux olive tree in cement pot
Frequently Asked Questions
Q: How should I store flour so it doesn’t go stale or attract pests?
A: Store flour in airtight glass jars in a cool, dry spot and label with purchase date. For long-term storage, keep extra bags in sealed stackable bins higher up. Consider a set of clear airtight glass storage jars with bamboo lids to see quantities easily. Clear airtight glass storage jars with bamboo lids
Q: Are open shelves practical for a baker?
A: Yes, if they are curated and only hold a few matching jars and one decorative piece. Keep everyday items lower and rotate dust-prone items occasionally for cleaning. A floating wood shelf makes the display feel intentional. Floating wood shelf for kitchen wall
Q: What’s the best way to store baking sheets in a small kitchen?
A: Use a vertical file-style pan organizer inside a cabinet or on a pull-out tray so sheets slide in and out easily. Lining dividers with non-slip pads prevents noise and scratching. File-style pan organizer
Q: I’m renting; how can I make the pantry look styled without permanent changes?
A: Opt for rolling carts, adhesive hooks, removable labels, and stackable bins. These are portable, non-permanent, and create an instant baking zone without drilling. Black rolling utility cart
Conclusion
Start with one easy change, like swapping flour sacks for clear jars or styling a single shelf. Those small moves tame mess and make baking feel calmer. Which corner of your kitchen would you tackle first: drawers, open shelves, or the counter trio?