
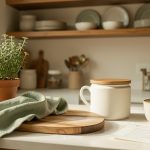



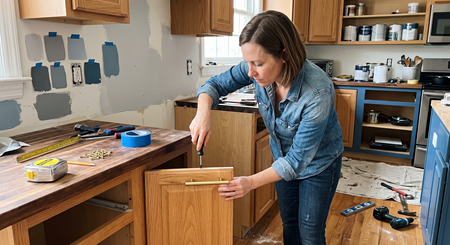


If you searched how to organize baby bottles in kitchen cabinet, you are not alone.
My tiny cabinet used to be a black hole of tipped bottles, loose nipples, and counter chaos.
I cleared everything, kept only what we used in rotation, and created a one-cabinet system that looks calm and actually saves time.
I’ll show the exact steps, what to buy, and the mistakes I learned the hard way. Budget range: small refresh $40 to $120, fuller setup $150 to $350.
This works for warm minimal, modern farmhouse, and rental kitchens that need nonpermanent fixes.
If you want the look to feel edited, aim for three finishes: pale oak, matte white, and a single metal accent like aged brass.
1. Start with the Foundation: Cabinet Reset
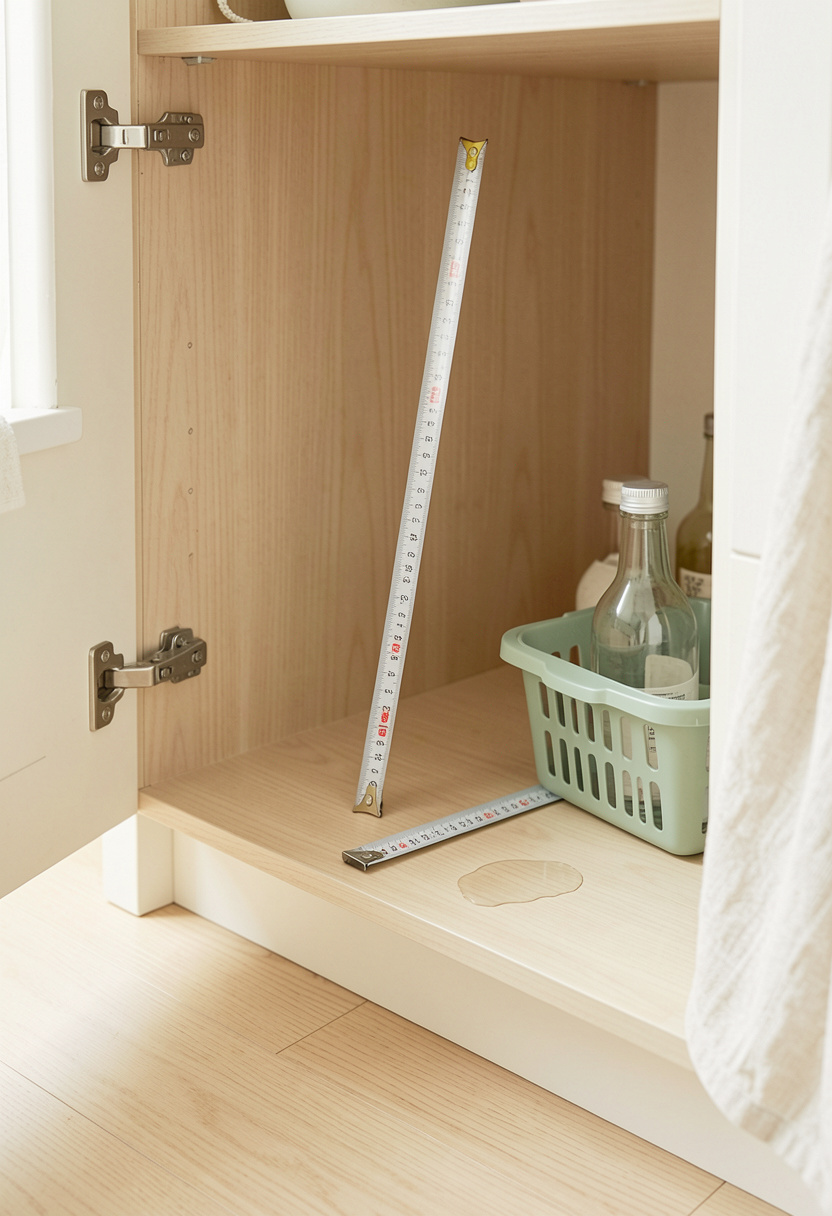

Empty the cabinet and lay everything out.
Count bottles, nipples, lids, and extras. If you own more than eight bottles, plan backup storage elsewhere.
The trick is to buy storage for the actual inventory, not a dream number.
Add an adjustable shelf riser for kitchen cabinet to split tall vertical space.
Then place a divided storage bin for baby bottles so bottles stand upright and stay visible.
Visual principle: proportion. Shorter items in front, taller in back keeps sightlines clean.
Common mistake: buying a single deep bin that lets bottles roll to the back.
Do this instead: use a riser plus shallow divided bin so nothing hides.
2. Build the Daily Station: Sink-Adjacent Workflow
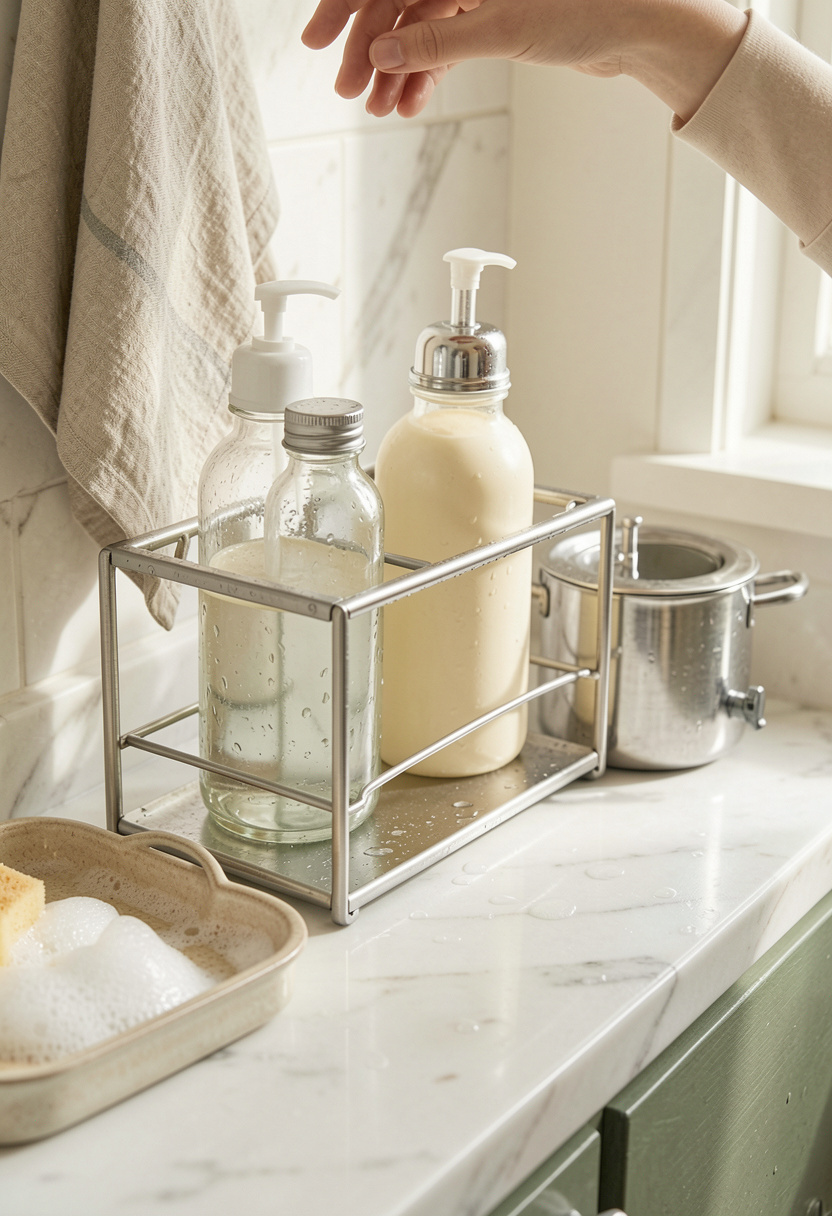

Put the daily essentials where you use them: washing, drying, and grabbing bottles.
A small bottle drying rack on a tray keeps the counter intentional.
Add a small stainless sterilizer or UV sterilizer if you use one, and tuck both on a shallow tray to catch drips.
Place this station within arm’s reach of the sink and 6 to 12 inches from the faucet to avoid splashes.
Visual principle: zoning. Everything for the wash-dry-grab routine is in one edited place.
Most people scatter a drying rack, a bottle, and a soap caddy across the counter. Instead, contain them on a tray so the counter still reads calm.
3. Contain the Parts: Micro-Sorting and Labels
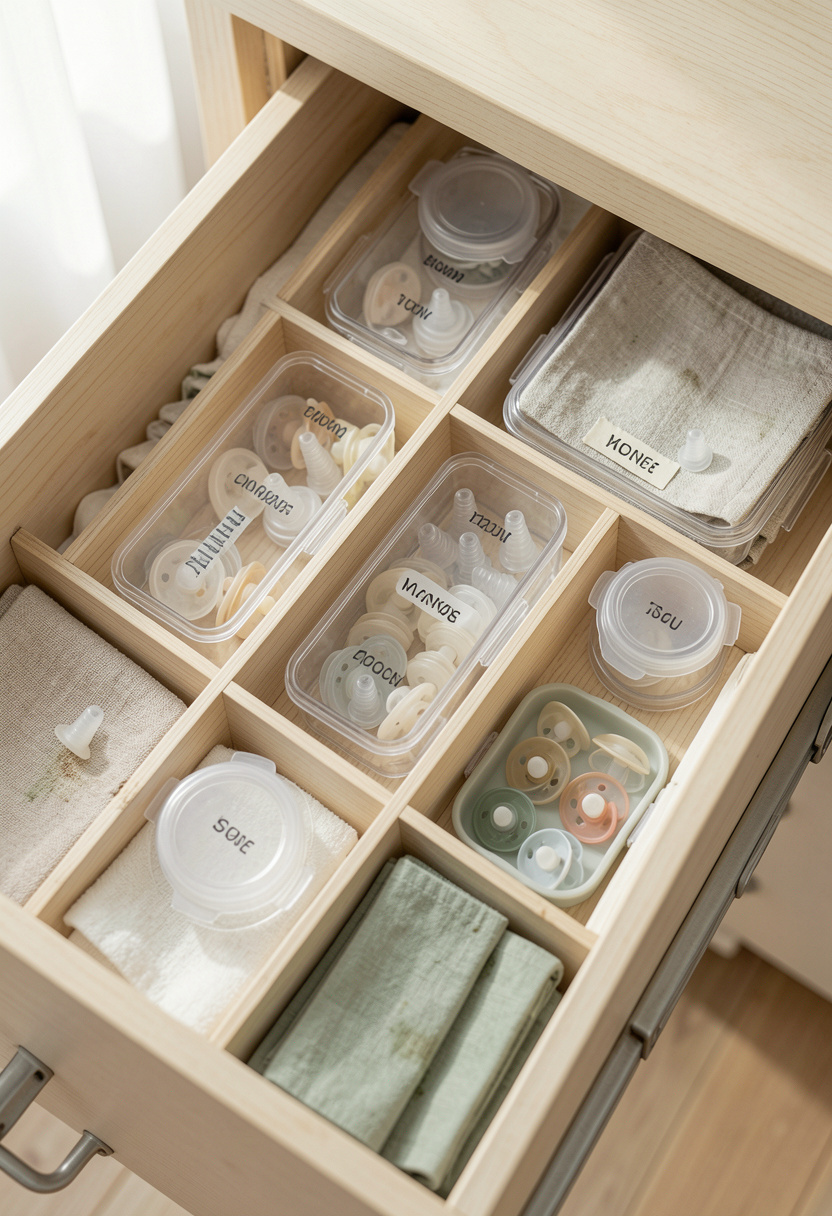

Small parts create visual noise. Group them in labeled micro-bins.
Use an adjustable drawer divider set for lids and an inexpensive clear storage bins with labels for cabinet organization for nipples and pacifiers.
Color and material matter. Clear bins show contents, linen labels soften the look.
Visual principle: grouping like with like. Store spare parts in one spot and daily-use nipples in another.
A typical mistake is tossing all parts into one deep bin.
Do this instead: micro-sort with 2 to 4 small trays, and label them so everyone in the family knows which bin is clean and which is spare.
4. Keep Clean Separate from Used: Rotation and Hidden Backstock
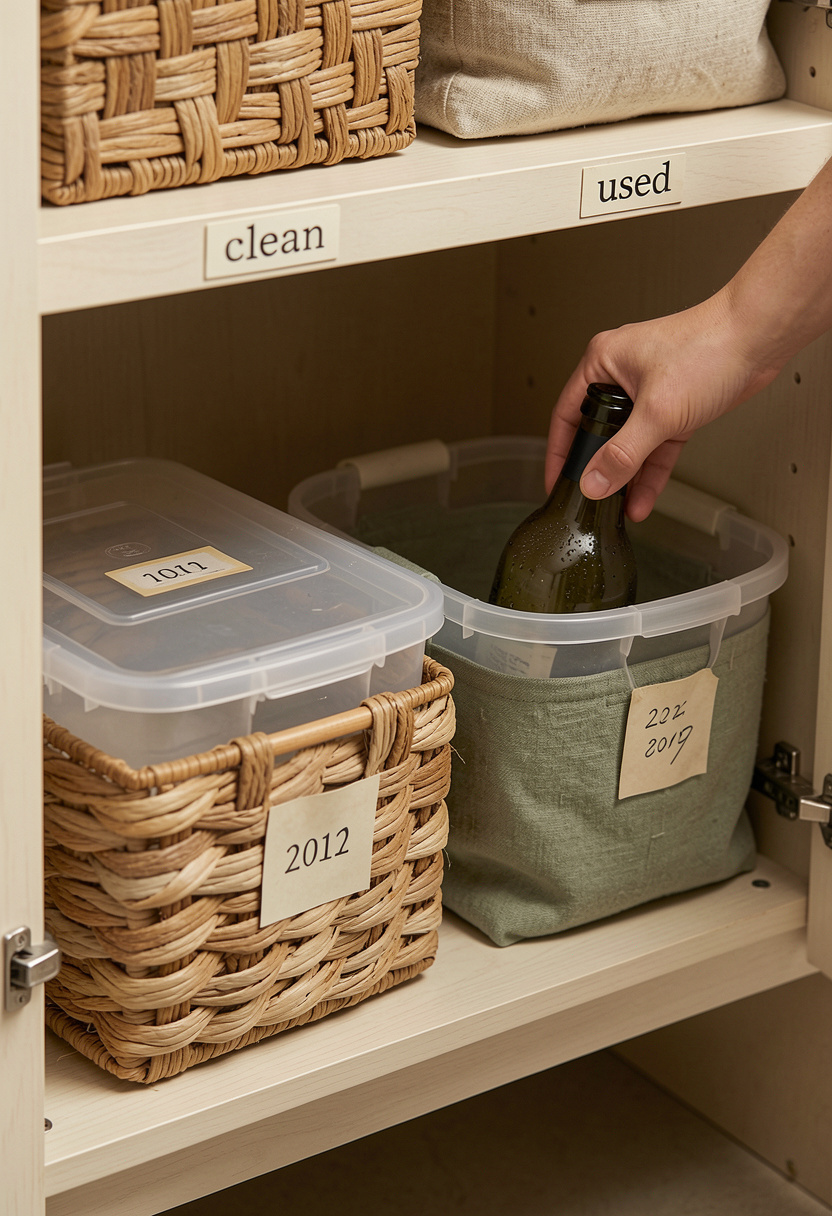

Create a two-bin flow: a shallow visible bin for current clean bottles and a lidded container for stored sterilized backups.
A sealable container for clean bottles keeps sanitized bottles dust free.
Store extras in a woven basket deeper in the cabinet.
Add a small pack of date labels to rotate stock and pull oldest first.
Visual principle: sequence and hierarchy. Clean items are at eye level, used items go in the small caddy by the sink.
What does not work is storing clean and drying bottles side by side.
Avoid that by assigning each bin a clear role and placing the used caddy within reach of the sink.
Common Styling Mistakes to Avoid
Mistake: Everything on the counter in different containers
Why it doesn't work: Counter looks cluttered and accidental.
Do this instead: Use a shallow tray to hold a compact bottle drying rack and a small caddy.
Mistake: Buying organizers before sorting bottles
Why it doesn't work: Containers end up the wrong size.
Do this instead: Count bottles first and then buy an adjustable drawer divider set.
Mistake: Mixing all nipples, lids, and pump parts together
Why it doesn't work: Finding small pieces becomes a daily chore.
Do this instead: Use clear storage bins with labels for cabinet organization to micro-sort.
What You'll Need for This Look
Foundation Pieces
Divided storage bin for baby bottles around $20 to $40
Adjustable shelf riser for kitchen cabinet approx $15 to $30
Textiles & Soft Goods
Sage linen tea towels set of 4 around $15 to $30
Small washable kitchen mat 18×24 inch approx $20 to $40
Lighting
Warm under cabinet LED puck lights around $20 to $45
Finishing Touches
Woven shallow basket 12 inch approx $15 to $35
Matte white ceramic canister set with acacia wood lids around $35 to $50
Budget Swaps
Dollar-store small drawer organizers $5 to $15 (similar finds at Target or HomeGoods)
Shopping Guide for This Look
Buy for the routine: Pick a compact bottle drying rack in spring when baby items are often discounted. Seasonal sales cut costs.
Mix thrift and new: Snag woven baskets at TJ Maxx or HomeGoods and pair with a new clear storage bin with labels for polish.
2025 trend tip: Use warm wood accents like an acacia tray to warm the mostly white tools; try a matte white ceramic canister set with acacia wood lids.
Splurge vs save: Splurge on a durable divided storage bin for baby bottles if you use it every day; save on drawer dividers at discount stores.
Conclusion
Start with one cabinet, not the whole kitchen. Reset that space, make the wash-dry-grab routine obvious, and then add the pretty pieces.
My favorite small change was a shelf riser plus a divided bin. It made the cabinet readable and saved counter space.
Which corner of your kitchen would you turn into a feeding hub first?