A kitchen island is more than extra counter space. It is the heart of the home, a place for meals, homework, and conversation. The right seating layout makes it work for your life. These ideas show how to fit more people comfortably. You can create a spot that feels just right for your family and friends.
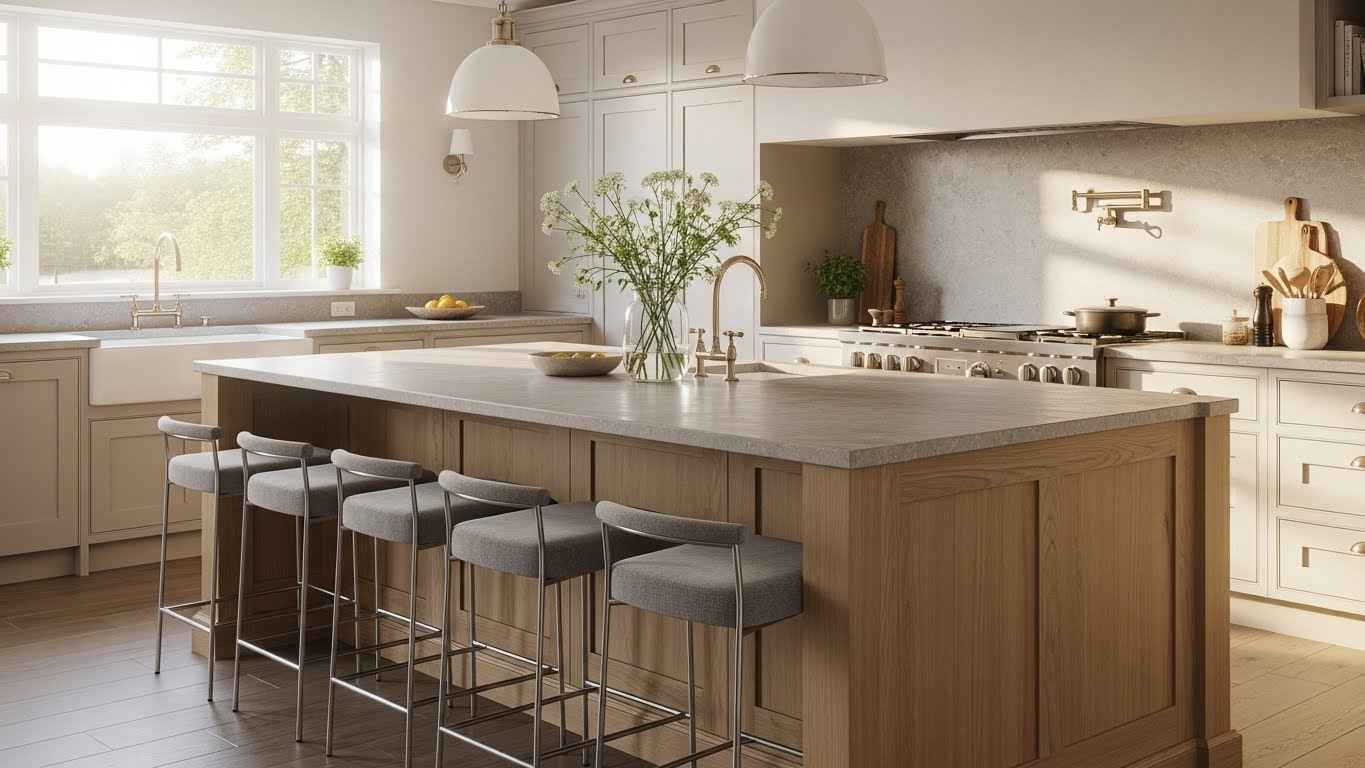
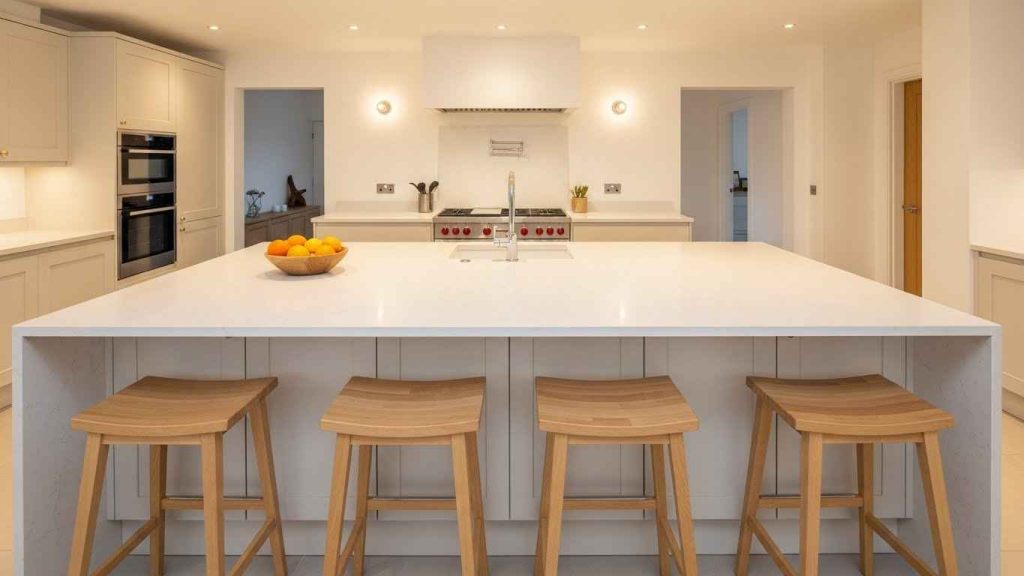
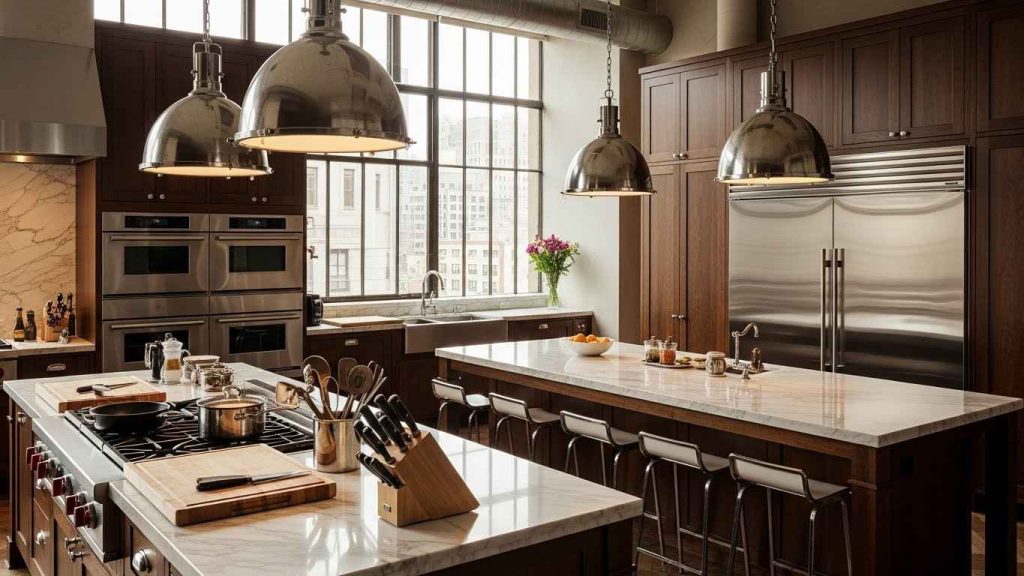
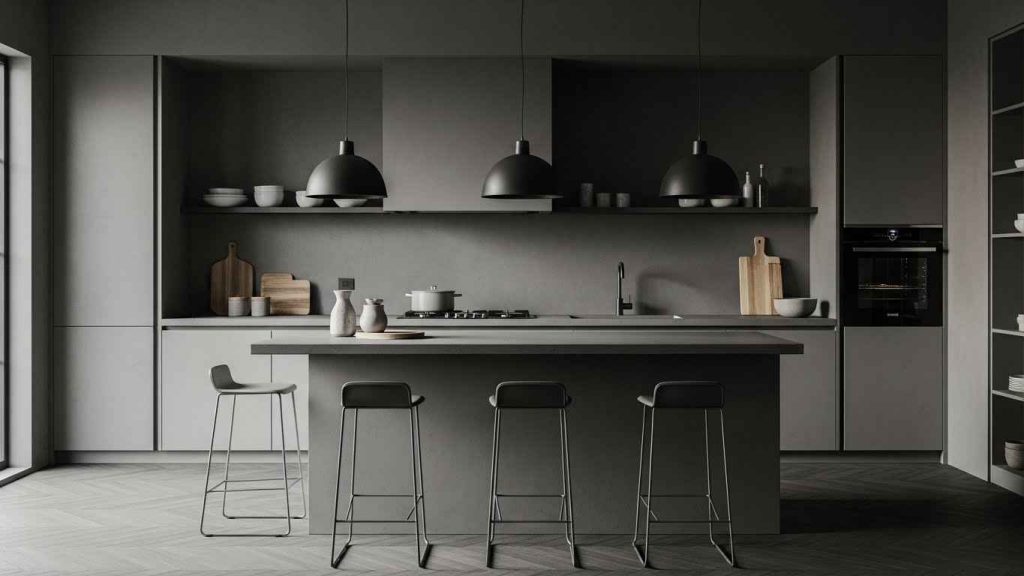
1. The Classic Overhang Bar

This is the most common and practical choice. A standard overhang gives each person enough leg room. Allow 24 to 30 inches of width per stool. This setup keeps the kitchen flow open and accessible. Choose backless stools for a cleaner look and easier tucking. A simple DIY tip is to add a footrest bar underneath the overhang for extra comfort. You can build this with a sanded wooden dowel.
2. Dual-Sided Social Hub
This layout turns your island into a true gathering spot. People can face each other, making conversation easy during food prep. It works well in open-plan kitchens that connect to a living area. Ensure there is enough walkway space around both sides. For a budget-friendly update, use two different sets of stools you already own to define each side. This adds character without a full new set.
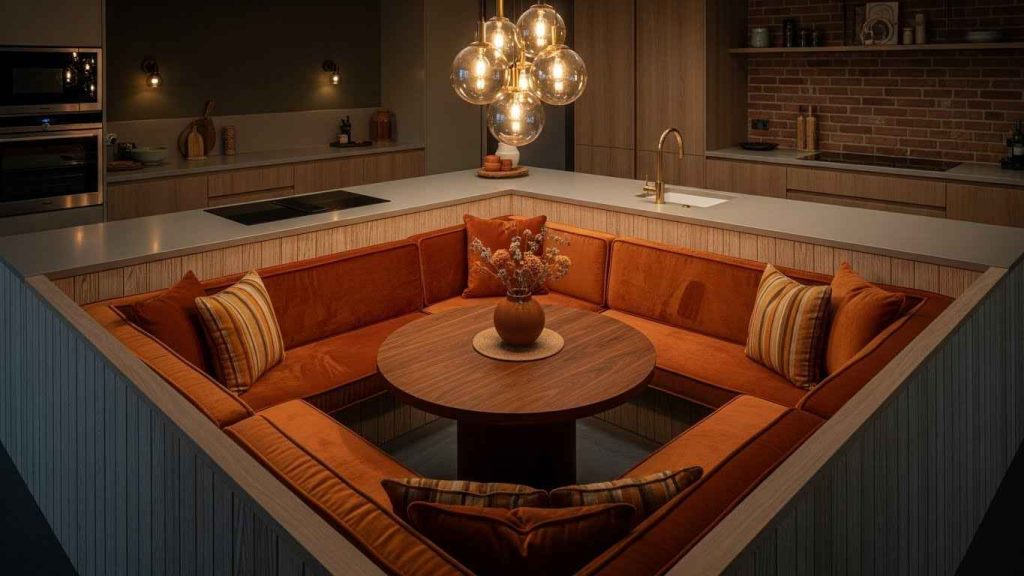
3. The Cozy Corner Nook
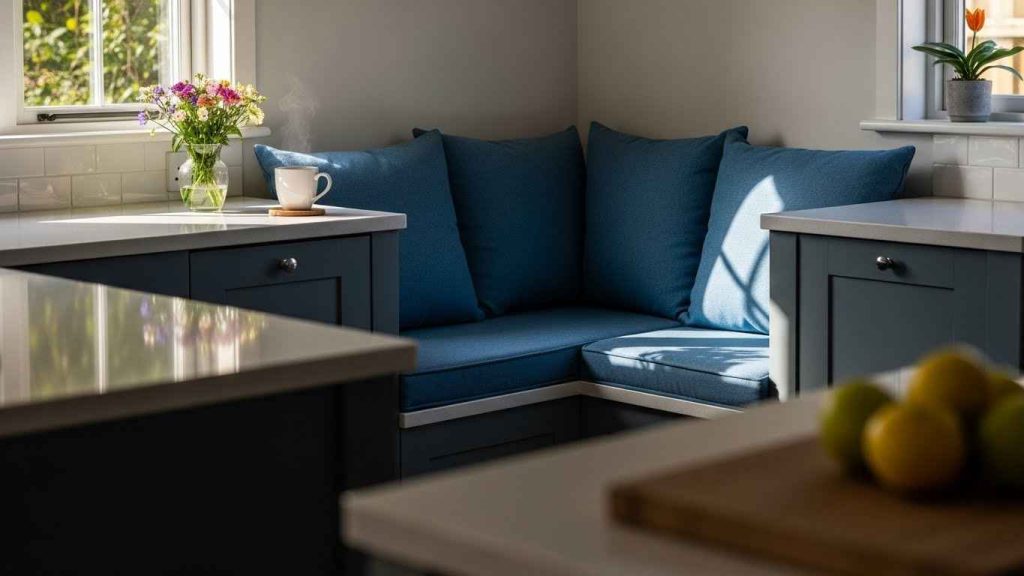
An L-shaped island with a corner seat creates a snug spot. It is perfect for a quick breakfast or a quiet coffee. This design uses corner space that might otherwise be wasted. The built-in bench feels permanent and custom. You can create a similar feel with a DIY project. Attach a pre-made bench to the island’s side and add comfortable seat cushions. This is a great way to build in seating without a major renovation.
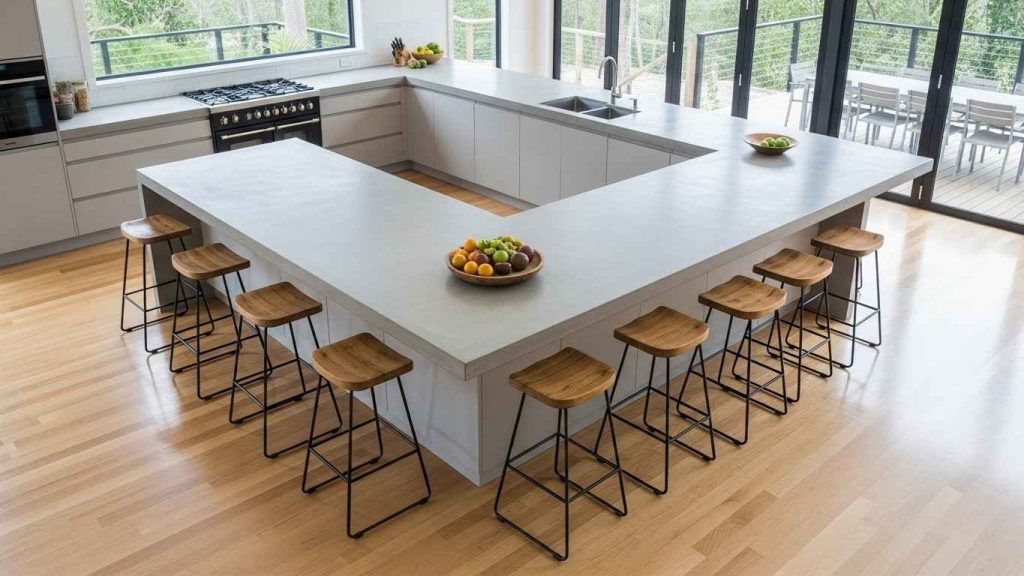
4. U-Shaped Banquet Comfort
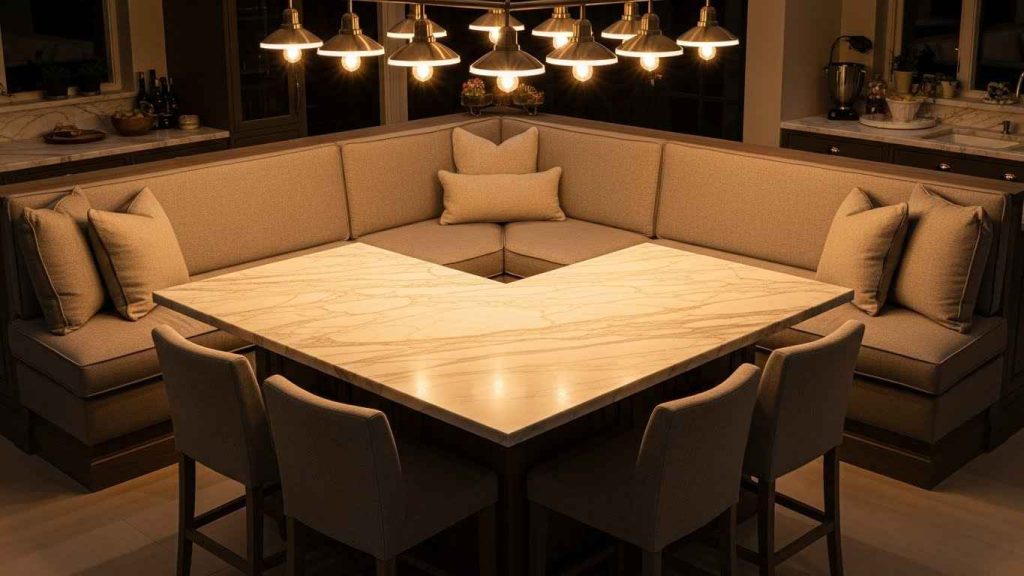
This layout offers maximum seating in a compact footprint. It wraps around people, creating a secure and social dining area. The continuous bench makes it easy to squeeze in extra guests when needed. Use durable, easy-clean fabric for the cushions. A budget-friendly idea is to use large floor pillows against the island base to create a similar banquet feel without built-in carpentry.
5. The Curved Island Conversation
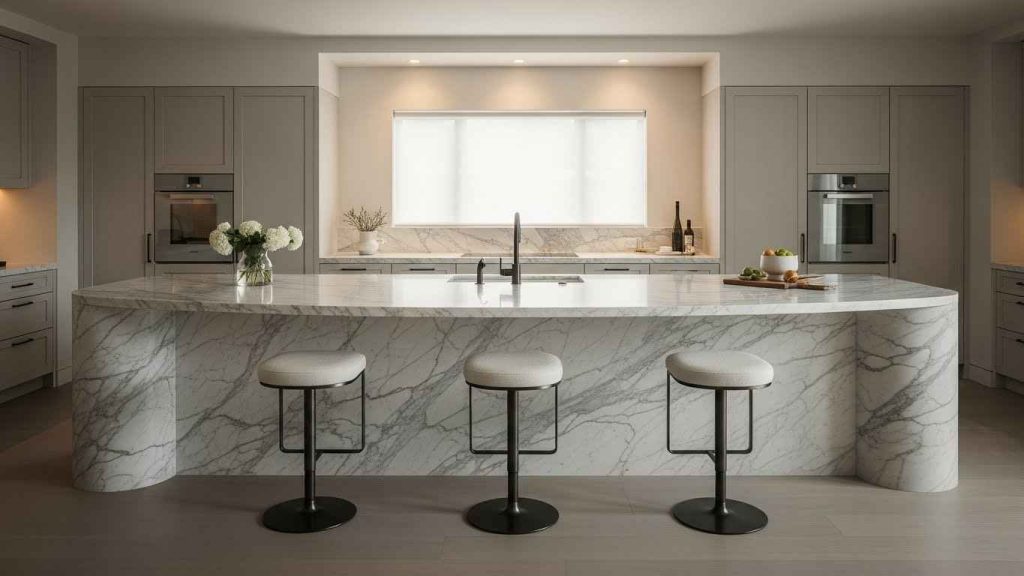
A curved island breaks up the hard lines of a kitchen. The gentle shape naturally encourages people to talk to one another. It also improves traffic flow, as there are no sharp corners to bump into. This design often feels more luxurious. You can mimic this look without a new countertop. Use a DIY approach with a rounded table placed against a standard rectangular island to create a curved seating area.
6. Mix & Match Stool Styles
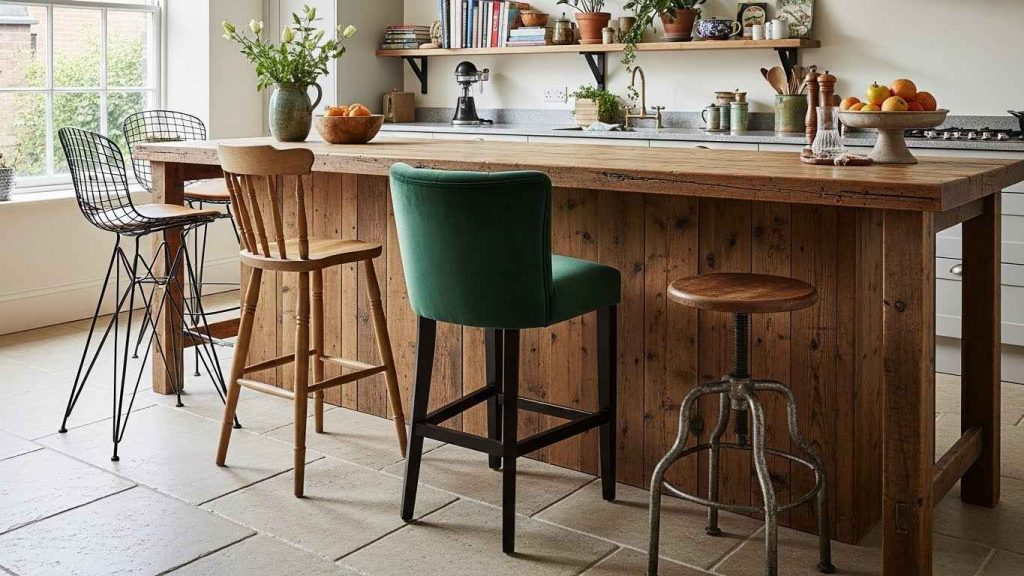
Do not feel locked into one stool design. Mixing styles adds personality and visual interest to your kitchen. It is a great way to use inherited or thrifted pieces. Keep one element consistent, like the seat height or color family, to tie the look together. Hunt for stools at flea markets or online resale sites. A fresh coat of paint can unify mismatched wooden stools for a budget-friendly refresh.
7. The Space-Saving Pull-Up

This is the best solution for a small kitchen. The stools slide completely under the counter when not in use, clearing the floor. It keeps pathways open and safe. Choose lightweight stools that are easy to move. Look for stools with a small footprint to maximize your limited space. This is an easy, low-cost way to add seating without a permanent commitment.
8. T-Shaped Party Central
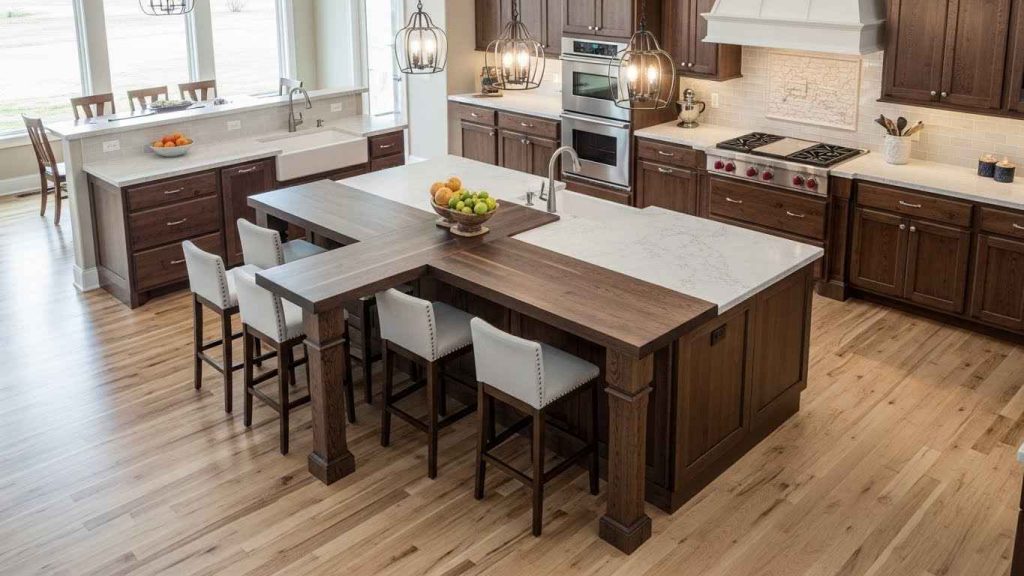
A T-shaped island offers a huge amount of seating and prep space. The design creates distinct zones for cooking and socializing. It is ideal for large, open-concept homes and frequent entertainers. The extended counter acts as a natural room divider. To test this layout, use a DIY method with a rolling cart butted against your existing island to form the “T” before building anything permanent.
9. Kid-Friendly Breakfast Bar
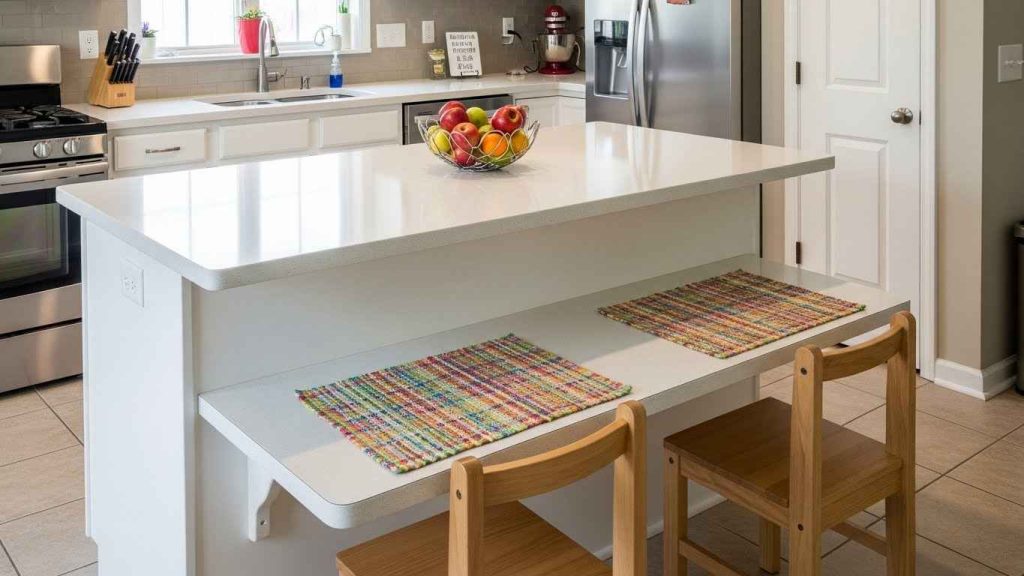
A lowered section of the island creates a perfect spot for children. It gives them their own space for snacks, crafts, and homework. This keeps them involved but out of the main work zone. The height should be comfortable for their size. A simple budget-friendly tip is to use a sturdy, height-adjustable table placed against the island. This grows with your child and requires no renovation.
10. The Luxurious Double-Island
Two islands create a kitchen that is both a workshop and a showplace. One can be dedicated to cooking and cleaning, while the other is purely for seating and serving. This layout is a dream for serious cooks and hosts. If a second island is not possible, achieve a similar effect with a DIY solution. Use a large, sturdy console table or a commercial-grade kitchen cart as a secondary station.
11. The Tiered Multi-Level Design
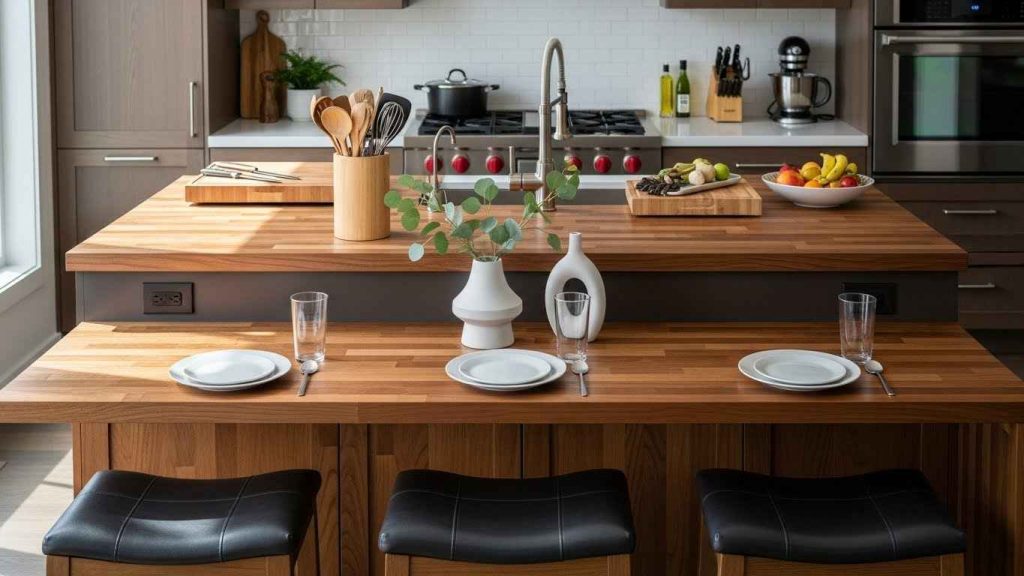
Different counter heights serve different purposes. The standard height is for prepping, while a lower, bar-height section is more comfortable for long meals. This separation keeps dirty dishes and cooking mess away from guests. Define each zone with different materials, like a butcher block for dining and quartz for prep. You can create a tiered effect by building a sturdy platform on top of your existing island.
12. The Galley-Style Slim Line
In a galley kitchen, a slim island maximizes every inch. It provides crucial extra counter space and seating without blocking the flow. Choose a narrow profile, perhaps only 18 inches deep. Stools with a small footprint are key here. Look for stools that can be hung on a wall rack when not in use. This saves floor space and keeps your kitchen feeling open.
13. Built-In Banquette Seating

This combines the comfort of a breakfast nook with the utility of an island. The built-in bench offers plush, fixed seating that feels like a dedicated dining area. It is a smart use of space in a kitchen corner. For a DIY version, build a simple bench frame, secure it to the floor and island, and top it with thick foam cushions. This creates a custom look for less.
14. The Wheel-In Mobile Cart
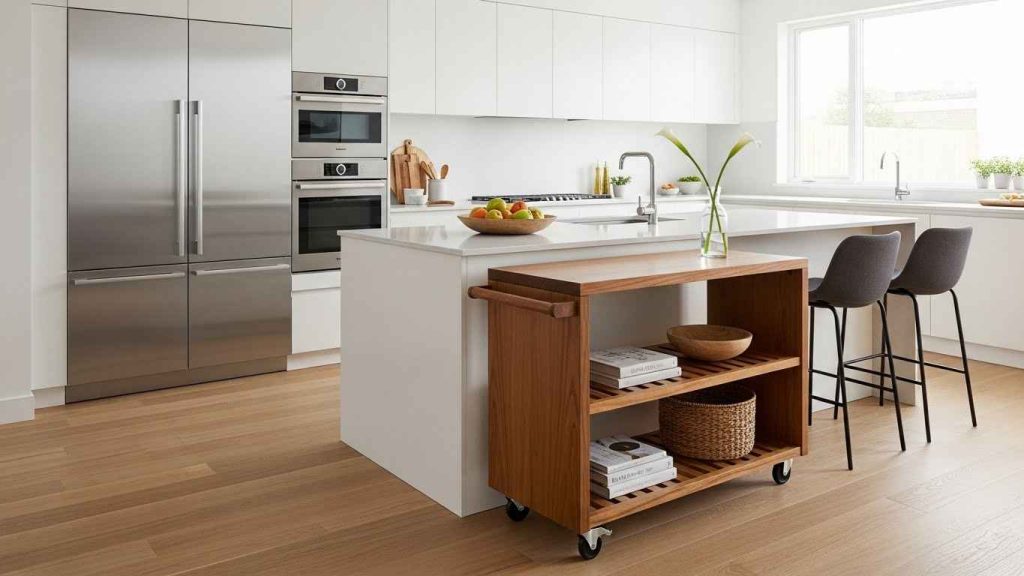
A rolling cart is the most flexible seating addition. It can be moved wherever you need extra space—next to the island for guests, or against a wall for daily use. Look for locking wheels for safety and stability. This is a perfect budget-friendly find at thrift stores or discount home stores. A fresh stain or paint can make it match your kitchen’s style.
15. L-Shaped Wraparound Lounge
This design maximizes seating capacity. It creates a long, continuous surface that feels like a bar. It is perfect for large families or for hosting big game-day gatherings. The corner can sometimes feel tight, so choose stools that swivel for easy entry and exit. Use a DIY approach by joining two pre-made islands or tables at a right angle to test this layout in your space.
16. The Peninsula Extension
A peninsula is an island that is connected to a wall or other cabinetry. It offers the same seating benefits while often being a more structural part of the kitchen. It is a great solution for rooms that are not large enough for a freestanding island. This layout often costs less to build than a true island. It is a smart use of existing structure.
17. Counter-Height Contrast
Using stools of different heights at one island can work if the overhang is deep enough. It accommodates both adults and taller teenagers who prefer a higher seat. This approach is very personal and adaptable. The key is to ensure everyone has enough knee space. You can achieve this look easily by simply purchasing one taller stool for a specific user, mixing it with your standard set.
18. The Open-Sided Bistro
An island with open shelving or a metal frame on the seating side feels less heavy. It makes a small room appear larger and keeps the sightlines open. This is a good choice for kitchens that also need to feel like part of the living room. You can create this effect by removing cabinet doors on the seating side of your existing island and painting the interior.
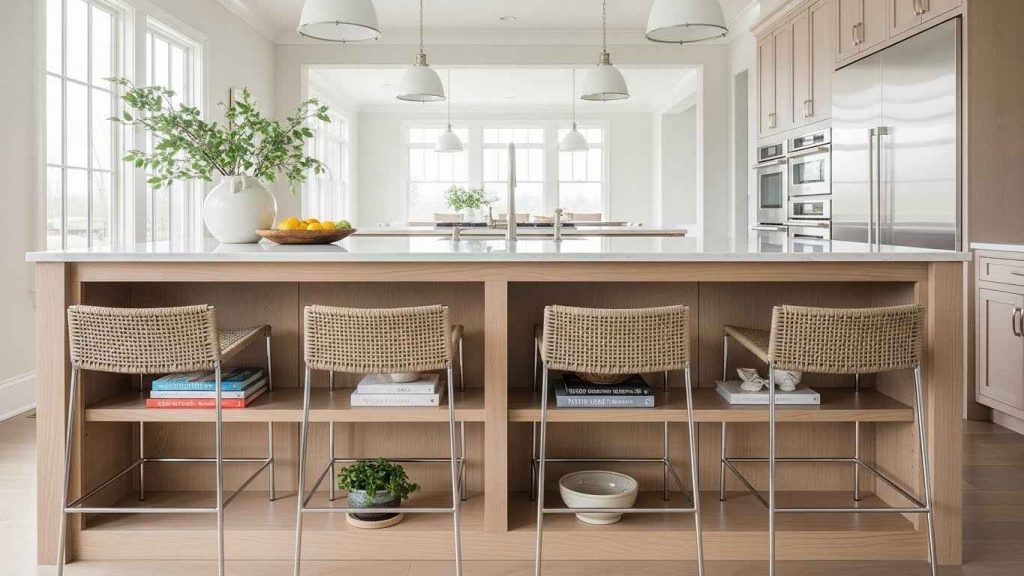
19. Integrated Bench Storage
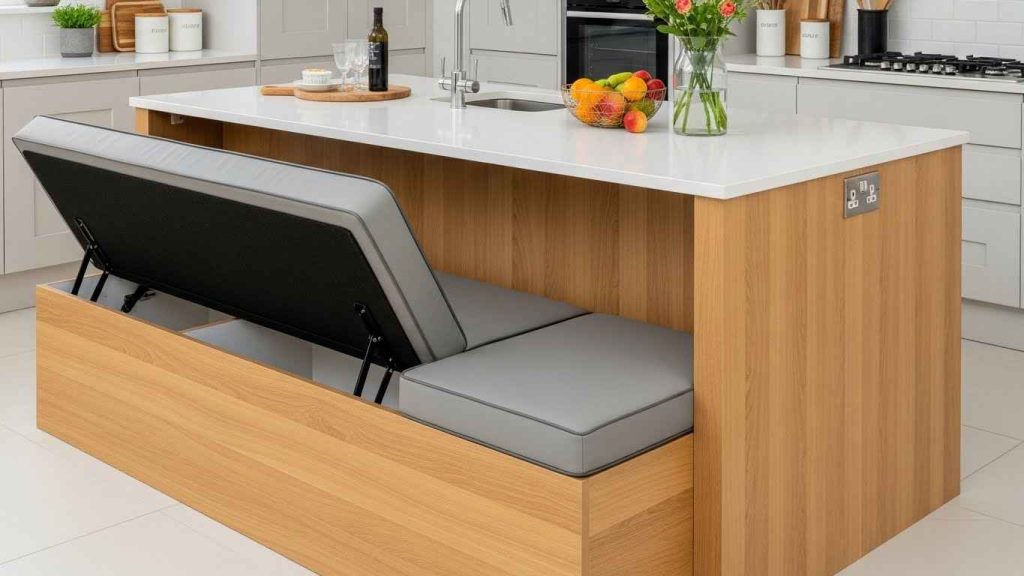
This design solves two problems at once. You get comfortable, fixed seating and valuable hidden storage. It is perfect for storing table linens, placemats, or kids’ craft supplies. The lift-up seat must have slow-close hinges for safety. For a DIY project, build a bench box with a hinged top. Add a foam cushion on top, and you have created smart storage and seating.
20. The Floating Cantilever
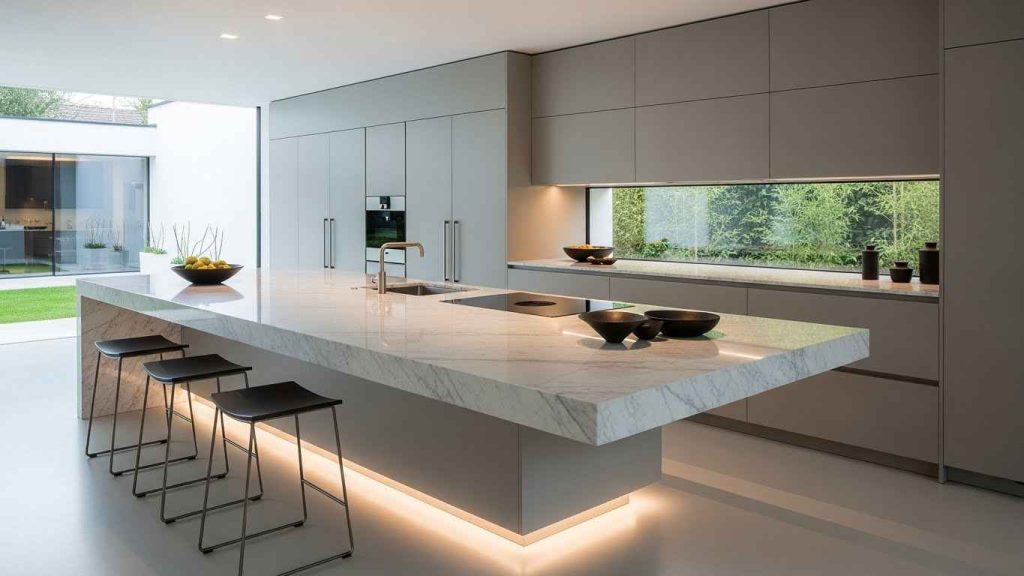
A cantilevered countertop creates a clean, architectural statement. With no legs or posts on the seating side, it offers unimpeded leg room and a striking visual. This requires professional structural support inside the island base. To get a similar floating look on a budget, choose stools with very thin legs and a minimal frame. This keeps the area under the island looking open and clean.
21. Back-to-Back Work & Dine
This layout is ideal for open-plan homes. The island creates a clear boundary between the kitchen and living area. One side is for cooking, the other for relaxing and eating. It allows the cook to be part of the conversation without the mess being on display. Use different countertop materials on each side to visually define the two zones and their separate functions.
22. The Angled Island Solution
An angled island can fit perfectly into an awkward room layout. It can improve traffic flow around corners and make a kitchen feel less boxy. The angled seating area often feels more intimate and defined. This is a custom solution, but you can see if it works for you by taping the shape on your floor with painter’s tape before any construction begins.
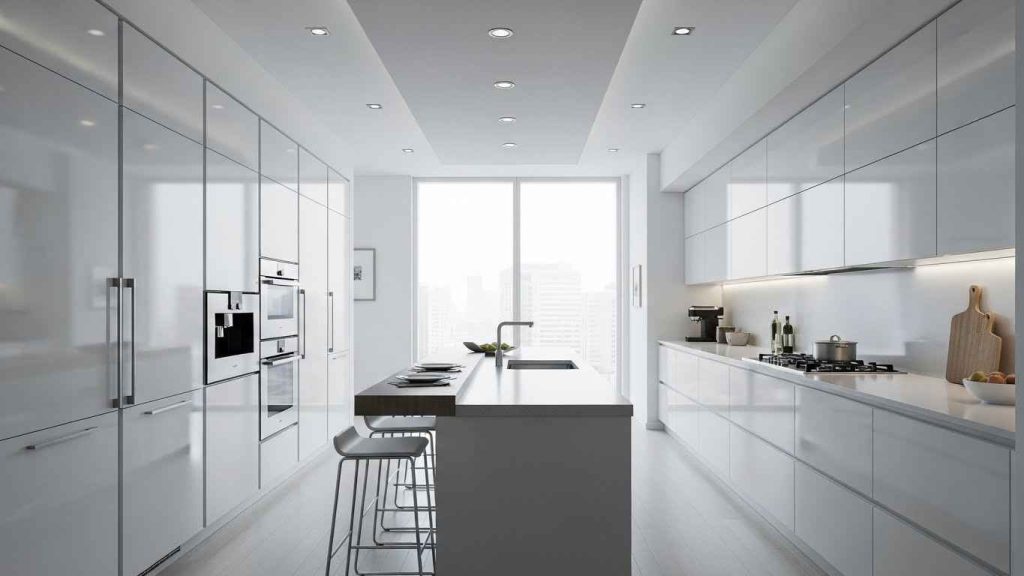
23. Stools-Only Sleek Simplicity
Sometimes, the simplest solution is the best. A plain island with matching stools creates a cohesive, quiet look. It avoids visual noise and keeps the focus on the kitchen’s architecture. This approach is easy to maintain and always in style. To keep it budget-friendly, find a style of stool you like and wait for a sale to buy a full set at once.
24. The Multi-Purpose Workstation
This island does it all. It is a place for cooking, cleaning, dining, and working. Having outlets and charging ports built into the island is essential for this setup. A deep overhang helps keep electronics safe from splashes. Use a large, decorative tray to corral work materials and quickly clear the space for mealtime. This is a simple way to switch between functions.
25. Sunken Seating “Conversation Pit”
This dramatic design lowers the seating area into a pit, creating a very intimate and cozy gathering spot. It is a throwback to a classic design style that encourages long conversations. This is a major architectural feature. For a much simpler version, use very low-slung floor cushions and a low coffee table placed near your island to create a similar sunken feeling.
26. The Grand Oval Gathering
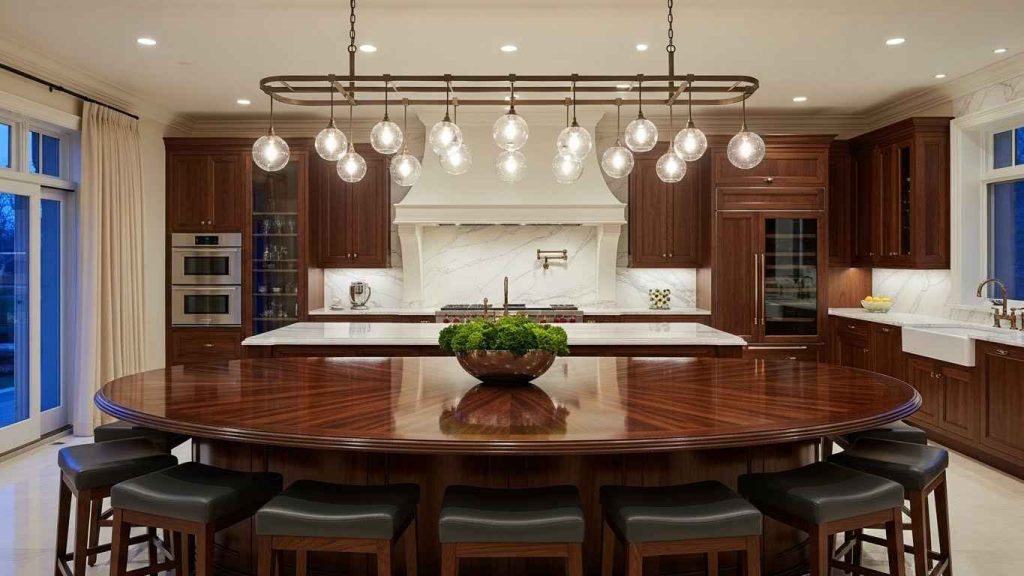
An oval island has a beautiful, flowing shape that accommodates people from all sides. It feels more organic and welcoming than a rectangle. There are no corners, so movement around it is fluid and safe. This shape is a statement. To hint at this look, use a large oval rug under a rectangular island to soften its hard edges and introduce a curved form.
Start with one change. Try moving your stools into a new arrangement this weekend. See how it feels. A small shift can make your kitchen work better for your daily life. Your island should be a place you love to use.