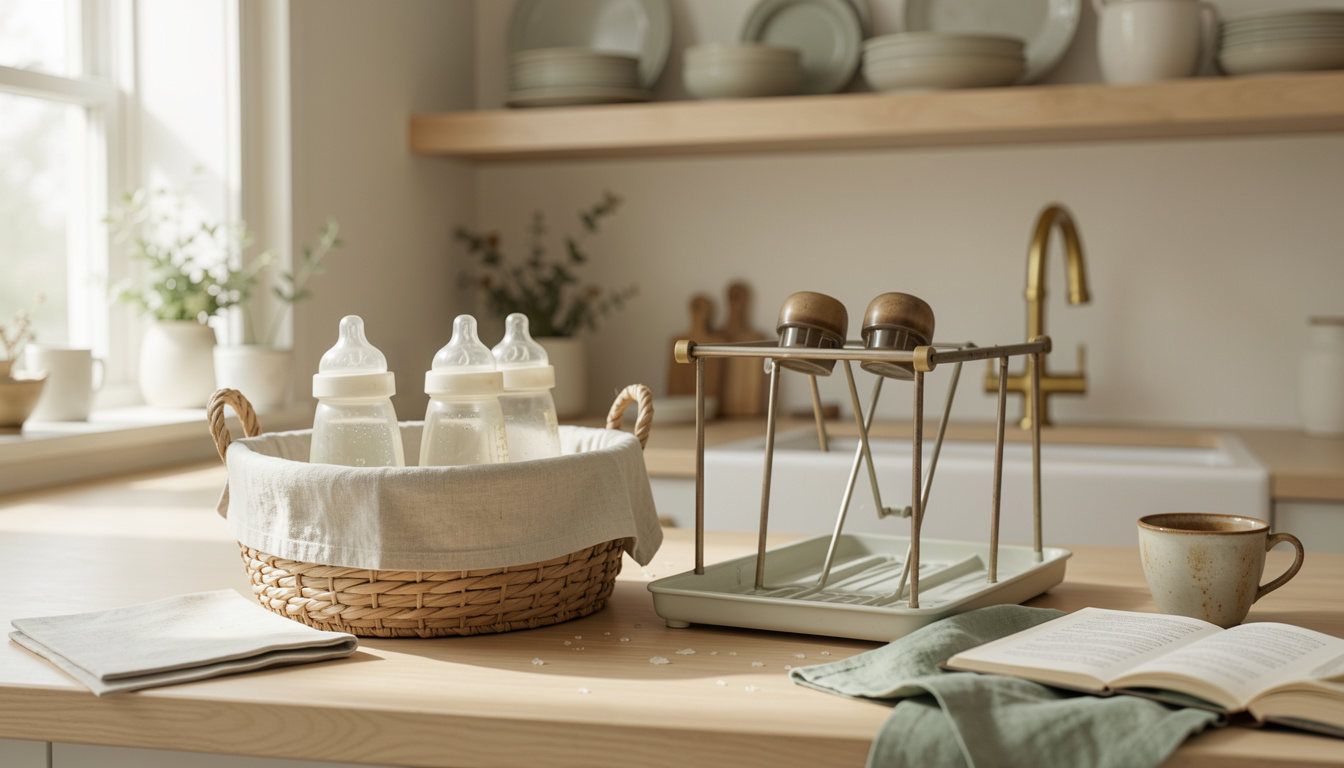
My kitchen felt like a daycare center at week three. If you are reading baby bottle storage ideas for small kitchen counters, this list of 13 tricks is exactly what I used to carve order from the chaos, most fixes under $50, a couple splurges around $120. These are practical, renter friendly, and written for parents who are wiped but still want a calm kitchen.
I lean warm minimal with woven texture and clear bins. Most tips cost under $50, a few smart splurges near $120. These work in small galley kitchens, modern or farmhouse vignettes, and they favor mobility and renter-safe fixes I actually own.
1. Countertop Basket Bottle Station
Style: Cozy Modern | Budget: Under $35 | Best For: Daily use

The trick is one basket that holds only what you need for the day. I use a linen-lined woven basket in matte natural fiber so it reads like decor, not daycare. Keep a compact bottle brush and one drying mat inside for quick cleanups. I paid around $25 for mine at HomeGoods on clearance and it saved my counters immediately. Ugly truth: leaving every part out makes a kitchen look messy, not lived-in.
Shop this idea:
2. Slim Rolling Cart Feeding Nook
Style: Transitional | Budget: $35 to $120 | Best For: Small kitchens

A slim rolling cart turned our counter clutter into a mobile feeding station. I keep sterilized bottles on top, daily bottles in the middle, and pump parts low. Look for a metal cart in matte white or black so it reads intentional, not plastic. Tip: bolt small rubber bumpers under the casters to stop accidental rolling. My $42 cart paid for itself in sanity. It’s a renter-safe splurge that tucks beside the fridge.
Shop this idea:
3. Hidden Cabinet Shelf With Labeled Bins
Style: Minimalist | Budget: $10 to $40 | Best For: Hidden storage
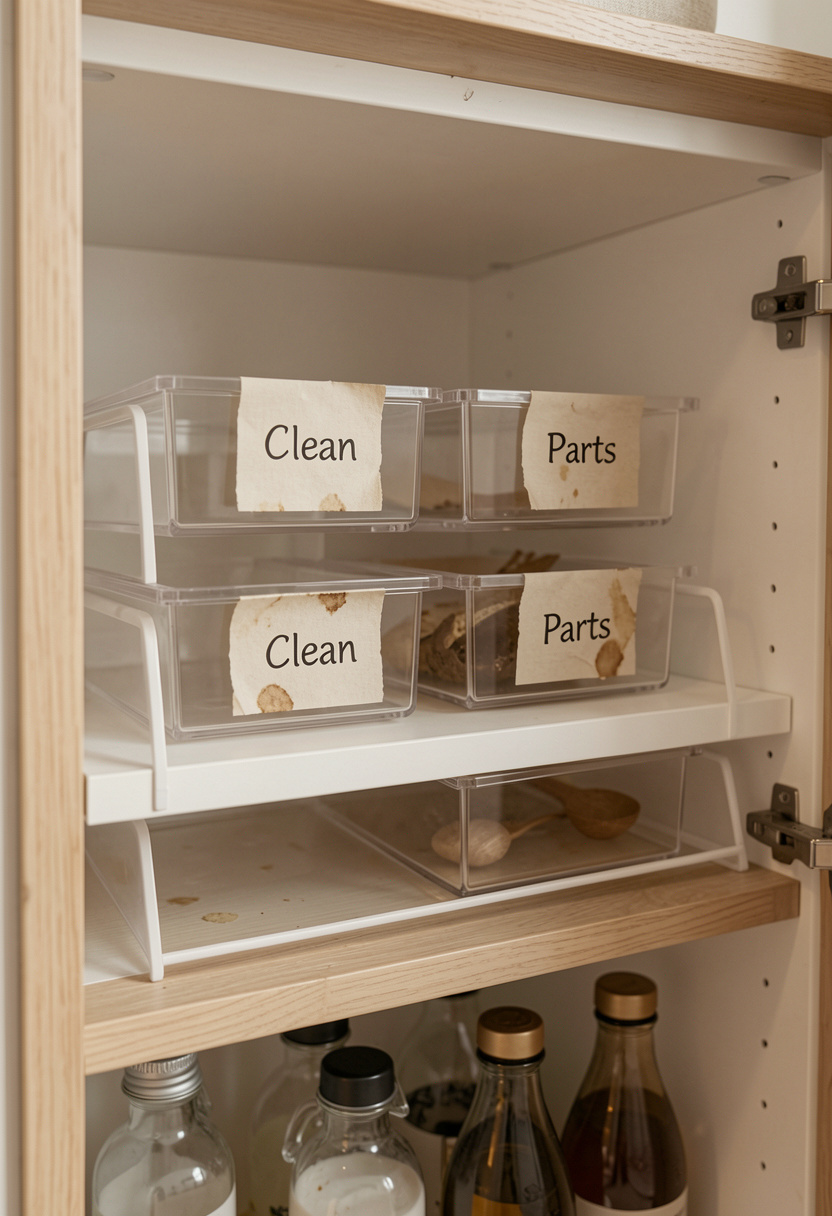
Reserve one cabinet shelf as the bottle zone and use clear, labeled bins. I added a tiered riser so taller bottles stand upright and nipples live in a small lidded tray. The labels keep my partner from opening every cupboard. This approach is cheap, about $15 to set up, and hides the phase from guests. Ugly truth: too many tiny containers look mismatched. One family of clear bins fixes that.
Shop this idea:
4. Compact Bottle Drying Rack Next To Sink
Style: Practical Modern | Budget: $20 to $45 | Best For: Small sink areas
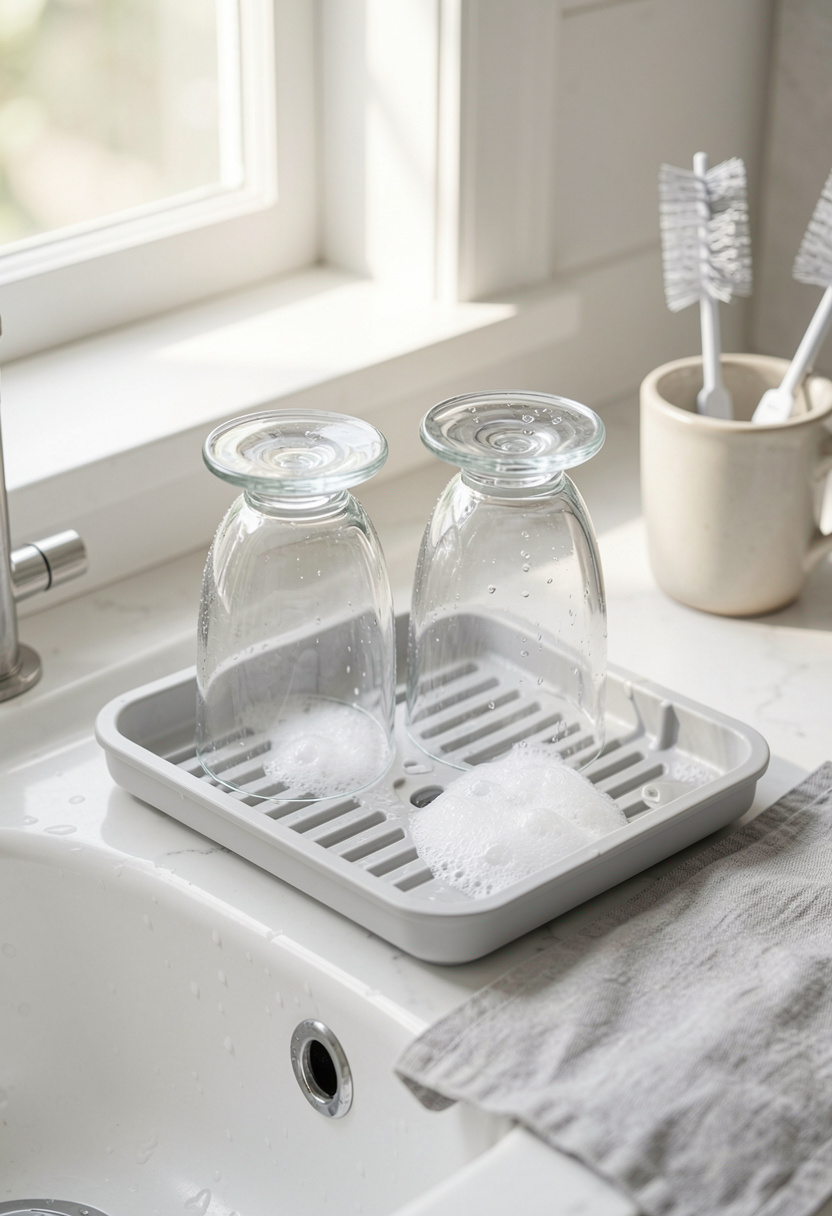
A compact bottle-specific drying rack changed our sink game. Pick one with a shallow drip tray to avoid taking over the basin. I keep the rack on the right so water runs back into the sink, and I flip it to the cabinet after dinner. Expect to spend around $25 to $40. Tip: use a small ceramic cup for brushes so everything matches the kitchen finish. The ugly truth is that large dish racks make a small sink unusable.
Shop this idea:
5. Two-Basket System: Clean vs Dirty
Style: Organized Utilitarian | Budget: Under $30 | Best For: Workflow clarity

Set two shallow baskets, one for clean bottles and one for dirty. We placed the dirty bin next to the sink and the clean basket near the prep area. This removes guesswork at 2 a.m. and keeps odors contained. A shallow clean basket and a larger dirty tote cost around $10 to $30 total. Practical tip: line the dirty bin with a washable towel for faster washing later. Reddit parents swear by this workflow for small kitchens.
Shop this idea:
6. Over-Cabinet Door Pocket Organizer
Style: Rental-Friendly | Budget: $10 to $25 | Best For: No-drill spaces
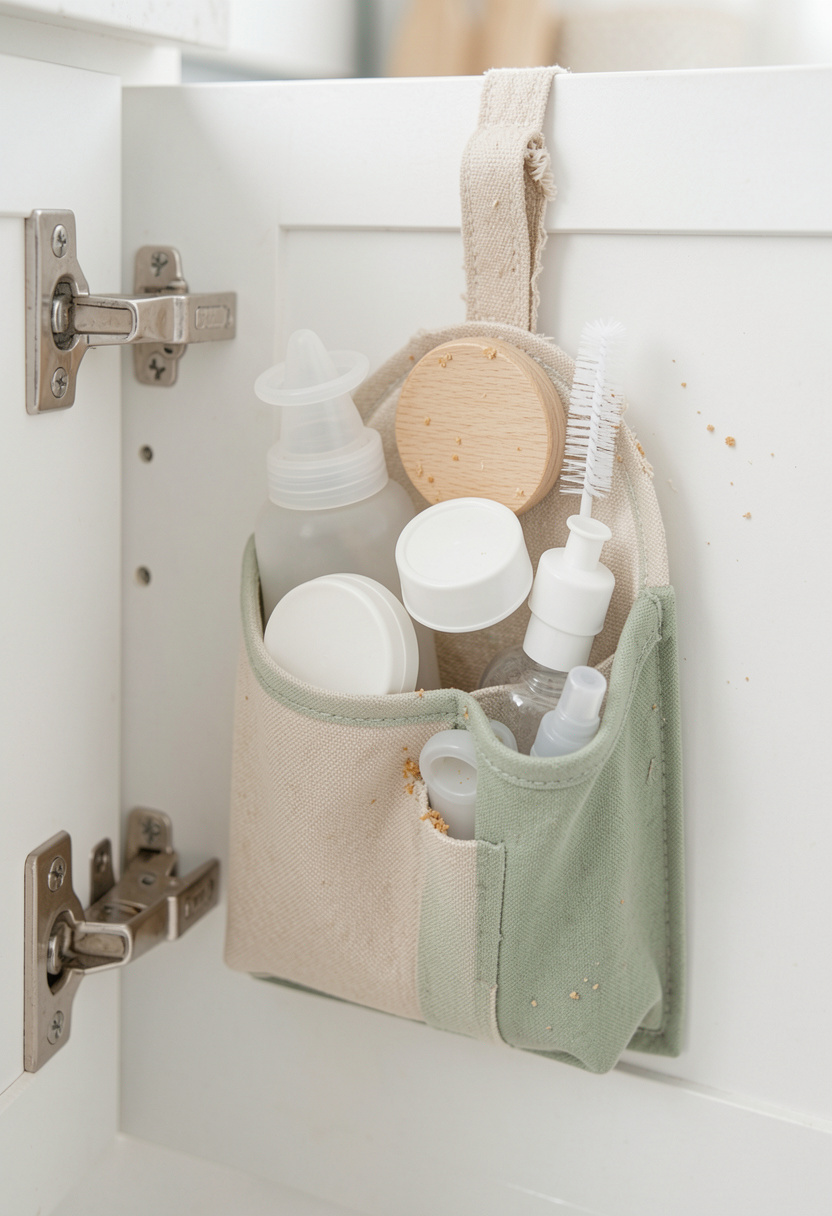
For renters, an over-door pocket organizer is a quiet lifesaver. It tucks inside cabinet doors and keeps tiny parts like nipples and lids accessible. I clipped a small label to each pocket so my partner knew where to find the spare parts. It cost me about $15 and required zero tools. Tip: pick canvas or woven pockets so the organizer looks intentional when the door is open.
Shop this idea:
7. Magnetic Side-Fridge Shelf For Accessories
Style: Modern Utilitarian | Budget: $20 to $45 | Best For: Tight counters
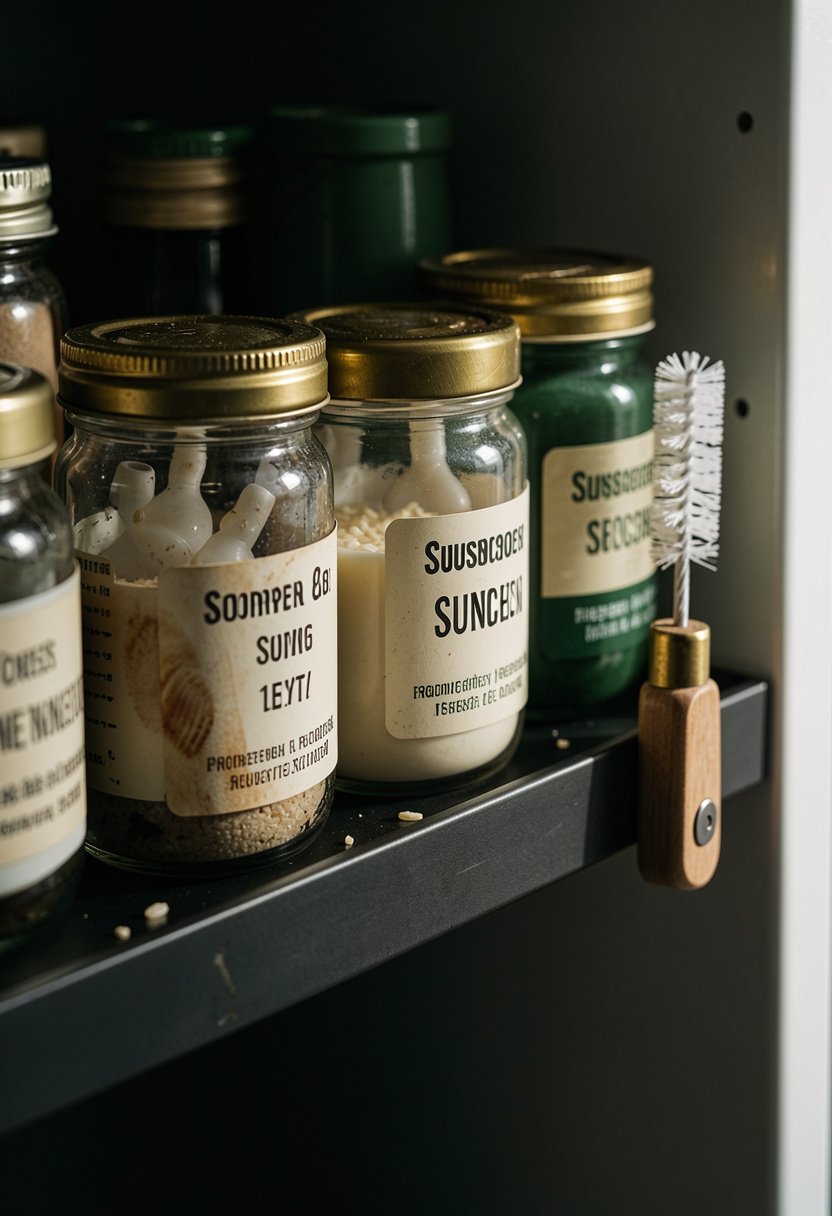
If counter space is zero, use the fridge side. A magnetic shelf holds small jars for nipples, lids, and a bottle brush hook. I keep daily extras there so the counter stays clear. Installation is instant and renter-safe. I spent around $25 and the magnet never budged. Practical tip: use small clear jars so you can see inventory at a glance.
Shop this idea:
8. Tiered Rack Inside Cabinet
Style: Streamlined Contemporary | Budget: $15 to $35 | Best For: Visibility inside cupboards
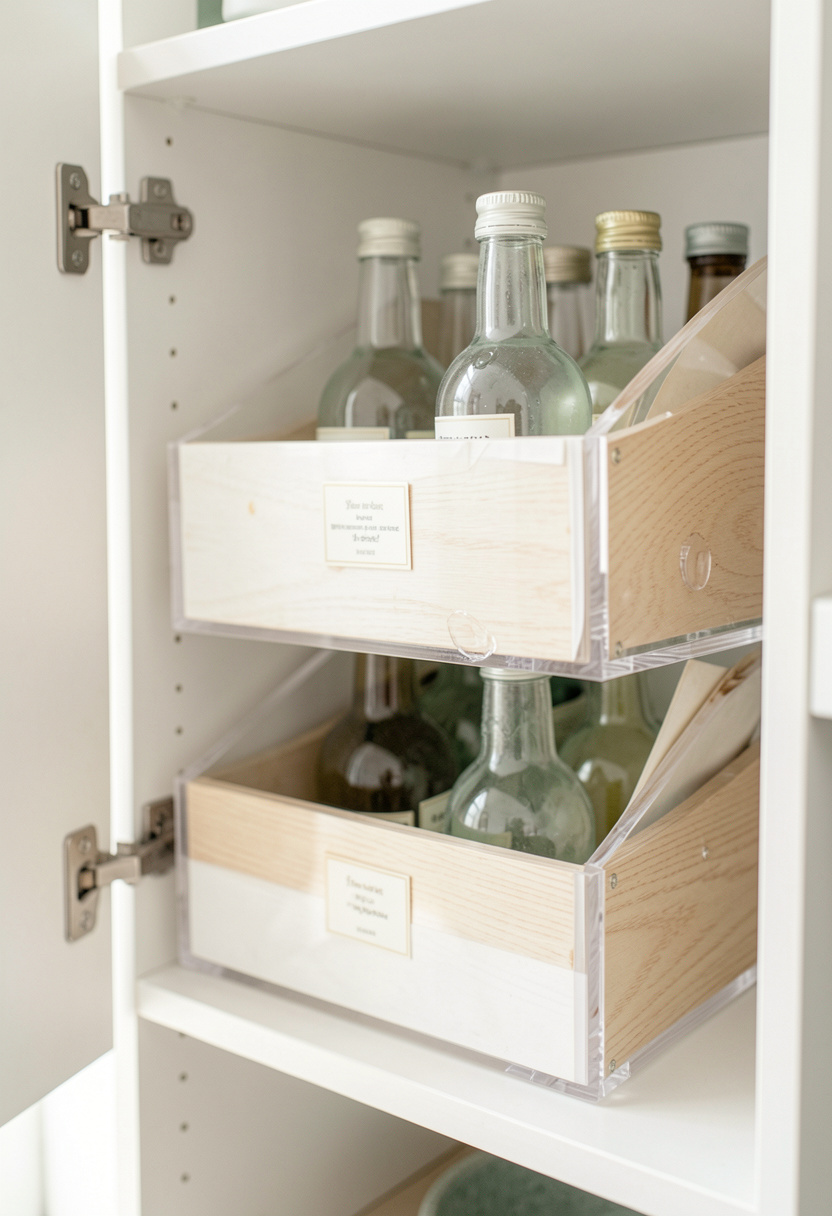
A tiered shelf riser lets you stack bottles without losing sight of them. I installed a clear acrylic two-tier rack in our lower cabinet to make grabs quick. This costs around $20 to $30 and is great for tall bottles. Tip: place frequently used sizes on the front tier and backups behind. The result feels intentional, and guests comment on how tidy our cabinet looks.
Shop this idea:
9. Deep Drawer With Adjustable Dividers
Style: Hidden-Organizing Minimalist | Budget: $15 to $45 | Best For: Drawer users
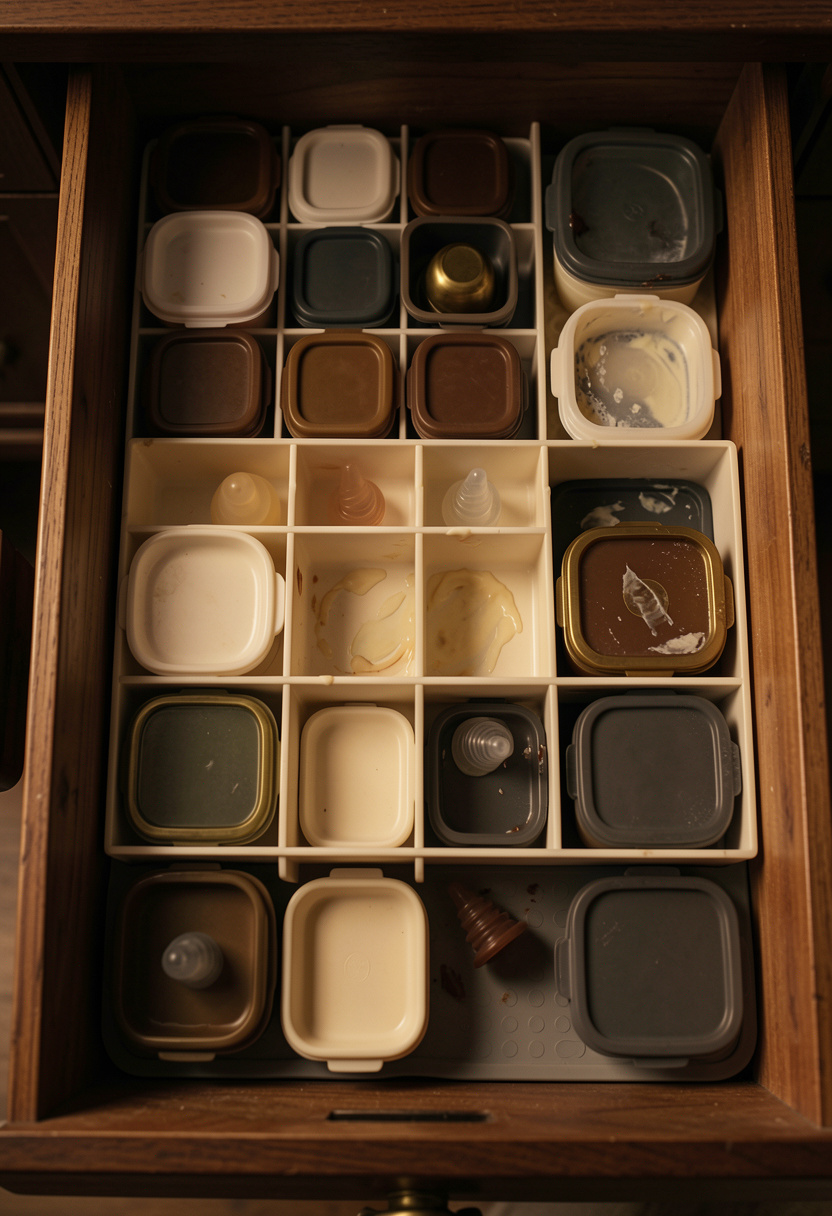
Deep drawers are a parent’s secret. I use adjustable dividers and small lidded trays for nipples, caps, and collars so nothing rolls around. A silicone drawer liner keeps parts from shifting during quick opens. This setup cost about $30 and made evening cleanups painless. Tip: label the trays with a label maker so each person knows where parts go. Ugly truth: loose tiny items create the most visual clutter.
Shop this idea:
10. Small Pegboard Bottle Station
Style: Bold & Functional | Budget: $20 to $50 | Best For: Creative vertical use
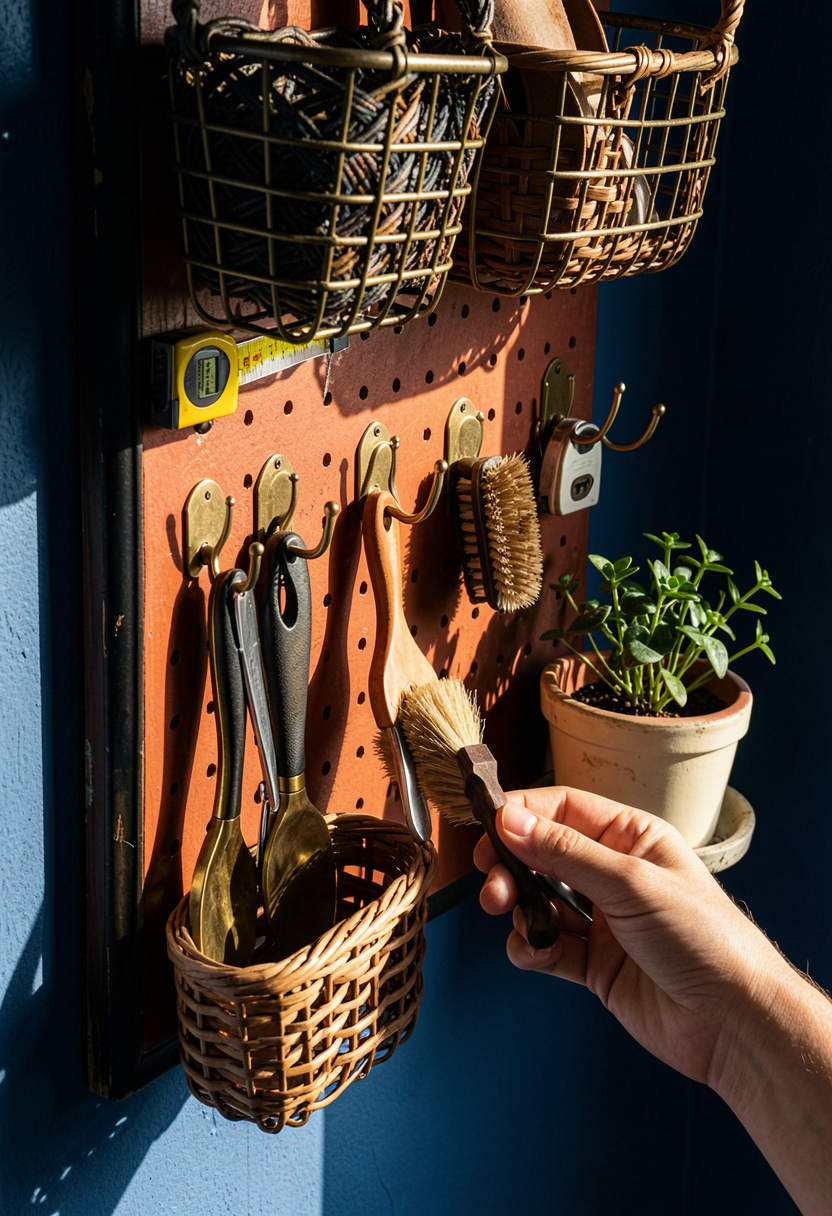
A compact pegboard is surprisingly good in tiny kitchens. Hang a small basket for bottles, a hook for brushes, and a clip for a drying towel. I painted mine matte black to read like hardware, not kid gear. Total cost was about $30 and it freed up a 12-inch counter strip. Tip: stagger basket depths so items don’t collide. This also makes the bottle station feel curated.
Shop this idea:
11. Portable Pump & Bottle Tote
Style: Rental-Friendly Functional | Budget: $25 to $60 | Best For: On-the-go parents
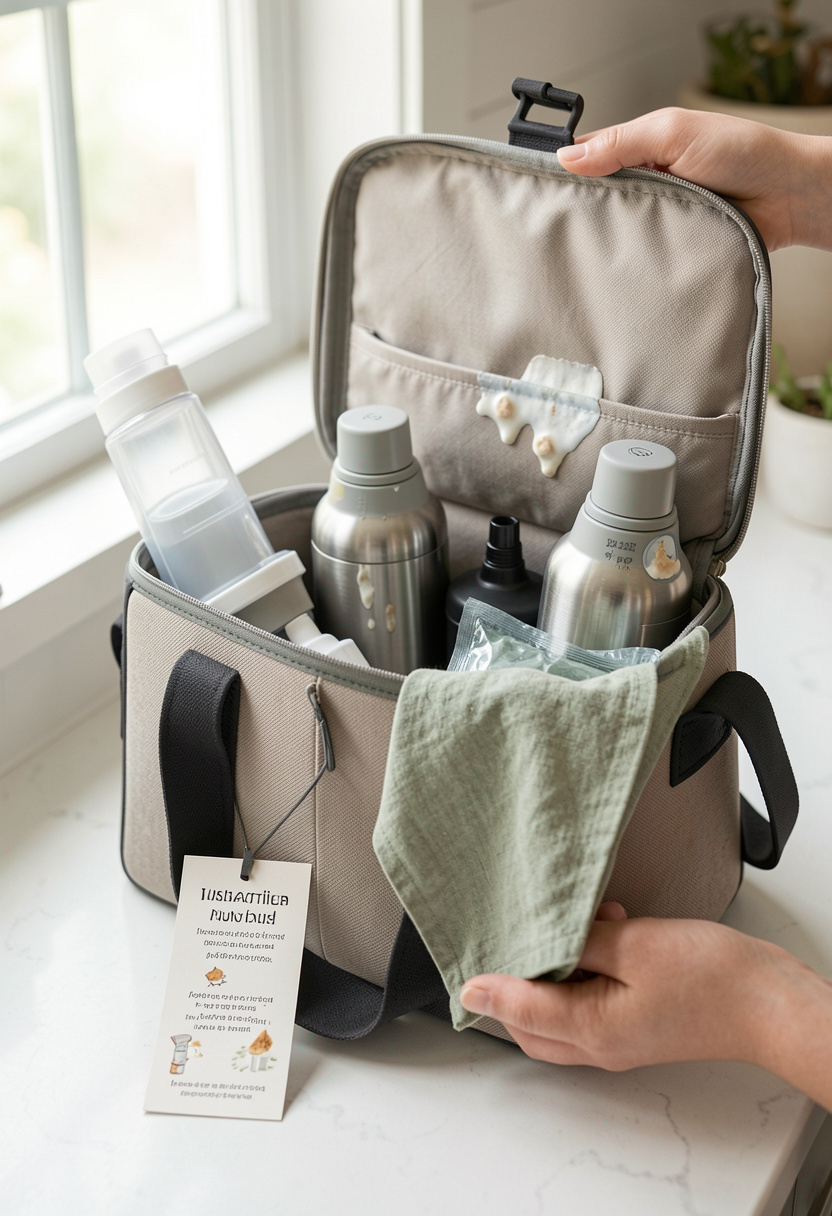
For pumping parents, a portable pump tote keeps parts together and off the counter. Mine fits a small sterilizer, bottles, and an ice pack for outings. A neoprene tote in neutral gray looks intentional on the counter when not in use. Cost is around $35 to $60 depending on features. Tip: pick one with removable dividers so you can switch between bottles and pump gear.
Shop this idea:
12. Styled Open Shelf With Neutral Canisters
Style: Bright & Airy Editorial | Budget: $15 to $50 | Best For: Visible storage
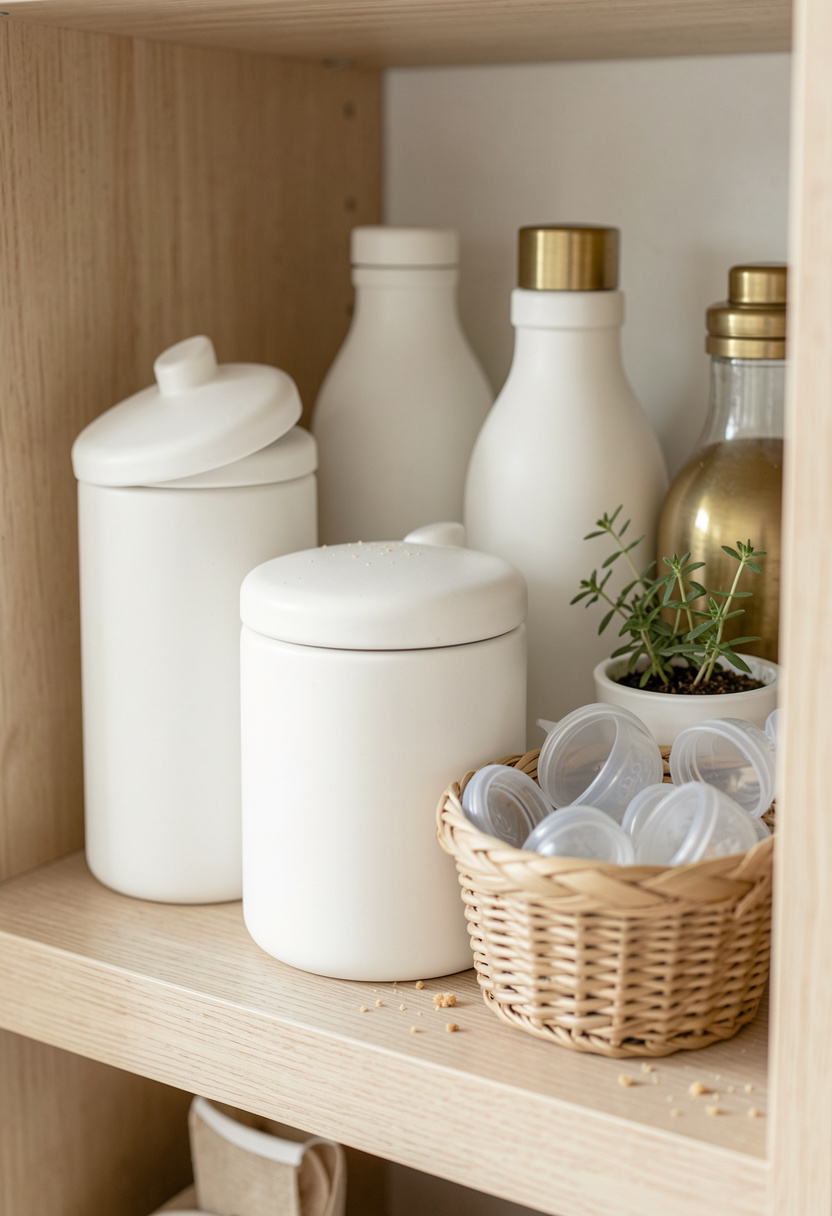
If you have open shelving, style baby items among curated canisters so they blend with decor. I use matte white canisters for formula and a small woven basket for daily bottles. The visual trick is repetition: match the canister finish to existing kitchen ceramics. Expect to spend around $35 to $50 to get a cohesive look. Tip: limit visible baby items to one shelf so the room still feels like a kitchen.
Shop this idea:
13. Concealed Sterilizer Drawer Or Bin
Style: Function-First Transitional | Budget: $25 to $120 | Best For: Sterilizing and storage

If sterilizing is your routine, tuck a compact sterilizer on a pull-out tray or inside a lidded bin. I keep a portable electric sterilizer under the sink on a sliding board so counter space stays clear. A small sterilizer runs roughly $25 to $120 depending on capacity. Tip: store sterilized bottles in a clear lidded bin above the unit to keep them dust free.
Shop this idea:
What You'll Need to Get This Look
Countertop & Storage
- Woven basket with linen liner around $12 to $30
- Divided countertop storage organizer around $15 to $40
- Clear stackable storage bin with lid around $12 to $30
Wall Decor & Open Shelving
- Tiered cabinet shelf riser around $10 to $25
- Small pegboard kit around $20 to $45
Textiles & Soft Goods
- Sage linen tea towels set of 4 around $15 to $35
- Neutral linen tea towels set of 4 around $15 to $35
Greenery & Freshness
- Small faux olive tree in pot around $15 to $40
- Herb planter set for kitchen counter around $20 to $45
Budget Swaps
- Plastic rolling cart similar to metal cart, around $20 to $40 (TJ Maxx often cheaper)
- Fold-flat dish rack cheaper drying alternative, around $10 to $20
Shopping Tips for These Looks
Buy neutral finishes: Choose one finish family like matte white or natural wood so baby gear blends. See matte white ceramic canister set for a cohesive start.
Time purchases seasonally: Storage bins and baskets often go on clearance late summer. I snagged mine from HomeGoods for less.
Thrift the texture, buy the hardware: Look for baskets and trays at thrift stores, then pair with a new clear stackable storage bin with lid to keep the look polished.
Prioritize mobility: If you rent, buy rolling or hook-on solutions rather than built-ins. Try a slim rolling cart first.
Label for sanity: A label maker or printed labels keep everyone on the same page. Use small, readable labels on clear bins.
Frequently Asked Questions
Q: How do I organize baby bottles in a small kitchen with no counter space?
A: Go vertical and mobile. Try a slim magnetic fridge shelf or an over-door pocket organizer to free counters.
Q: What drying rack fits a tiny sink?
A: A compact bottle-specific drying rack with a shallow drip tray prevents sink takeover. Look for silicone pegs and a removable tray for easy cleaning.
Q: Are sterilizers worth it for small kitchens?
A: Yes if you sterilize daily. A compact compact electric bottle sterilizer can live in a drawer or on a cart so countertops stay clear.
Q: How can I make baby storage look like my kitchen decor?
A: Repeat one material or finish, such as acacia wood or matte white ceramic. A matte white ceramic canister set is an easy visual anchor.
Conclusion
Start with one small change, like a woven basket or a clear labeled bin, and build from there. I began with a $25 basket and it instantly made evenings calmer and the kitchen look edited. Which corner of your kitchen would you reclaim first: the counter, the sink, or a cabinet shelf?