A kitchen island can change how you cook and connect. The right layout makes movement feel natural. It turns a busy kitchen into a smooth, working space. These ideas help you plan an island that fits your home and habits. From small updates to full redesigns, find a style that moves with you.
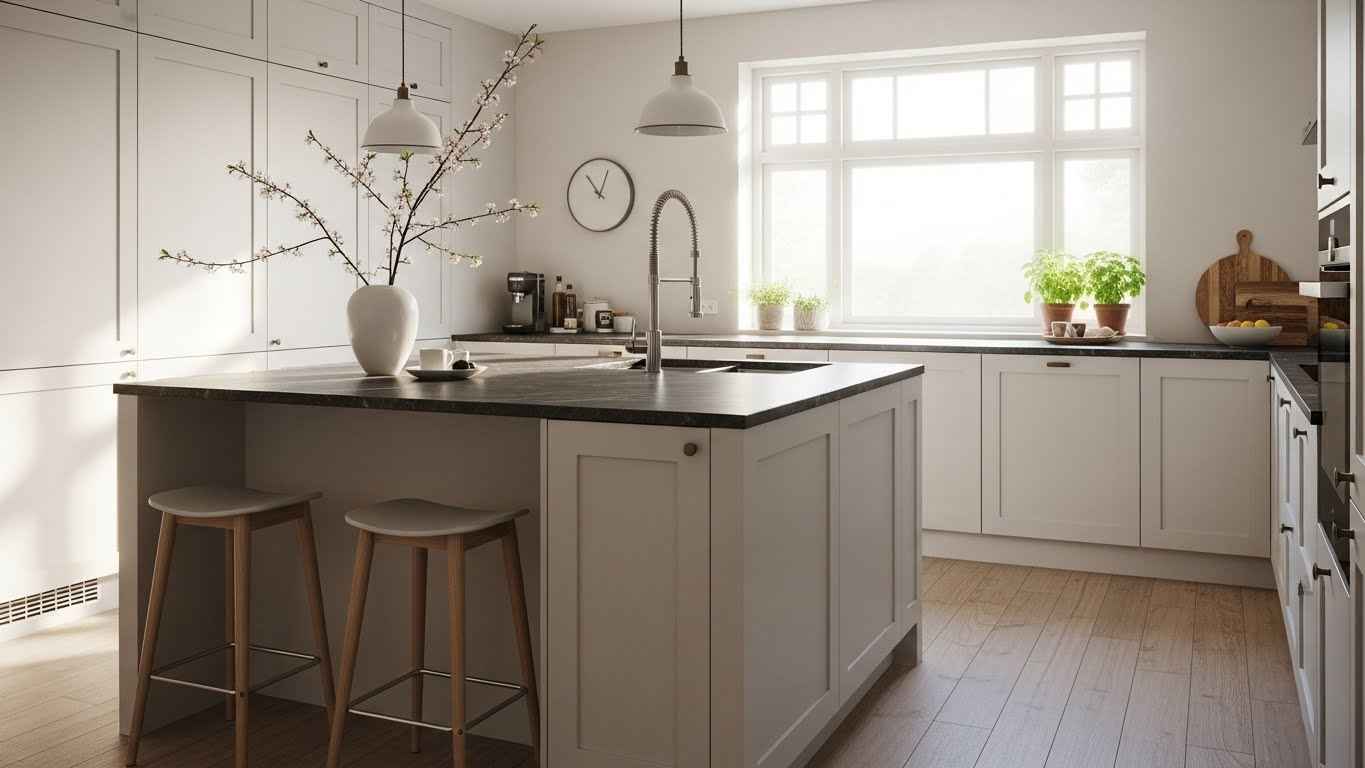
1. The Classic Galley Island Layout
This layout places a long, slim island between two parallel countertops. It creates two separate walkways. This is perfect for keeping cooks and guests from crossing paths. The island adds prep space and storage without blocking flow. Use a freestanding butcher block as a simple, movable island. This gives you the galley feel without a permanent build. It is a smart way to test the layout before a full remodel.
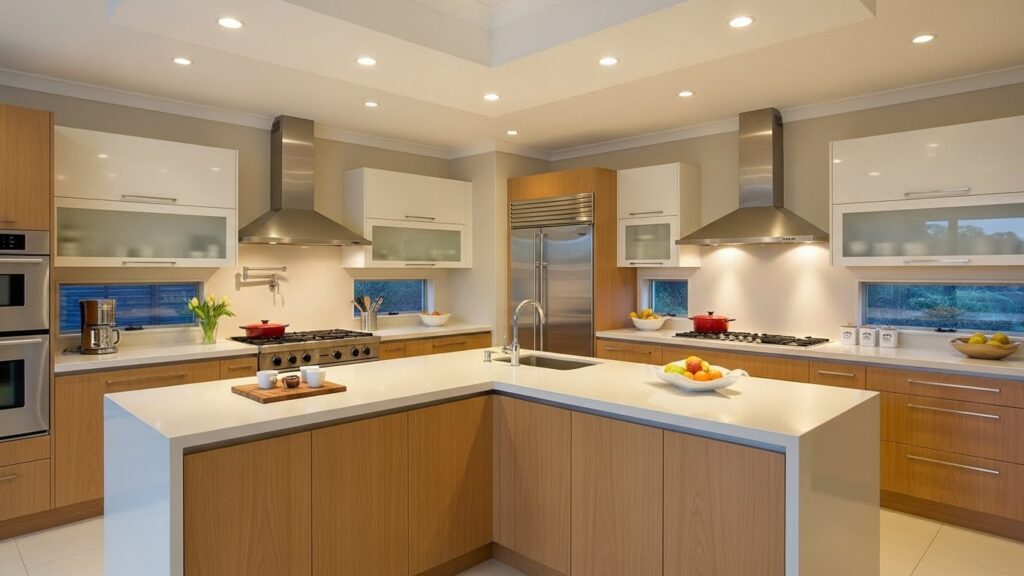
2. The U-Shaped Kitchen Island Plan
A U-shaped kitchen with a central island forms a highly efficient work zone. The island becomes a natural gathering spot within the wrap-around counters. It offers extra seating and storage. This plan keeps everything within easy reach. For a budget-friendly version, repurpose a sturdy old table in the center. Sand and seal it for a durable surface. This creates the U-shape function without the cost of a custom island.
3. The L-Shaped Island for Corner Flow
An L-shaped island makes excellent use of a corner. It provides a large, continuous surface for prep and eating. The shape naturally guides movement around the kitchen, avoiding dead ends. This design is great for open-plan living. To achieve this look without a custom build, push two rectangular islands together at a right angle. Anchor them for stability. This DIY approach gives you the same functional shape and improved corner flow.
4. The Spacious One-Wall Island Design
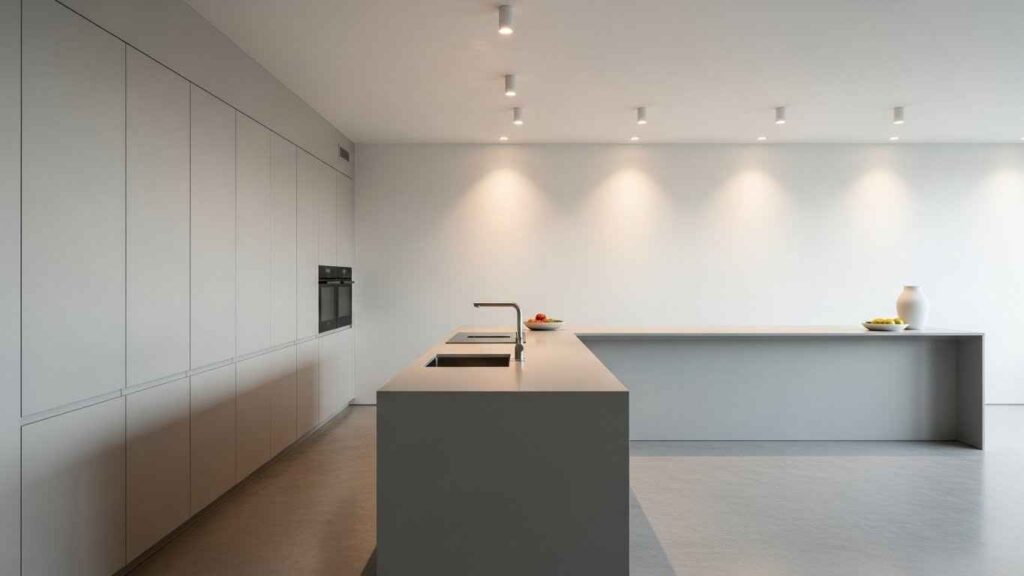
This layout pairs a single wall of appliances with a long, parallel island. It creates a wide, open area that feels modern and spacious. The island serves as a primary work surface and social barrier. It is ideal for loft-style apartments. A long, narrow console table can act as a temporary island. Look for one with storage shelves below. This is a simple way to define the space and add function without construction.
5. The Multi-Tiered Island Solution
A multi-tiered island separates tasks beautifully. The lower level is for food preparation, while the higher bar is for dining or casual work. This keeps messy cooking areas out of sight from seated guests. It also adds architectural detail. Add a tall, freestanding butcher block next to your standard-height island. This creates a two-level effect. It is a flexible and affordable alternative to a single, custom-built multi-tiered unit.
6. The Peninsula Conversion Layout
A peninsula is an island that is attached to the main kitchen at one end. It offers similar benefits—extra counter space, seating, and storage—while feeling more anchored. It is a smart choice for smaller rooms where a full island would not fit. Extend an existing countertop with a matching or contrasting material. This simple project can turn a standard kitchen layout into a more functional one with a built-in eating area.
7. The Dual Island Powerhouse
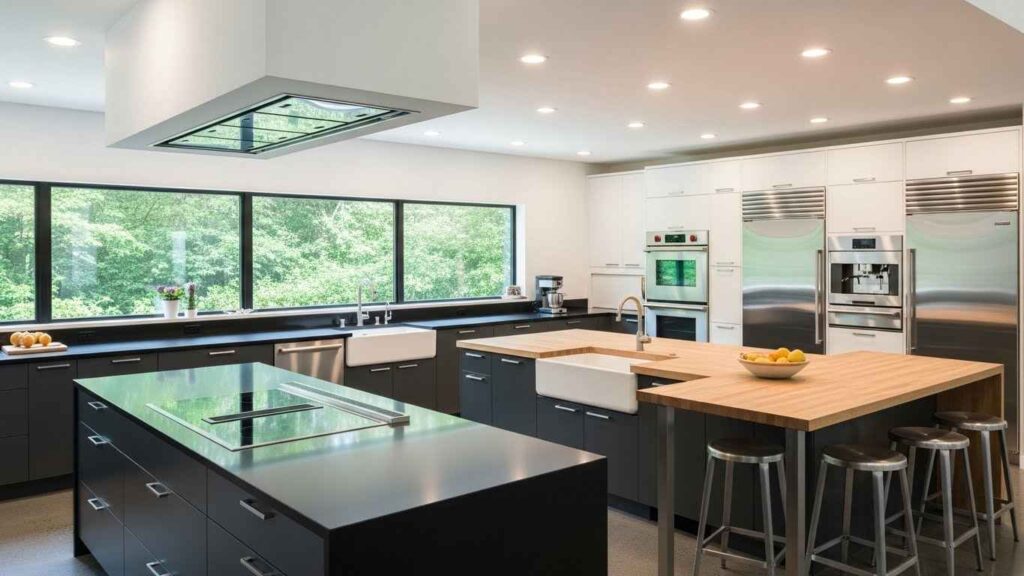
Two islands create a ultimate work zone. Designate one for cooking and cleaning, and the other for prep and socializing. This separates the messy work from the clean, relaxing spaces. It is a layout for serious cooks and entertainers. If a second permanent island is not possible, use a large, sturdy cart as your secondary station. A cart on wheels gives you flexibility. You can move it where you need extra surface area.
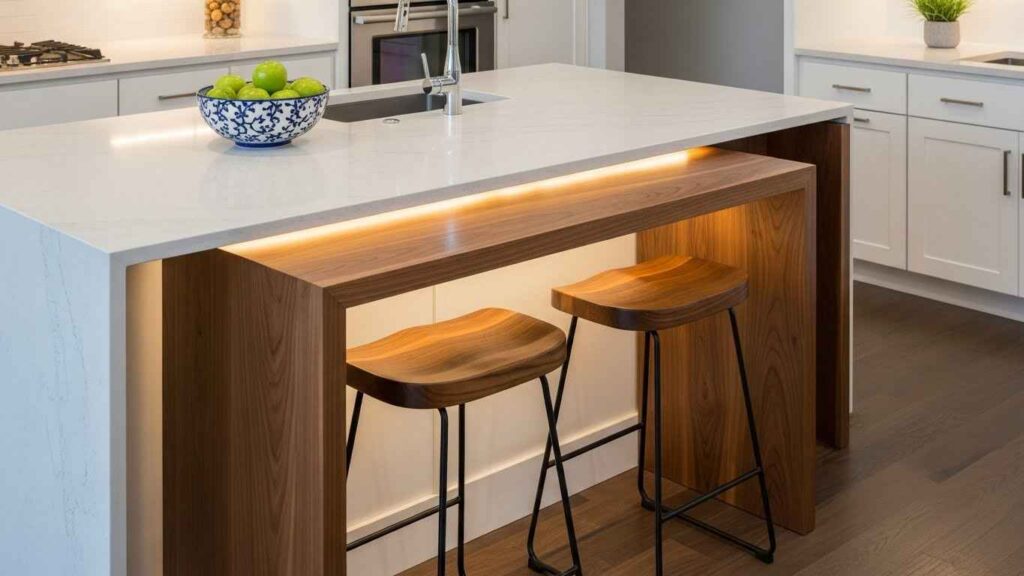
8. The Waterfall Island for Seamless Movement

A waterfall island features countertop material that runs vertically down the sides. This creates a clean, continuous line that visually expands the space. The lack of cabinet breaks on the sides makes movement around it feel smooth and uninterrupted. For a DIY version, attach wood or stone slabs to the sides of a standard island. Use strong adhesive and brackets. This gives you the high-end waterfall look without a full custom fabrication.
9. The Rolling Cart Island Idea
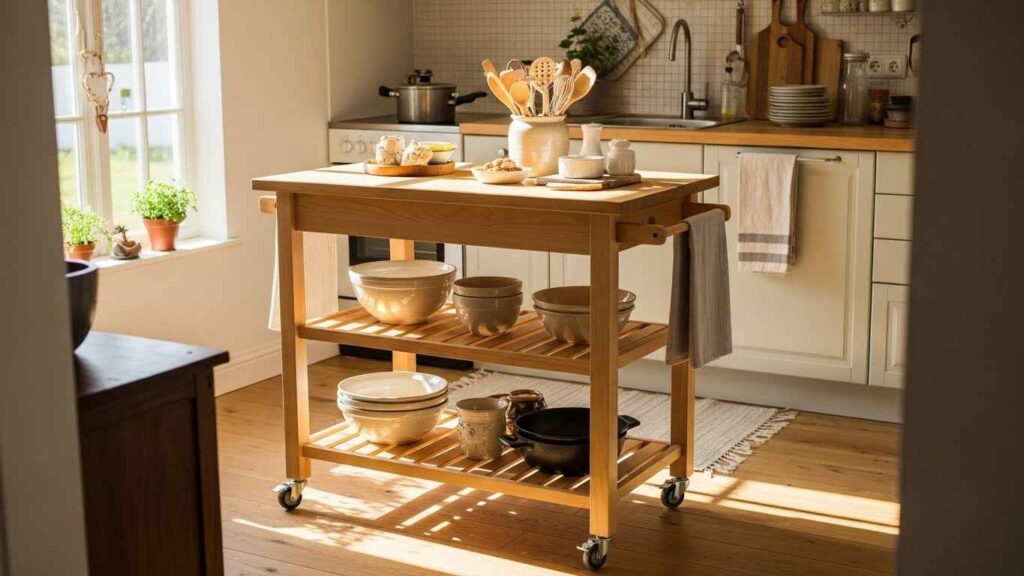
A rolling cart is the most flexible island solution. It provides extra surface area and storage where you need it, then rolls out of the way. This is perfect for tiny kitchens or for those who rent. Look for a cart with locking wheels and a solid wood top. You can often find vintage carts and refurbish them. A fresh coat of paint and new casters can create a custom piece for very little cost.
10. The Angled Island for Better Traffic
An angled island cuts off a sharp corner, creating a more generous walking path. This is especially helpful in busy kitchens or where the island is near a doorway. The angle also provides a more comfortable spot for seated guests. Use a triangular piece of furniture, like a small corner desk, to test the angle. Place it at the corner of your existing table or counter. This helps you visualize the improved traffic flow before making any cuts.
11. The Galley-Style Parallel Islands
This layout features two islands running parallel to each other, creating a central work corridor. It is the ultimate setup for multiple cooks, with dedicated zones for different tasks. The space between the islands becomes the main work area. If you have the space, use two identical, freestanding tables placed parallel. This creates the galley effect instantly. You can use them for prep, serving, or as a baking station.
12. The Circular Island Focal Point
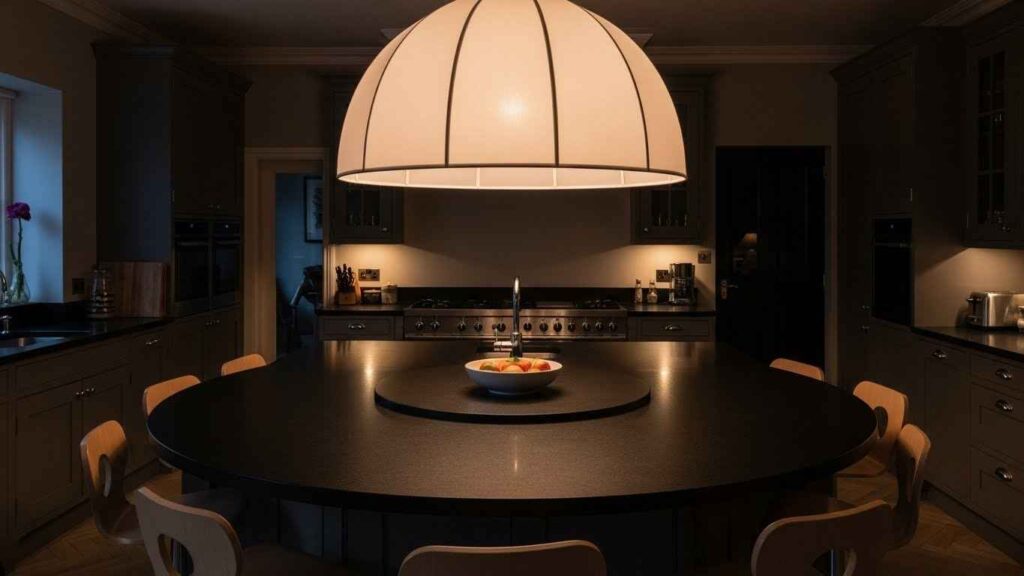
A circular island breaks from traditional rectangular shapes. Its curved edges encourage conversation and make moving around it safer, with no sharp corners to bump into. It becomes a beautiful focal point. A large, round dining table can serve as a stunning non-permanent island. Choose one with a sturdy base and a durable top. This is an easy way to introduce a soft, circular form into your kitchen layout.
13. The Island with a “Bump-Out” Nook
A bump-out is a small extension on your island. It creates a dedicated spot for stools without taking up the main prep area. This keeps knees from bumping into cabinet fronts and makes sitting more comfortable. Attach a small shelf or ledge to the side of your existing island. Use sturdy brackets to support it. This simple add-on gives you a defined breakfast nook without a major renovation.
14. The Open-Sided Island for Stools
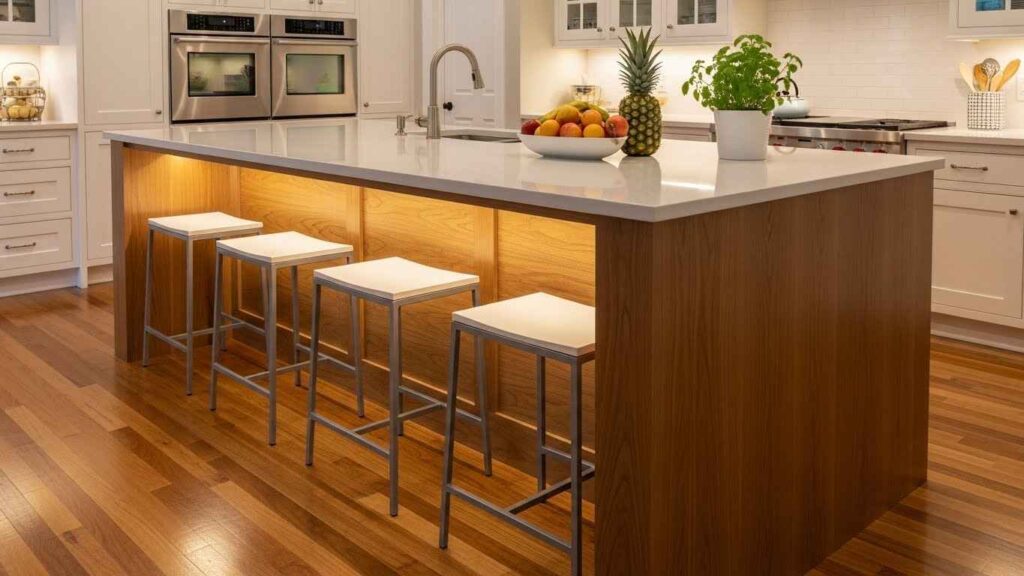
An island with an open side, or a knee space, is designed for comfortable seating. It allows people to sit fully at the island, not just perch at its edge. This makes the island a true gathering place for meals and homework. Remove the cabinet doors from one section of your island. This instantly creates an open feel and provides legroom. You can add a decorative curtain or leave it open for storage.
15. The Kitchen Triangle Island Layout
The classic work triangle connects the sink, fridge, and stove. Placing one of these points on the island puts you in the center of the action. This layout minimizes steps while cooking. The island becomes the main hub. If relocating plumbing is not an option, use the island for a secondary sink or a dedicated beverage station. This keeps the main triangle intact while still making the island a functional part of your workflow.
16. The Asymmetrical Island Design
An asymmetrical island breaks from standard symmetry for a custom look. It can be designed to fit a specific room shape or to create separate zones for cooking and dining on the same piece. This approach is highly personal and functional. Combine two different pieces of furniture to create an asymmetrical unit. Try a small square table butted against a longer rectangular one. Anchor them together for a stable, one-of-a-kind island.
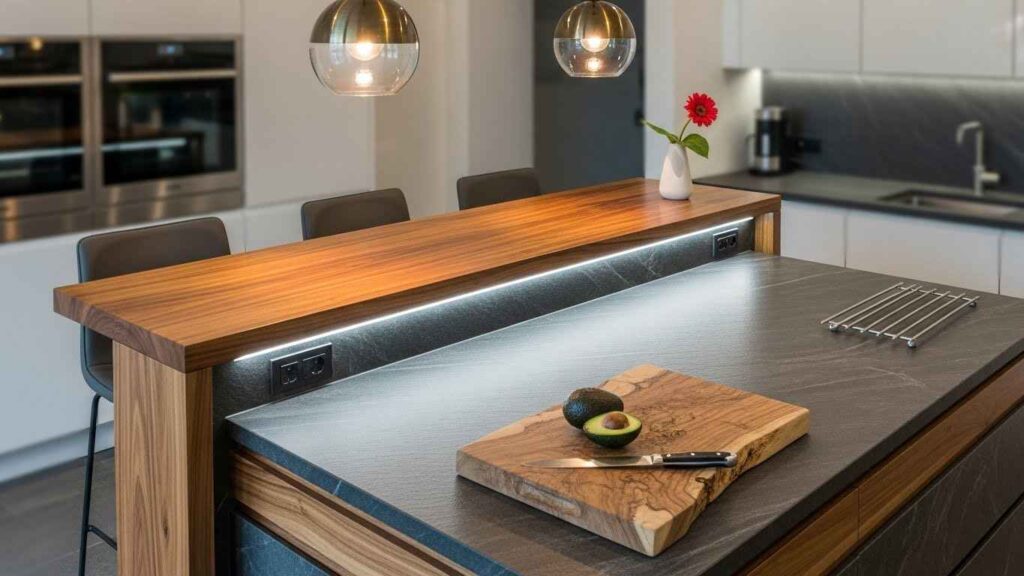
17. The Island with a Dedicated Prep Sink
A prep sink on the island keeps vegetable washing and food preparation separate from the main cleanup sink. This is a game-changer for multiple cooks, allowing for parallel tasks. It makes entertaining much smoother. Install an inexpensive bar sink in your island. These smaller sinks require less plumbing work and cost less than a full-sized model. It is a practical upgrade that adds significant function to your kitchen routine.
18. The “Room Divider” Island Concept
A room divider island creates a visual and physical boundary in an open-concept home. It provides a clear separation between the cooking area and the living or dining space without building a wall. This maintains an open feel while defining zones. Use a tall, bookshelf-style unit as your island. Position it with the tall back facing the living room. This gives you storage on both sides and acts as a clear room divider.
19. The Slimline Island for Narrow Kitchens
A slimline island is designed for narrow kitchens where every inch counts. It provides a precious extra work surface and a little storage without obstructing the main walkway. It can often include an overhang for a single stool. A narrow console table or a simple slab of wood on hairpin legs can become your island. This takes up minimal floor space while giving you a dedicated spot for prepping meals.
20. The Island with a Cooktop Hub

Placing the cooktop on the island turns it into the kitchen’s command center. The cook faces the room, making it easy to interact with family and guests. It also frees up wall space for more storage. A plug-in induction cooktop offers a flexible alternative to a built-in model. You can use it on the island when needed and store it away. This is a great way to test the cooktop hub concept.
21. The Curved Island for Soft Movement
A curved island introduces soft, flowing lines into the kitchen. The absence of sharp corners makes moving around it feel more natural and can improve traffic flow in a busy household. It adds a touch of soft elegance. Round the corners of a standard rectangular table with a sander. You can create a gentle curve yourself. Finish it with a food-safe sealant for a custom, curved island on a budget.
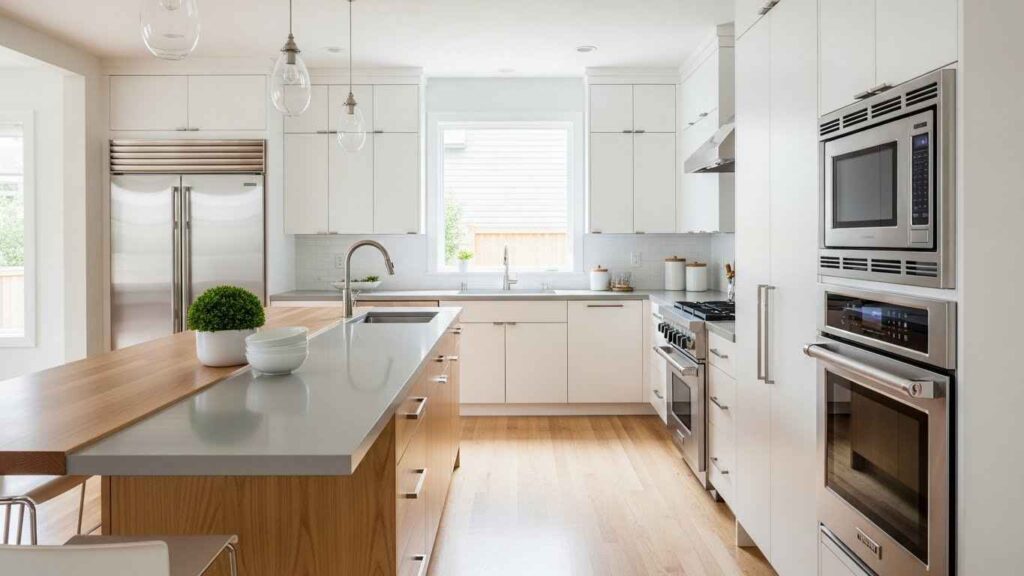
22. The Integrated Dining Table Island
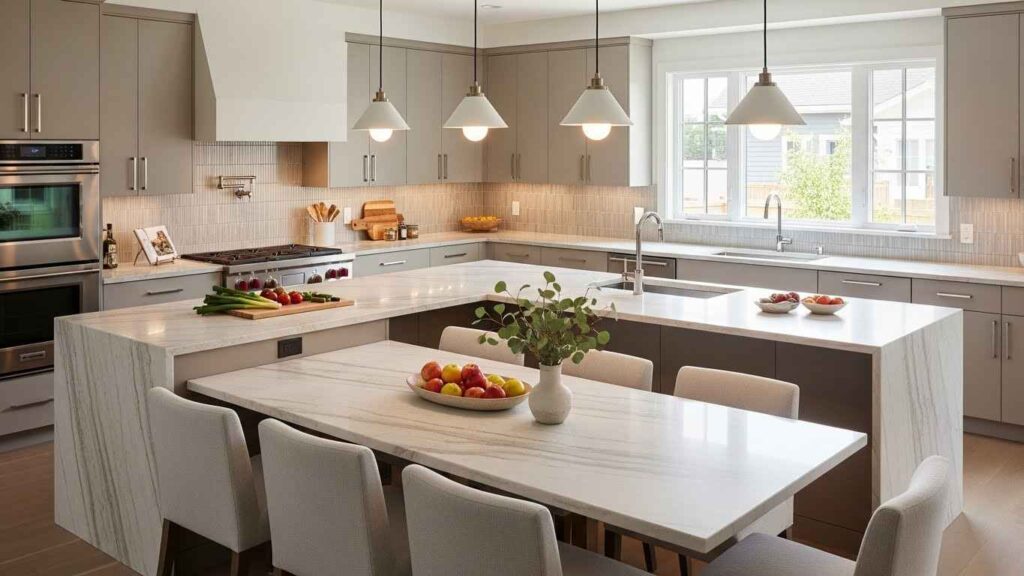
This design combines the island and dining table into one continuous piece. It creates a strong visual connection between cooking and eating, perfect for casual family meals and entertaining. It saves space and feels very integrated. Butt a standard dining table right up against your island. Ensure the heights are similar. This creates a seamless transition from work surface to eating area without any custom cabinetry.
Start with one small change. Try a rolling cart or reposition your furniture. See how it affects your kitchen’s flow. A better layout does not require a full remodel. Often, a simple shift makes all the difference.