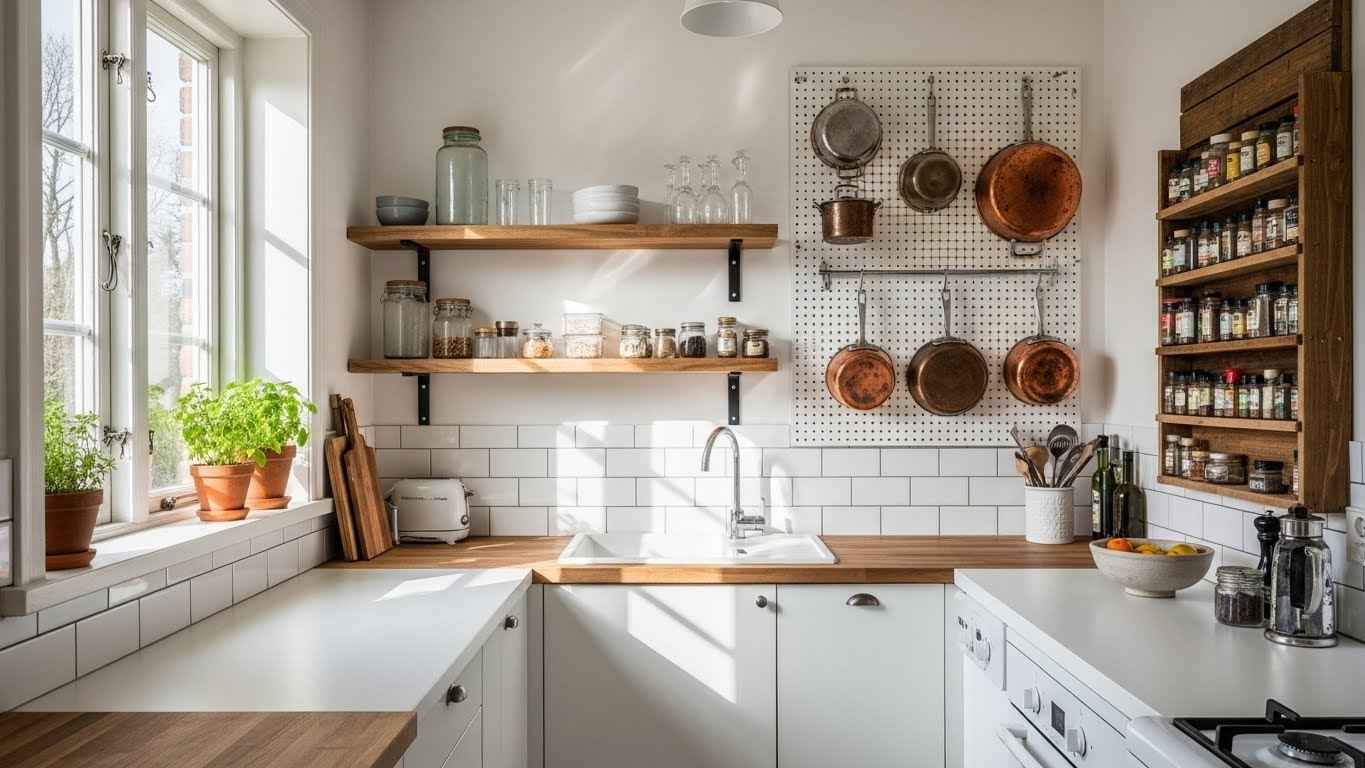
A small kitchen can feel cramped and cluttered. But a few simple DIY projects can change that. You do not need a big budget or major renovation. These ideas focus on using space wisely and adding smart storage. They are quick, practical, and make a real difference. You can tackle most of them in a weekend. Let us look at some easy ways to get organized.
1. Maximize Shelf Space with Tension Rods
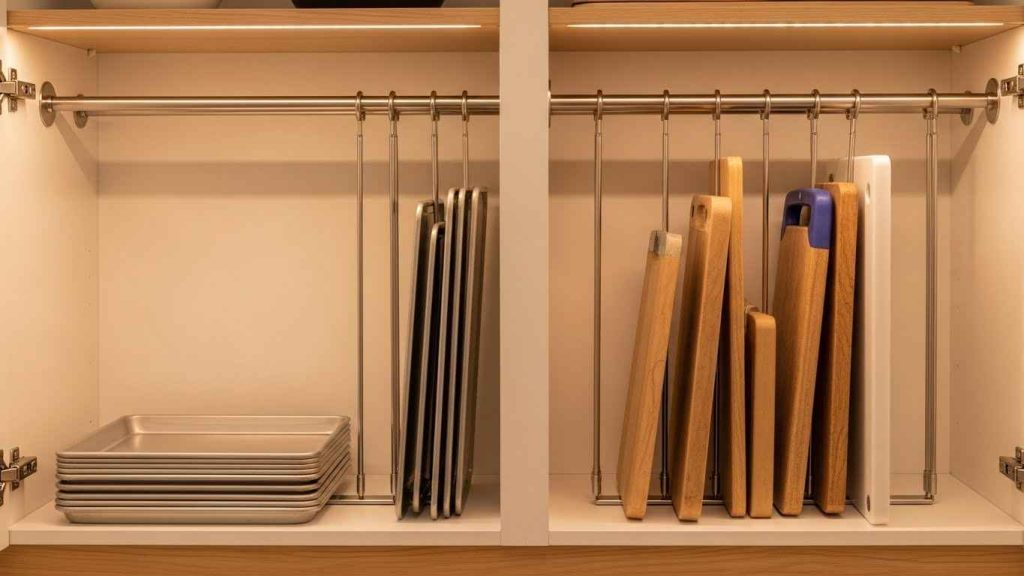
Tension rods are not just for curtains. Use them inside your cabinets to create dividers. This stops baking sheets and trays from leaning together. It keeps everything neat and easy to grab. This is a simple and affordable fix. You just need to measure the width of your cabinet. Twist the rod into place. No tools or screws are required. It is a five-minute project that clears up a lot of clutter.
2. Create a Pegboard Wall Organizer
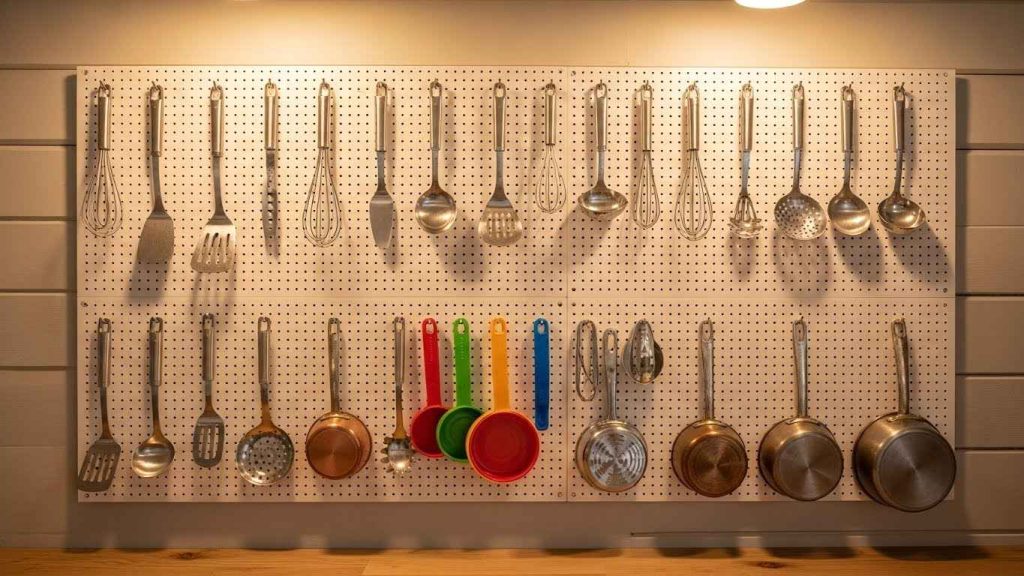
A pegboard turns empty wall space into a storage hub. You can hang pots, utensils, and spices. Mount it on a blank wall or inside a pantry door. Customize the layout as your needs change. Paint the board to match your kitchen decor. This is a very flexible system. You only need a pegboard, hooks, and some basic mounting hardware. It gets items off your countertops and in plain sight.
3. Install Under-Cabinet Stemware Racks
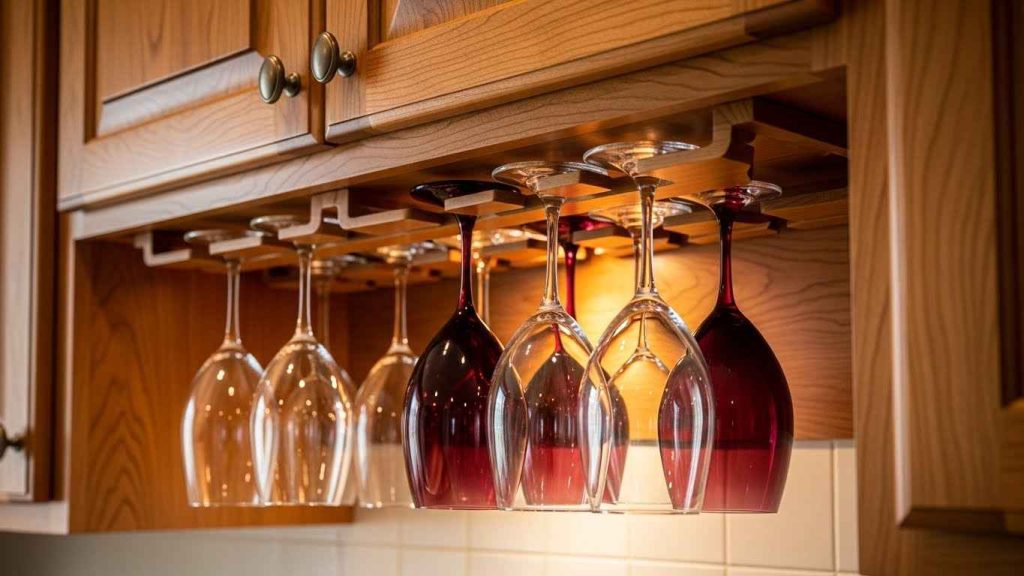
Free up cabinet space by storing wine glasses overhead. Under-cabinet racks are easy to install. They keep your stemware safe and within reach. You can find simple wooden or metal kits. This project requires only a screwdriver. Measure the space under your cabinet first. Make sure the glasses hang freely without touching the counter. This is a great way to use often-wasted space and add a touch of elegance.
4. Build a DIY Spice Rack Ladder
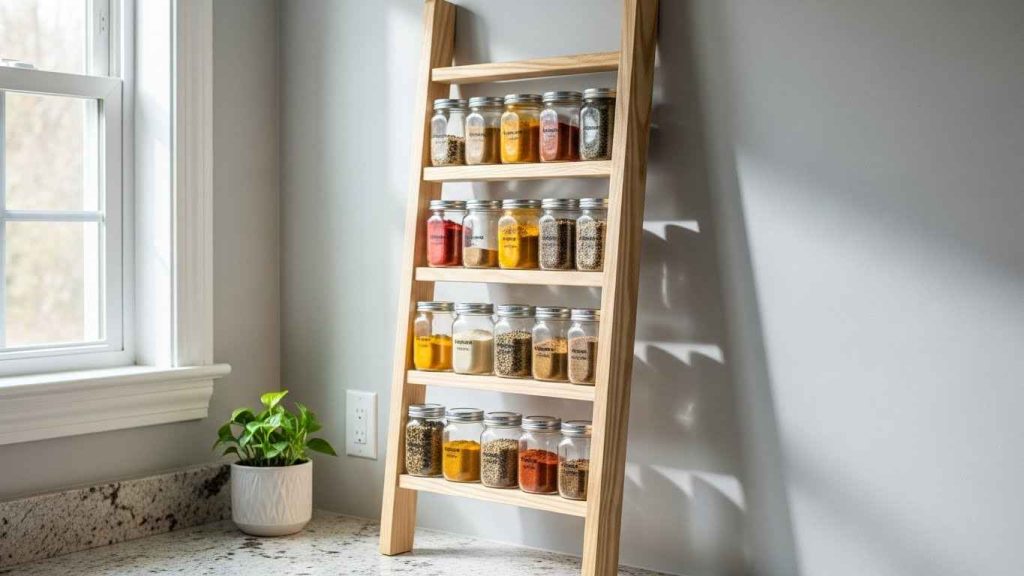
A leaning spice rack saves counter and cabinet space. You can build one from old wooden dowels or a small ladder. It adds a rustic charm to your kitchen. This is a low-cost weekend project. Stain or paint the wood to suit your style. Arrange your spices so the most-used ones are at eye level. This keeps your cooking essentials organized and visually appealing.
5. Add Pull-Out Cabinet Baskets
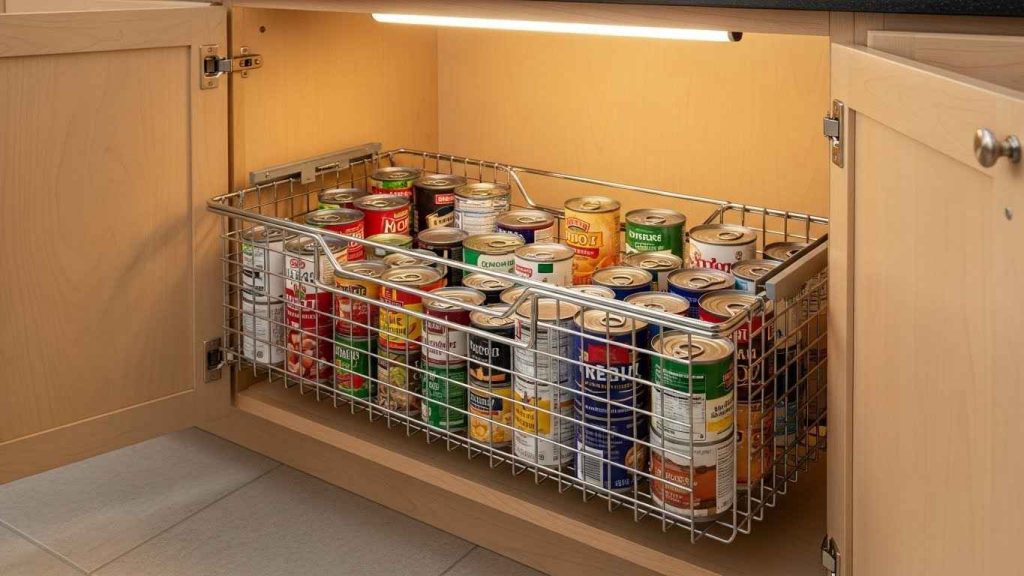
Deep cabinets can become black holes for food and pots. Pull-out baskets make everything accessible. You can install slide-out systems on cabinet shelves. This prevents items from getting lost in the back. Many kits are available that do not require permanent alterations. Simply measure your cabinet’s interior dimensions. This one change makes finding what you need much faster and easier.
6. Upgrade with DIY Cabinet Pulls
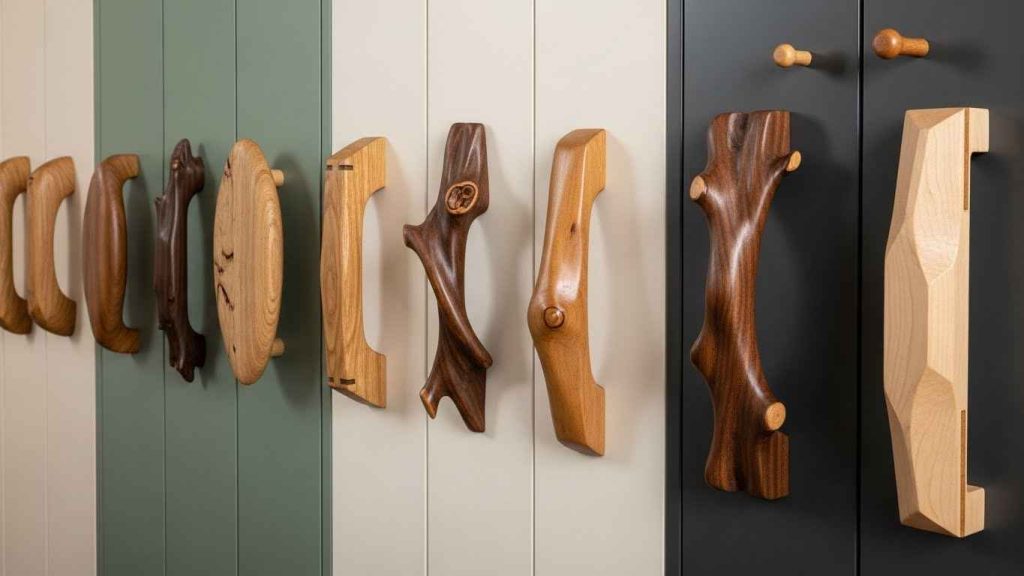
New hardware can refresh your kitchen’s look. You can make your own pulls from leather straps, rope, or carved wood. It is a personal touch that stands out. This is a very low-cost update. You only need a drill and your chosen material. Remove the old pulls and measure for new holes. This small detail makes a big visual impact without replacing the cabinets.
7. Organize Pots with a DIY Rack

A hanging pot rack clears out cabinet space. You can build one from a repurposed wooden pallet or a metal grid. Mount it from the ceiling or on a wall. This puts your cookware within easy reach. Use sturdy S-hooks to hold the pots. Make sure the mounting is secure to hold the weight. This functional piece also acts as kitchen decor.
8. Create a Custom Drawer Divider
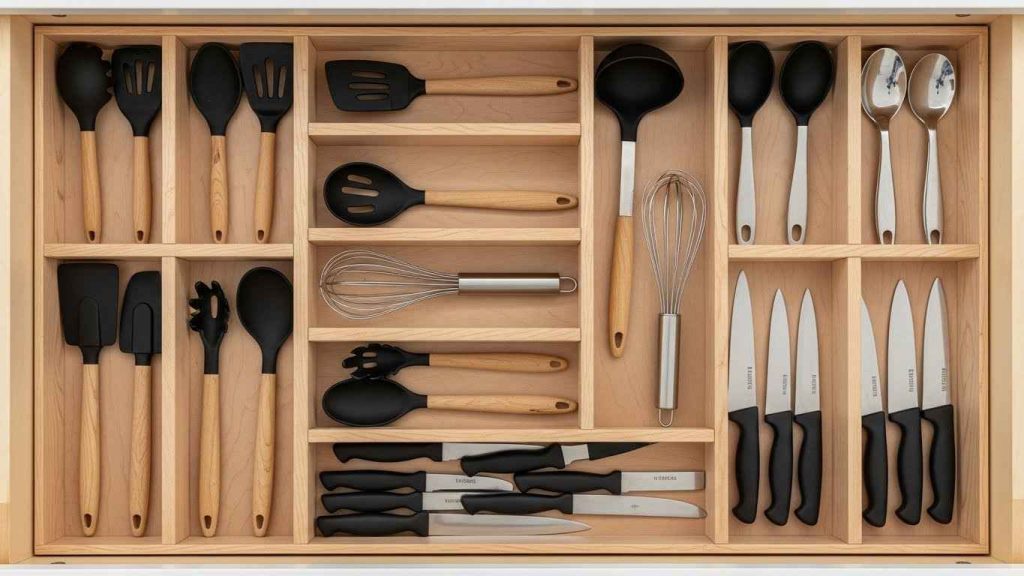
Stop rummaging through a messy utensil drawer. Use thin wood or even cardboard to make dividers. Cut pieces to fit your drawer’s exact dimensions. A custom fit stops everything from shifting. You can glue or simply place the dividers inside. This project takes less than an hour. It turns a jumbled drawer into a neatly sorted space for all your cooking tools.
9. Install a Magnetic Knife Strip
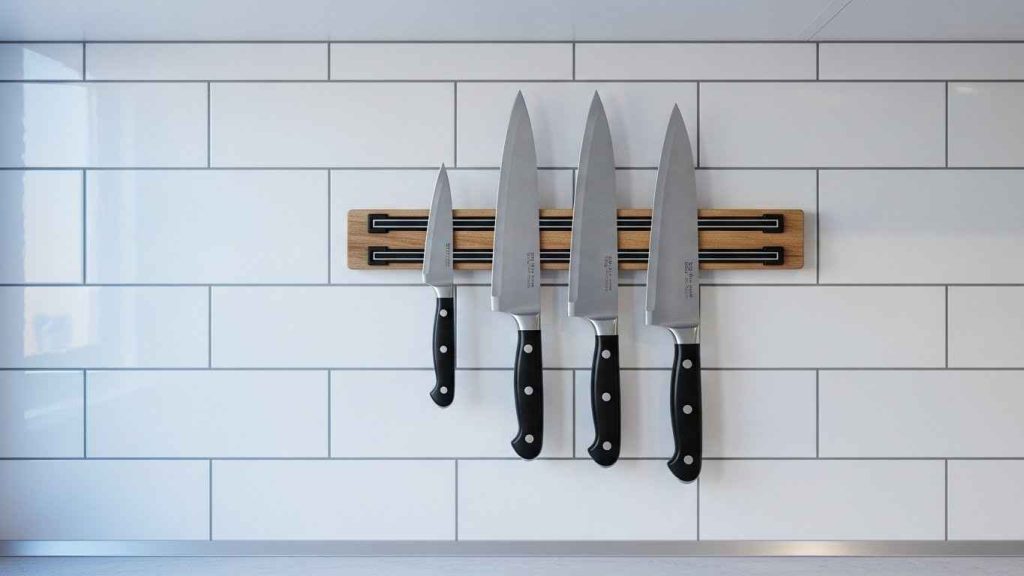
A magnetic strip keeps knives safe and off the counter. It frees up drawer space and keeps blades sharp. Mount it on a wall near your prep area. Installation is quick and requires minimal tools. Choose a spot away from where children can reach. This is a sleek and modern way to store your most-used knives. It is both practical and a stylish design element.
10. Build a Floating Kitchen Shelf
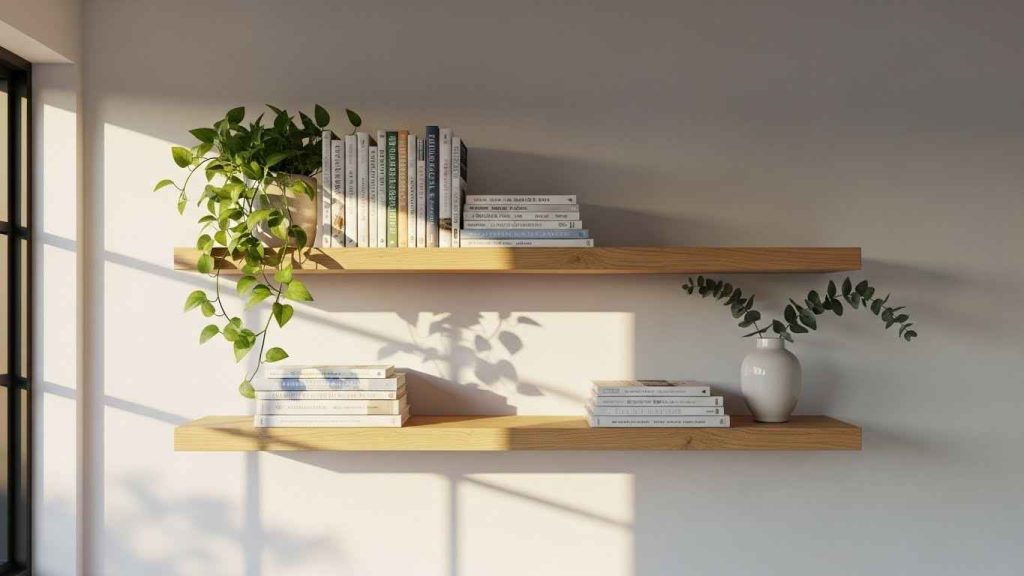
Floating shelves add storage without bulk. They are perfect for displaying pretty dishes or herbs. You can make them from reclaimed wood or simple pine boards. The hidden bracket system creates a clean look. Use a level during installation to make sure they are straight. This is a straightforward project that makes a small kitchen feel more open and airy.
11. Add Under-Shelf Basket Storage
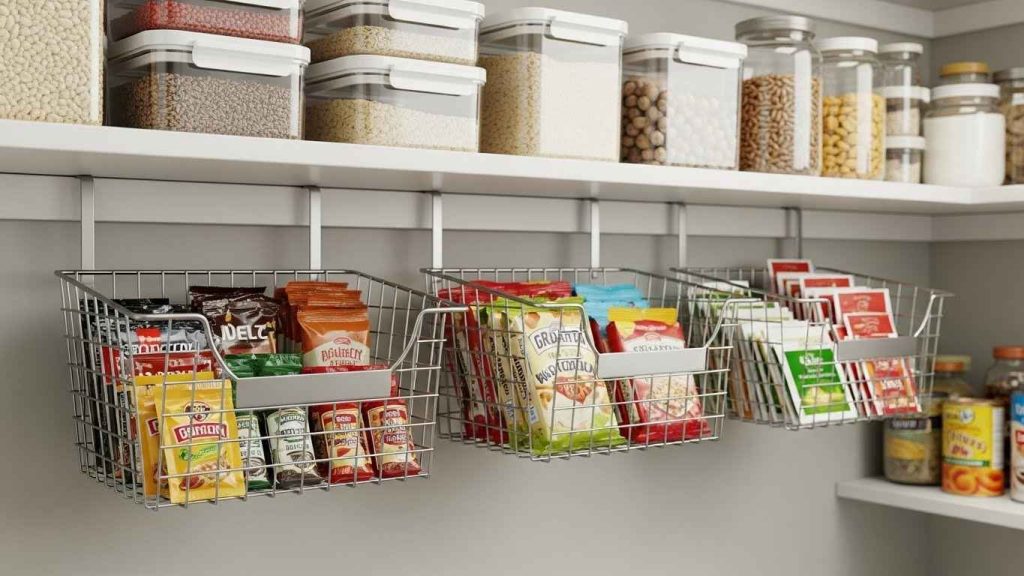
Double your shelf space with hanging baskets. These wire baskets clip onto existing shelves. They are perfect for storing small, lightweight items. This is an instant organization solution. You can find these baskets at most home goods stores. They require no tools to install. Just clip them on and fill them up. It is a clever way to use the empty space between shelves.
12. Craft a Hanging Utensil Rack
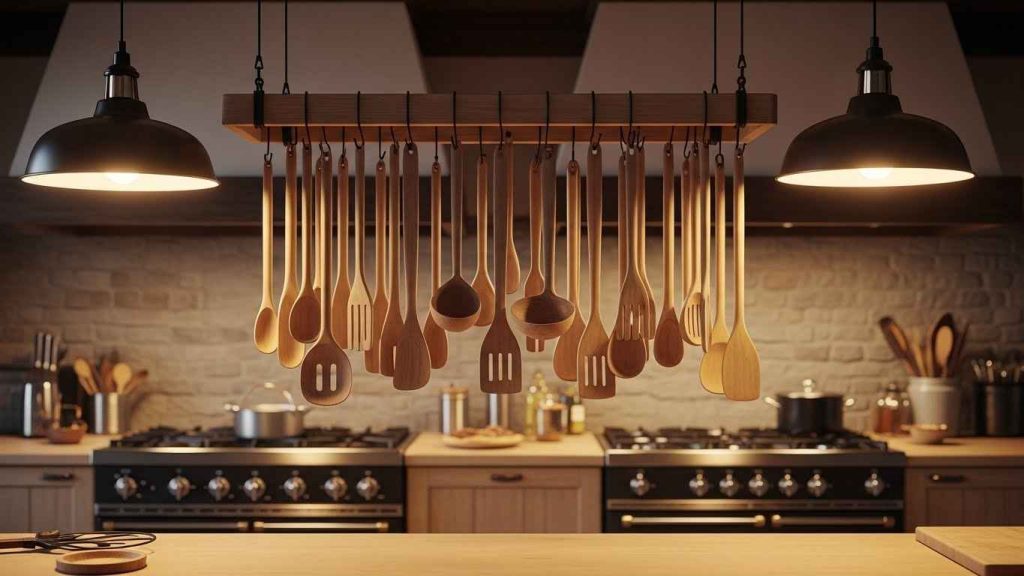
Keep your favorite cooking tools handy. A hanging rack keeps them off the counter and within arm’s reach. You can make one from a branch, copper pipes, or a repurposed shutter. This adds a personal and functional touch. Suspend it securely over your main work area. This not only organizes your tools but also adds character to your kitchen.
13. DIY a Chic Kitchen Backsplash
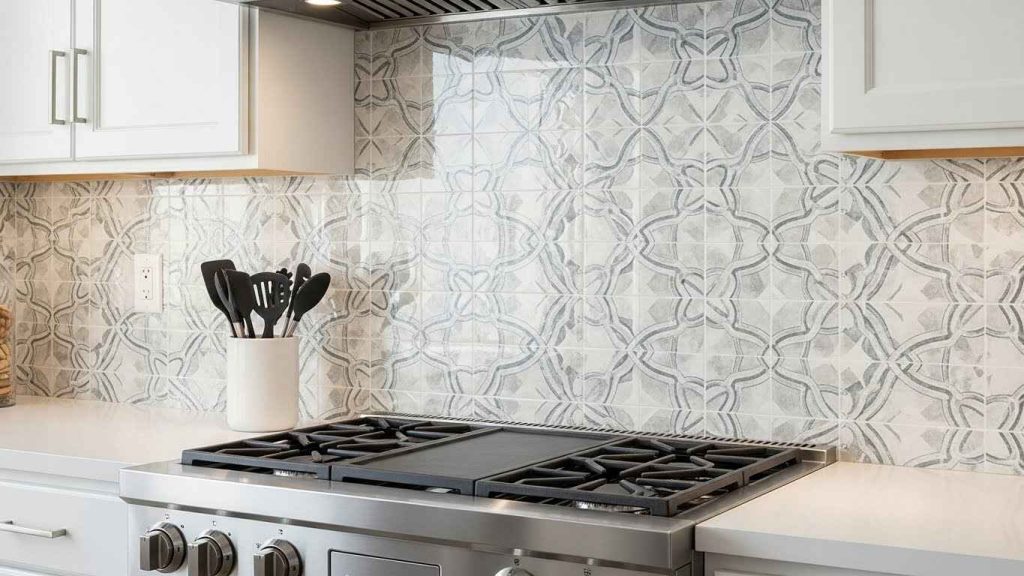
A new backsplash can transform your kitchen. Peel-and-stick tiles are a great option. They are easy to apply and require no grout or special skills. This is a renter-friendly update. Make sure the wall is clean and dry before you start. You can create a bold pattern or a simple, clean look. This project makes a big style impact in just one afternoon.
14. Organize Lids with a File Sorter
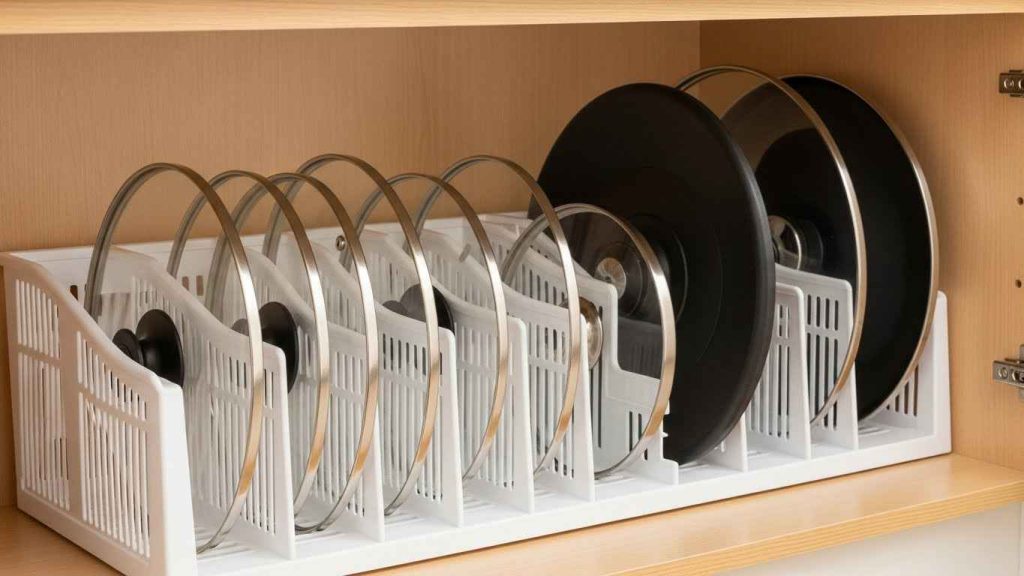
Pot lids are notoriously difficult to store. A simple office file sorter can solve this. Place it in a cabinet or on a shelf. Stand lids up for easy viewing and access. This stops them from sliding around and clattering together. It is a very cheap and effective organizing trick. You can find these sorters at any discount store.
15. Build a Rolling Kitchen Island
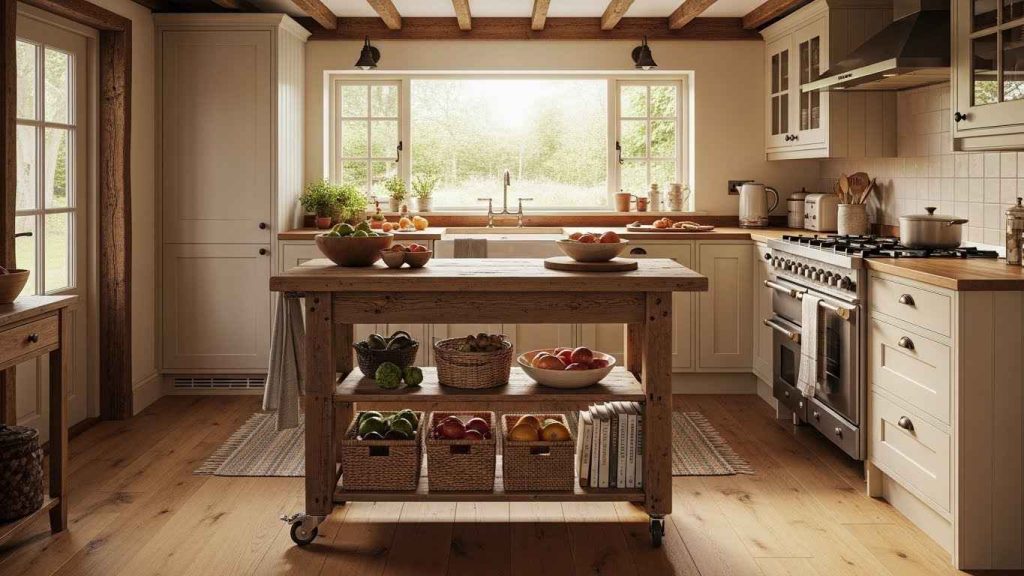
A rolling island adds prep space and storage. You can build one from an old dresser or crates. Add locking casters so it stays in place while you work. This mobile unit can be moved as needed. It is perfect for small kitchens where a permanent island is not possible. Use the bottom shelf for storing bowls or cookbooks.
16. Create a Custom Pan Lid Holder
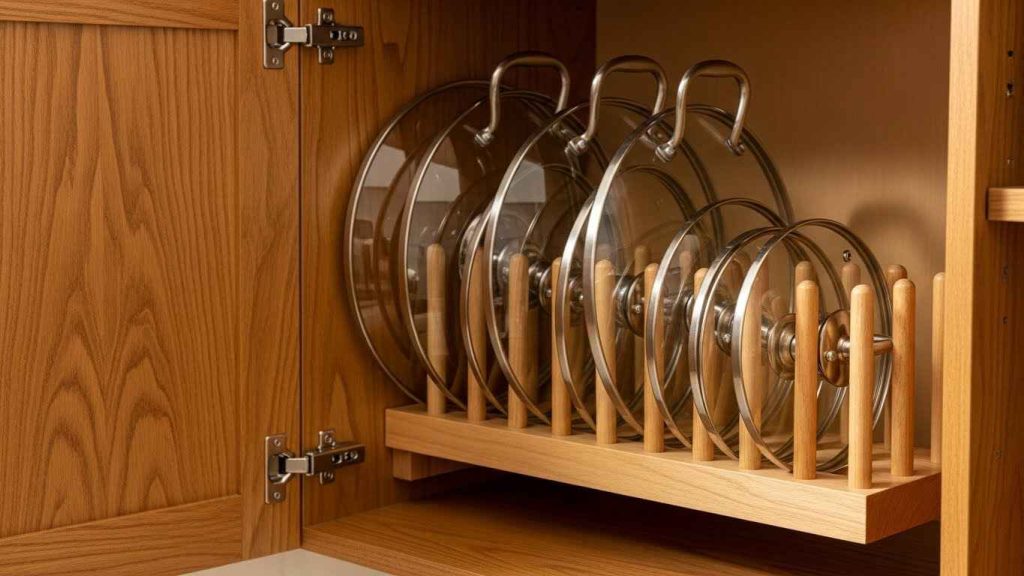
Stop searching for the right lid. Build a simple rack that mounts on the inside of a cabinet door. You can make it with wood strips and dowels. This uses otherwise wasted space. Measure your largest lid to determine the size. This keeps your lids organized and out of the way. Closing the door hides everything for a clean look.
17. Install DIY Open Shelving
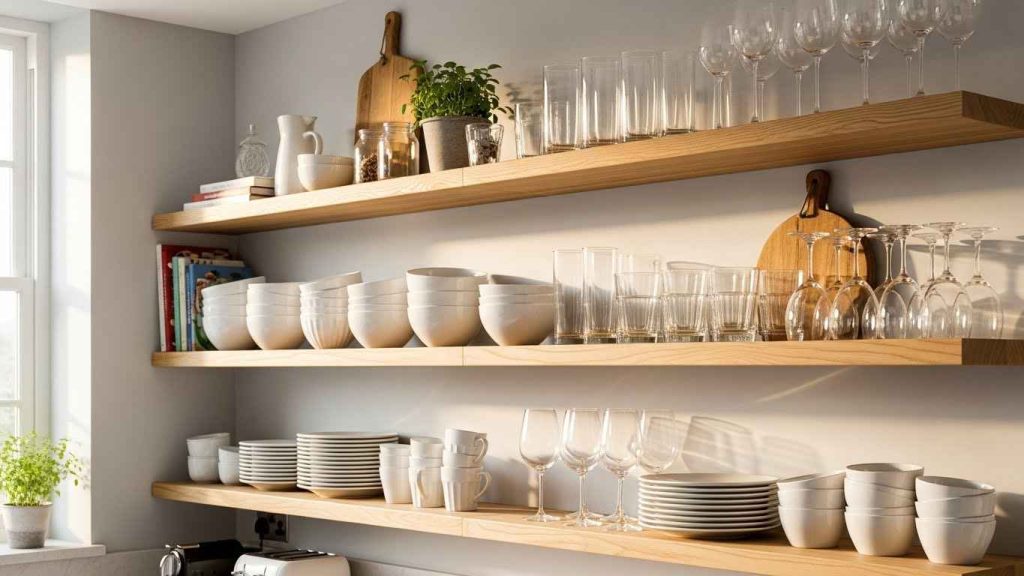
Open shelves make a small kitchen feel larger. They are easier and cheaper to install than full cabinets. Use sturdy brackets and solid wood for safety. This creates an airy, accessible feel. You can display your favorite dishes and glassware. It encourages you to keep things tidy since everything is on display. This is a great way to open up the room.
18. Add a Peel-and-Stick Tile Refresh
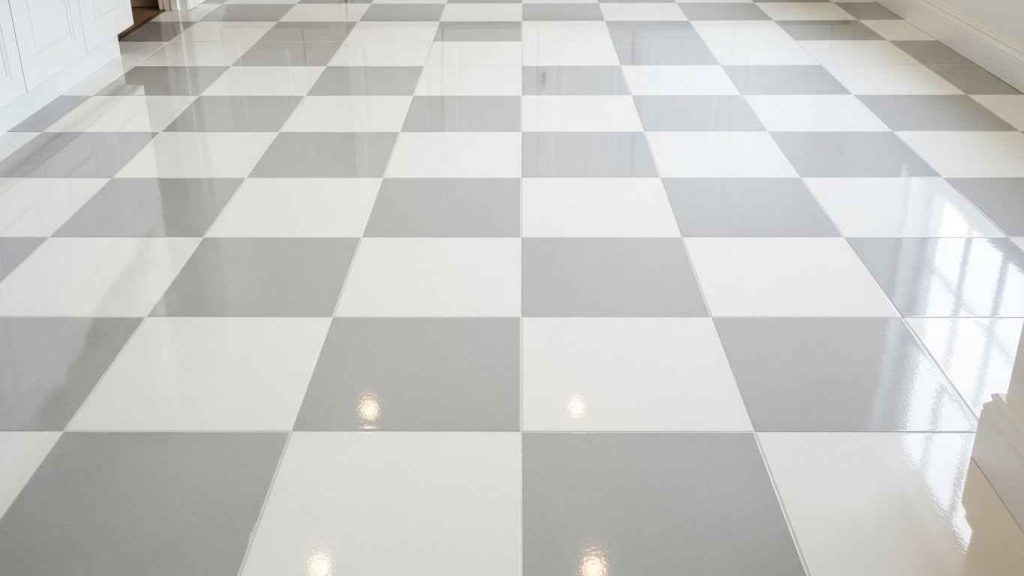
Update your floors or a dated countertop with peel-and-stick tiles. They are a simple DIY project. There is no messy adhesive or waiting for glue to dry. This is a budget-friendly makeover. Ensure the surface is completely clean before application. These tiles are durable and easy to clean. They can completely change the look of your kitchen in a day.
19. Build a Corner Shelf Unit

Corners are often dead space. A custom corner shelf unit can change that. Build a simple triangular shelf that fits perfectly. This utilizes every inch of your kitchen. You can make it from a single sheet of plywood. Stain or paint it to match your decor. It is the perfect spot for storing items you do not use every day.
20. Craft a Hanging Fruit Basket
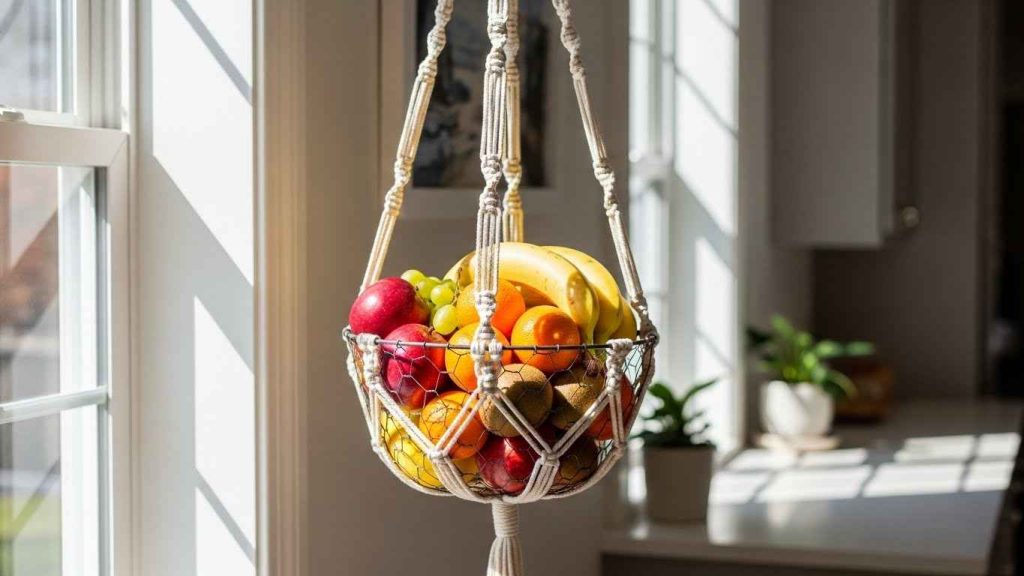
A hanging basket keeps countertops clear. It also adds a decorative element. You can make one from macrame cord or a wire basket. This keeps your produce fresh and visible. Hang it from a ceiling hook in a well-ventilated spot. This simple project adds a touch of nature and color to your kitchen. It is both pretty and practical.
Start with just one project this weekend. Pick the idea that would help your kitchen the most. You do not have to do everything at once. Small changes add up to a space that works better for you. Enjoy the process of making your kitchen your own.