A narrow kitchen can feel cramped and dark. But with smart design choices, you can make it feel wider and work better. These ideas focus on light, storage, and layout. They help you use every inch without the squeeze. You can apply many of these tips on a small budget. Let’s explore ways to open up your space.
1. Embrace Vertical Storage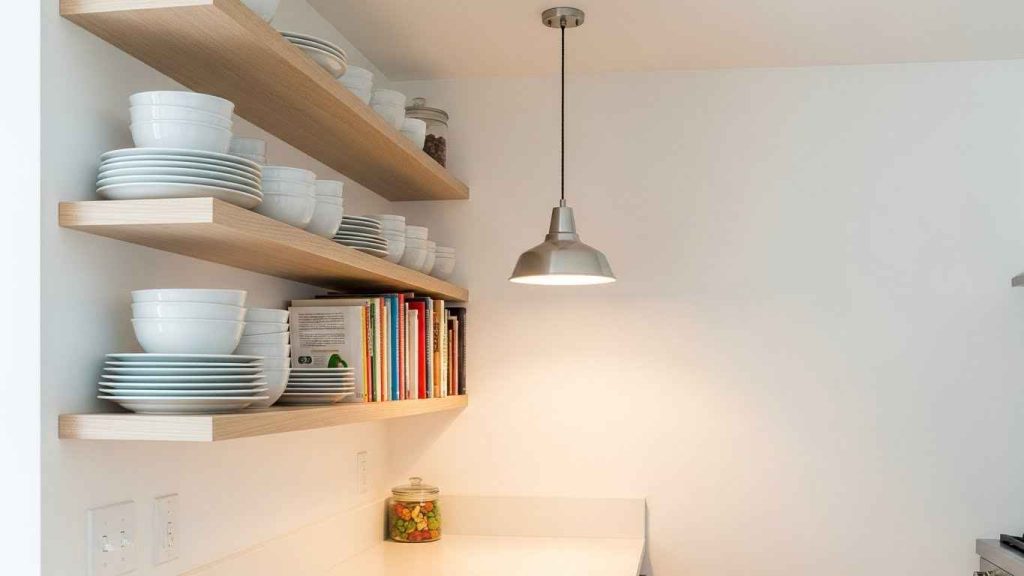
Use your wall space from the counter up. Install tall, narrow shelving units or a rack for pots and pans. This clears your countertops and draws the eye upward. Go vertical with your storage to free up precious floor space. A simple DIY project is to add a sturdy pegboard to one wall. You can hang utensils, mugs, and small baskets. This keeps everything within reach but off the surfaces you use for cooking.
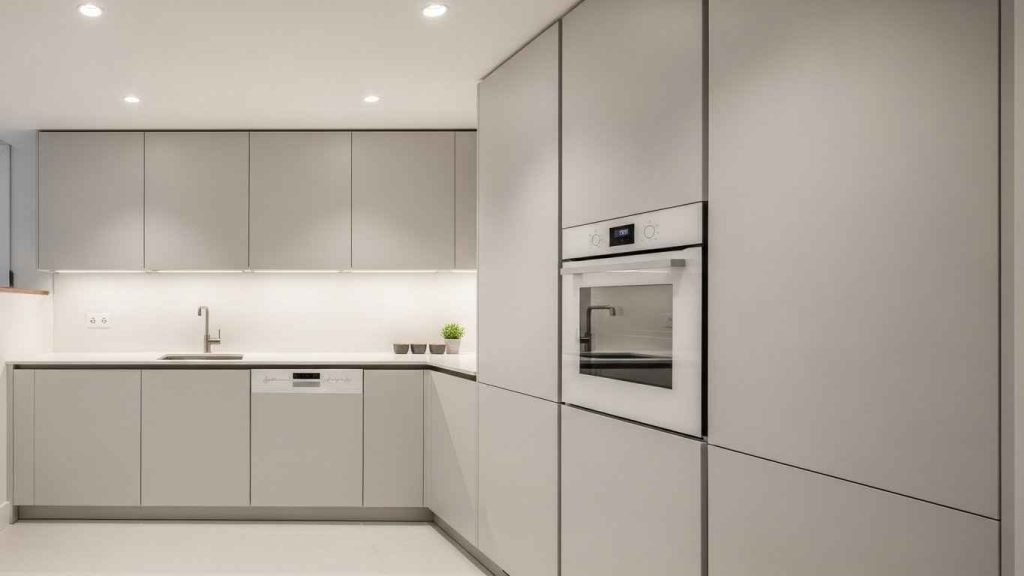
2. Install Sleek Upper Cabinets
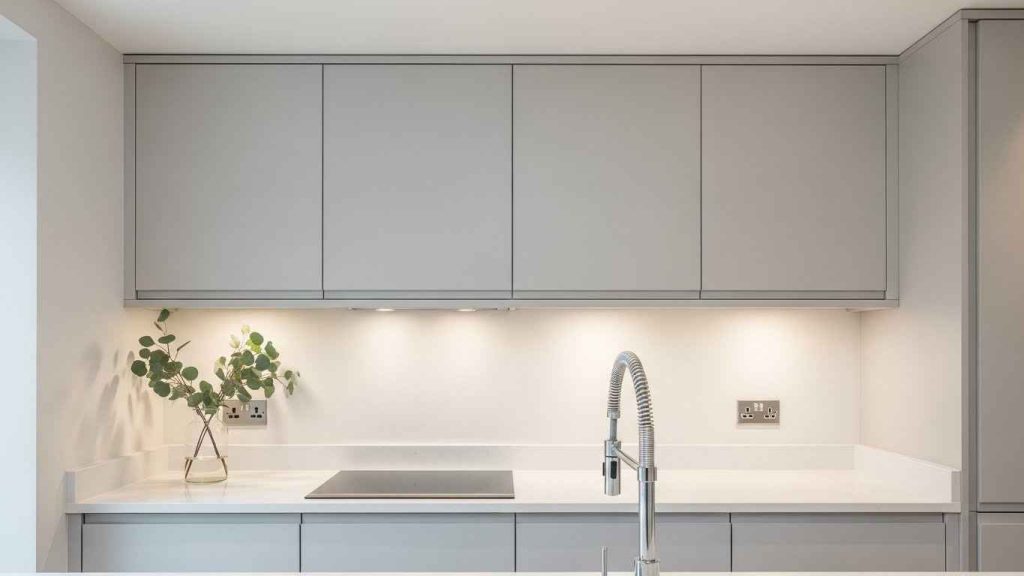
Choose upper cabinets with simple, flat fronts. Avoid bulky details and large handles. This creates a smooth, continuous line that makes the room feel less crowded. Sleek cabinets reduce visual noise. For a budget update, you can just replace the cabinet doors and hardware. Or, paint your existing cabinets a light, bright color. New handles in a matching finish can make a big difference for a small cost.
3. Opt for Light Color Palettes
Light colors reflect light, making a room feel larger. Think whites, light grays, and soft pastels for walls and cabinets. This creates an airy, open atmosphere. A light palette is your best friend in a small kitchen. You don’t need to repaint everything. Start with one accent wall or the ceiling. Even painting just the island a light color can help bounce light around. It’s a simple change with a big visual effect.
4. Incorporate Reflective Surfaces
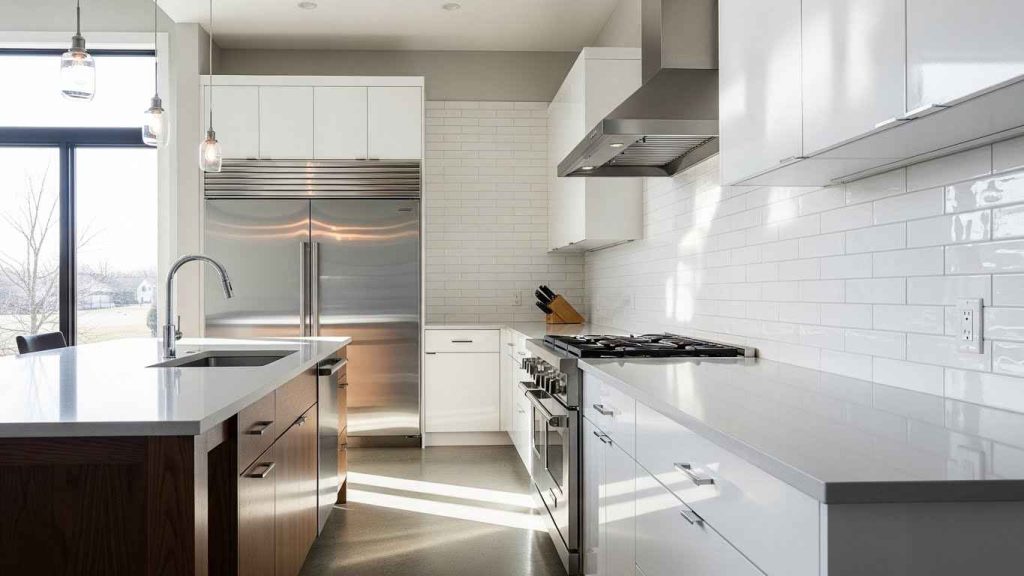
Surfaces that reflect light help it travel further. A glass splashback, glossy cabinets, or metallic fixtures can all do this. They make the space feel brighter and more open. Reflective surfaces amplify light. A budget-friendly idea is to use high-gloss paint on your cabinets. Or, add a large mirror on a wall that isn’t near the cooker. This trick visually doubles the space without any construction.
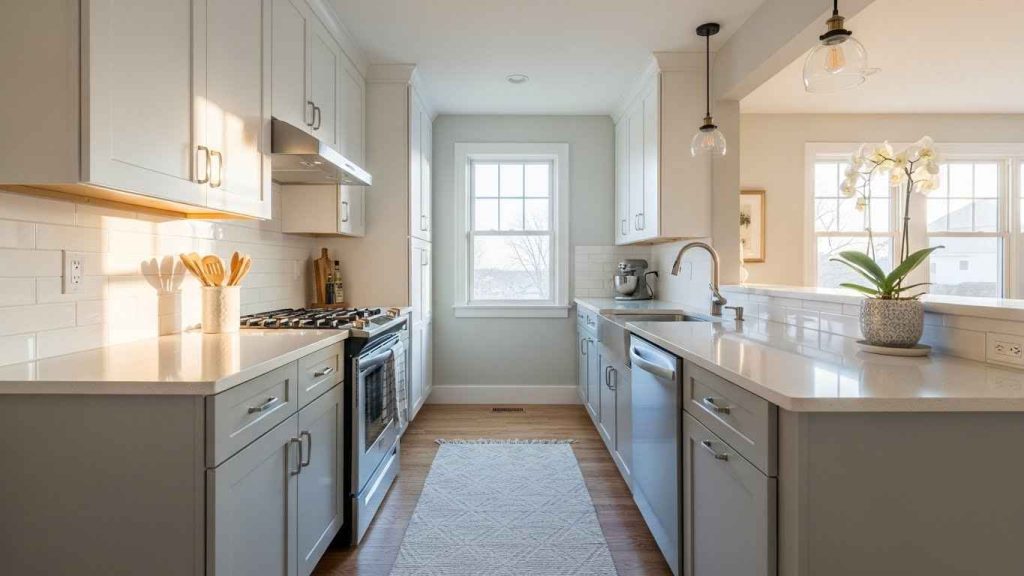
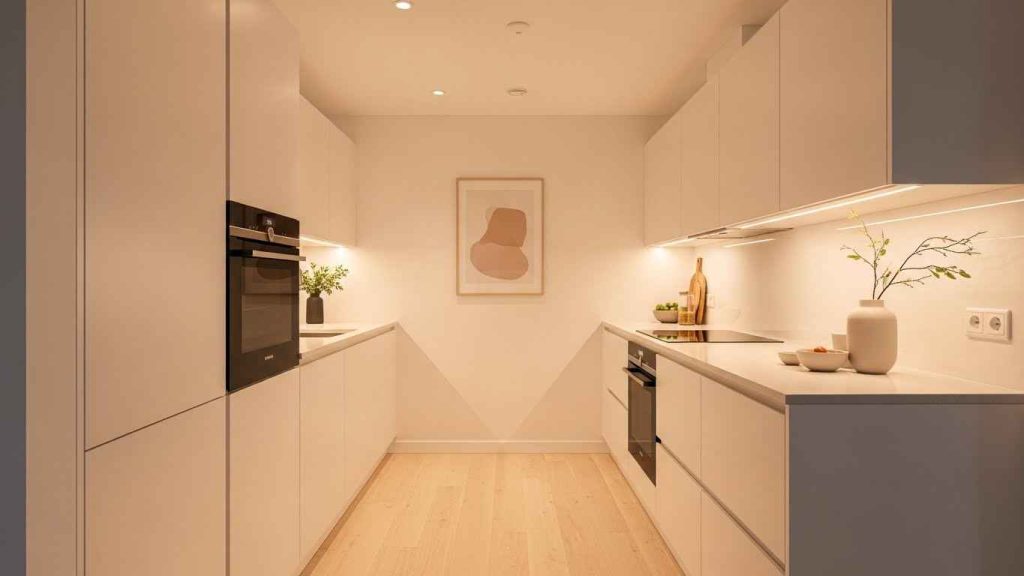
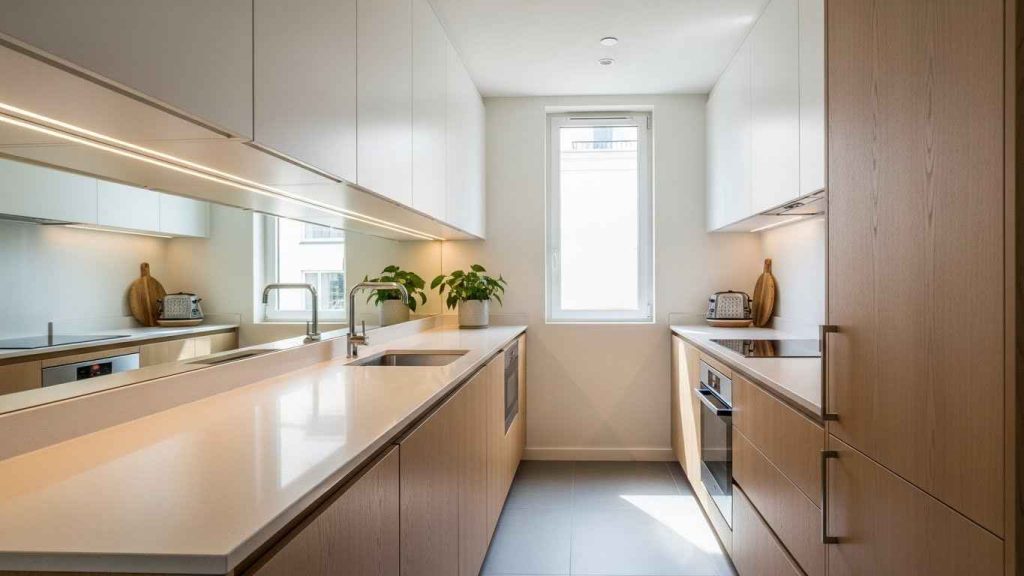
5. Choose a Galley Layout
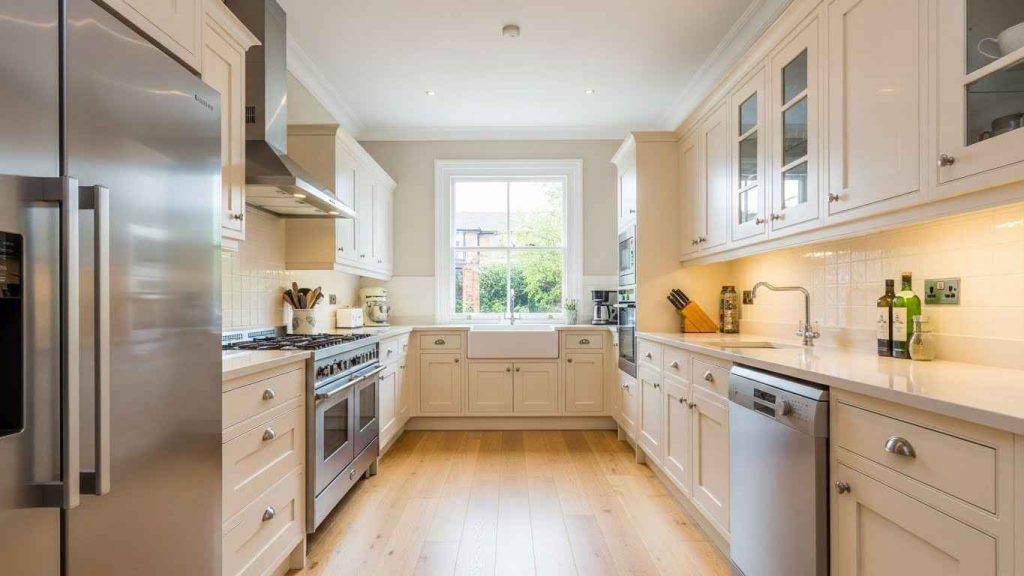
This layout uses two parallel walls for all your kitchen functions. It is very efficient for cooking and saves floor space. The clear pathway in the middle makes movement easy. A galley layout is highly functional. To make it work, keep the walkway clear. Avoid placing an island in the center if the space is very narrow. Use the walls for storage to keep the central area open for moving around.
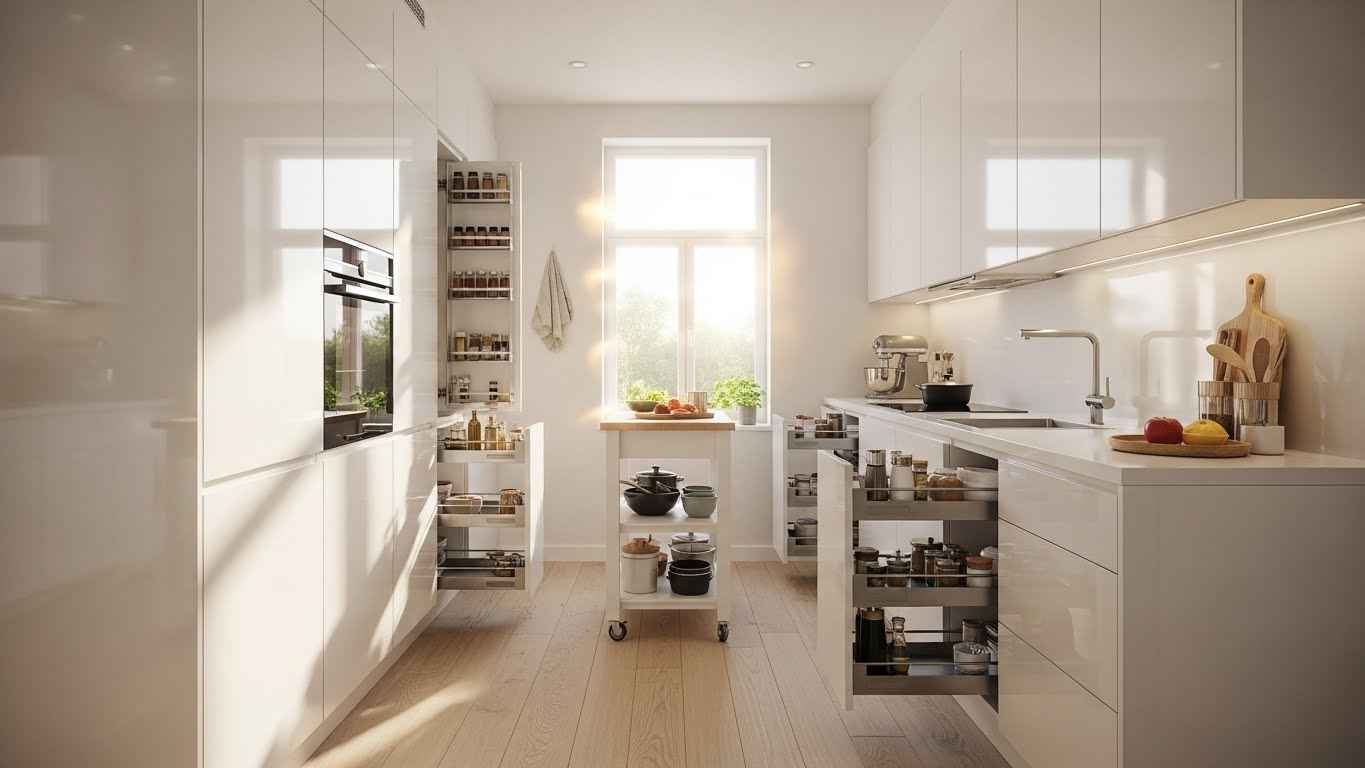
6. Utilize Pull-Out Pantries
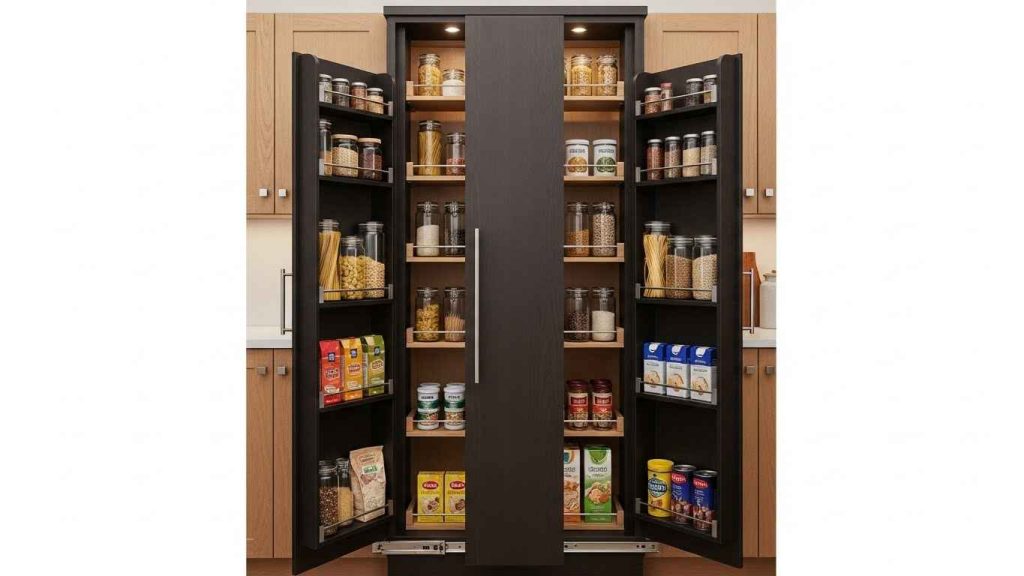
A tall, slim pull-out unit fits into gaps between appliances or cabinets. It gives you deep storage without wasting an inch. You can see and reach everything easily. Pull-out pantries maximize dead space. You can find DIY kits to convert a standard cabinet into a pull-out system. This is a great way to add organized storage without a full kitchen remodel. It makes use of space that often goes to waste.
7. Install Under-Cabinet Lighting
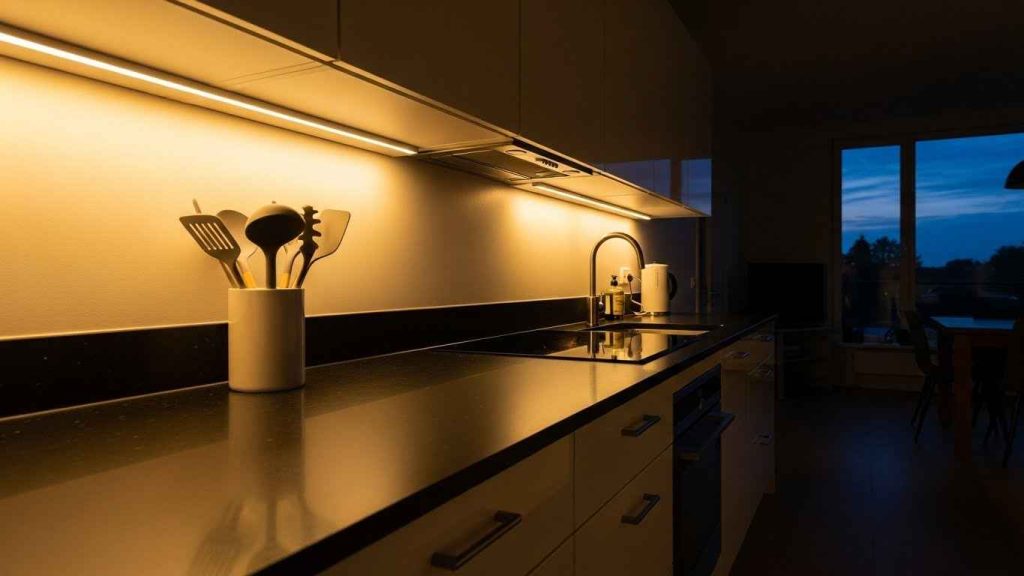
Lights installed under your cabinets illuminate the countertop. This removes dark shadows that can make a space feel smaller. It also provides perfect task lighting for food preparation. Under-cabinet lighting brightens work areas. For a simple DIY solution, use plug-in LED light strips. They are easy to install with adhesive backing. You can plug them into an outlet and often control them with a remote. This adds both function and ambiance.
8. Select Streamlined Appliances
Choose appliances that fit your space perfectly. Slimline dishwashers or narrower fridges are available. Built-in or integrated models can hide behind cabinet fronts for a cleaner look. Streamlined appliances maintain flow. When replacing an old appliance, measure your space carefully. Look for models that are a few inches slimmer. This can give you extra room for storage or just make the walkway feel less tight.
9. Create a Focal Point Wall
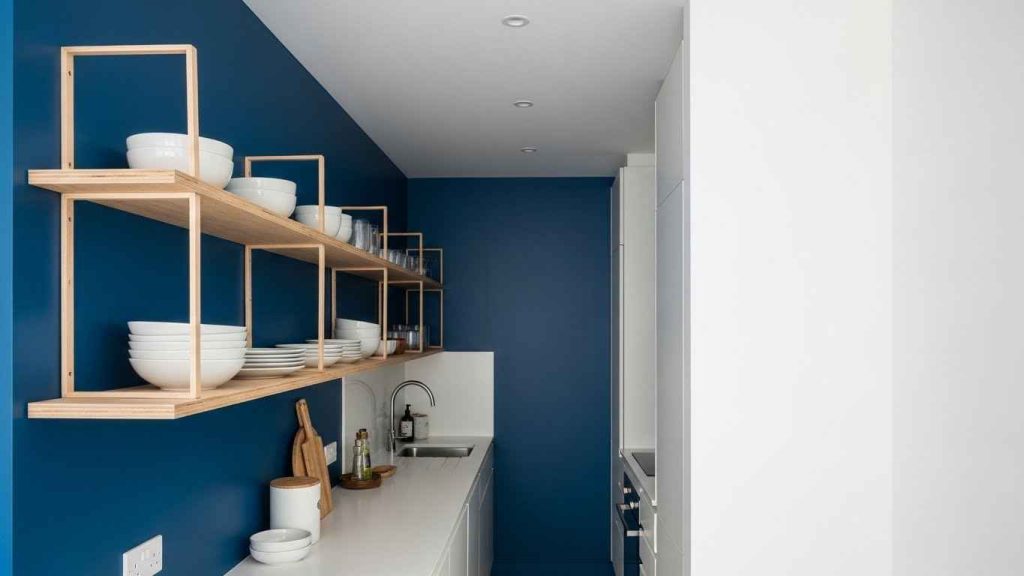
Paint one wall a different, bolder color or use a patterned tile. This draws attention to a single area and can make the room feel deeper. A focal point adds depth. This is a very budget-friendly project. You only need paint or tiles for one wall. Choose a color you love and let it stand out. This trick adds personality without overwhelming the small space.
10. Use Large Format Floor Tiles
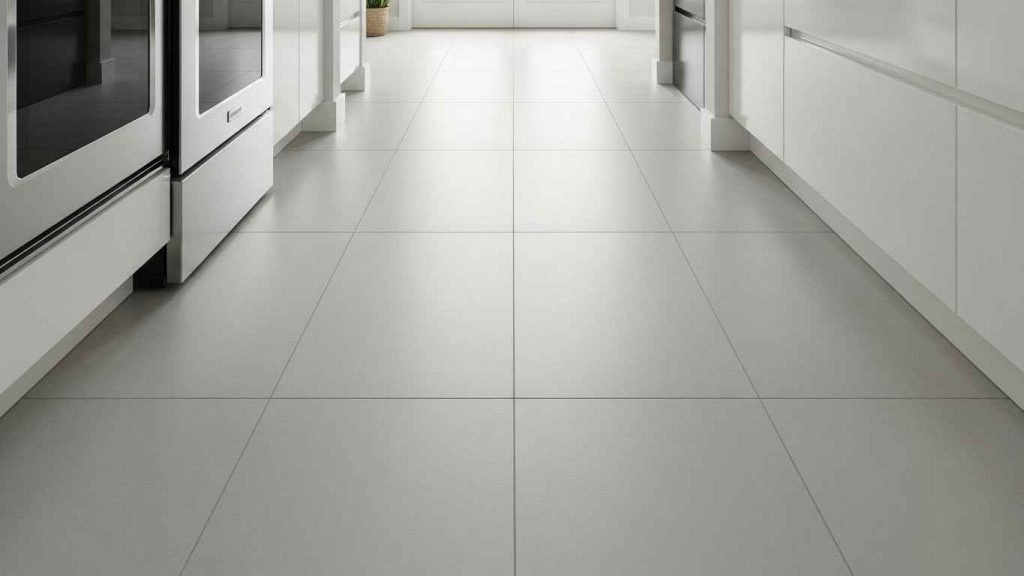
Larger tiles have fewer grout lines. This creates a more continuous surface that tricks the eye into seeing more space. Lay them parallel to the longest wall to enhance the feeling of length. Large tiles expand the floor visually. You can achieve a similar effect with sheet vinyl or laminate flooring that has a large-scale pattern. These are often more affordable options than natural stone or porcelain.
11. Opt for Open Shelving
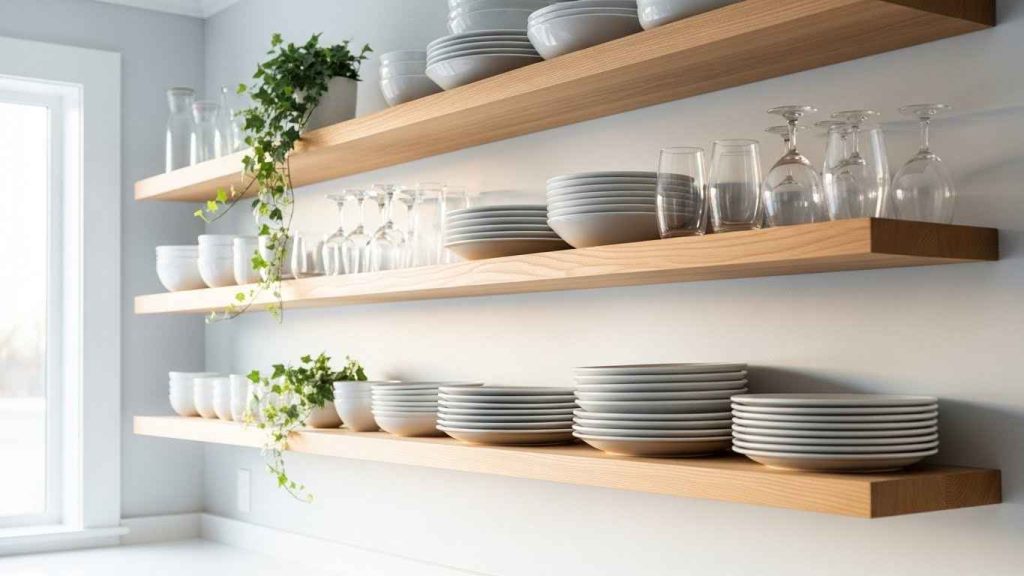
Shelves without cabinets make the upper part of the room feel more open. They keep items you use often within easy reach. Open shelving creates airiness. You can install simple wooden shelves yourself. Use sturdy brackets and make sure they are level. Style them with a few nice items, but avoid overcrowding. This keeps the look clean and prevents a cluttered feeling.
12. Install a Sliding Kitchen Door
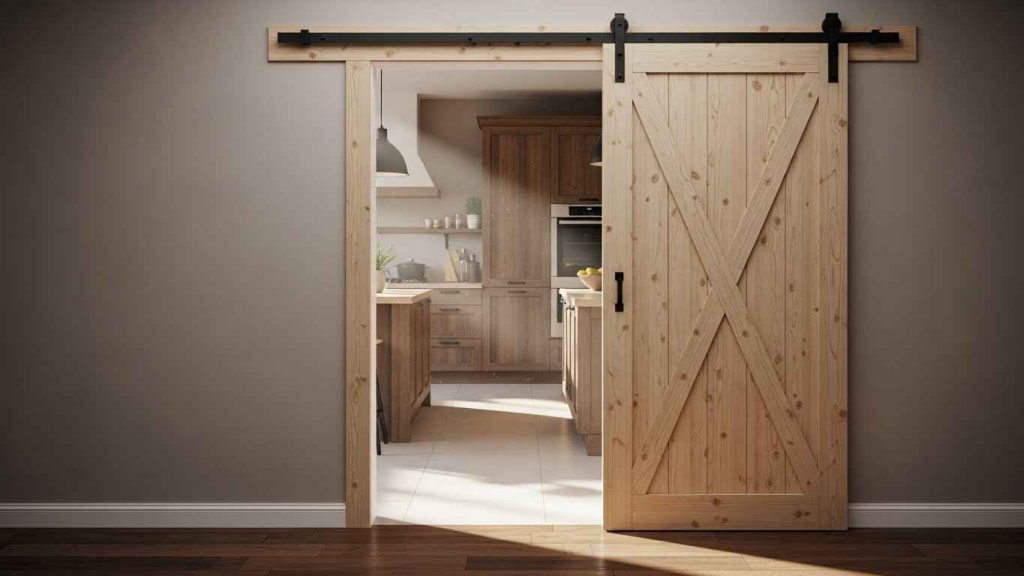
A sliding door glides along the wall instead of swinging inward. This saves the floor space that a swinging door would need. It is a simple way to gain a few extra inches. A sliding door saves swing space. You can find many DIY sliding door kits at hardware stores. They are easier to install than you might think. This is a great weekend project that has a big impact on functionality.
13. Choose a Single-Bowl Sink
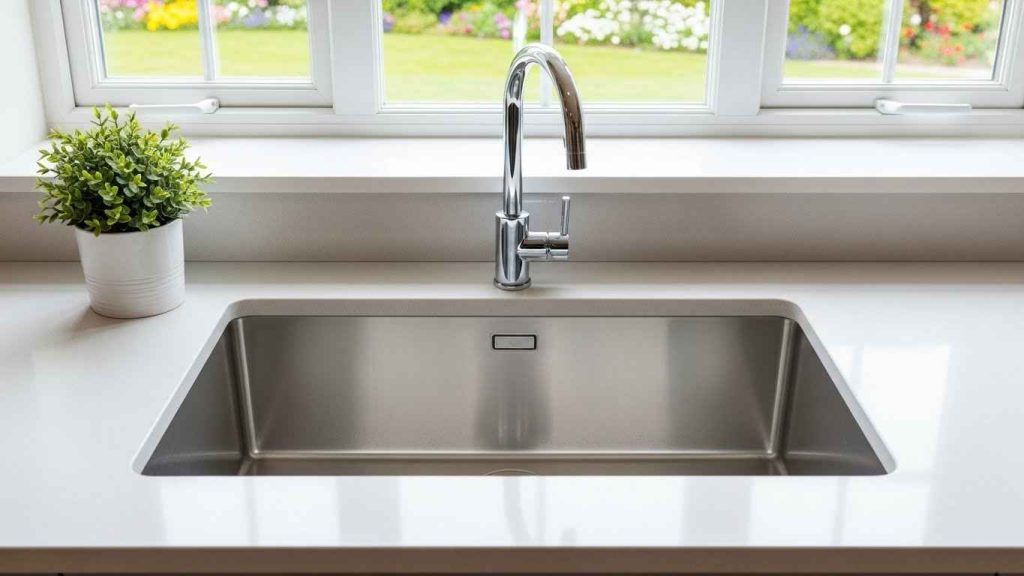
A single, large bowl gives you more usable space than a double sink. It is better for washing large pots and baking sheets. The simpler design also looks less bulky. A single-bowl sink is more practical. This is an easy swap during a minor update. A single-bowl sink often costs less than a double-bowl model. You will appreciate the extra space when cleaning up after a big meal.
14. Implement Clever Corner Solutions
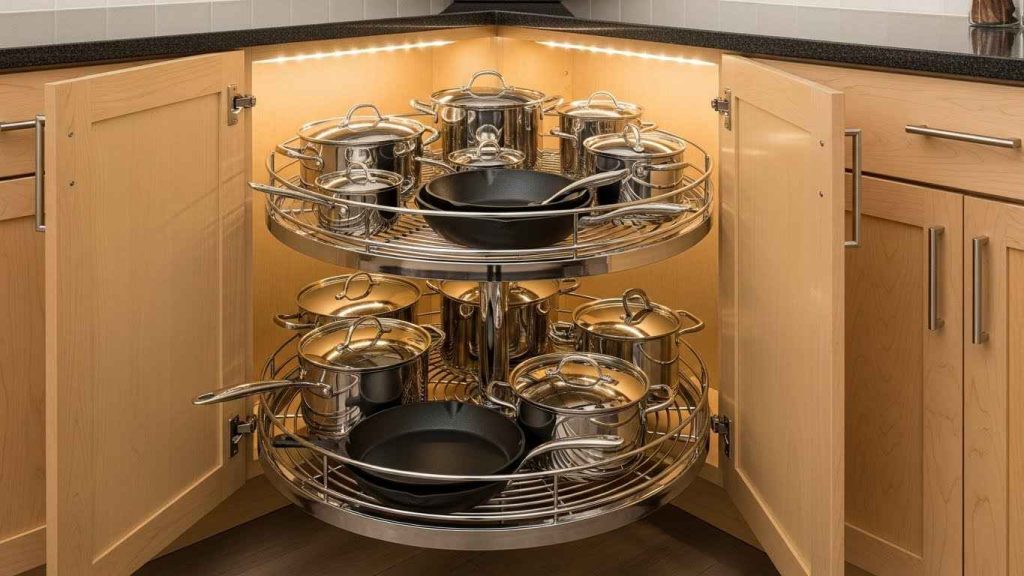
Corners in cabinets are often dead space. Use a carousel (lazy Susan) or a pull-out shelf system. These mechanisms bring items stored at the back right to the front. Solve the corner cabinet problem. You can buy rotating shelf inserts that fit into existing cabinets. This is a low-cost DIY upgrade that makes every inch of your storage work harder. No more digging for that lost lid.
15. Extend Cabinets to the Ceiling
Take your cabinets all the way up. This gives you more storage space for items you don’t use every day. It also creates clean, long lines that make the ceiling feel higher. Cabinets to the ceiling add storage. If your cabinets don’t go all the way up, you can fill the gap with a DIY box frame. Paint it to match your cabinets and use it for storing serving platters or other lightweight items.
16. Select a Glass-Backed Splashback
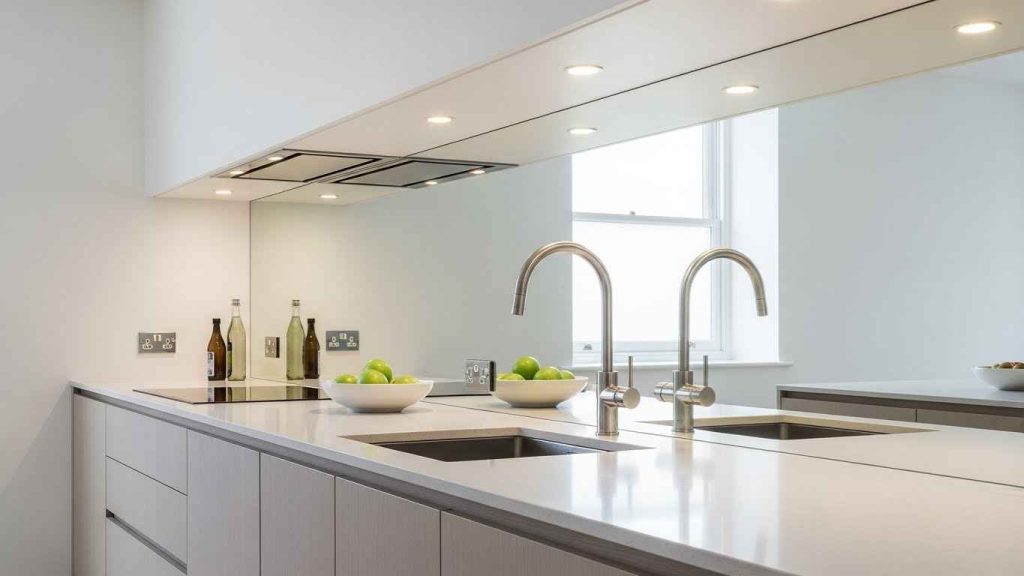
A glass splashback acts like a mirror, reflecting light and the room itself. This creates an illusion of depth. It is also very easy to clean and maintain. Glass visually opens up the wall. For a custom look without the high cost, you can use large-format glass-look tiles. They offer a similar reflective quality and are easier to install than a single sheet of glass.
17. Incorporate a Kitchen Island on Wheels
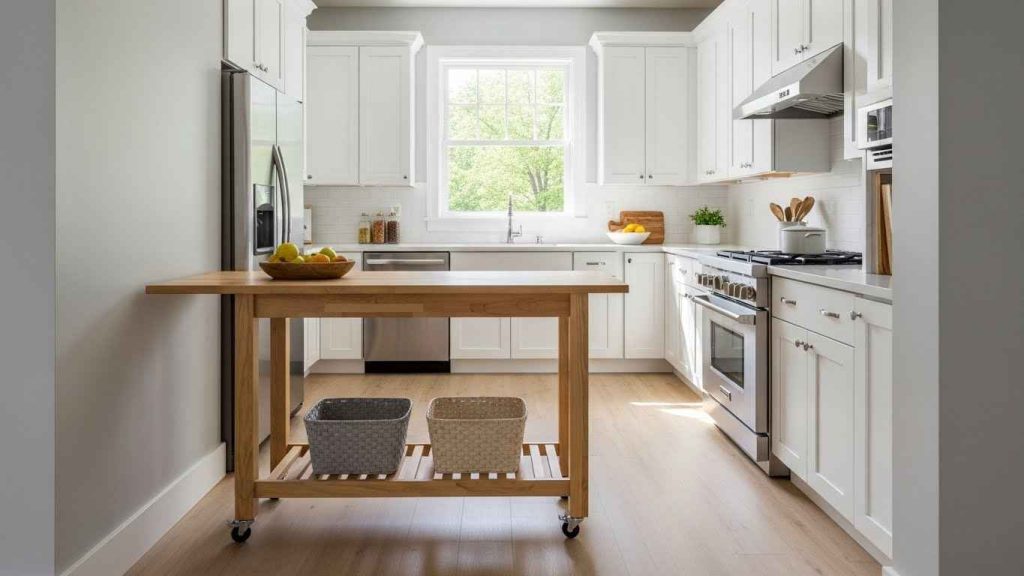
A mobile island gives you extra work surface and storage. The key is that it can be moved. You can push it against a wall when you need more floor space. A mobile island offers flexibility. Look for a narrow console table or a butcher block cart. Many are affordable and come with wheels. You can even add casters to a small, old table for a unique DIY island.
18. Use Monochromatic Schemes
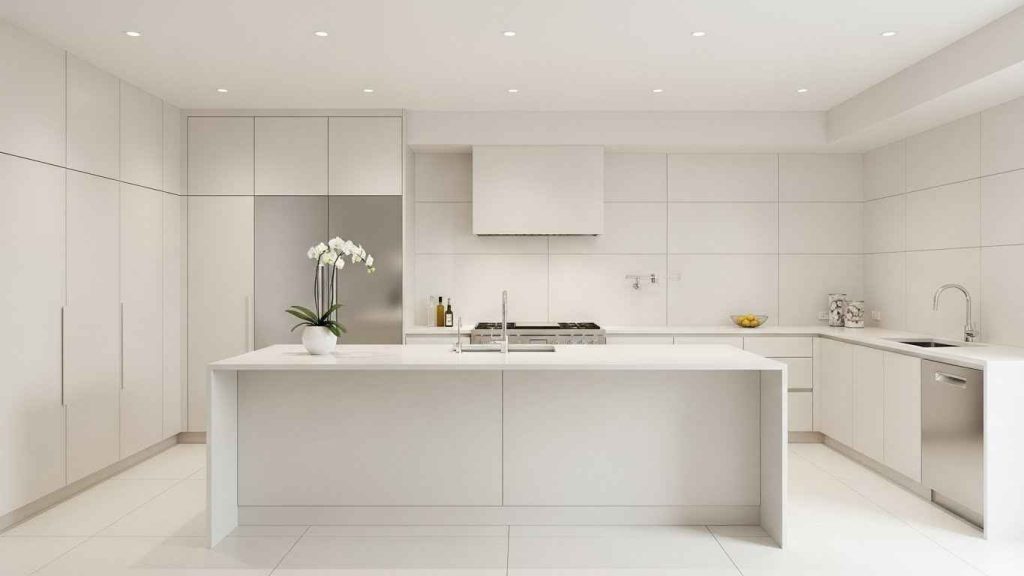
Stick to one color family for walls, cabinets, and even floors. This creates a smooth, uninterrupted visual flow. The eye moves easily around the room without stopping at color breaks. A monochromatic scheme is calming and spacious. You don’t need to buy all new things. Start by decluttering and removing items that introduce too many different colors. A cohesive color story makes any space feel more put-together and open.
19. Install Recessed Spot Lighting
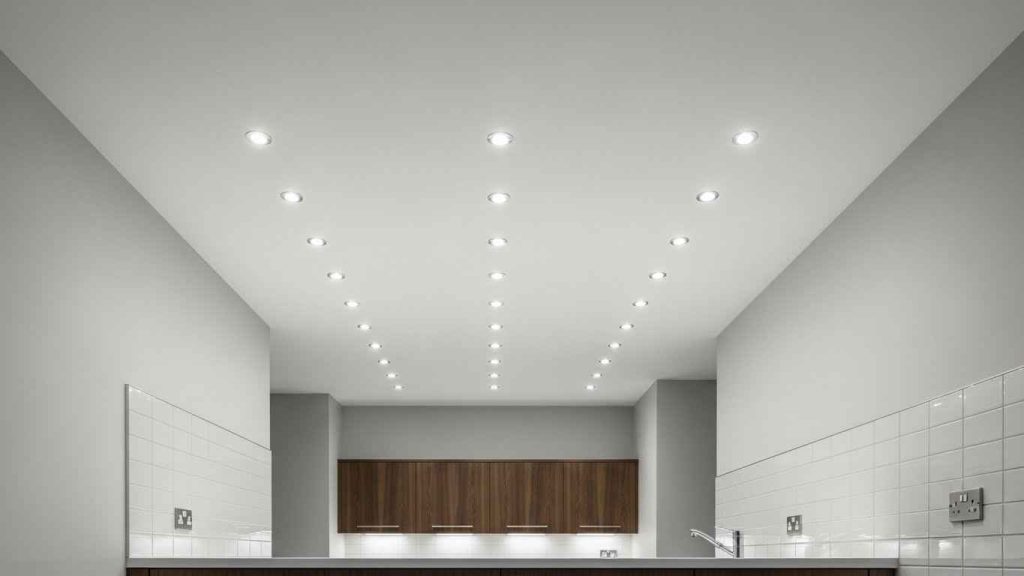
Lights that are set into the ceiling are unobtrusive. They don’t hang down and take up visual space. They provide general, even light that makes the whole room feel brighter. Recessed lighting keeps ceilings clear. While installing new wiring can be a job for a professional, there are DIY recessed light conversion kits. These allow you to turn a standard ceiling light fixture into a recessed one more easily.
20. Add a Strip of Mirror
A horizontal mirror strip can be placed above countertops or on a bare wall. It reflects light and creates the illusion that the wall is further back than it is. A mirror strip tricks the eye. This is a very cheap and effective DIY trick. You can buy mirror tiles and secure them to the wall with strong adhesive. Just be sure it’s placed away from the cooker for safety.
21. Choose Fold-Down Dining Tables
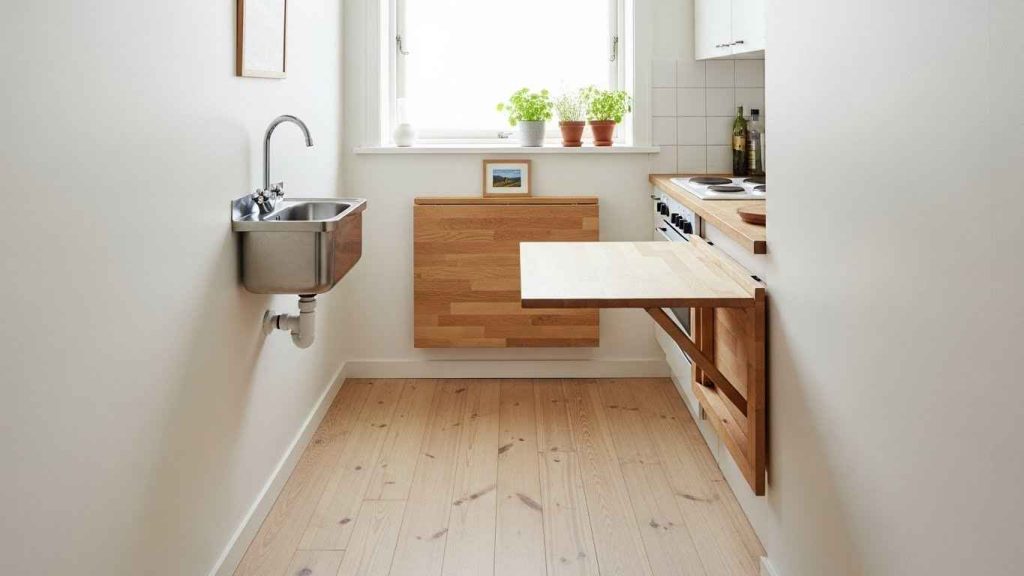
A table that folds down from the wall gives you a dining spot when you need it. When you don’t, it folds flat against the wall, clearing the floor completely. A fold-down table saves permanent space. You can build a simple one with a piece of wood and sturdy hinges. Or, look for a ready-made model online. It’s perfect for having breakfast without sacrificing your walking room for the rest of the day.
22. Opt for Handleless Cabinetry
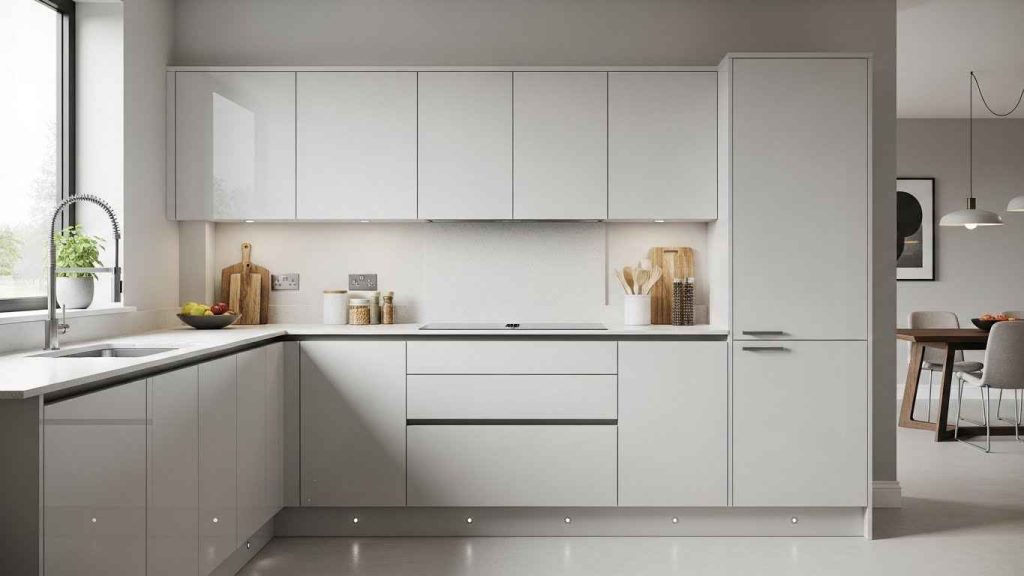
Cabinets without handles have a smooth, streamlined appearance. You open them with a push or by using a integrated groove. This removes visual clutter and makes the kitchen look more modern and spacious. Handleless design minimizes clutter. You can convert your existing cabinets with a DIY kit that adds push-open mechanisms to the inside. Alternatively, you can replace the handles with sleek, recessed finger-pull strips.
23. Utilize the End Panels for Storage

The sides of your island or tall cabinets are often blank. You can add shallow shelving, hooks, or a rail to this surface. It’s perfect for hanging towels, utensils, or even a small spice rack. Use every surface, even the sides. This is an easy weekend project. Attach a pegboard or some simple hooks to the end panel. It adds function without affecting the cabinet’s interior storage.
You do not need to do everything at once. Start with one or two changes that fit your budget and style. Maybe paint a wall a light color or add under-cabinet lighting. Small steps can make a big difference in how your kitchen feels and functions. Your more spacious and organized kitchen is within reach.