Giving your kitchen cabinets a new look does not have to be expensive or difficult. A simple refinish can completely change the feel of your space. This guide walks you through easy, affordable methods. You can save a lot of money compared to a full replacement. Get ready to transform your kitchen with your own hands.
1. The Ultimate Kitchen Cabinet Refinish Guide

This guide covers everything from start to finish. Begin by setting a clear goal for your project. Decide on a color scheme and finish type that fits your home. Gather all your materials before you start to avoid delays. A well-planned project saves both time and money. Create a small sample board to test your chosen paint or stain. This helps you see the final result before committing to all the cabinets.
2. Why Refinish Instead of Replace?

Replacing cabinets is a major expense and creates a lot of waste. Refinishing uses your existing framework. It is a far more budget-friendly option. The process is also much faster. You can often complete it over a weekend. This approach lets you keep the character of your original kitchen. You get a brand new look for a fraction of the cost and hassle.
3. Essential Tools for a Flawless Finish

Having the right tools makes the job easier and the result better. You will need a screwdriver to remove doors and hardware. Get sandpaper in various grits, from coarse to fine. A good angled brush helps with detailed areas. A small foam roller works well for flat surfaces. Invest in a quality brush; it leaves fewer streaks and lasts for years. You do not need expensive power tools for a great finish.
4. A Clean Start: Degreasing & Sanding

Cleaning is the most important first step. Kitchen grease and grime prevent paint from sticking properly. Use a strong degreaser or a mixture of trisodium phosphate and water. Scrub every surface, including hard-to-reach corners. Once clean and dry, sand all surfaces. This creates a rough texture for the new finish to grip. Sanding is non-negotiable for a lasting result. It ensures your hard work will not peel off in a few months.
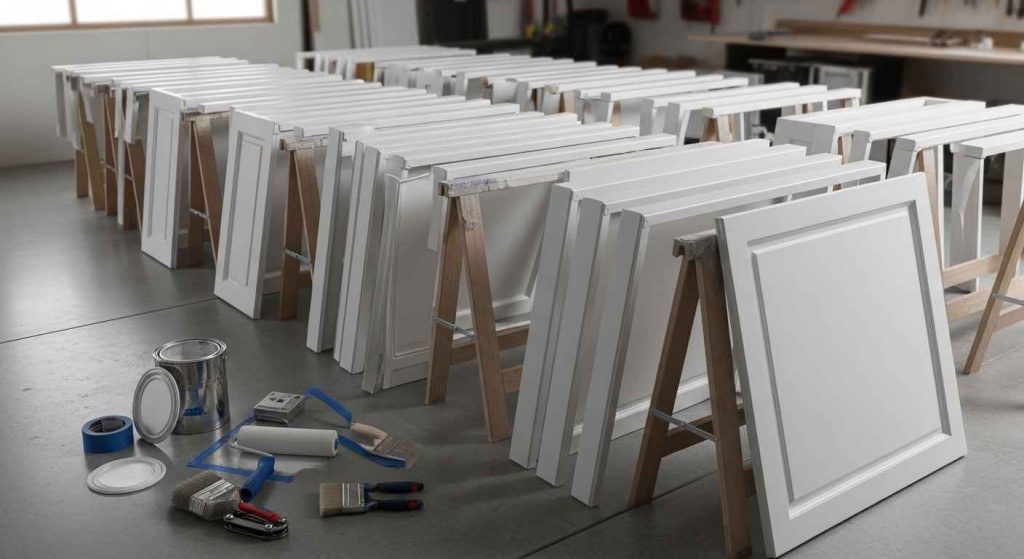
5. The Magic of Paint: A Fresh Coat

Paint offers the biggest visual change. It can hide dated wood grain and create a modern feel. Choose a paint designed for cabinets or trim for durability. Apply thin, even coats rather than one thick coat. Allow each layer to dry completely before adding the next. A DIY tip is to use a small foam roller for the flat panels and a brush for the edges. This technique gives a smooth, professional-looking finish.
6. Modern Two-Tone Cabinet Trends

Two-tone cabinets add visual interest without overwhelming the space. A common approach is to use a darker color on the bottom and a lighter one on top. This grounds the room and makes it feel larger. You can also paint the island a different color. This is a budget-friendly way to follow a trend. You are only buying two paint colors instead of replacing entire cabinet boxes.
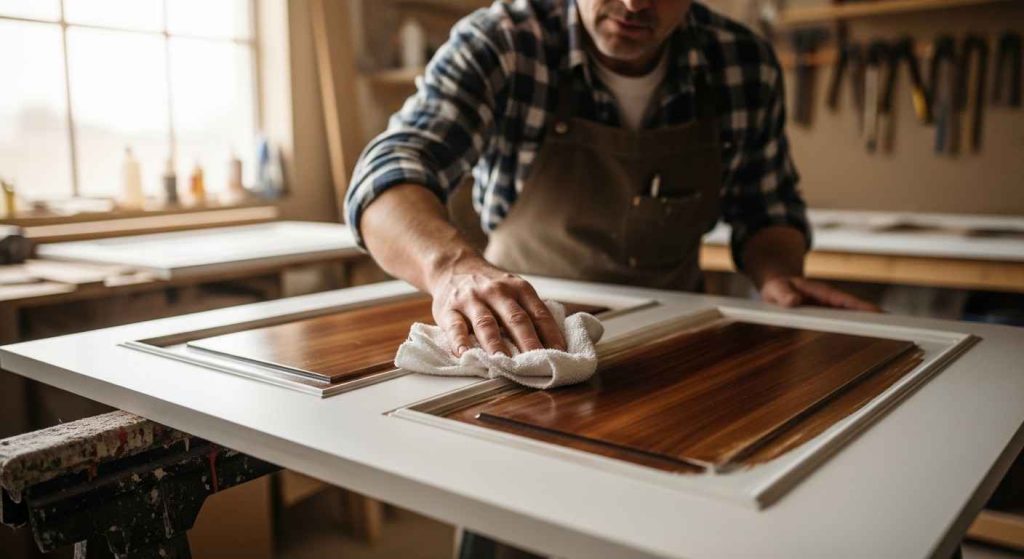
7. Staining for a Rich, Natural Look

Staining enhances the natural beauty of wood grain. It is ideal for cabinets made of oak, maple, or cherry. Stains come in a wide range of colors, from light natural tones to dark espresso. Always test the stain on a hidden area first. Apply it with a clean cloth, wiping off the excess. For a DIY project, staining is forgiving. You can always apply a second coat to darken the color.
8. The Power of Primer
Primer is the secret to a professional finish. It seals the wood and provides a uniform base for your topcoat. It blocks stains from bleeding through and helps paint adhere better. This is especially important when painting over dark wood or changing colors dramatically. Do not skip the primer. Using a good primer means you will likely need fewer coats of expensive paint, saving you money.
9. Choosing the Right Brush & Roller

The right tools prevent brush marks and uneven coverage. Use a synthetic bristle brush for water-based paints and stains. An angled brush, about 2 inches wide, is perfect for cutting in around edges. A small, high-density foam roller is best for flat panel surfaces. It leaves a very smooth finish. A good brush is a smart investment because it cleans easily and can be used for many future projects.
10. Spray Painting for a Smooth Finish

Spray painting delivers the smoothest, most factory-like finish. It is fast and covers intricate details easily. This method works best in a well-ventilated area like a garage. You must protect surrounding surfaces from overspray with drop cloths. For a budget-friendly option, consider renting a sprayer from a hardware store. It is much cheaper than buying one for a single project and gives excellent results.
11. Chalk Paint: The No-Prep Solution

Chalk paint is famous for requiring little to no sanding. It adheres to most surfaces, including previously finished wood. This makes it a great choice for a quick update. It has a thick, matte finish that is perfect for a rustic look. After painting, you must seal it with wax or a topcoat. This saves significant time on prep work, allowing you to focus on the fun part—applying color.
12. Distressing for a Vintage Charm

Distressing gives cabinets character and a sense of history. It works well with chalk paint or layered paint colors. After the topcoat is dry, lightly sand edges, corners, and raised areas. This reveals the primer or a base coat of a different color. The key is to focus on high-touch areas where wear would naturally occur. This technique is very forgiving because imperfections add to the charm.
13. Whitewashing for a Coastal Vibe

Whitewashing lightens wood while allowing its grain to show through. It creates a relaxed, coastal feel. Mix equal parts of water and white paint to create a translucent wash. Apply it with a cloth or brush, then wipe it off with a clean rag. You control the opacity by how much you wipe away. This is an easy DIY project that adds brightness without completely hiding the wood’s natural beauty.
14. Updating with New Cabinet Hardware
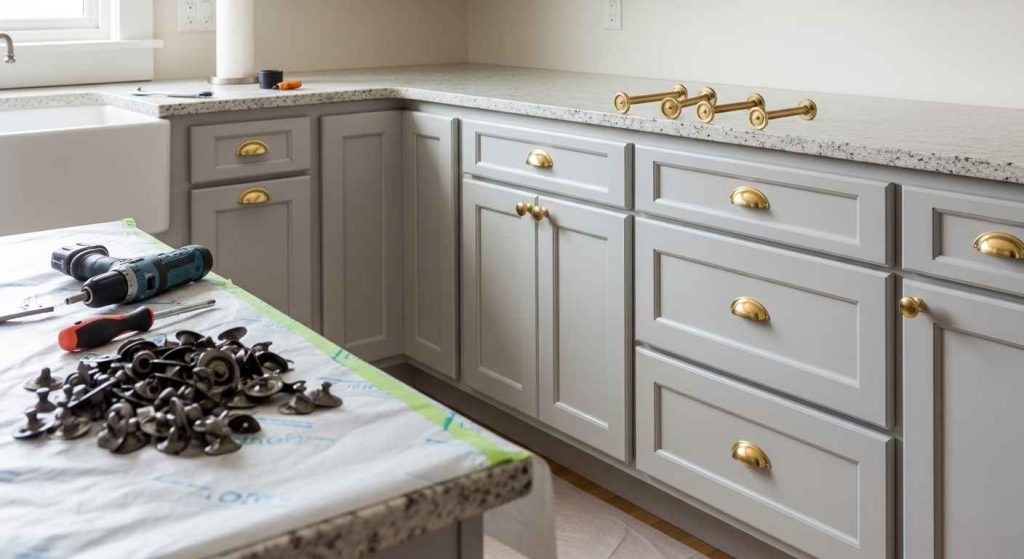
New hardware is like jewelry for your cabinets. It is one of the simplest and most effective updates. You can find stylish knobs and pulls at any home store. Measure the distance between the screw holes on your old hardware to ensure a perfect fit. This is a budget-friendly change with a big impact. Swapping out hardware can make old cabinets look custom and new in under an hour.
15. Adding Crown Molding for Elegance

Crown molding adds a finished, built-in look to basic cabinets. It draws the eye upward, making the room feel taller. You can buy pre-primed molding at a home improvement store. Cut it to size with a miter box and saw. Attach it with finishing nails and wood glue. This simple addition makes stock cabinets appear high-end and custom-designed without a major renovation.
16. Removing Doors for Open Shelving

Open shelving makes a kitchen feel more airy and accessible. It is a modern trend that is easy to achieve. Simply remove the doors from your upper cabinets. Fill the old hinge holes with wood filler and sand smooth. Paint or stain the cabinet interior to match your decor. This is a zero-cost update that completely changes the kitchen’s aesthetic. Use it to display your favorite dishes and cookbooks.
17. Lining Cabinet Interiors

Lining your cabinet shelves protects them from spills and scratches. It also adds a hidden pop of color or pattern. Peel-and-stick shelf liner is very easy to use. Clean the shelf thoroughly before application. Measure and cut the liner to size, then slowly peel and stick it down. This is a quick and affordable way to make your cabinets feel new and cared for every time you open them.
18. Stenciling for a Custom Touch

Stenciling adds a unique, hand-painted detail to plain cabinets. You can find stencils in many designs, from geometric to floral. Use a stencil brush and a small amount of paint. Dab the paint on rather than brushing it to prevent bleeding under the stencil. This DIY technique allows for complete customization. It is a very low-cost way to create a high-end, artistic look on a budget.
19. Glazing for Depth and Dimension
Glazing adds an aged, dimensional effect. It involves applying a translucent, darker coat over a base coat of paint. After the base coat is dry, brush on the glaze. Then, use a clean cloth to wipe most of it off, leaving it in the recesses. This technique accentuates cabinet details like raised panels and beadboard. It gives flat paint a rich, complex appearance.
20. Lime Wax on Oak Cabinets
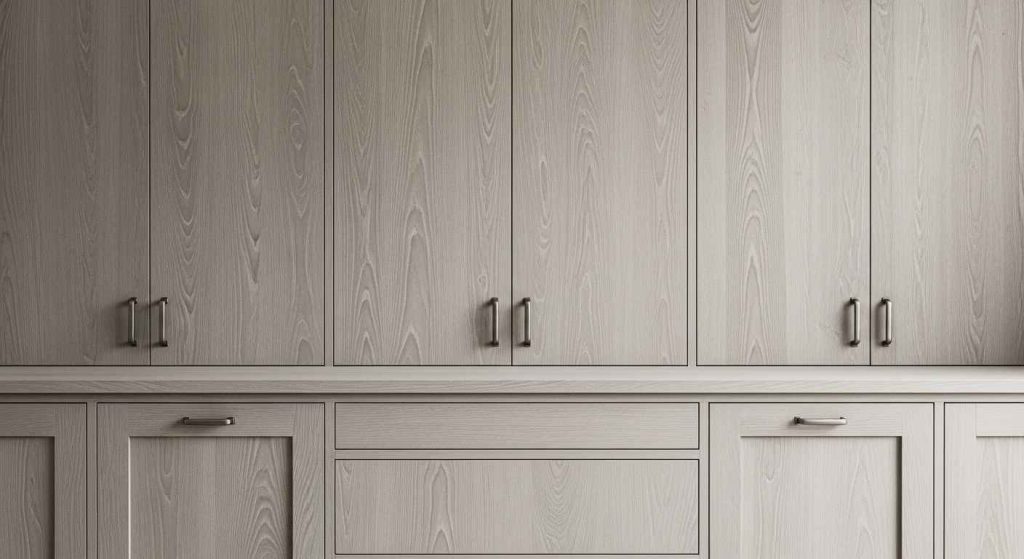
Lime wax is a specialty finish that lightens wood while highlighting the grain. It is perfect for oak with its prominent grain pattern. The wax is brushed on, left to sit, and then buffed off. It settles into the porous parts of the grain, creating a beautiful contrast. This creates a modern look on traditional oak cabinets without completely covering the wood’s character.
21. Tinted Varnishes for Color

Tinted varnishes add a hint of color while protecting the wood. They are different from stain because they sit more on the surface. They can add a warm honey tone or a cool gray cast. Apply them with a brush just like a clear topcoat. This is a simple way to shift color without committing to a full paint job. It is ideal if you love your wood grain but want a slight update.
22. Replacing Cabinet Doors Only

If your cabinet boxes are in good shape, consider replacing just the doors. This is far cheaper than all-new cabinets. You can order new doors online or from a cabinet maker. Keep your existing layout and hardware placement to make installation simple. This offers a major visual upgrade for a moderate cost. It is the perfect solution for updating a dated door style without the mess of a full tear-out.
23. Peel-and-Stick Vinyl Wraps

Vinyl wraps are a renter-friendly and temporary option. They are large sheets with a sticky backing that adhere to cabinet surfaces. They come in many finishes, including wood grain and solid colors. The key is to clean the surface perfectly and apply slowly to avoid air bubbles. This is a non-permanent solution that can hide ugly cabinets without any paint or sanding. It is easy to remove later.
24. Creating a Focal Point with Color
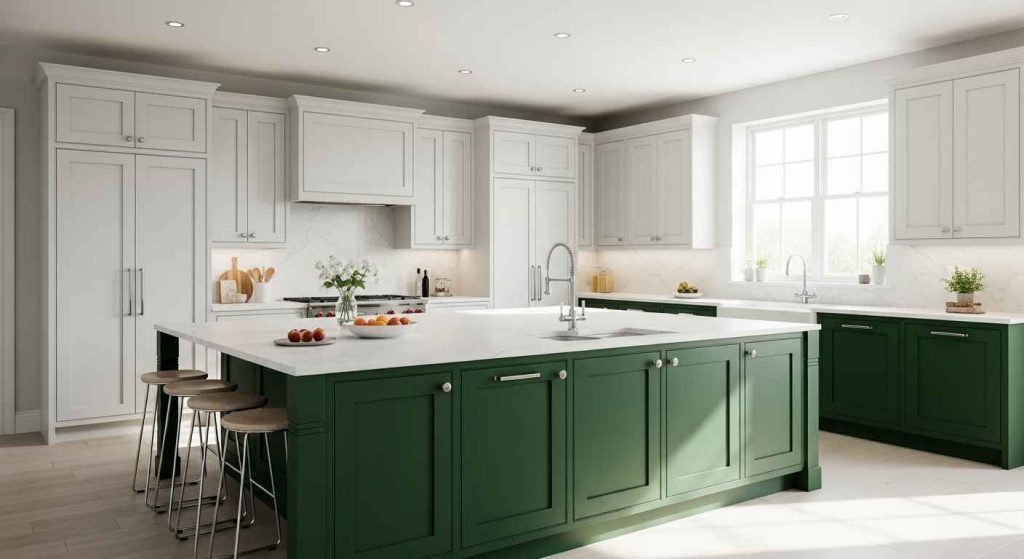
Use a bold color on your kitchen island to create a focal point. This adds personality without overwhelming the entire room. Choose a color you love but might find too strong for all the cabinets. This approach makes a design statement with minimal effort and cost. You only need a small amount of specialty paint, and it breaks up the monotony of a single color.
25. Sealing and Protecting Your Work

A protective topcoat is essential for durability, especially in a kitchen. It guards against moisture, stains, and daily wear. For painted cabinets, a water-based polyurethane or a clear lacquer works well. Apply at least two thin coats, sanding lightly between them. This final step ensures your refinish lasts for years. It is a small extra effort that protects all your hard work.
26. Maintenance for Long-Lasting Beauty

Proper care keeps your refinished cabinets looking new. Use a soft, damp cloth with a mild soap for regular cleaning. Avoid harsh abrasive cleaners or scrubbing pads. Immediately wipe up any spills, especially those containing oil or acid. Gentle cleaning preserves the finish. This simple routine will protect your investment and keep your kitchen looking beautiful day after day.
Your kitchen does not need a full remodel to feel new. Start with one small project, like painting a single cabinet or changing the hardware. These small actions build confidence. You will see quick results that motivate you to continue. Your dream kitchen is closer than you think.