A kitchen cabinet makeover does not require a full renovation. Small changes can have a big impact. You can refresh your space with simple DIY projects. These ideas are practical and budget-friendly. They help you create a kitchen you love without a major investment. Start with one project and see the difference it makes.
1. Paint Your Cabinets for a Fresh Look
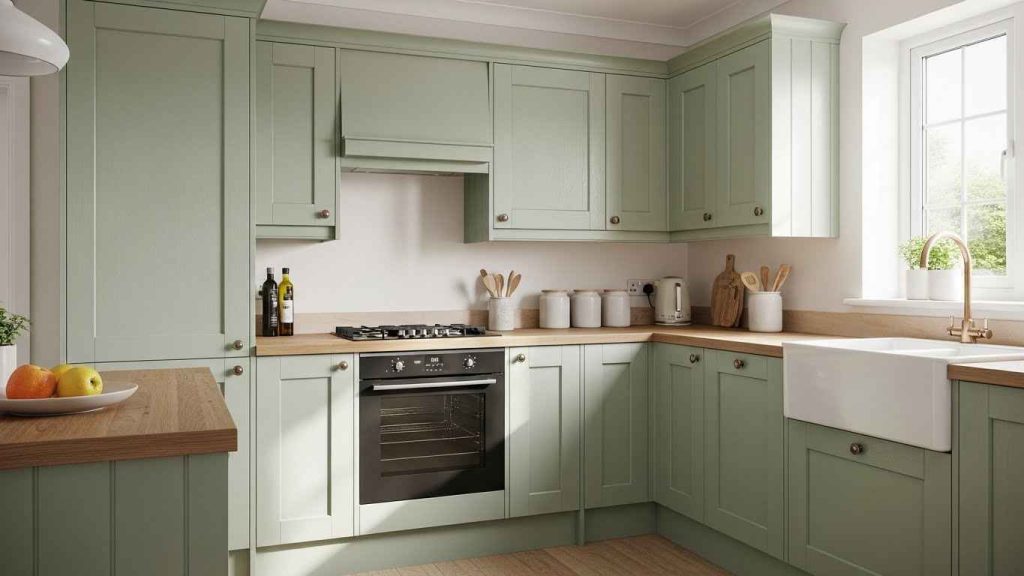
Painting cabinets is the fastest way to change your kitchen’s feel. Clean and sand surfaces first for the best results. Use a high-quality brush or a small roller to avoid streaks. A primer helps the new color stick and last longer. Choose a durable paint made for kitchens to handle cleaning. This is a very budget-friendly project that you can do over a weekend.
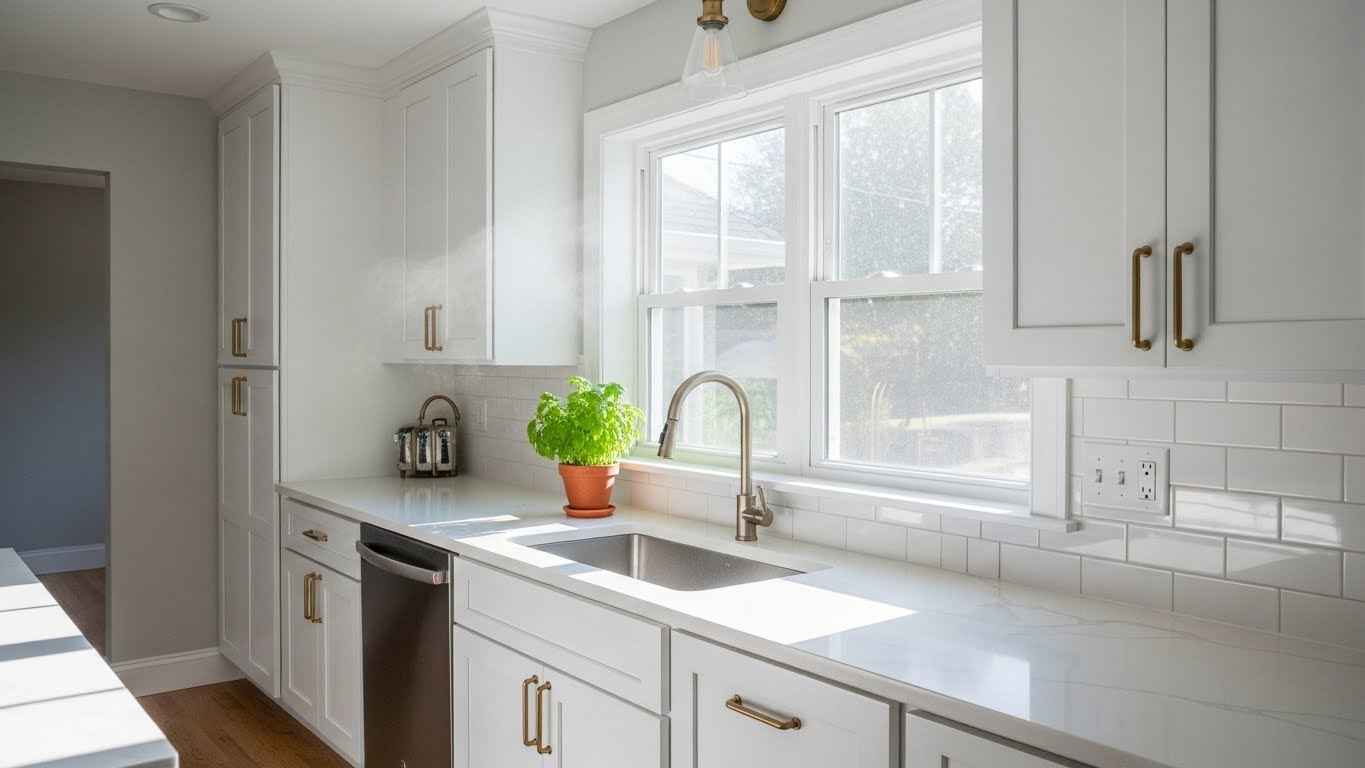
2. Swap Out Old Hardware Instantly
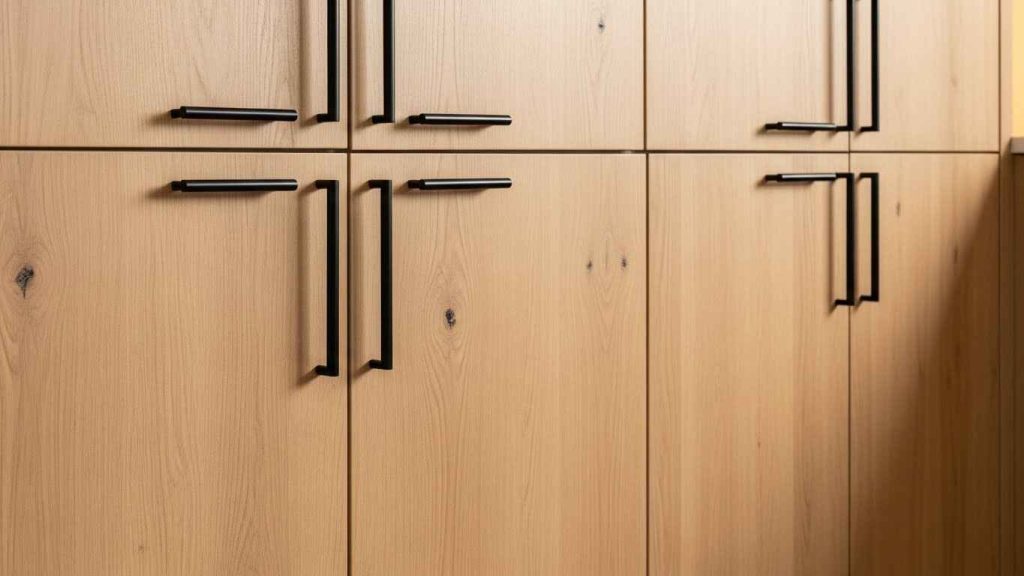
New handles and pulls give cabinets an instant update. You do not need any special tools. Just a screwdriver is enough. Measure the distance between screw holes to find the right size. This small change makes old cabinets look new. It is a simple and DIY task. Focus on the finish to match your faucet and appliances for a cohesive style.
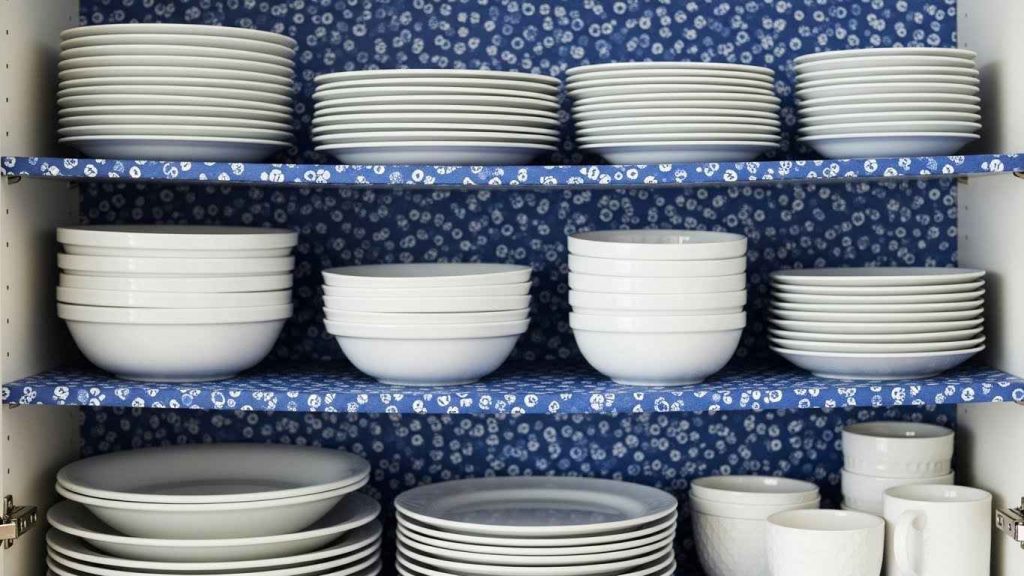
3. Add Peel-and-Stick Backing

Apply peel-and-stick wallpaper inside your cabinet backs. It adds a hidden surprise of color or pattern. This is completely removable, so you can change it later. Clean the surface well before applying to prevent bubbles. This is a very budget-friendly way to personalize your space. Line the back panels for a custom look that only you see when you open the doors.
4. Install Under-Cabinet Lighting
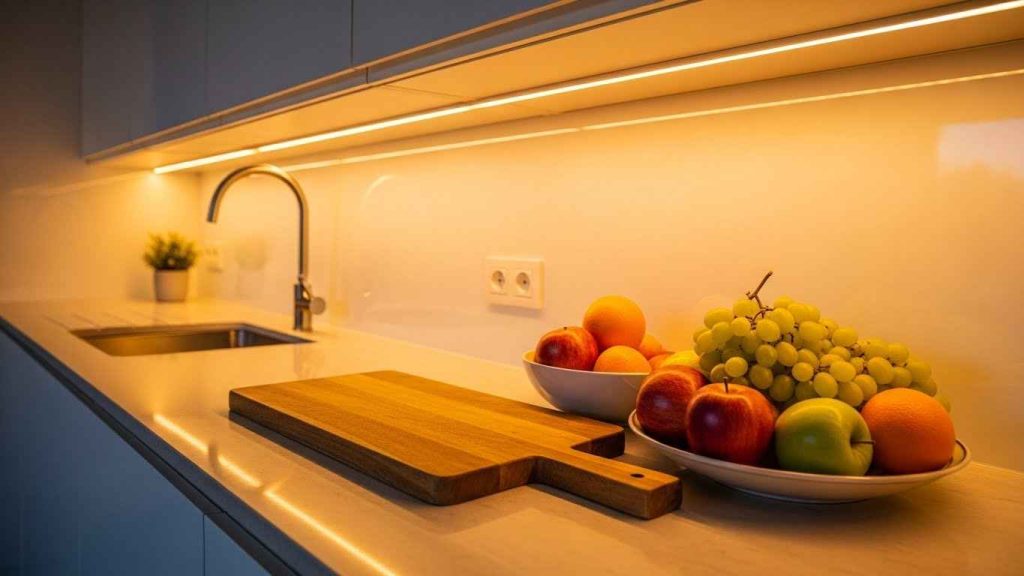
Under-cabinet lighting makes your countertops more usable. It helps with food prep and creates a nice ambiance. Choose plug-in or battery-operated LED tape lights for an easy setup. You can stick them right under the cabinet frame. This is a practical DIY upgrade. Good task lighting reduces shadows and makes your kitchen safer and more inviting in the evening.
5. Reface with New Cabinet Doors
Refacing means you keep your cabinet boxes but get new doors. This costs much less than all-new cabinets. You can order doors online or from a local supplier. It changes the entire style of your kitchen. This project is more involved but offers a big visual return. Update the doors and drawer fronts for a completely new kitchen appearance.
6. Apply Chalk Paint for Character
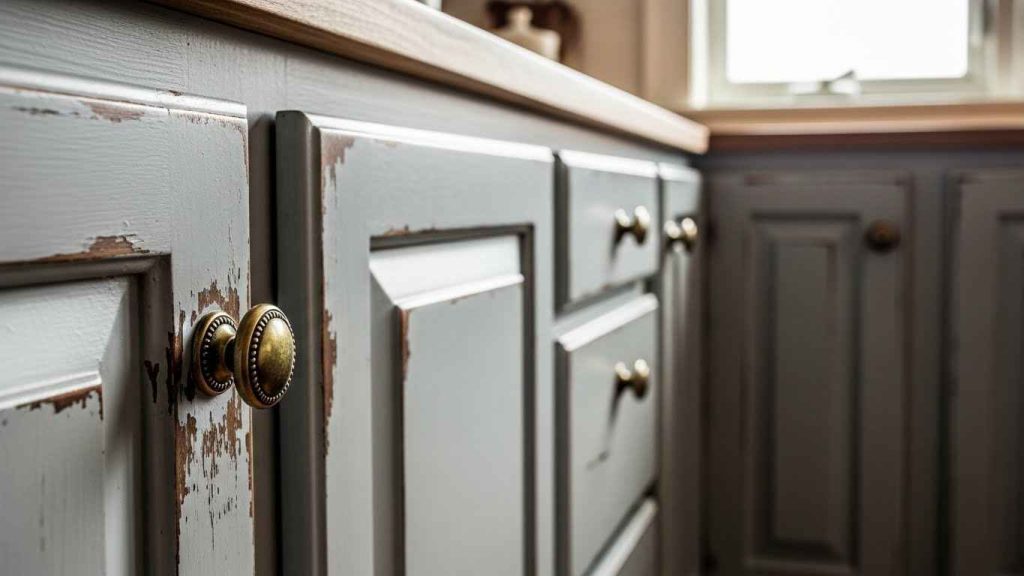
Chalk paint adheres well to most surfaces without sanding. It gives a matte, velvety finish that suits cottage or farmhouse styles. You can sand edges lightly after drying to create a worn, vintage look. Seal it with wax or a clear topcoat for protection. This is a great DIY technique for beginners. No primer is needed with most chalk paint brands, which saves time.
7. Use Stencils for a Custom Design
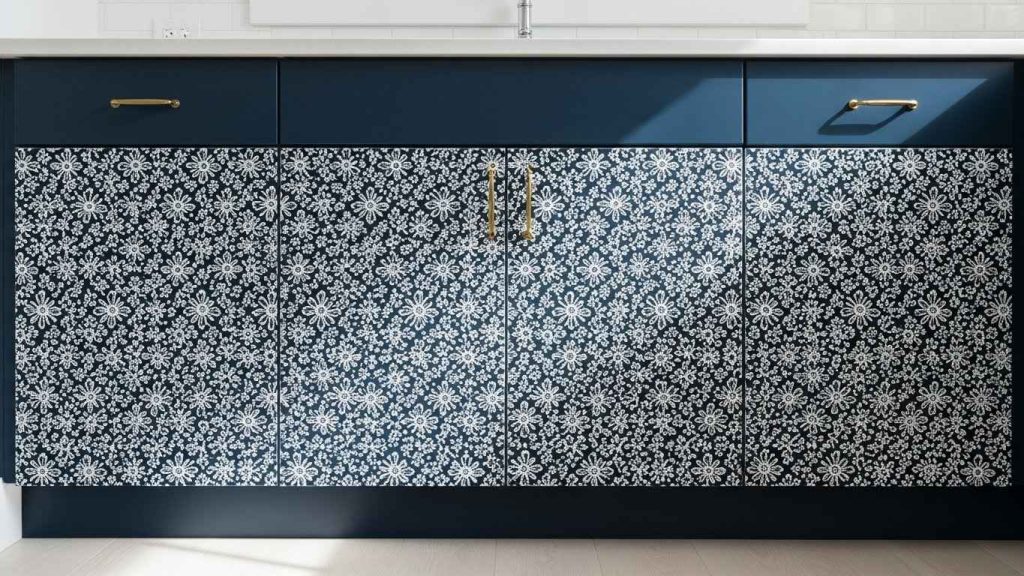
Stencils let you add patterns without artistic skill. Secure the stencil with tape and use a stencil brush with minimal paint. Dab the paint on for a clean edge. This works on flat cabinet doors or sides. It is a very budget-friendly way to get a custom look. A light touch with the brush prevents paint from bleeding under the stencil.
8. Install Open Shelving

Remove a few upper cabinet doors to create open shelves. It makes a small kitchen feel more open. You can also install new floating shelves. Style them with your favorite dishes and cookbooks. This is a simple DIY project. Display your favorite items to add personality and make your everyday things part of the decor.
9. Add Crown Molding for Elegance
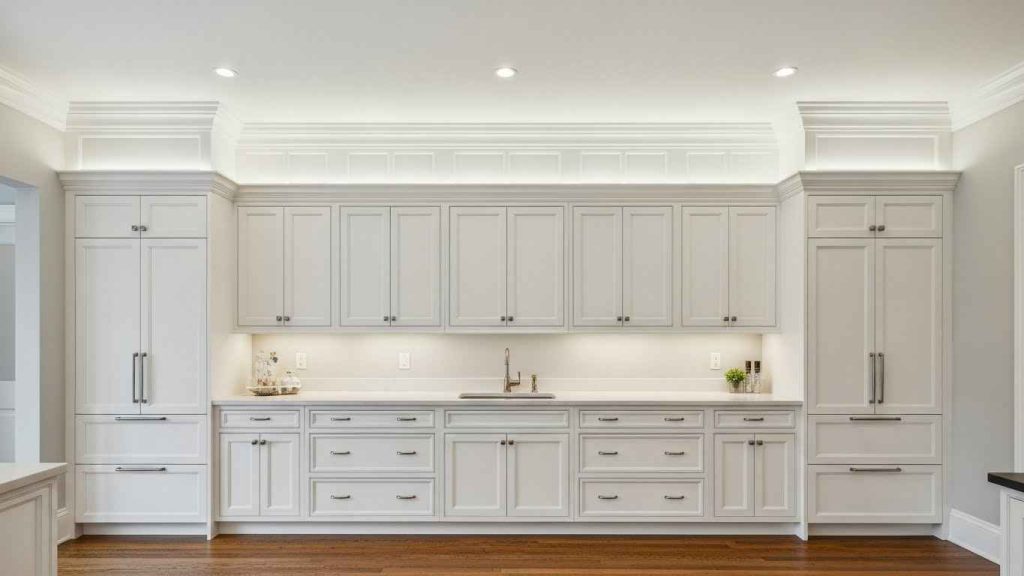
Crown molding at the top of your cabinets gives a built-in, custom look. You can buy pre-primed molding at a home improvement store. Cut it to fit and attach it with nails and wood glue. Fill any gaps with caulk before painting. This is a budget-friendly upgrade. Finish with a coat of paint that matches your cabinets for a seamless appearance.
10. Replace Hinges for a Smooth Swing

Old hinges can cause doors to sag or not close properly. New hinges fix these issues and improve function. Soft-close hinges are a small luxury that prevents slamming. Make sure to get the correct type for your cabinets. This is an easy DIY fix. Upgrade to soft-close hinges for a quieter and more modern kitchen.
11. Line Shelves with Decorative Paper
Lining shelves protects them from scratches and stains. Use adhesive shelf liner or contact paper. Cut it to size and smooth it out from the center. This hides worn shelves and makes cleanup easy. It is a very budget-friendly refresh. Choose a wipeable material for practicality, so you can quickly clean up any spills.
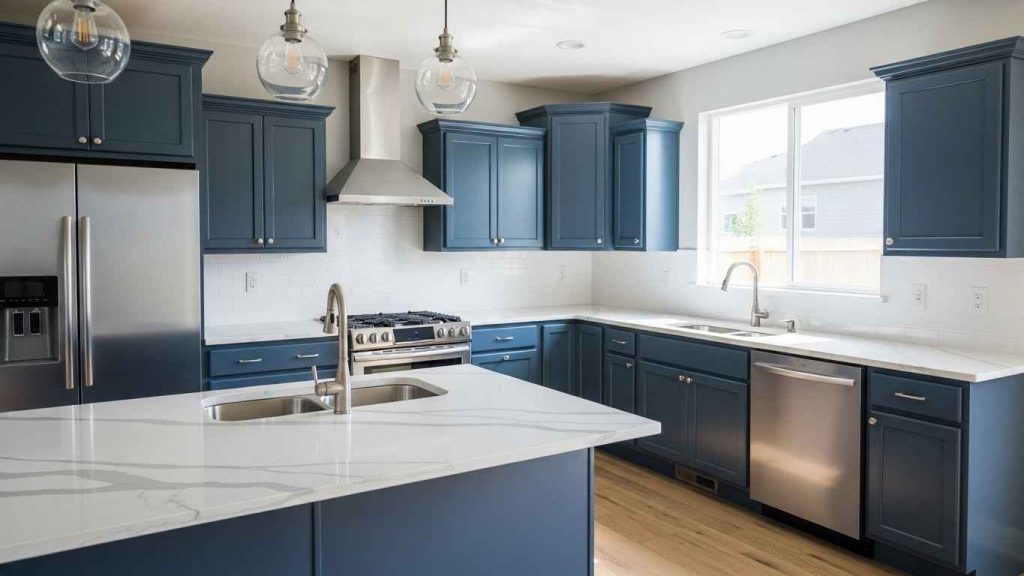
12. Create a Two-Tone Color Scheme
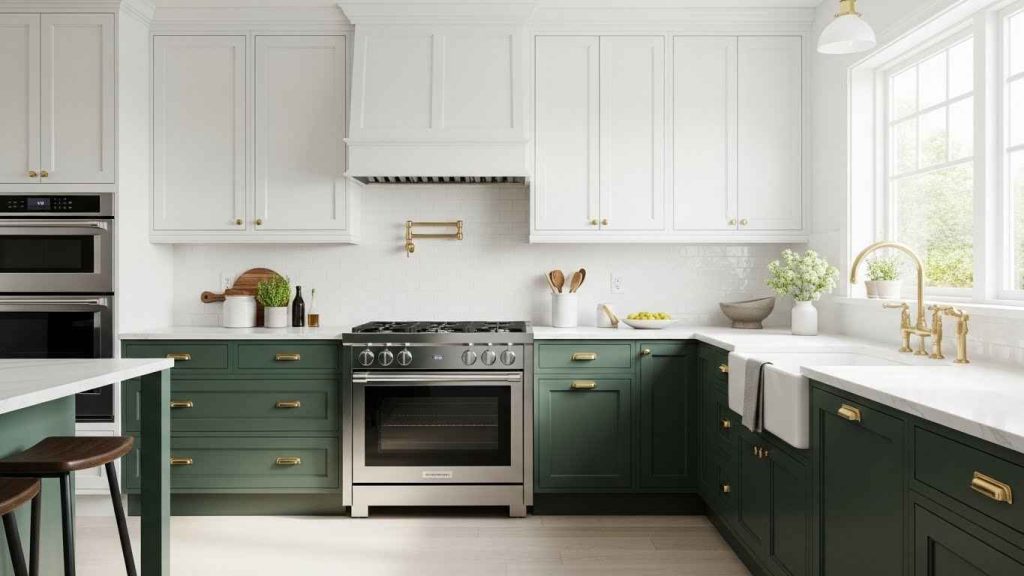
Painting upper and lower cabinets different colors adds visual interest. Light uppers and dark lowers is a popular combination. This can make ceilings feel higher. Tape off sections carefully when painting. This DIY approach defines different zones in your kitchen. Contrasting colors create a dynamic and designed look without structural changes.
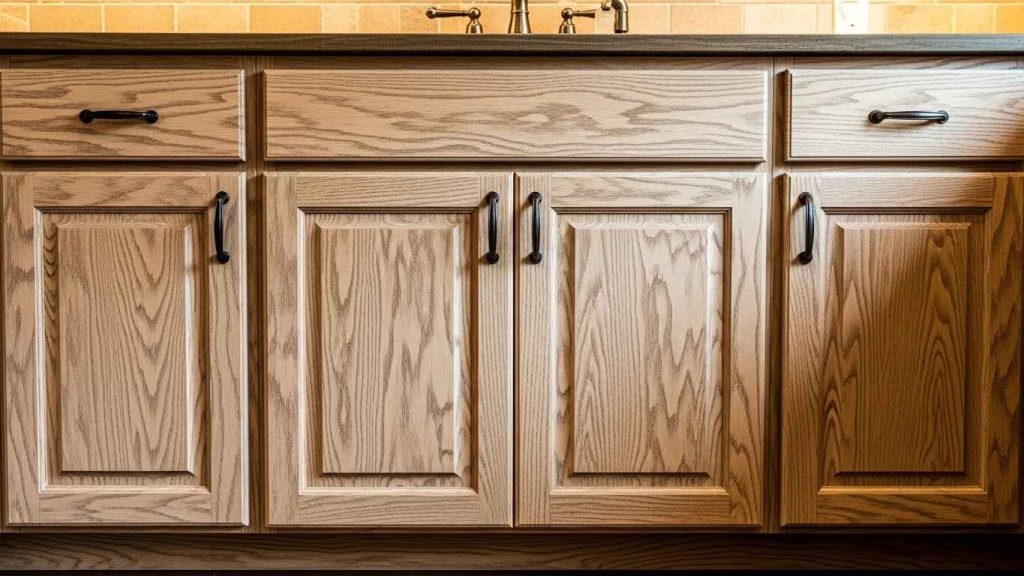
13. Apply a Gel Stain for Rich Color

Gel stain is thicker than traditional stain and does not drip as much. It works well on previously finished wood without stripping. Apply it with a cloth or brush and wipe off the excess. It gives a deep, rich color. This is a great DIY method. It sticks to sealed wood, allowing you to change the color without a full sanding job.
14. Add Glass Panel Inserts
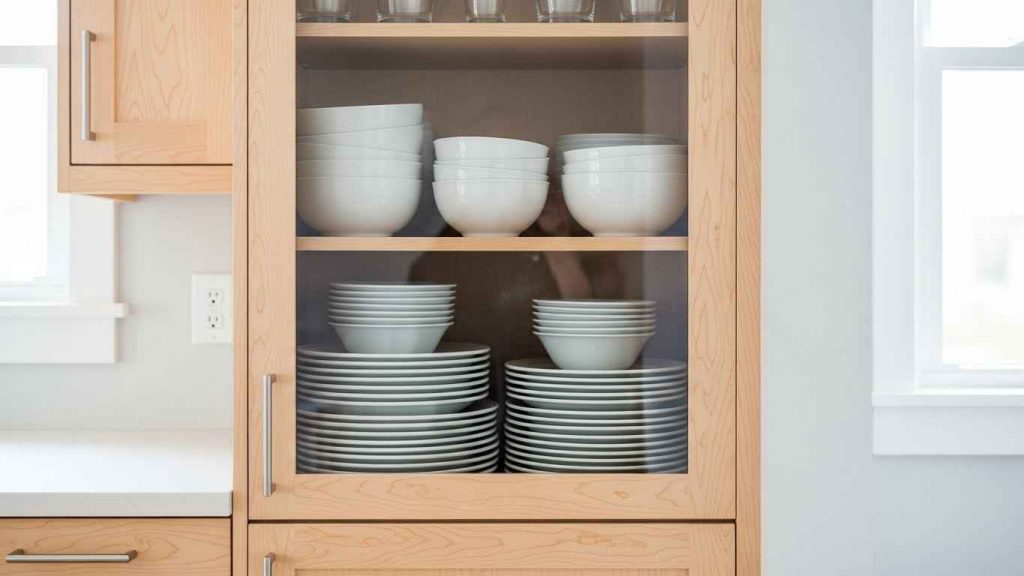
Replace a solid cabinet door panel with glass. It breaks up the solid look of cabinets and lets you display pretty items. You can use clear, frosted, or textured glass. This makes a kitchen feel more open. It is a custom-looking DIY project. Show off your collections inside the cabinets to turn storage into display.
15. Use Tension Rods for Pan Lids
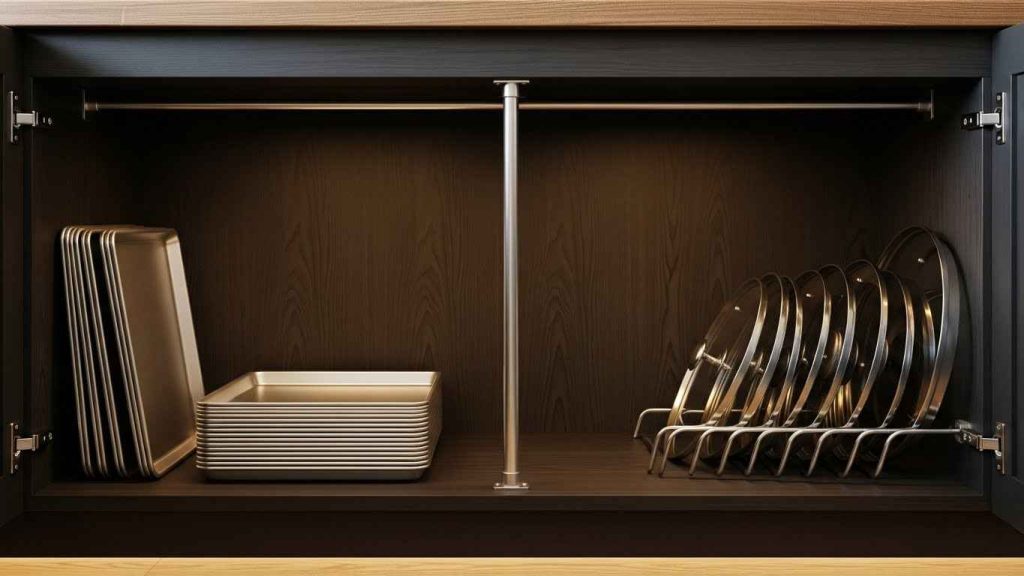
Install a tension rod vertically inside a cabinet. It creates a divider to store baking sheets and pan lids upright. This keeps them organized and easy to grab. It is a simple and budget-friendly organizer. Corral flat items to stop them from sliding around every time you open the door.
16. Install Pull-Out Organizers
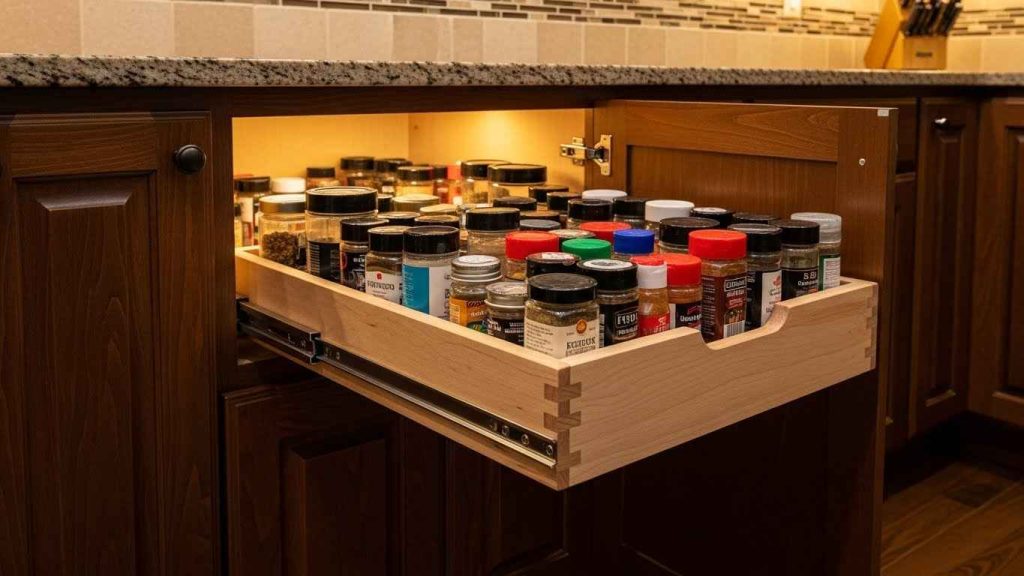
Pull-out shelves make items in deep cabinets easy to reach. You can buy kits or build simple wooden trays on slides. They eliminate digging in the back of a dark cabinet. This is a practical DIY solution for awkward spaces. Maximize deep cabinet storage so you do not lose items in the back.
17. Decorate with Knob Jewelry
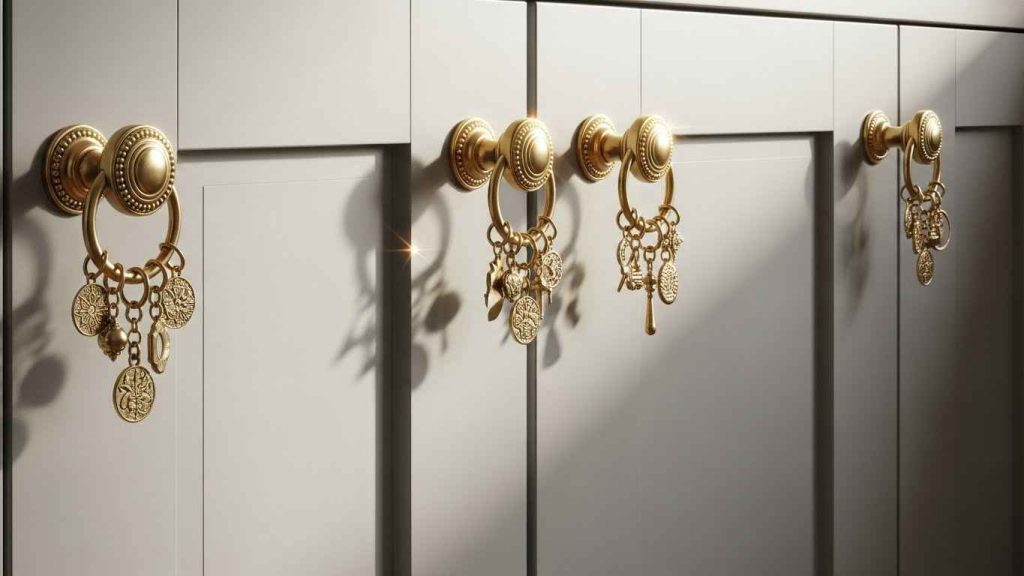
Add small decorative rings or charms to your existing knobs. This is like adding jewelry to your cabinets. It is an instant update that requires no tools. You can find these accessories in many styles. This is a very budget-friendly tweak. Swap accessories seasonally for a quick and easy change.
18. Apply a Lacquer Finish for Shine
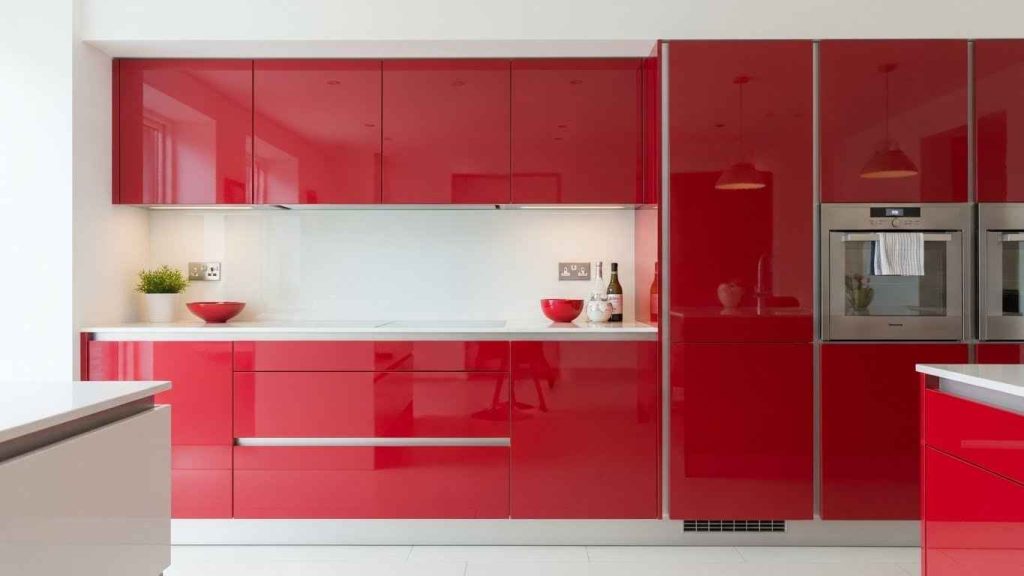
A lacquer finish gives a hard, glossy surface that is easy to clean. It is very durable for a busy kitchen. This is best applied with a sprayer for a smooth result. Proper ventilation is important. This creates a high-end look. A glossy finish reflects light and makes a small space feel larger and brighter.
19. Use Wallpaper on Cabinet Ends
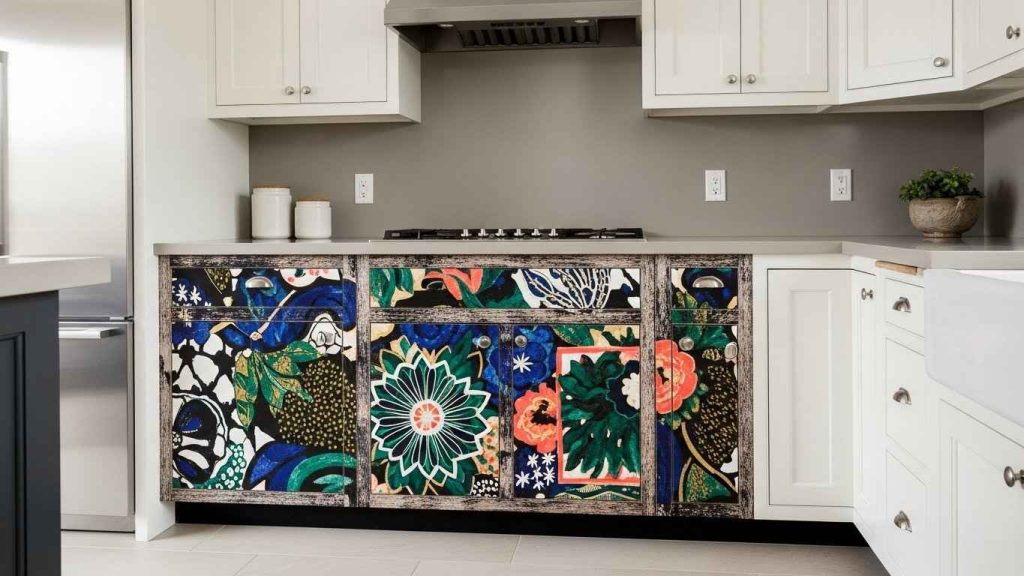
The side of a cabinet bank is often a blank canvas. Applying wallpaper here adds a focal point. Use a strong pattern to make a statement. This is removable, so you can experiment. It is a budget-friendly accent. Create an accent wall on your cabinet ends for a big style impact with minimal effort.
20. Add Toe-Kick Drawers for Storage
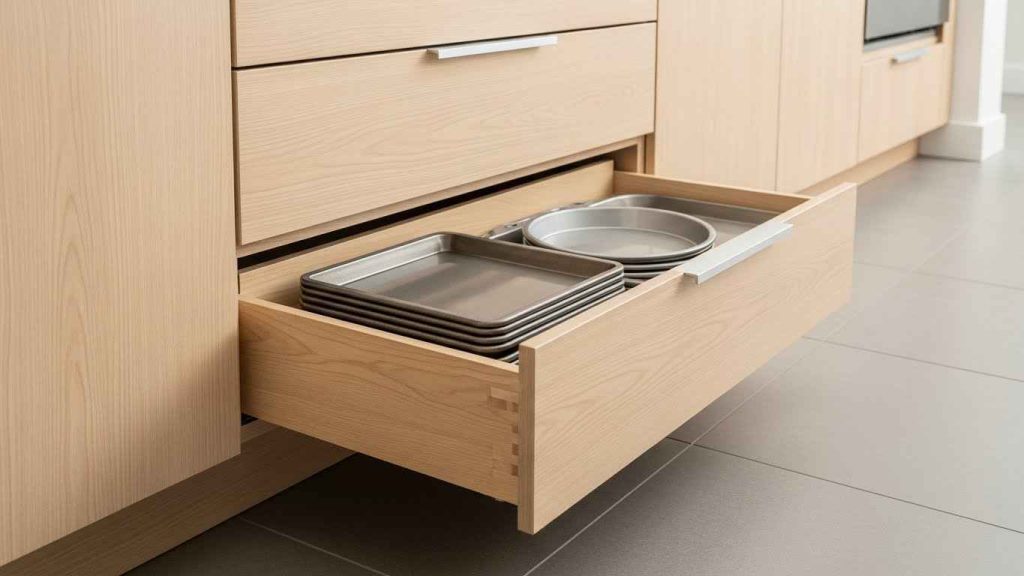
The space under your cabinets behind the toe-kick is often empty. Install a shallow drawer there for storing flat items like trays or cutting boards. This is a clever use of wasted space. You can buy kits or build a simple box. This is a smart DIY storage solution. Utilize every inch of your kitchen for a more organized home.
21. Create a Faux Wood Grain
You can paint cabinets to look like wood. Use a graining tool or a dry brush over a base coat. This technique works on flat surfaces. It is much less expensive than real wood cabinets. This DIY project requires a bit of practice. Practice on a sample board first to perfect your technique before starting on the cabinets.
22. Refresh with a Whitewash Technique
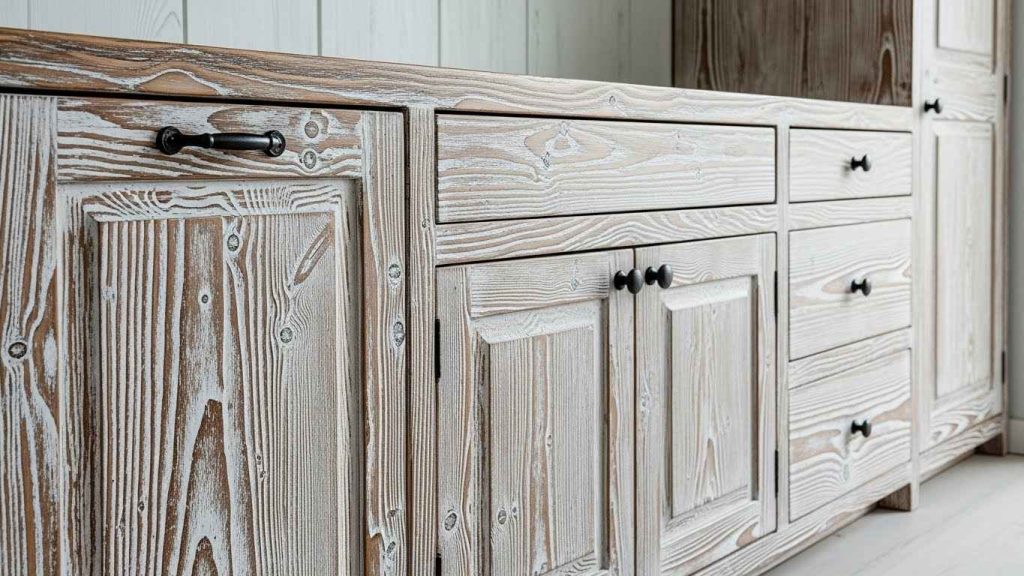
Whitewashing lightens wood while letting the grain show. Mix white paint with water and wipe it onto the wood. Wipe off excess with a cloth for a translucent effect. It brightens a dark kitchen. This is a very budget-friendly finish. A diluted paint mixture gives you control over how much color you apply.
You do not need to do everything at once. Pick one idea that feels manageable for your next free day. A single change, like new hardware or a coat of paint, can make your kitchen feel new. Start small and build from there. Your efforts will make your daily routine more pleasant.