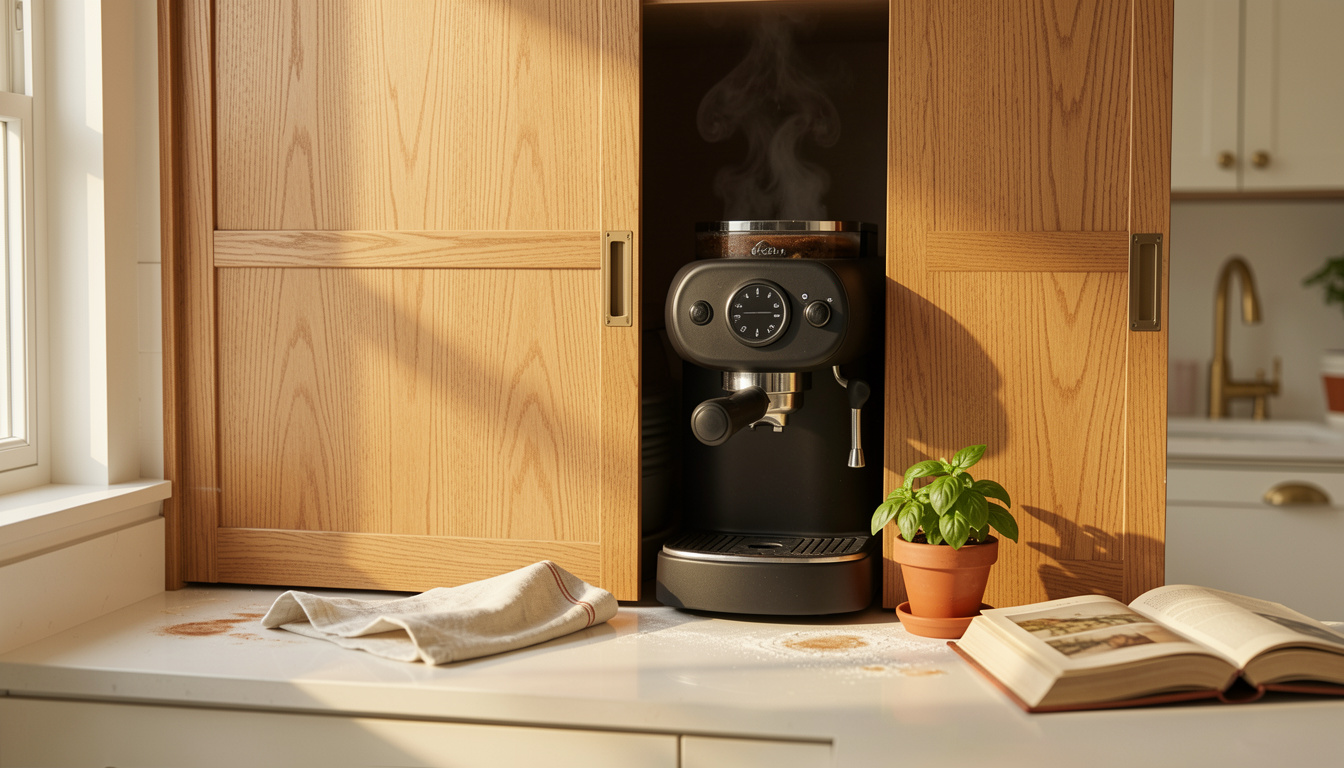
I needed to reclaim my counters fast, so I built 15 clever kitchen appliance cupboard ideas that hide the daily clutter and make mornings calmer. kitchen appliance cupboard ideas are the quickest way to a clean visual line, and these 15 options range from under $30 swaps to a few $120 splurges. Expect practical hacks, honest mistakes I made, and the exact products I used to tuck everything away.
Most ideas lean clean and lived-in, fit kitchens from modern to farmhouse, and mostly cost under $75, with a few splurges around $120. These suit small, open-plan, and rental kitchens; I focused on easy installs and one trending angle I keep seeing, concealed appliance garages. Industry sources note storage and organization remain top homeowner priorities in kitchen projects (NKBA), and Houzz highlights a growing preference for concealed counters.
1. Appliance Garage with Roll-Up Bamboo Door
Style: Modern Farmhouse | Budget: Around $60 to $120 | Best For: Counters that feel cluttered
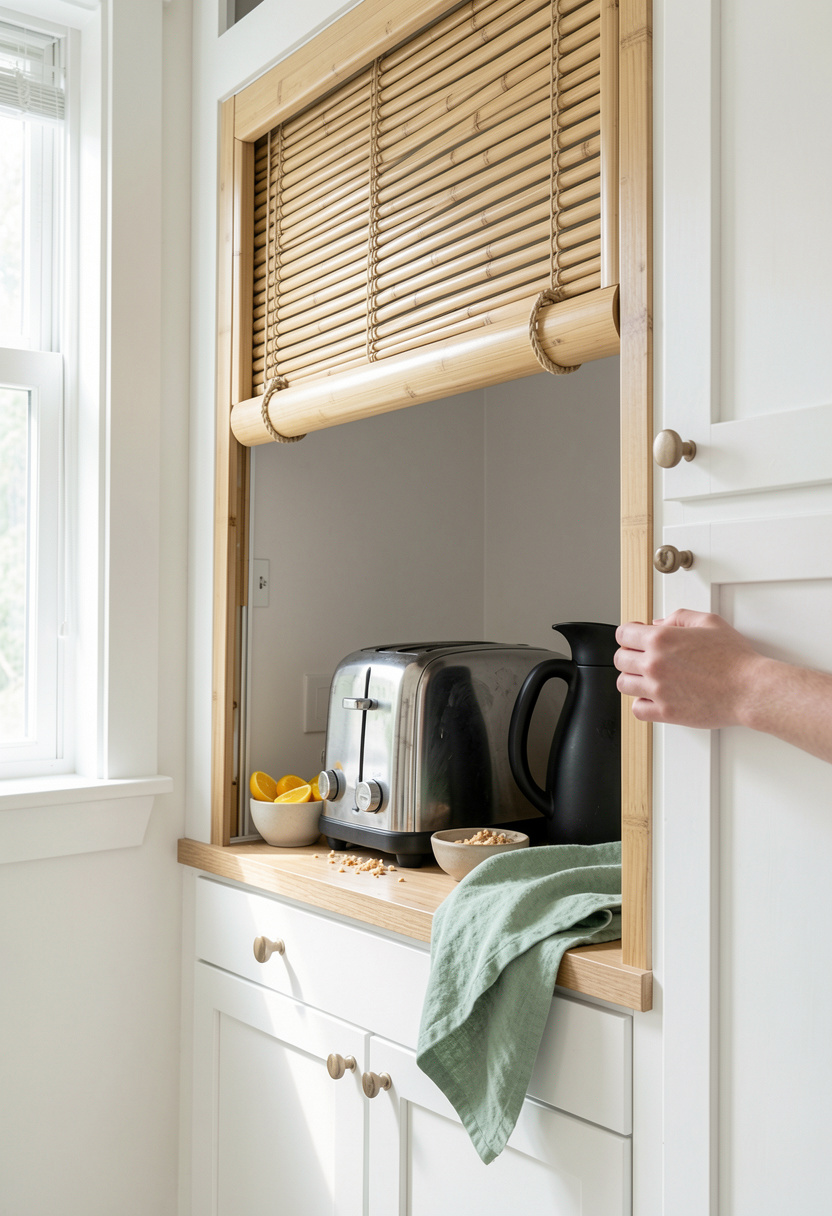
A roll-up bamboo door hides a toaster, blender, or coffee setup without swinging hardware. I installed a 24 inch bamboo roll-up above my counter, cut to fit, and used simple tracks so it glides. Bamboo keeps it light and warm, but ugly truth: cheap rollers squeak, so budget for decent tracks. I paid around $80 to $95 for materials and loved that guests never see crumbs.
Shop this idea:
2. Pull-Out Shelf With Cord Cutout
Style: Minimal Modern | Budget: Around $30 to $75 | Best For: Deeper base cabinets
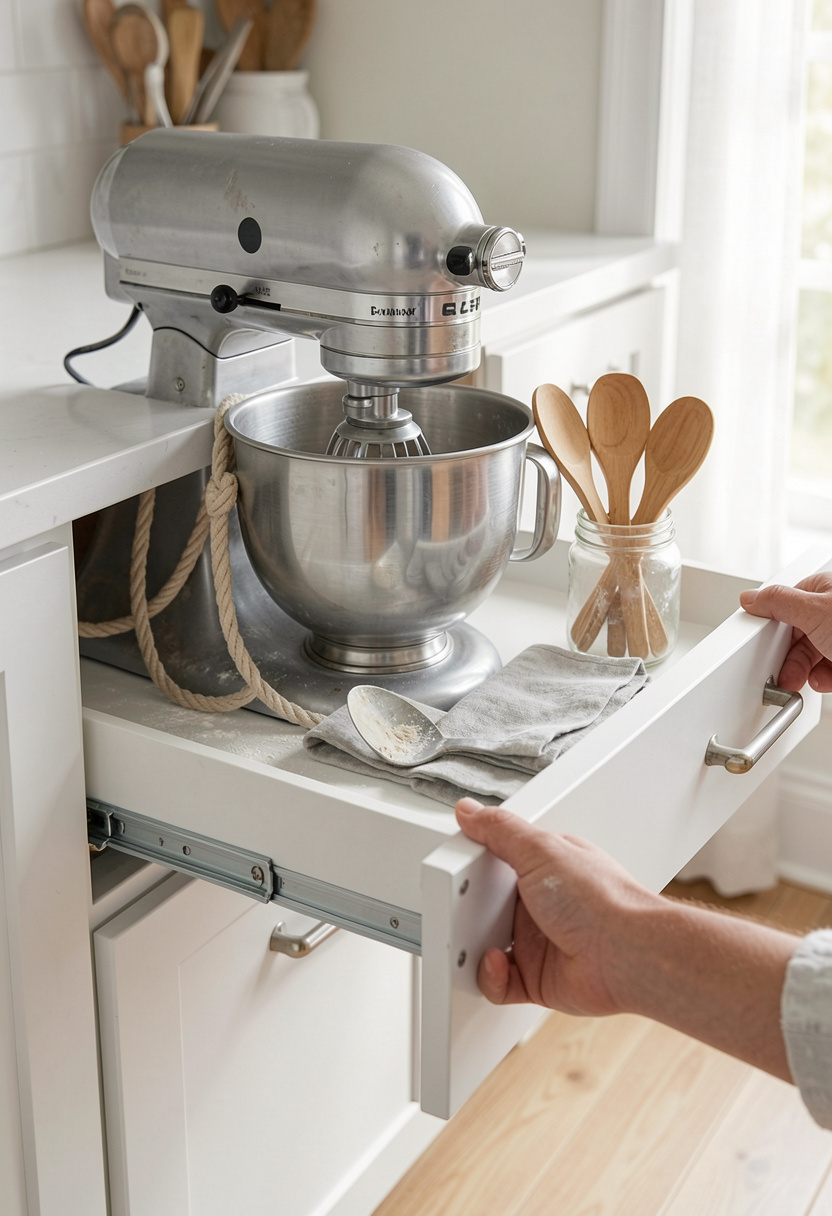
A pull-out shelf with a cord cutout makes heavy mixers usable and invisible when stowed. I retrofitted a 22 inch shelf and routed a neat cable hole for the plug. Practical tip: add a power strip mounted inside the cabinet to avoid unplugging constantly. Price was around $40 to $65 for sliders and hardware. Ugly truth: cheap sliders wobble, get full-extension ball bearing slides.
Shop this idea:
3. Lift-Up Cabinet Door with Hydraulic Stay
Style: Contemporary | Budget: Around $50 to $120 | Best For: Upper cabinets above counters

Lift-up doors that stay open let you grab a food processor and close it instantly. I swapped one upper cabinet for a hydraulic stay model and it transformed my workflow. Choose soft-close pistons to avoid slamming. Installation ran about $70 to $120 including brackets. Ugly truth: older hinges can be a pain to retrofit, so measure carefully before buying.
Shop this idea:
4. Sliding Barn Door Appliance Cupboard
Style: Rustic Farmhouse | Budget: Around $90 to $150 | Best For: Open-plan kitchens
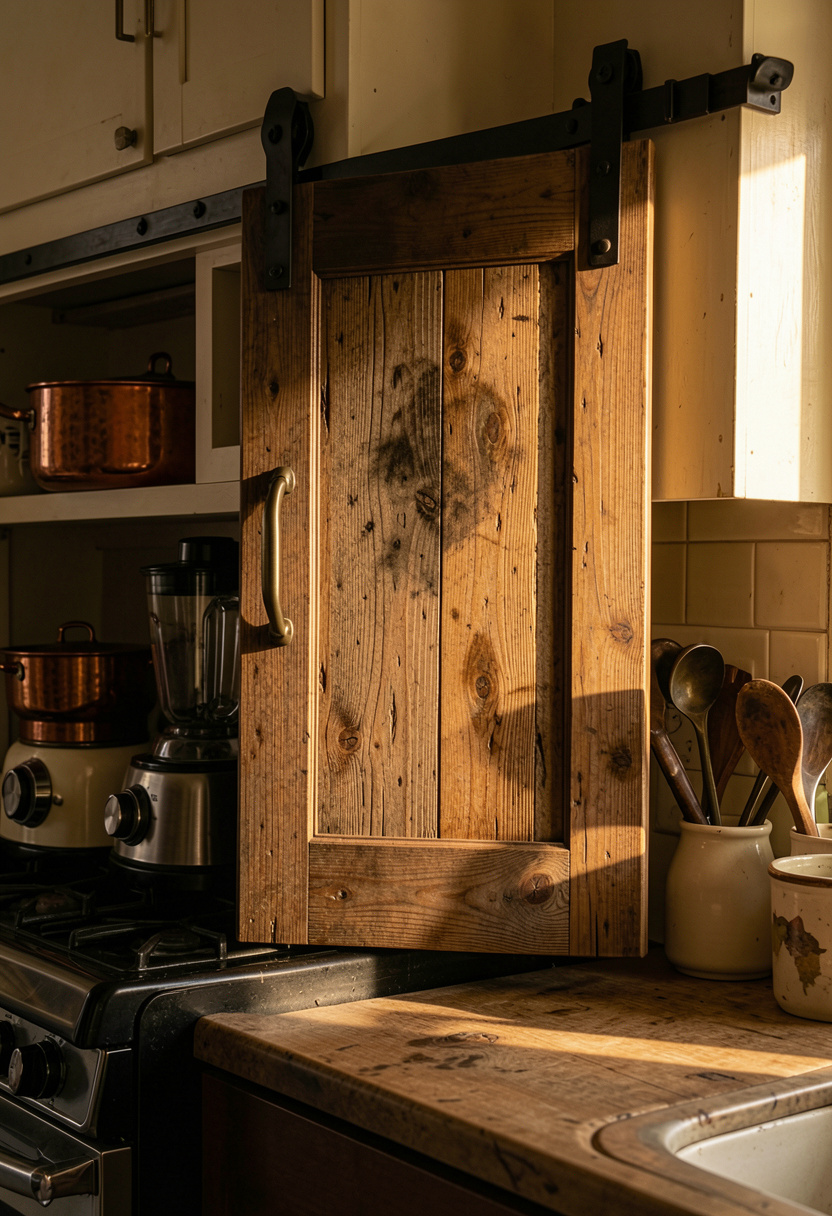
A sliding barn door gives character and hides a whole appliance zone. I hung a 30 inch door on exposed black hardware; it glides and becomes a focal point. Practical tip: use soft-close rollers to prevent banging. Budget around $90 to $140 depending on wood. Ugly truth: barn doors eat wall space and need clearance, so they suit one-wall runs better than corner counters.
Shop this idea:
5. Lift-Out Counter Panels
Style: Coastal Minimal | Budget: Around $40 to $90 | Best For: Temporary appliance hiding in rentals
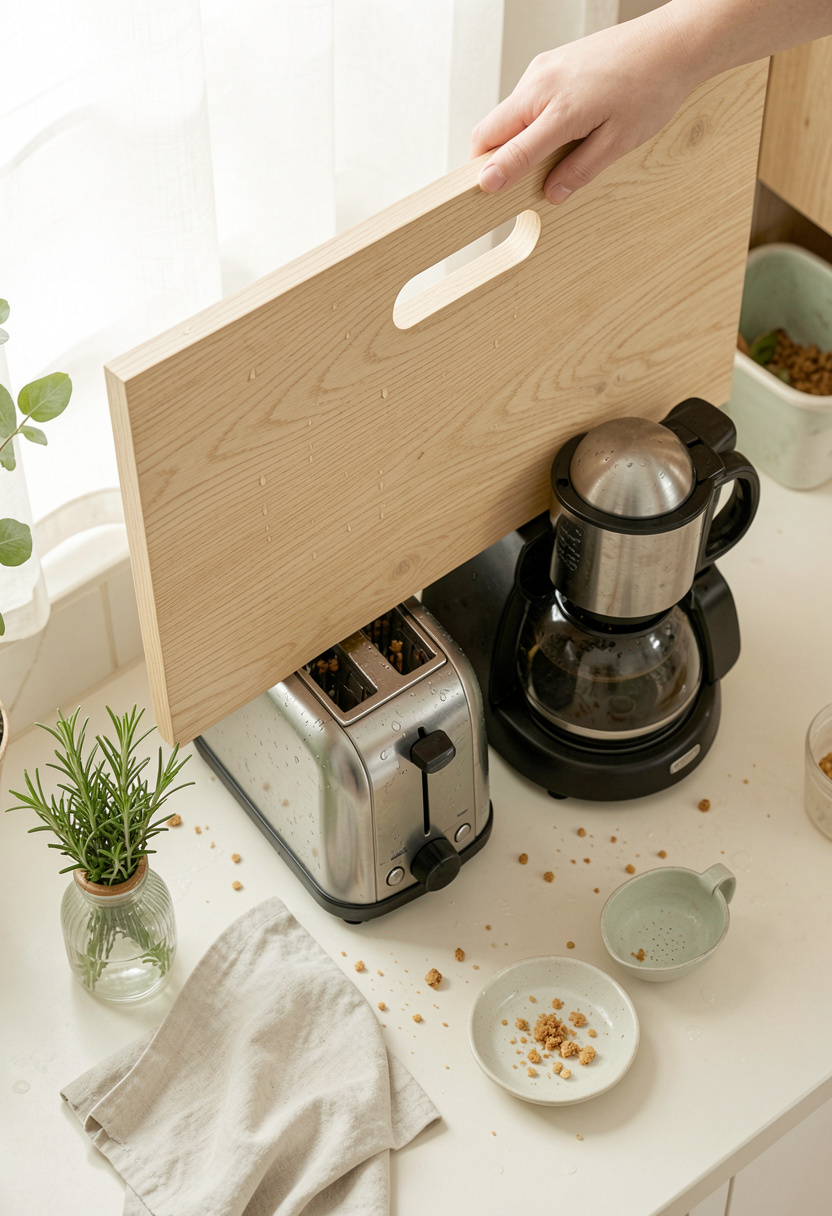
Lift-out panels cover a small appliance nook and simply lift away when in use. I had a carpenter make one inset panel that sits flush with my counter for $60 to $90. Choose acacia or walnut veneer for a seamless look. Tip: add rubber feet underneath so it doesn't slip. Ugly truth: panels trap heat if you store hot appliances right after use; vent before closing.
Shop this idea:
6. Hidden Pop-Up Outlet Tower
Style: Modern Minimal | Budget: Around $45 to $100 | Best For: Small counters needing power without clutter
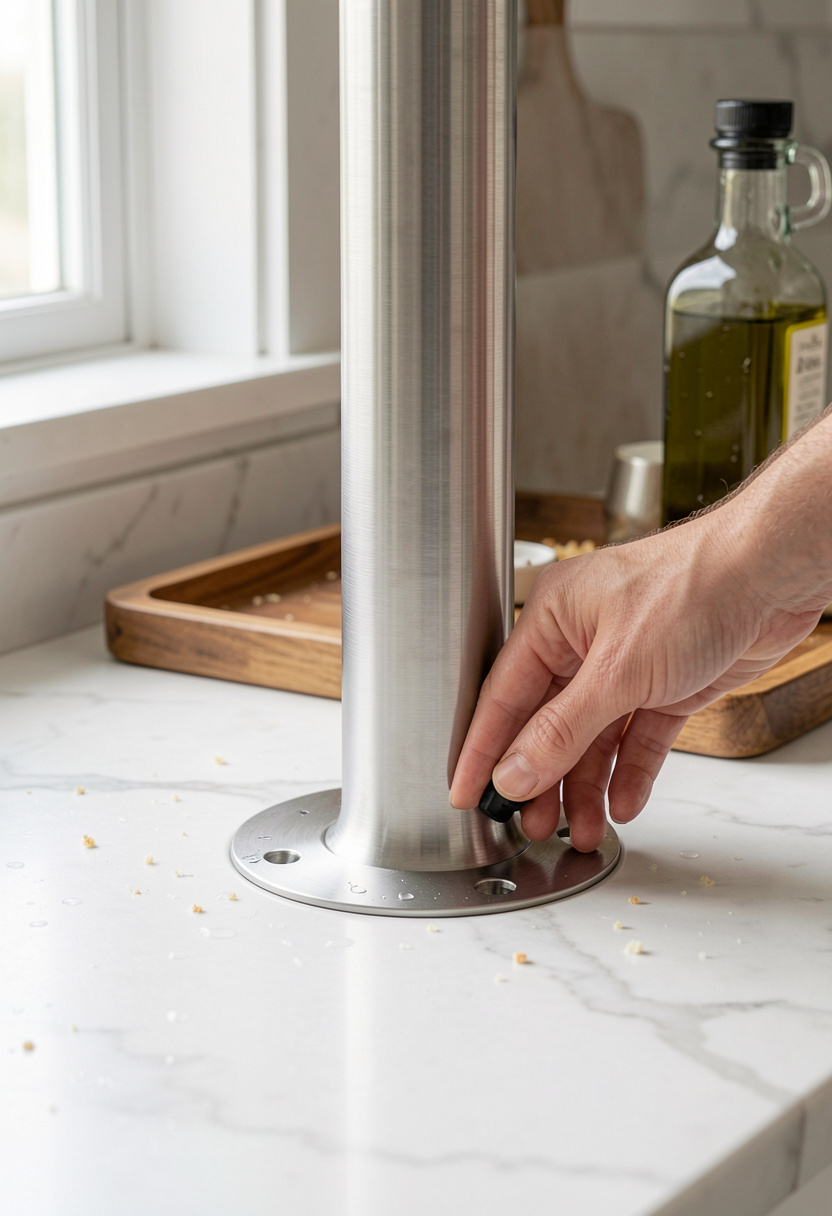
A pop-up outlet tower tucks power away and keeps cords from sprawling. I replaced a countertop strip with a stainless pop-up and now plug a mixer without extra clutter. Install needs a drilled hole and about $50 to $95 for good models. Tip: pick a model with USB ports for phones. Ugly truth: low-quality units can stick; test the mechanism before final install.
Shop this idea:
7. Tall Appliance Pantry with Adjustable Shelves
Style: Collected & Curated | Budget: Around $80 to $150 | Best For: Stackable appliances and mixers
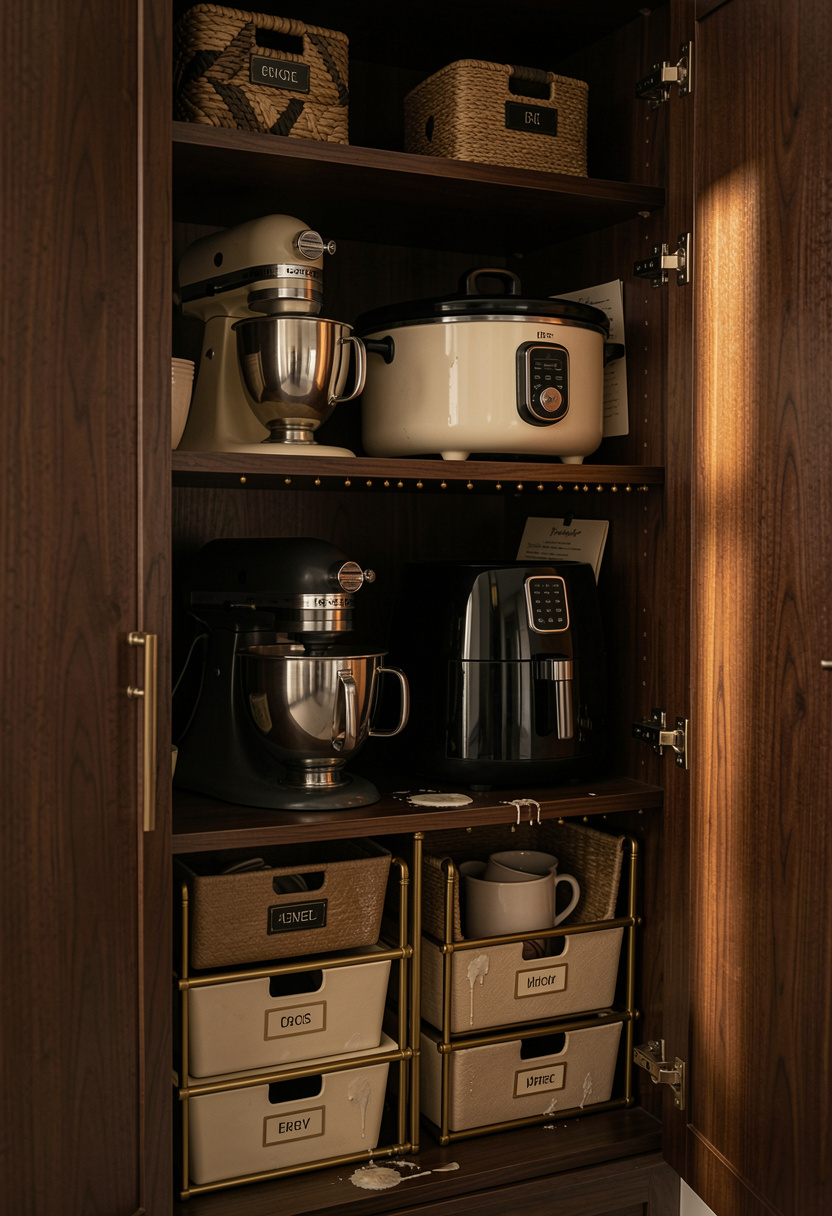
A tall appliance pantry stores large items behind doors and keeps counters clear. I built adjustable shelves spaced 9 to 12 inches apart to accommodate my mixer and air fryer. Practical tip: add pull-out trays for heavy gear. Cost around $100 to $150 for pre-made units. Ugly truth: without vents, slow cookers must fully cool before storing to avoid odors.
Shop this idea:
8. Recessed Niche Behind Cabinet Doors
Style: Urban Modern | Budget: Around $30 to $80 | Best For: Narrow appliances and mugs

A recessed niche inside a cabinet door holds skinny items like immersion blenders and rolling pins. I carved a 4 inch deep inset and added velcro straps to secure tools. This cost around $30 to $50 in materials. Tip: use moisture-resistant paint if storing near the sink. Ugly truth: niches reduce usable interior depth, so only use for slim gear.
Shop this idea:
9. Appliance Lift for Under-Cabinet Storage
Style: Industrial Chic | Budget: Around $70 to $130 | Best For: Heavy mixers stored below counter
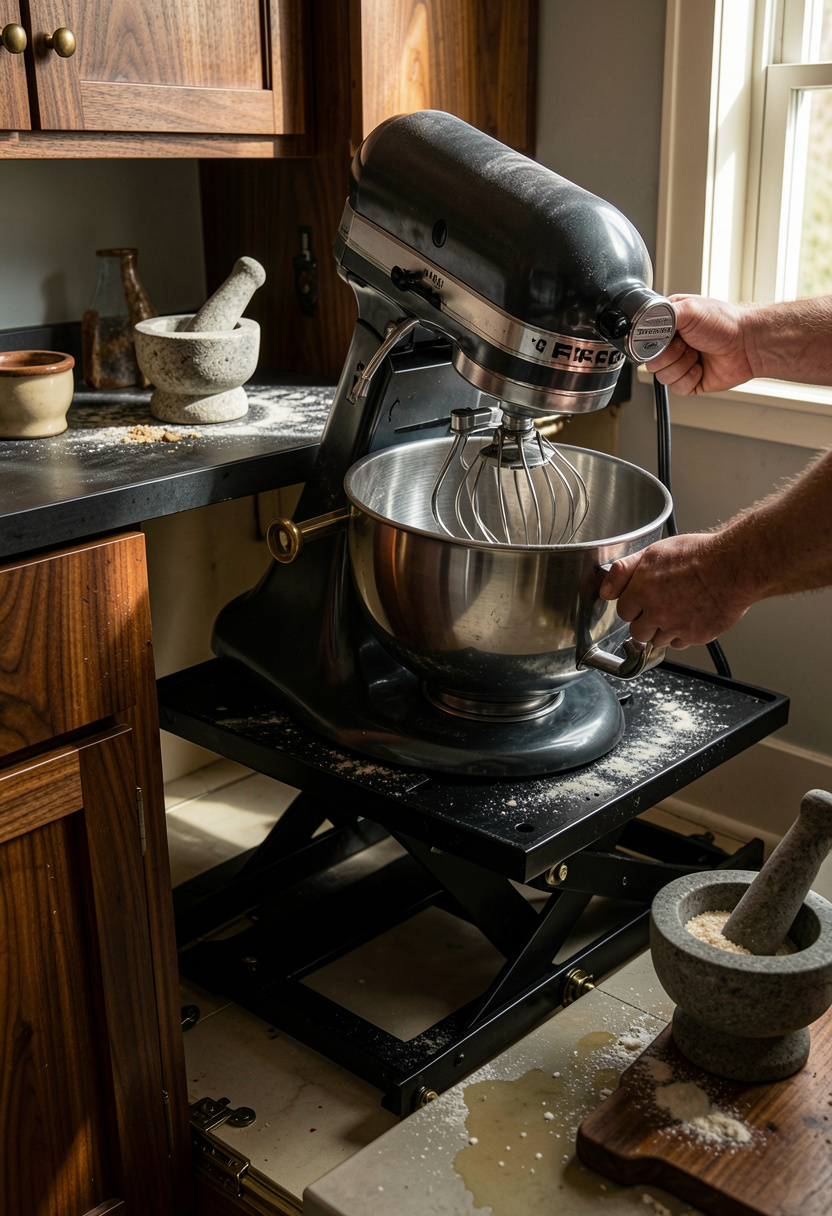
An appliance lift slides a heavy mixer up from below and locks it at counter height. I installed mine in a 24 inch base cabinet and it’s been a game for me in ergonomics. Expect to pay around $80 to $120 for a reliable lift. Tip: check weight rating, most handle 40 to 50 pounds. Ugly truth: it reduces drawer space below, so plan for storage trade-offs.
Shop this idea:
10. Roll-Out Wire Baskets for Deep Cabinets
Style: Practical Rustic | Budget: Around $25 to $60 | Best For: Pots, lids, and small appliances

Roll-out wire baskets make deep cabinets accessible so appliances don’t get lost in the back. I added two 16 inch baskets for my slow cooker and immersion blender. They cost around $25 to $50 and install with simple brackets. Tip: label the front for quick grabs. Ugly truth: wire baskets can scratch delicate finishes; add felt pads where needed.
Shop this idea:
11. Hidden Tray for Daily Coffee Station
Style: Bright & Airy | Budget: Around $20 to $60 | Best For: Small coffee appliances
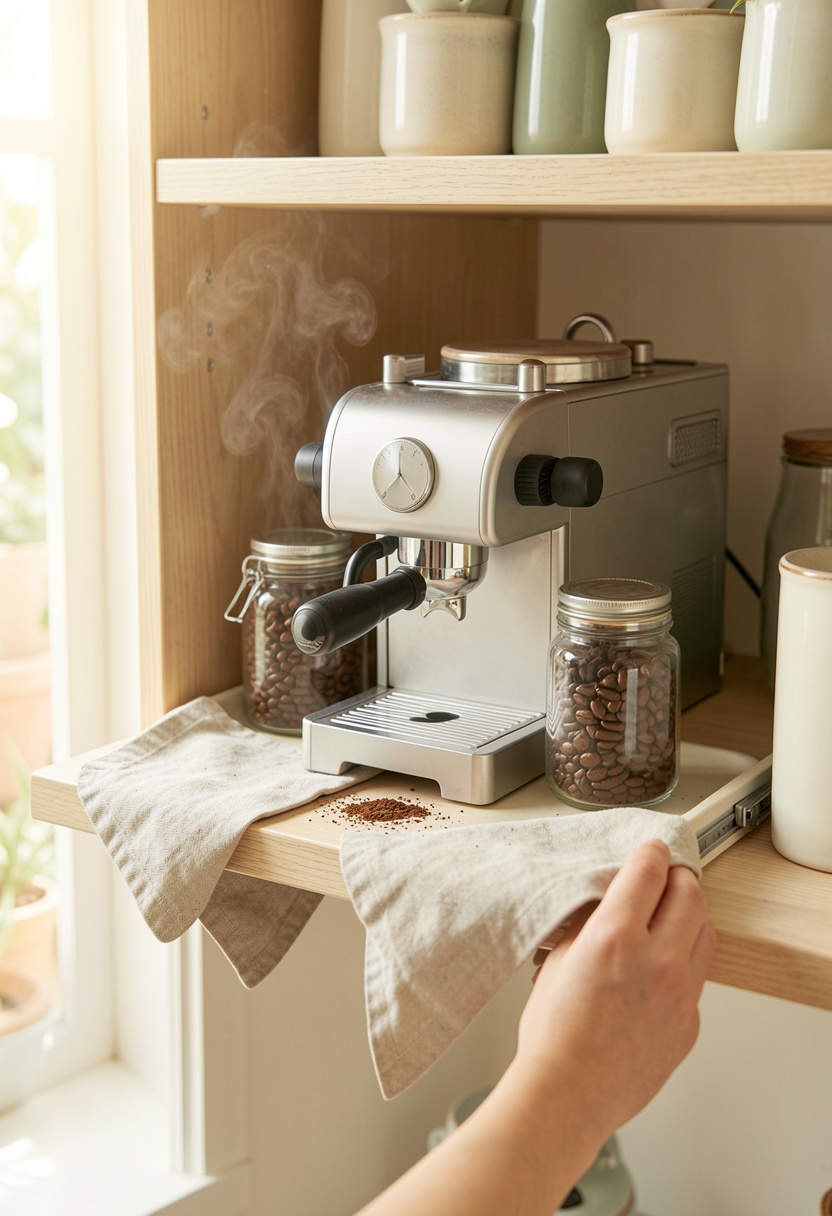
Convert a small cabinet into a coffee station with a pull-out tray so your machine stays hidden when not in use. I used a 12 inch tray and keep beans in a matte ceramic canister. Budget around $20 to $45. Tip: store frequently used cups on the underside of the shelf. Ugly truth: coffee machines drip; place a silicone mat to catch spills and avoid cabinet damage.
Shop this idea:
12. Flip-Down Work Surface With Storage
Style: Tiny Kitchen Solution | Budget: Around $30 to $90 | Best For: Apartments and tiny kitchens

A flip-down work surface doubles as a door and extra prep space when needed. I added a 16 inch hinge-down panel that stores a tablet and small blender. Installation cost around $30 to $70. Tip: add a support bracket to lock open. Ugly truth: this solution reduces vertical storage inside the cabinet, so reserve for small kitchens.
Shop this idea:
13. Cabinet Front Panel That Matches Countertop
Style: Seamless Minimal | Budget: Around $50 to $120 | Best For: Ultra-clean modern counters

Camouflaging an appliance cupboard with the same finish as your countertop creates a seamless look. I had a carpenter veneer a 24 inch door with matching quartz laminate for about $100 to $120. Tip: choose durable laminate rather than thin veneer near sinks. Ugly truth: matching finishes can highlight warping on cheaper doors, so use quality materials.
Shop this idea:
14. Appliance Drawer With Heat Vents
Style: Scandinavian Clean | Budget: Around $60 to $140 | Best For: Warm appliances like kettles or toaster ovens

A drawer with vents allows you to store warm appliances without trapping heat. I cut vents in a deep drawer and added a mesh panel for airflow. Expect about $60 to $140 depending on retrofit complexity. Tip: keep vents near the back so cords exit safely. Ugly truth: vents mean more cleaning, so choose removable vent covers for easy washing.
Shop this idea:
15. Decorative Louvered Doors for Airflow and Style
Style: Coastal Cottage | Budget: Around $40 to $100 | Best For: Appliance pantries needing ventilation
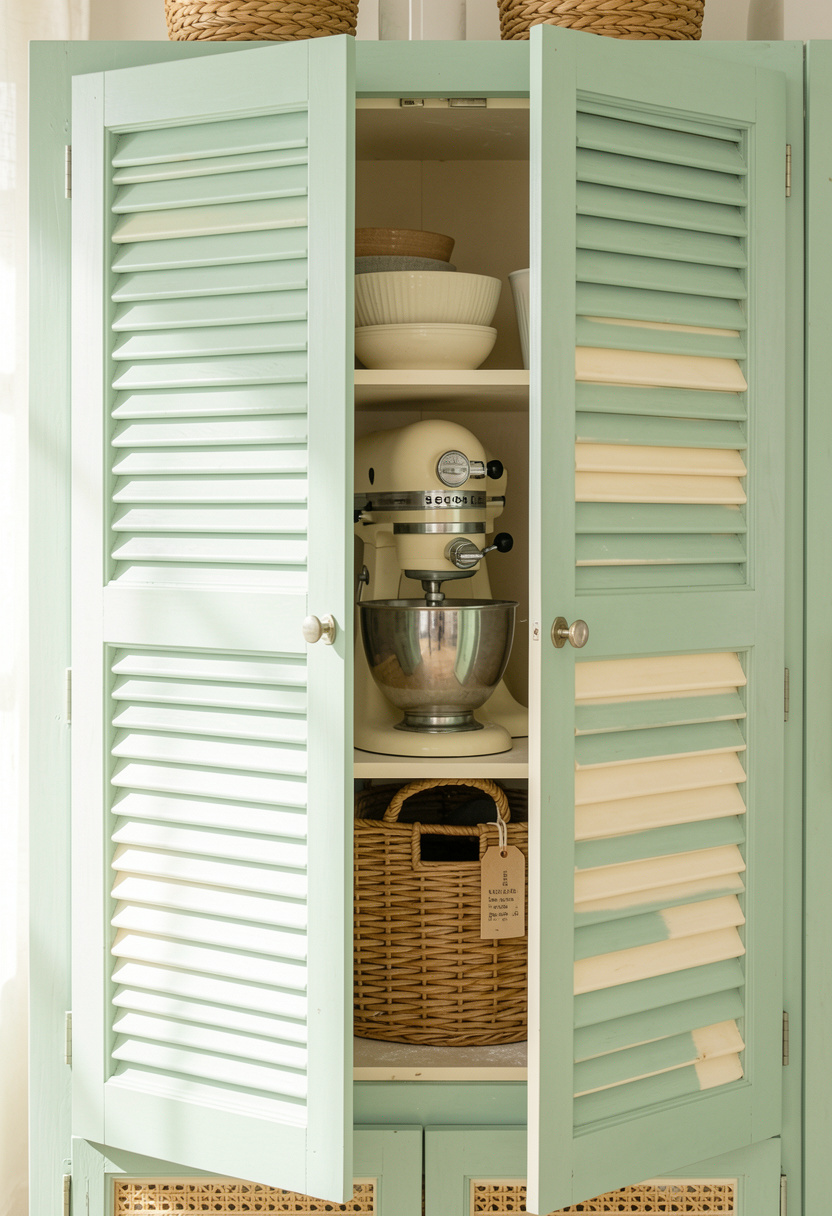
Louvered doors look charming and allow airflow for stored appliances. I painted mine seafoam and installed on a 30 inch appliance closet. They cost about $40 to $100 including hinges. Tip: pair with interior mesh shelving for extra ventilation. Ugly truth: louvers collect dust, so expect to dust more often.
Shop this idea:
What You'll Need to Get This Look
Countertop & Storage
- Bamboo roll-up appliance garage kit around $60 to $95
- 12 inch pull-out tray around $20 to $45
- Matte ceramic coffee canister around $15 to $35
- Under-cabinet power strip around $20 to $50
Wall Decor & Open Shelving
- Acacia floating shelves 24 inch around $25 to $60
- Black barn door hardware kit around $50 to $120
- Hydraulic lift-up cabinet hardware kit around $50 to $120
Textiles & Soft Goods
- Sage linen dish towels set of 4 around $18 to $35
- Silicone non-slip bumpers around $6 to $15
Greenery & Freshness
- Terracotta herb pot small around $8 to $20
- Dried wheat stems bunch around $10 to $25
Budget Swaps
- Felt furniture pads similar at thrift stores for less
- Velcro cabinet straps good thrift hacks for bundling cords
- Woven storage basket medium often cheaper at HomeGoods
Shopping Tips for These Looks
Buy the tracks in-season: Hardware goes on sale late winter, so check Amazon deals and local lumberyards for discounts on tracks and rollers. Black barn door hardware kit
Thrift the doors: I found a louvered closet door at a flea market and refinished it for under $20, then backed it with a modern hinge kit. Louvered cabinet doors 30 inch
Match finishes sparingly: Pick one metal finish, like matte brass, and carry it through pulls and small appliances for cohesion. Matte brass cup handle
Seasonal timing for appliance deals: New models drop in fall, so snag last year’s mixer at a discount in October or November. Compact food processor
Use a corner test: Before committing to a barn door or lift-up door, mock it with cardboard taped to the wall to test clearance and sightlines. Reclaimed wood sliding barn door kit
Frequently Asked Questions
Q: How do I vent an appliance cupboard safely?
A: Use perforated vent panels or louvered doors and leave space at the back for airflow. A good vent kit like this helps. Perforated vent panel kit
Q: Can I retrofit a roll-up door to existing cabinets?
A: Yes, measure the opening and choose a roll-up kit sized slightly narrower than the cabinet face. Quality tracks prevent squeaks. Bamboo roll-up appliance garage kit
Q: Are pop-up outlets safe for kitchen counters?
A: When installed properly and GFCI protected, pop-up towers are safe. Pick a stainless model with USB ports for versatility. Stainless pop-up countertop outlet tower
Q: What's an easy rental-friendly hideaway?
A: A lift-out counter panel or removable pull-out tray hides appliances with minimal drilling and is renter-friendly. 12 inch pull-out tray
Conclusion
Start small by hiding one daily item, like the toaster, and you’ll notice the visual calm immediately. My final tip: fix one ugly truth I learned early, buy decent sliders and hinges so the doors actually last. Which appliance would you hide first, and do you prefer a barn door or a roll-up garage?