How to paint two tone kitchen cabinets without brush marks was the question that kept me up for a week.
I tried rollers that left texture, cheap brushes that splayed, and a spray setup that ended in paint on the floor. In this piece I’ll show what worked, what I spent (about $200 in tools), and how to get glass-smooth cabinet faces that read high end.
This plan fits modern farmhouse, coastal, and Scandinavian kitchens. Expect to spend around $150 to $500 on paint and tools if you already own a basic brush set; under $200 if you focus on rollers and conditioner.
I’ve noticed painted cabinets stay the most common kitchen update on Houzz, and designers still favor two-tone palettes for contrast and scale. This guide pairs practical painting tips with styling so your cabinets look polished and lived-in.
1. Start with the Foundation: Counter and Cabinet Reset
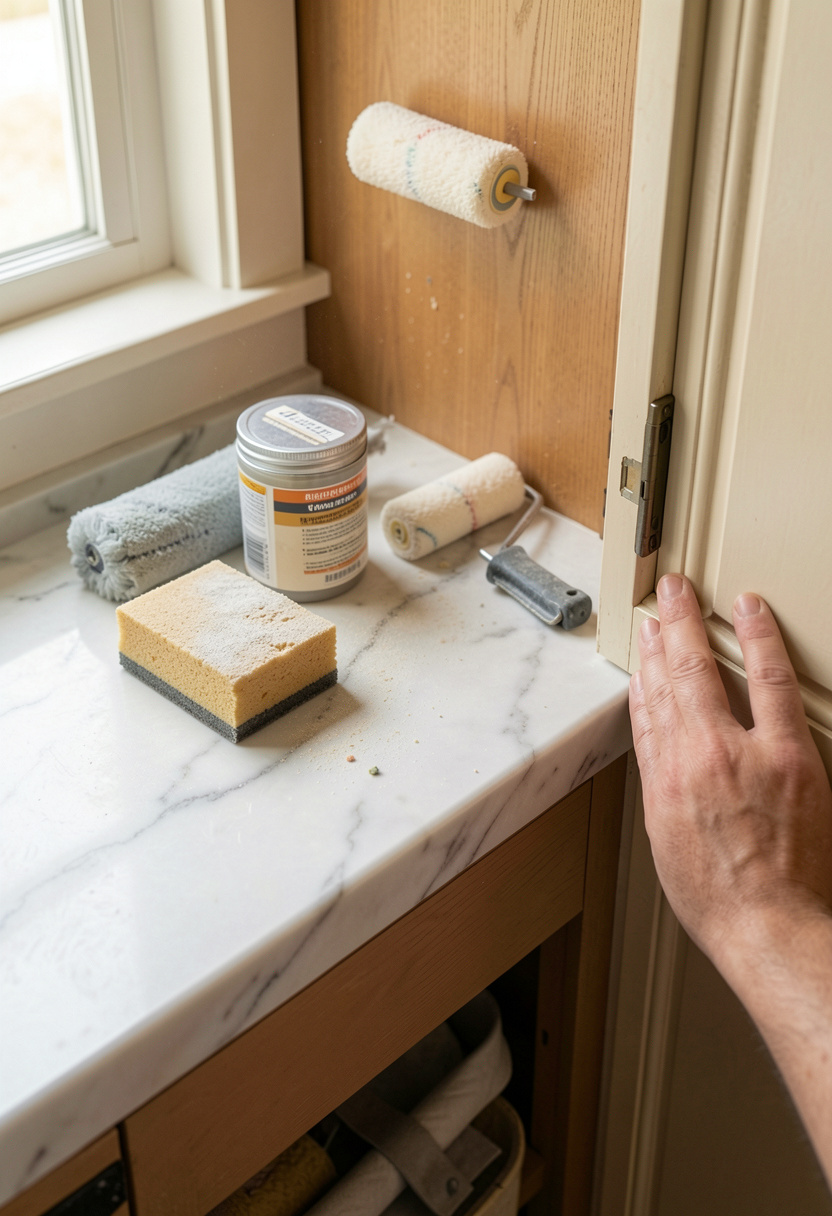
Clean first. Grease and old residue are why paint won’t lay flat. Use a TSP cleaner and a lint-free rag to remove oils, then let doors dry completely.
Next, scuff the existing finish with a fine grit sanding sponge for tooth. That prevents peeling and creates a base that accepts paint without pooling or brush drag.
I used a high-build bonding primer to unify gloss levels. TSP cleaner degreaser around $8 to $20 and high build bonding primer 1 qt approx $15 to $35 saved me from extra coats.
Visual principle: uniform sheen reduces visible brush strokes. Mistake: skipping primer because the old finish "seems fine." That’s why paint drags and shows marks. Do the prep and your final finish will look factory smooth.
2. Choose Your Two-Tone Pairing for Maximum Contrast
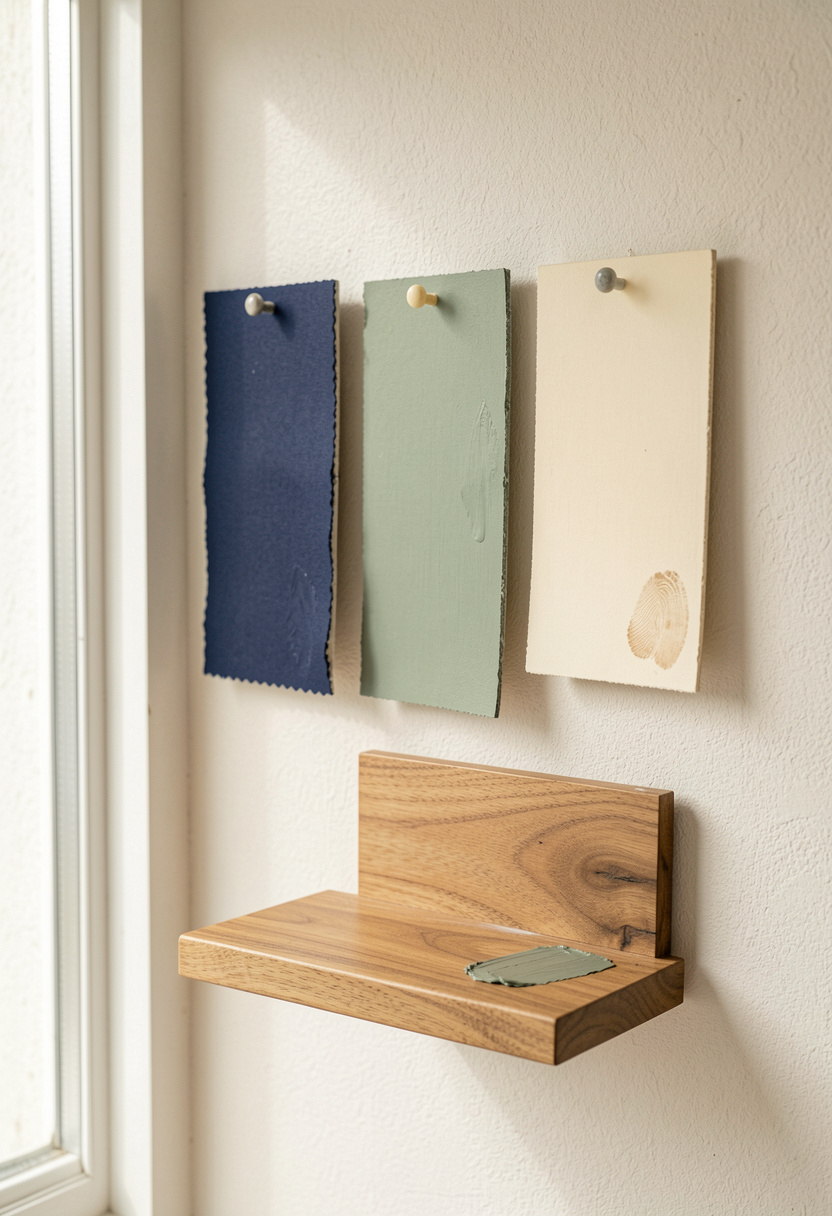
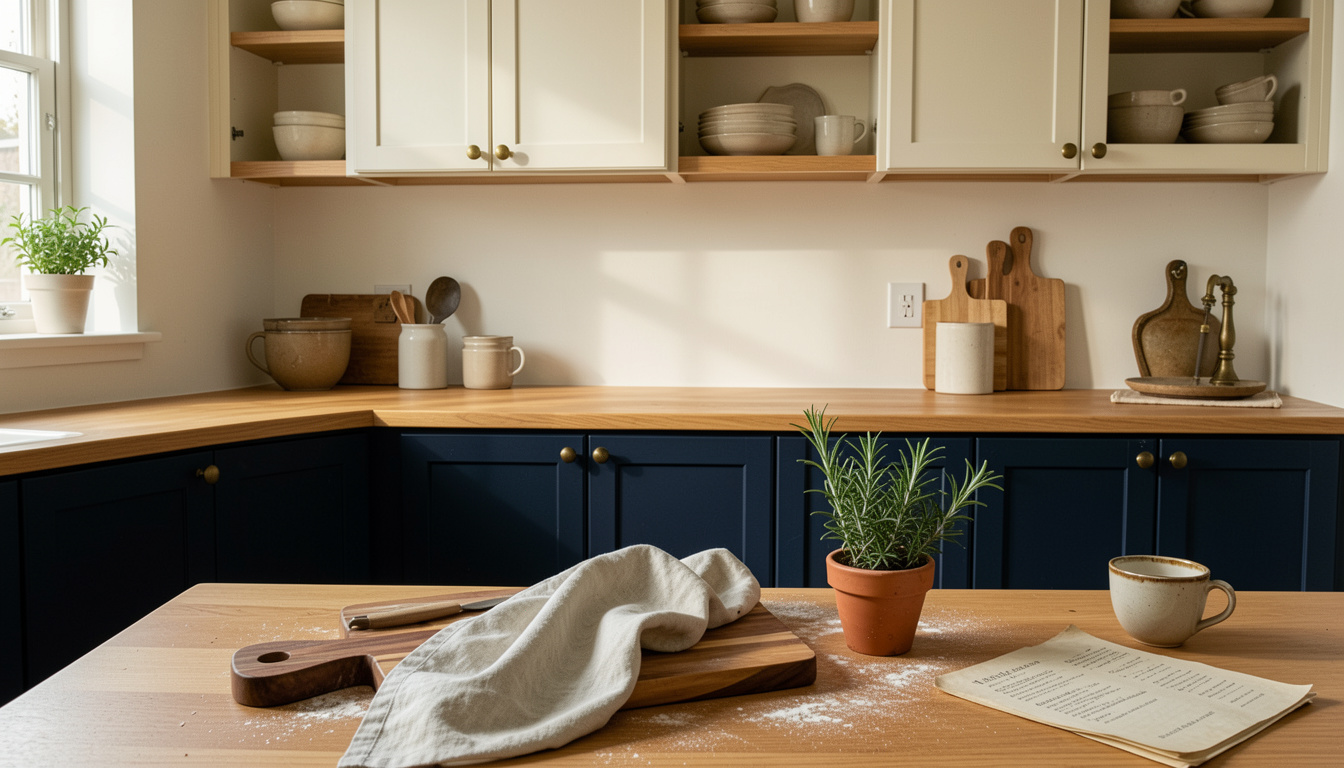
Pick colors that balance. I like a darker, grounded lower cabinet color (navy or matte black) and a warm light upper (cream or soft white) to lift sightlines.
Sample pints help. I tested a navy on an old door and a sage on a drawer front until the undertones matched my brass pulls. Try navy cabinet paint sample pint around $5 to $15 and sage green paint sample pint approx $5 to $15.
Scale rule: darker color on lower cabinets keeps the room grounded. Contrast principle: high-contrast pairs read intentional and modern. Mistake: choosing two colors with the same temperature. Result: they fight and look accidental. Test under your kitchen light before committing.
3. Smooth Finish Techniques: Tools That Hide Brush Marks
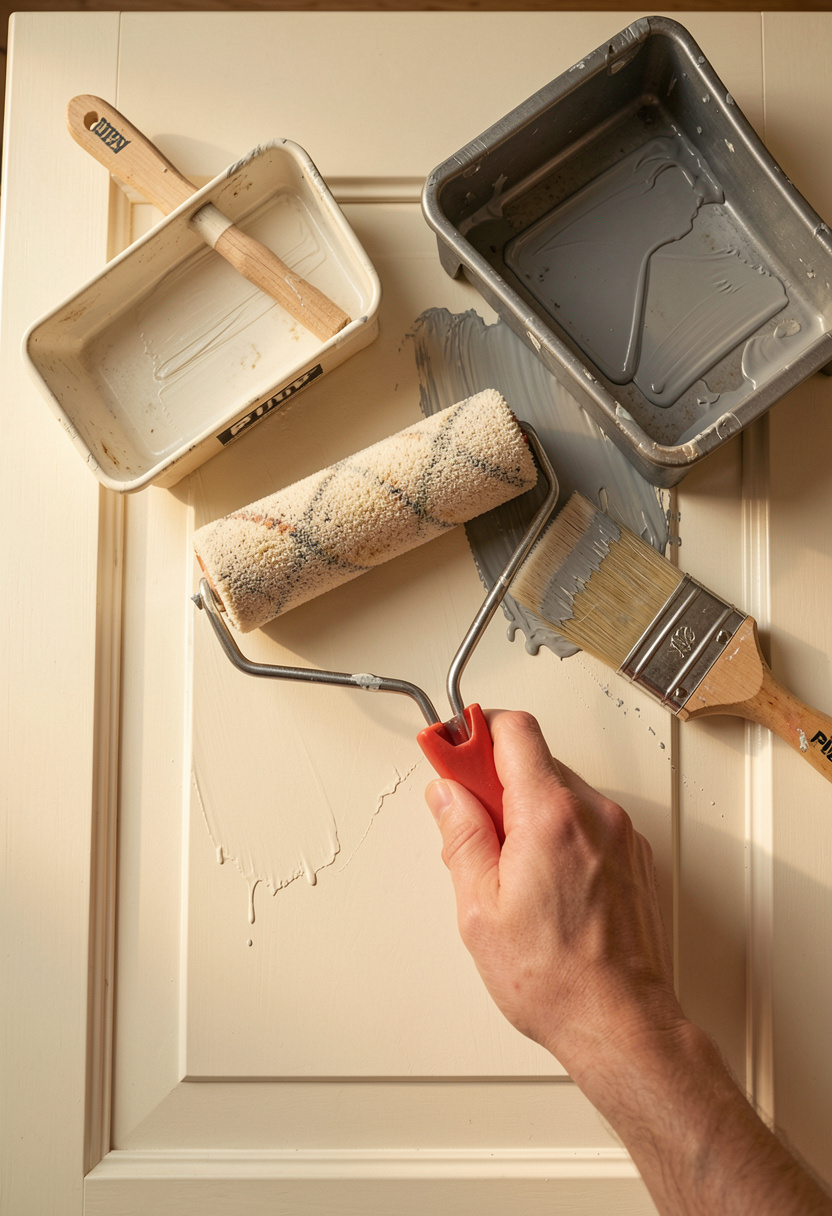
The trick is the tool, not just technique. For cabinet doors I used a 4 inch microfiber foam roller for flat, even coverage and a high-quality angled brush for edges.
I also added a paint conditioner to reduce brush marks and improve flow. My go-tos: microfiber foam roller 4 inch around $8 to $20, Purdy 2.5 inch paint brush approx $10 to $25, and Floetrol paint conditioner 32 oz about $10 to $20.
Visual principle: flow and leveling. Conditioners let the paint self-level so edges blend with rolled faces. Mistake: overworking wet paint with the brush. That’s how marks form. Instead, lay paint, smooth it with the roller in one pass, and leave it alone until tack free.
4. Add Hardware, Trim, and Styling For a Seamless Look
Hardware finishes anchor the two-tone story. I matched warm brass knobs to my lighter uppers and used matte black pulls on the darker bases to keep balance.
Product picks I used: matte black cabinet pulls 3 inch center approx $12 to $30 per set and aged brass knob 1 inch around $8 to $20 for a set.
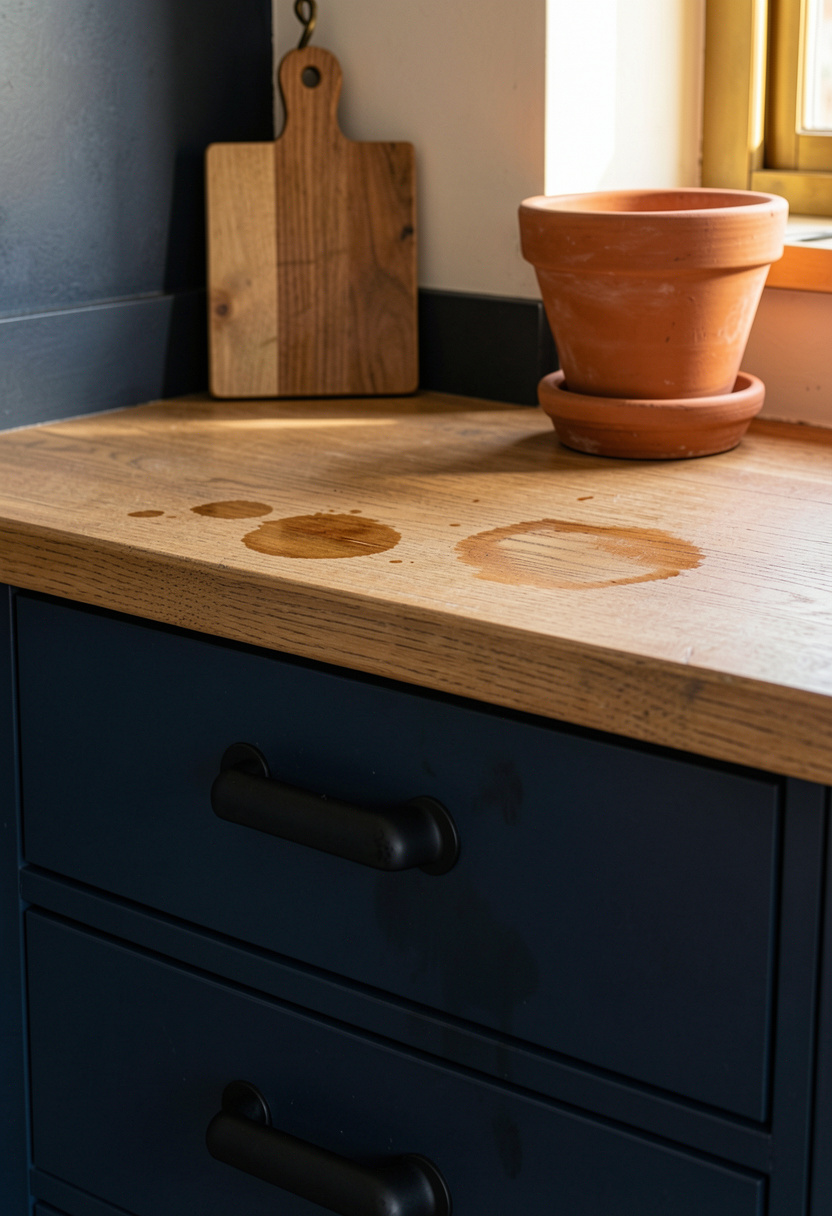
Placement principle: keep consistent spacing and finish contrast to guide the eye. Mistake: mixing three different hardware finishes across the room. The result feels scattered. Do one primary finish plus one accent max. Then style with a large acacia board and a potted herb for scale to soften the cabinetry edges.
Common Styling Mistakes to Avoid
Mistake: Lining all canisters at the same height on the counter
Why it doesn't work: The eye has nowhere to rest and counters read flat.
Do this instead: Vary heights in odd numbers and mix textures. Matte white ceramic canister set with acacia wood lids around $35 to $50
Mistake: Choosing two colors with identical undertones
Why it doesn't work: Colors clash or disappear together under kitchen light.
Do this instead: Test samples under your lighting and pair warm cream with cool navy or warm sage with soft white. Paint sample pints variety pack approx $10 to $30
Mistake: Overworking wet paint to "fix" minor streaks
Why it doesn't work: You make brush marks worse and extend drying time.
Do this instead: Use a paint conditioner and smooth with a roller in single passes. Floetrol paint conditioner 32 oz about $10 to $20
What You'll Need for This Look
Foundation Pieces
Large acacia cutting board 18×12 around $25 to $60
Marble counter tray 12 inch approx $20 to $45
Textiles & Soft Goods
Sage linen dish towels set of 4 around $18 to $40
Natural fiber kitchen rug 24×36 approx $25 to $70
Lighting
Under cabinet LED light strip 48 inch around $20 to $50
Rattan pendant light 15 inch approx $45 to $120
Finishing Touches
Small terracotta herb pot 4 inch around $8 to $20
Matte white ceramic canister set with acacia wood lids approx $35 to $50
Budget Swaps
Vintage brass knob set around $12 to $30 (similar at thrift for less)
Thrift store frame 8×10 approx $6 to $20 (hunt thrift for unique finds)
Shopping Guide for This Look
Time your buy: Snag primers and rollers during late winter paint sales; high build bonding primer 1 qt approx $15 to $35.
Thrift hack: Mix thrifted frames and secondhand brass knobs with new pulls; vintage brass knob set around $12 to $30.
Trend pick for 2025: Open shelving remains popular for styling contrast; acacia floating shelf 24 inch approx $25 to $60.
Splurge vs save: Splurge on one quality paint brush, save on rollers; Purdy 2.5 inch paint brush approx $10 to $25 vs mini foam roller set 4 pack around $8 to $20.
Conclusion
Start with one cabinet door. Do the cleaning, prime, and test a roller-plus-conditioner combo. If the door looks factory smooth under your kitchen light you can proceed with confidence.
One last tip: photograph your test door in the same light you use most. Photos reveal streaks the eye misses. Which cabinet color combo are you leaning toward for your kitchen?