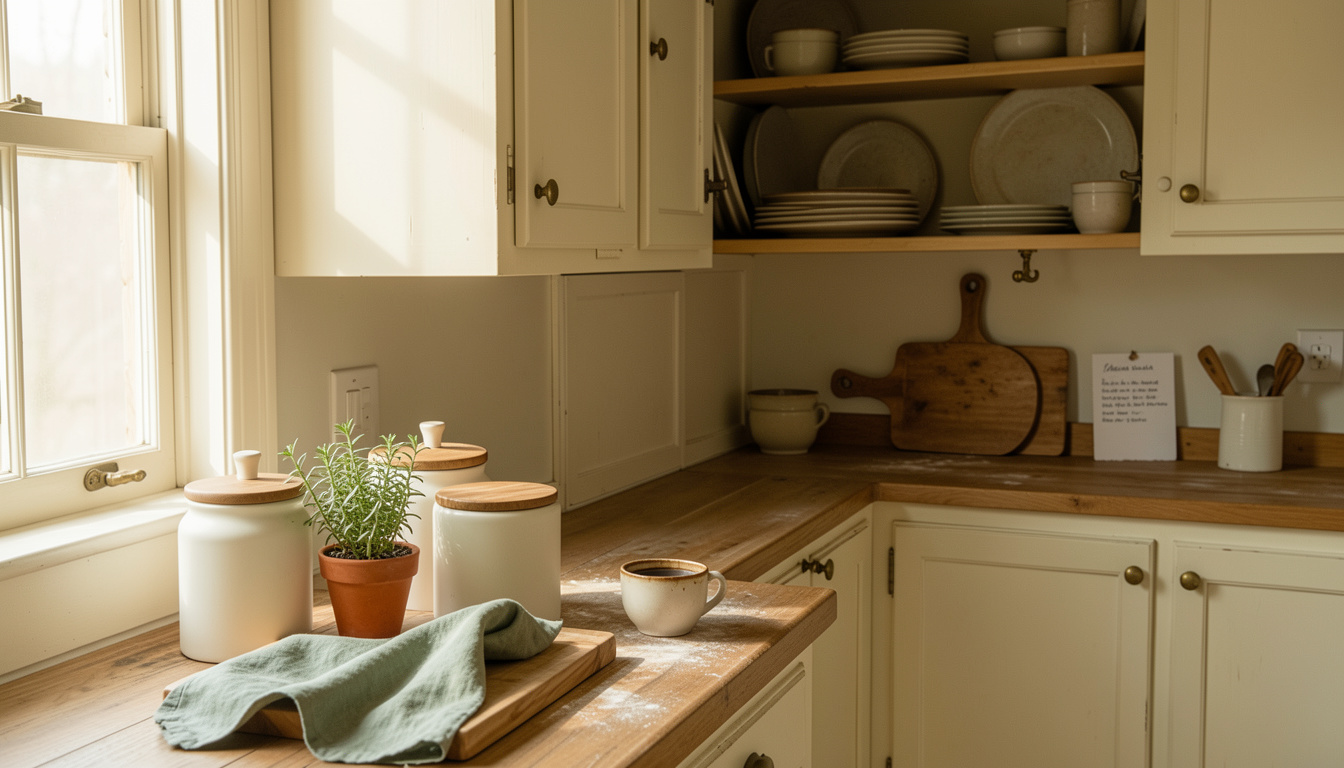
How to paint kitchen cabinets antique cream without brush marks was the project that ate my weekend and returned compliments for months.
I learned the hard way that the color is forgiving but the finish shows everything. I’ll show what worked, what wasted time, and a realistic budget: about $150 to $400 depending on tools.
My kitchen leans modern farmhouse with a warm, lived-in feel. This look suits mostly wood-tone counters or honed stone and simple brass hardware.
A refresh like this is one of the most cost-effective updates; repainting cabinets typically costs a fraction of replacement (Remodeling Magazine’s Cost vs Value reporting reflects similar returns). Lately I’ve seen more people pair antique cream with open shelving and warm brass for a soft, collected look.
1. Start with the Foundation: Counter and Cabinet Reset

The trick is clean, matte surfaces before paint ever touches the door. Clean grease with a citrus-degreaser and dull glossy finishes with a 120 to 220 grit sandlight. That helps paint level without brush texture.
I used a high-build bonding primer on tricky laminate doors. High build bonding primer for cabinets around $20 to $40 stops tannins and gives a smooth base.
Visual principle: smooth base, even reflection. If your primer shows streaks, more sanding and a second thin coat fixes it. Mistake: skipping degrease. It looks fine until months later when paint turns sticky.
2. Paint Method: Thin Coats, Micro Rollers, and Optional Sprayer
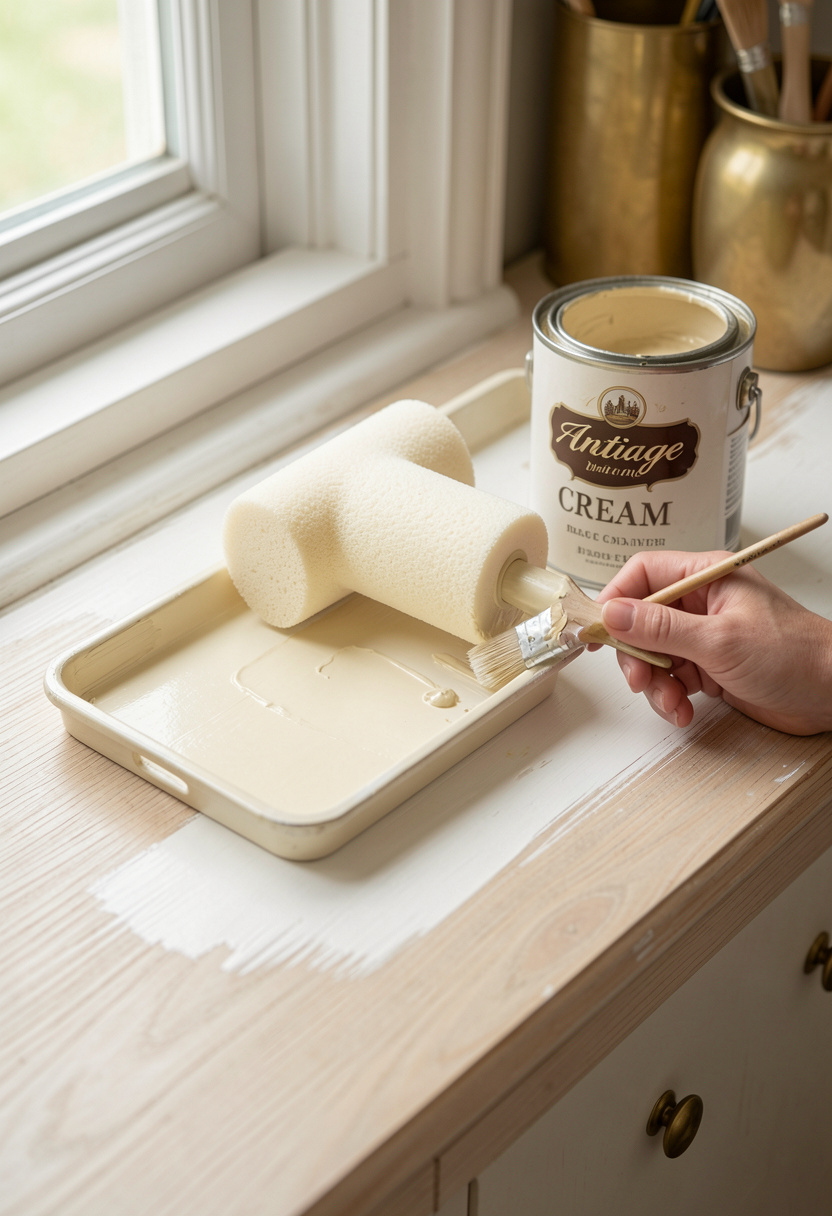
Nobody tells you this: thick coats and wide brushes are the number one cause of brush marks. The trick is thin, short passes with a high-density foam mini roller then quick tip-rolling with a thin brush only at seams.
Use a satin or eggshell cabinet paint in antique cream. Antique cream cabinet paint approx $25 to $50. Pair with high density foam mini rollers around $8 to $15 and a slim sash brush for corners.
If you splurge, a handheld HVLP sprayer gives the flattest finish. Handheld paint sprayer for cabinets approx $60 to $200. Ugly truth: sprayers require masking and practice or you will ruin nearby trim.
3. Layer Warmth with Wood and Linen Textures
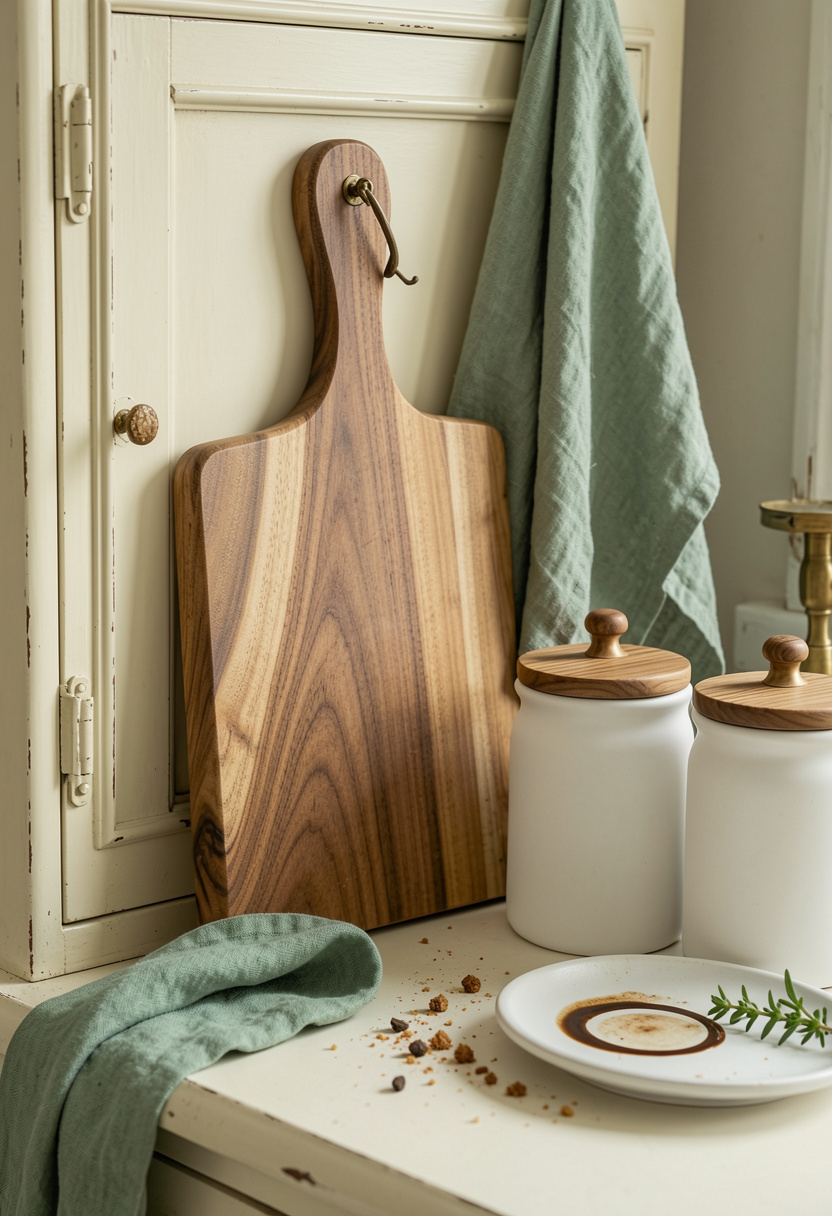
Once paint cures to touch, layering makes the finish read intentional. Place a large acacia cutting board vertically to break expanses of cream and add scale.
I used a large acacia cutting board around $30 to $65 and sage linen dish towels set of 4 approx $20 to $40 for texture. Rule: odd numbers look calmer. Arrange one tall board, one medium bowl, one small plant.
Visual principle: warm wood grounds the cream and prevents the room from feeling washed out. Mistake: matching every wood tone. Instead, stick to two similar warm woods for cohesion.
4. Create Ambiance with Warm Diffused Lighting and Hardware
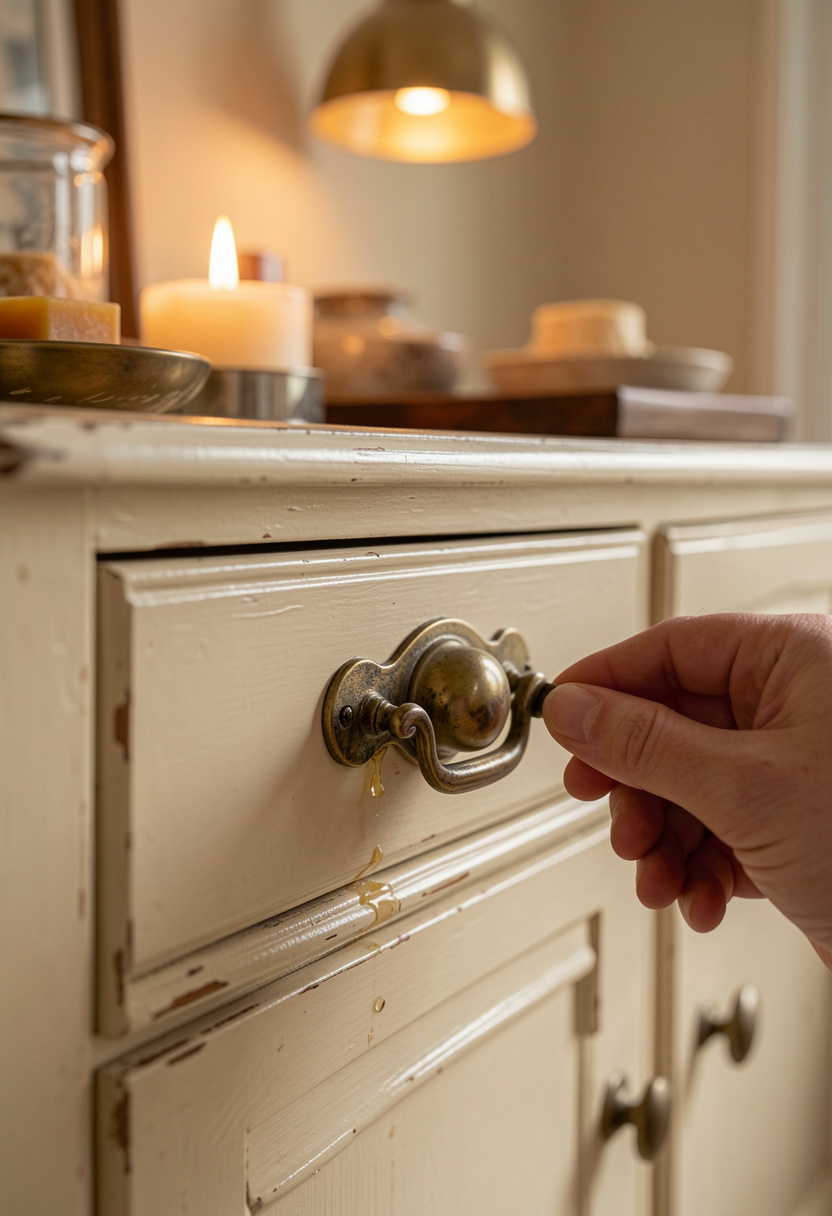
Hardware and light finish the paint job visually. I switched to 3 inch aged brass pulls to add a soft contrast without heavy black lines.
Try antique brass cabinet pulls 3 inch approx $12 to $35 per set and under cabinet LED lighting kit warm white around $25 to $70 to wash the cream with warm tone.
Visual principle: small warm accents make cream read richer. Mistake: bright cool lighting that makes cream look yellowed. Pick warm 2700K to 3000K LEDs for flattering color.
Common Styling Mistakes to Avoid
Mistake: Painting thick coats to cover quickly
Why it doesn't work: Thick paint sags and shows brush textures.
Do this instead: Thin, even coats with high density foam mini roller and light sanding between coats.
Mistake: Using glossy white trim near antique cream cabinets
Why it doesn't work: High contrast creates a harsh edge and competes visually.
Do this instead: Use soft warm whites or matching cream for trim and warm white paint sample to test.
Mistake: Too many matching metal finishes
Why it doesn't work: Rooms feel staged and flat.
Do this instead: Mix aged brass pulls with a single stainless sink fixture or aged brass pulls for balance.
What You'll Need for This Look
Foundation Pieces
Large acacia cutting board around $30 to $65
High build bonding primer for cabinets around $20 to $40
Antique cream cabinet paint approx $25 to $50
Textiles & Soft Goods
Sage linen dish towels set of 4 approx $20 to $40
Flatweave kitchen runner 2×6 neutral around $40 to $120
Lighting
Under cabinet LED lighting kit warm white around $25 to $70
Rattan pendant light 15 inch approx $60 to $180
Finishing Touches
Matte white ceramic canister set with acacia wood lids around $35 to $50
Terracotta herb planter set 3 approx $15 to $30
Antique brass cabinet pulls 3 inch approx $12 to $35 per set
Budget Swaps
3M sanding sponge assorted grit around $6 to $12 (thrift: sandpaper and elbow grease)
High density foam mini roller pack approx $8 to $15
Shopping Guide for This Look
Time your paint buy: Buy paint in cooler months to avoid fast drying; antique cream cabinet paint approx $25 to $50.
Thrift hack: Score real wood cutting boards at local thrift stores and pair with acacia cutting board $30 to $65 for uniformity.
2025 trend tip: Soft warm metals continue to pair with cream; try aged brass pulls $12 to $35.
Splurge vs save: Splurge on a good primer like high build bonding primer $20 to $40; save on rollers with foam roller pack $8 to $15.
Conclusion
Start with one door or drawer first. You learn more from repairable mistakes than from entire-room experiments.
If one little hardware change and a satin coat can make neighbors ask what you did, you are on the right track. Which cabinet door will you paint first?