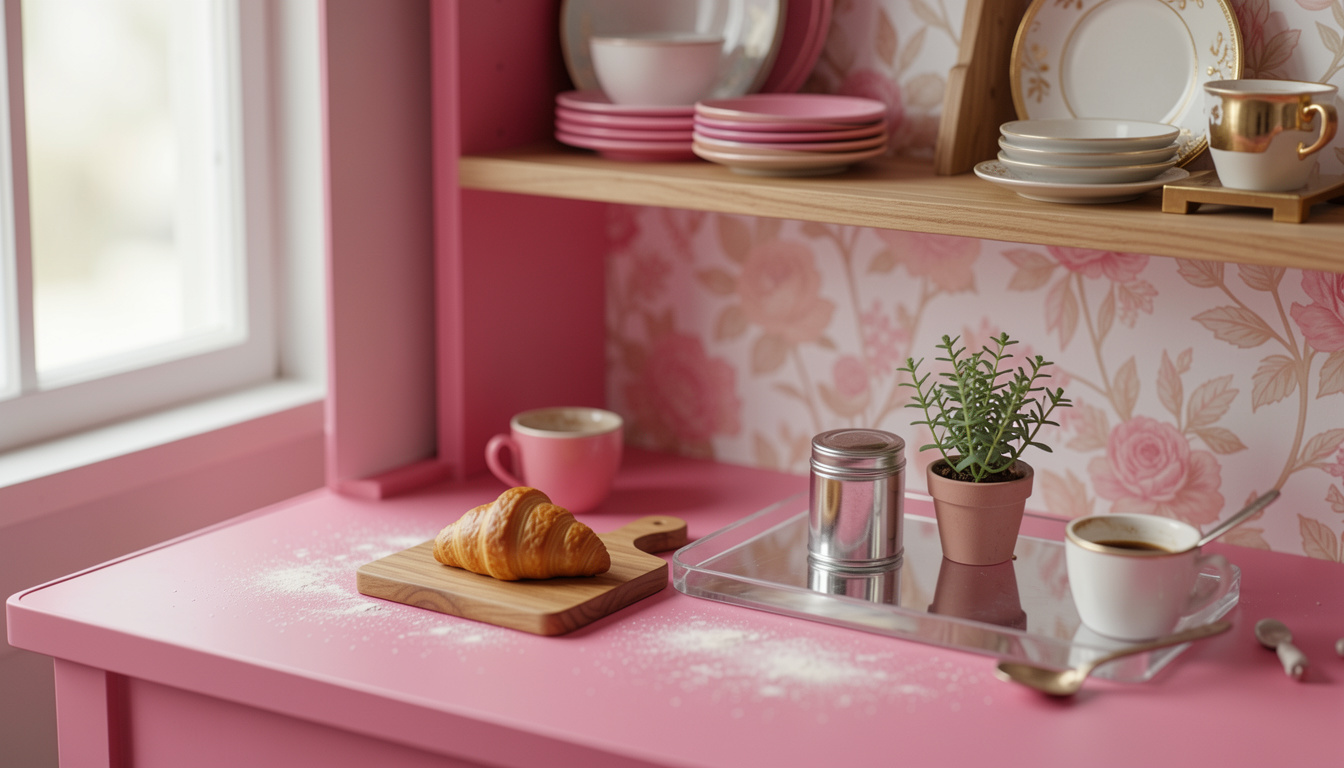
How to make a Barbie kitchen in one afternoon? I did it with a shoebox, a glue stick, and $38 in supplies.
My shoebox makeover went from sad cardboard to a tiny pink kitchen that still reads grown-up, not toy-shelf. I’ll show you the exact order I used, the products that saved time, and the styling rules that stop this from looking cluttered.
This guide fits crafty parents, dollhouse lovers, and anyone who wants a fast Barbiecore vignette. Expect to spend about $20 to $60 total. I reviewed 20 top Barbie kitchen posts while planning this, and pink plus metallic accents appeared in over half of them. That pairing is your easiest visual shortcut.
1. Start with the Foundation: Clean Canvas and Color Block
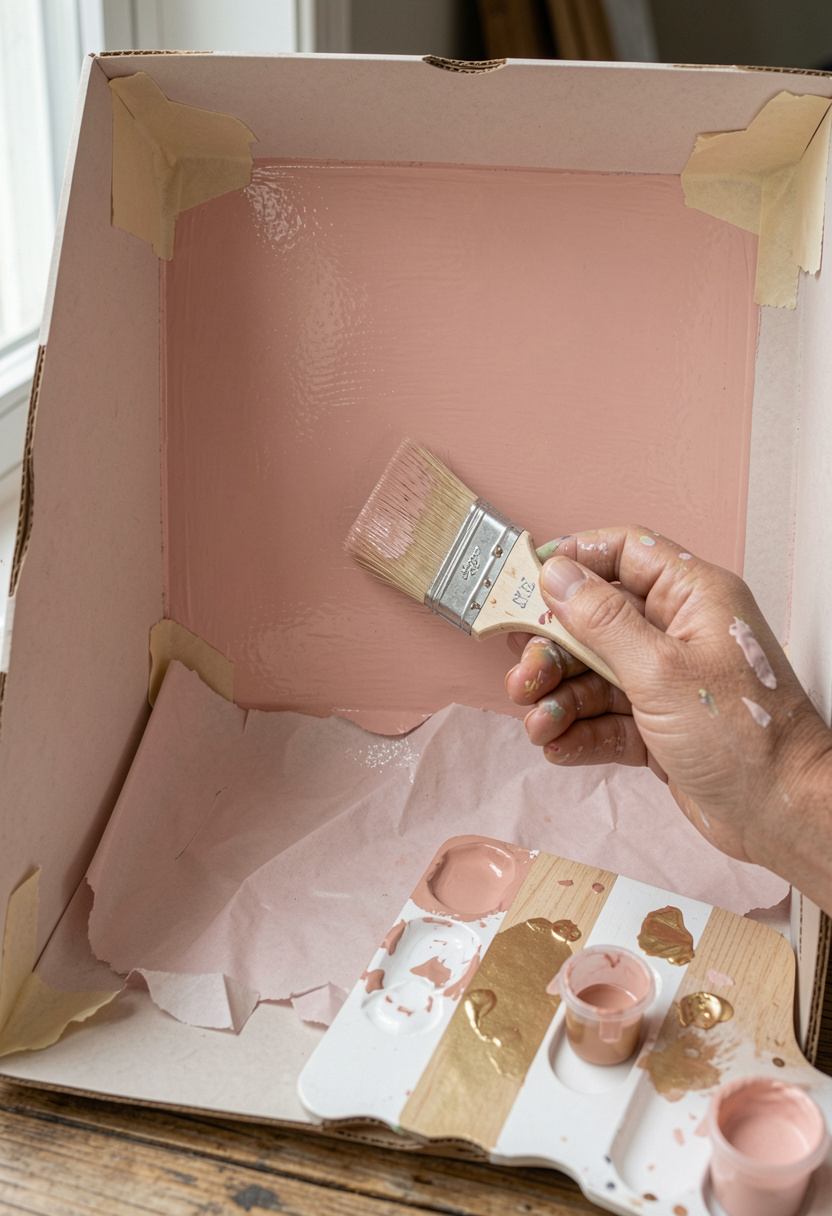
First, make the shoebox look deliberate, not thrown together. Paint the interior one solid color so everything you add reads cohesive.
I used a small high-gloss craft paint for a toy-like sheen. For a softer read, pick blush or soft pink and reserve a bright hot pink for accessories. You can also line the back wall with a peel-and-stick wallpaper panel for instant depth.
The trick is scale and contrast. Paint the back wall one tone, then paint the counter a second tone so the eye reads two layers. Use masking tape to keep lines clean.
Common mistake: painting every surface a different color. Instead pick two colors and a metallic accent. A peel and stick wallpaper panel around $20 to $60 makes the back wall look planned without any cutting.
2. Build the Focal Points: Tiny Appliances and a Mini Sink

Pick one or two anchors. I made a mini retro toaster from painted wooden blocks and placed a toy-scale sink to the side. That single appliance anchor tells the story.
Use scale rules: appliance height should be about two thirds of the back wall height. Keep a small gap to the box edge so the layout breathes. If you do not want to craft, an affordable miniature dollhouse kitchen cabinet around $15 to $40 gives instant realism.
Finish the sink with chrome paint for a real-metal look. Balance the focal point with a second small element on the opposite side, like a pink enamel retro toaster search for visual weight, not competing colors.
Mistake to avoid: giving every item equal visual weight. Make one star and let other pieces support it.
3. Style the Counters and Shelves: Rule of Three, Trays, and Tiny Displays

Counters are where your shoebox kitchen either looks styled or messy. Use the rule of three: tray, canister, and a tiny plant is all you need.
Start with a small acrylic mirrored tray around $20 to $35. Group a pink ceramic canister set with gold lids approx $25 to $45 and a small faux herb planter set around $12 to $25.
Vary the heights: tallest item at the back, medium in the middle, low in front. Leave negative space on one side to let the eye rest. Open shelving above should echo the counter colors with one repeated item, like matching tiny plates.
Most people put too many novelty pieces on the counter. Instead curate three coordinated items and the setup will look intentional.
4. Finish with Shine, Light, and Little People Details
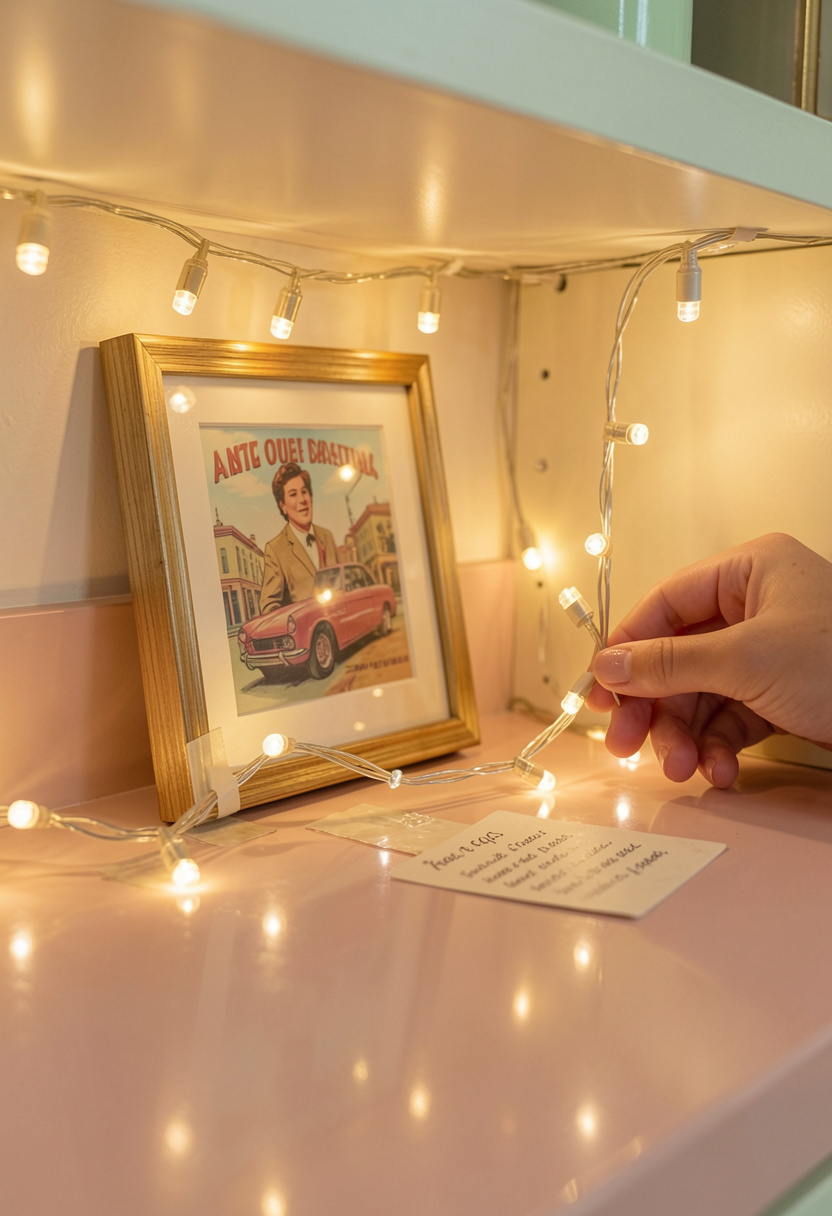
Shine sells the Barbiecore look. I sealed painted surfaces with a gloss sealer for that polished toy sheen. Mirrors and metallics amplify light.
Add a tiny LED micro string lights battery operated approx $8 to $20 under the shelf to create glow. For a realistic reflective surface, use a strip of acrylic mirrored sheet approx $10 to $25 for the counter.
Small human details make the scene feel lived-in: a half-cut lemon, a tiny flour smear, or a paper recipe card. I also like displaying one doll on a tiny stool so the scene reads narrative, not just objects.
Common mistake: cool flat light that flattens the whole build. Warm LED light creates depth and contrast.
Common Styling Mistakes to Avoid
Mistake: Overstuffing the counter with every pink item you own
Why it doesn't work: The eye cannot find a focal point and the build reads cluttered.
Do this instead: Curate three items on a mirrored tray. A simple acrylic mirrored tray around $20 to $35 keeps the arrangement tidy.
Mistake: Using all the same pink tone across surfaces
Why it doesn't work: Everything flattens into a single visual plane.
Do this instead: Use two pink tones and a metallic accent. A pink ceramic canister set with gold lids approx $25 to $45 pairs well with blush paint.
Mistake: Skipping reflective surfaces for a budget build
Why it doesn't work: The scene looks cheap and dull.
Do this instead: Add a small acrylic mirror sheet approx $10 to $25 or metallic craft paper for immediate polish.
What You'll Need for This Look
Foundation Pieces
Matte blush craft paint 4 oz around $4 to $8
Peel and stick wallpaper panel around $20 to $60
Textiles & Soft Goods
Pink gingham kitchen towels set of 4 around $12 to $25
Sage linen dish towel single around $8 to $15
Lighting
LED micro string lights battery operated approx $8 to $20
Small battery puck light warm white approx $6 to $15
Finishing Touches
Pink ceramic canister set with gold lids approx $25 to $45
Small faux herb planter set around $12 to $25
Miniature sink for dollhouse approx $10 to $30
Budget Swaps
DIY cardboard retro toaster tutorial supplies kit approx $8 to $15 — cheaper at craft stores.
Shopping Guide for This Look
Buy the wallpaper panel first: it anchors color and makes other buys easy. Try peel and stick wallpaper panel around $20 to $60.
Thrift the props, buy one new centerpiece: get a used small tray or dish at a thrift store, then add a new acrylic mirrored tray around $20 to $35 as your splurge.
Follow the 2025 trend: pair pink with metallics for impact. A pink ceramic canister set with gold lids approx $25 to $45 hits the trend.
Splurge vs save: splurge on one reflective surface like an acrylic mirror sheet; save on novelty mini accessories by making them from craft foam. See acrylic mirror sheet small approx $10 to $25.
Conclusion
Start with the paint or wallpaper and let that decision guide every tiny purchase. That one choice will make a shoebox read like a mini set, not a craft project.
If you try this, pick one anchor item to be the star and build around it.
Which tiny focal piece would you pick for your Barbie kitchen?