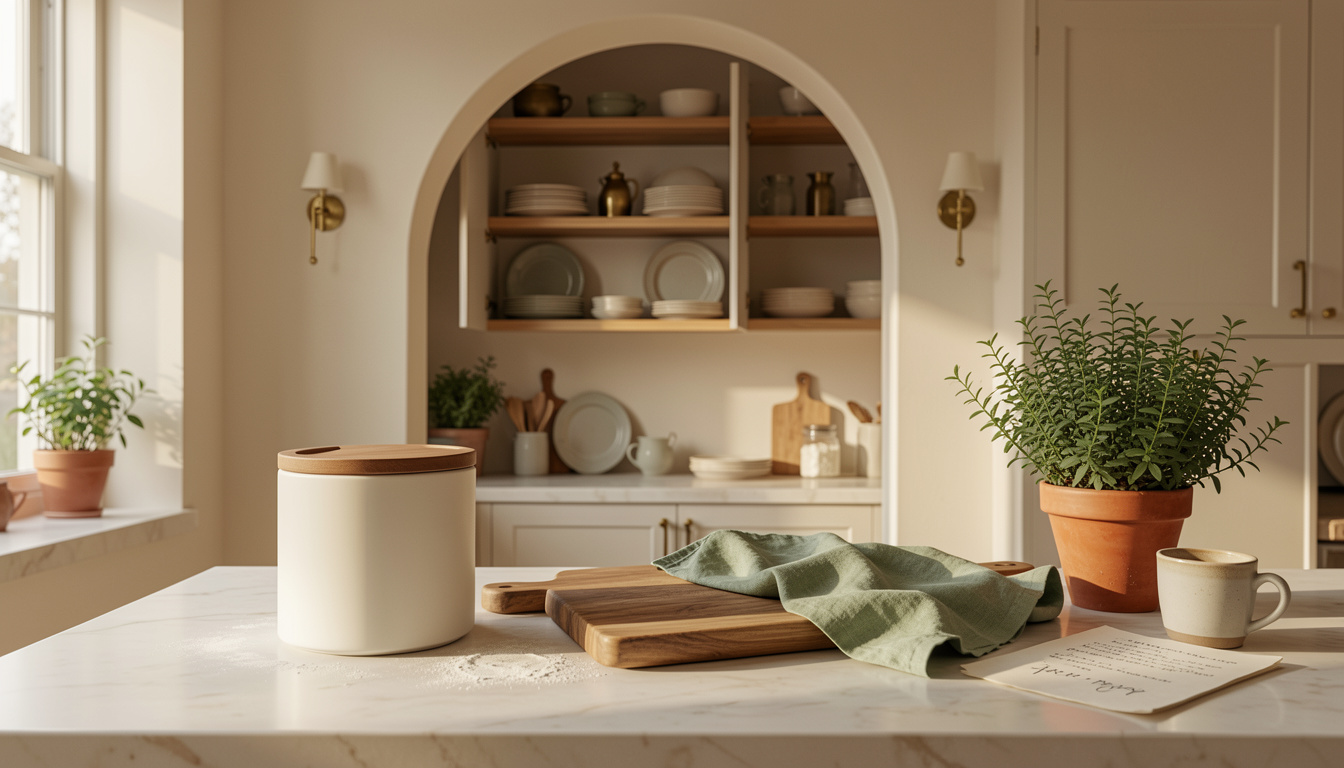
When I first tried to style my kitchen arch it read as an unfinished doorway. I learned how to decorate kitchen arch the hard way: paint alone does not fix awkward negative space.
After a $120 refresh and swapping a thrifted cutting board for a tall plant, the arch now looks purposeful. I’ll show you how to do the same on budgets from around $150 to $500.
This approach suits modern farmhouse, coastal, or warm minimal kitchens. It works in small galley layouts and medium open plans. I’ve noticed people are leaning toward mixed storage and softer materials in 2025.
1. Start with the Foundation: Counter and Cabinet Reset
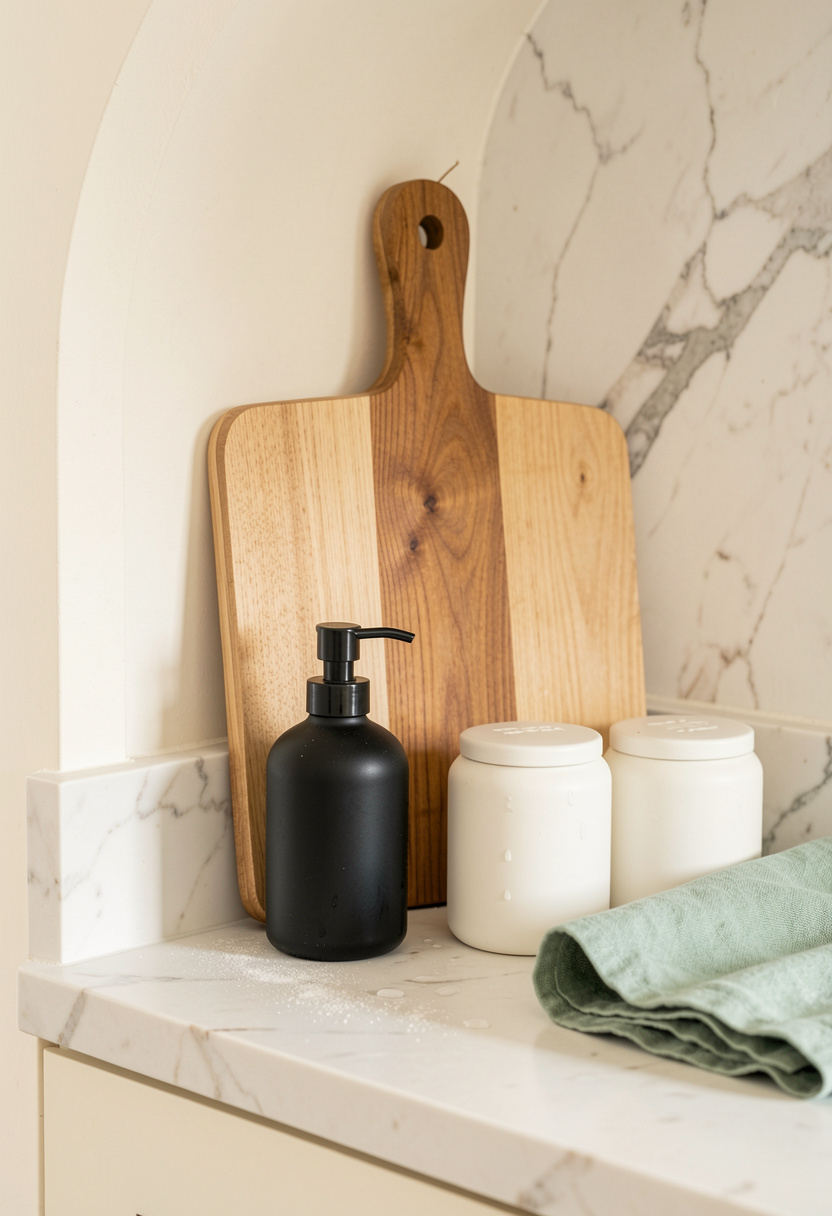
Clear the visual clutter under the arch first. Sightlines stop at eye-level, so the counter zone sets the entire arch’s mood.
Start with three anchors: a statement cutting board, a soap dispenser, and a vessel for frequently used tools. I used a large acacia board as the vertical anchor; it reads like intentional architecture.
Large acacia cutting board 20 x 16 inch around $25 to $45 and a matte black soap dispenser pump approx $15 to $30 keep the palette grounded.
Visual principle: one tall item, one medium, one small. Place pieces in a 3:2:1 ratio left to right or clustered toward one side for asymmetry. The mistake most people make here is spacing everything evenly. That reads staged. Push one cluster to an inside corner, leave 18 to 24 inches of breathing room to the arch opening, and let light do the rest.
2. Layer Warmth with Wood and Linen Textures
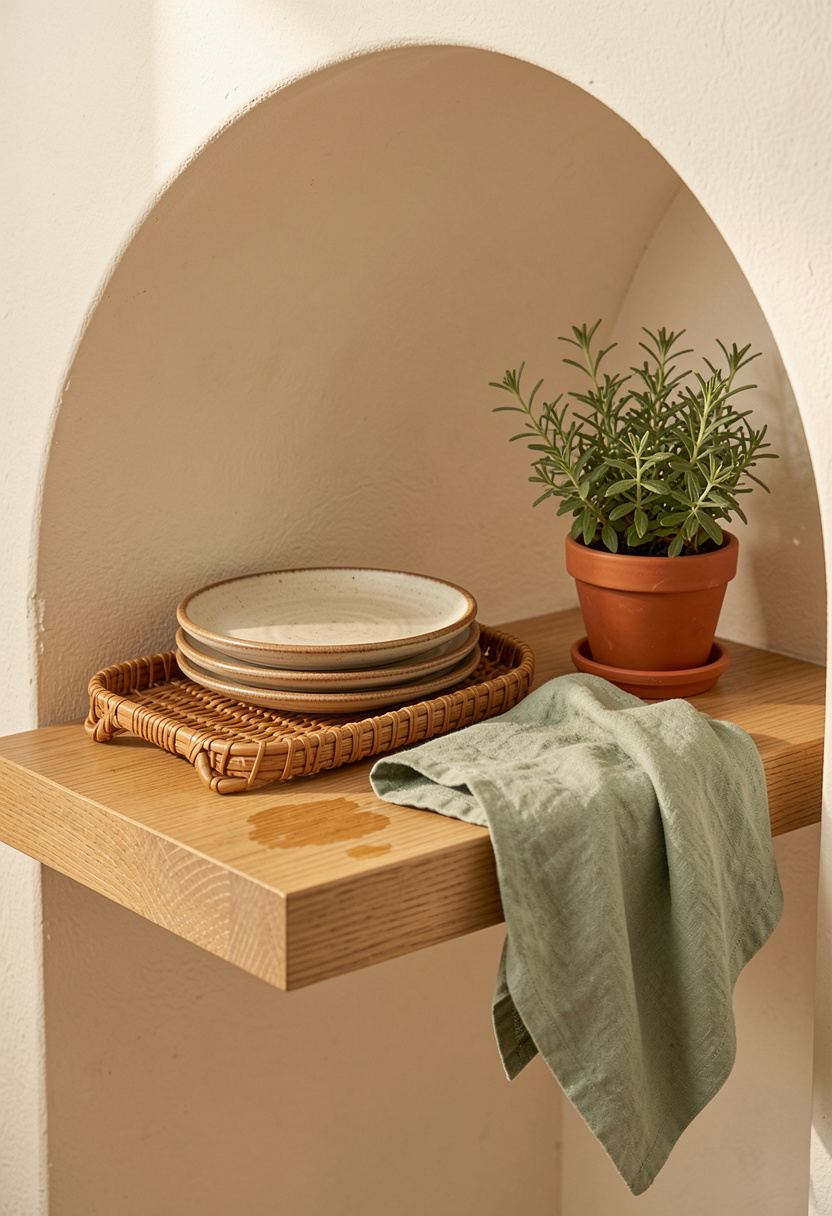
Next layer in texture. Wood and linen soften the hard line of an arch and make it feel curated.
Add a narrow floating shelf or lean a thin board against the backsplash. I like acacia or pale oak for warmth. Try acacia floating shelf 24 inch around $35 to $70 and a small sage linen tea towel set of 2 approx $18 to $30.
Texture contrast is the principle at work: warm wood versus cool ceramic keeps the eye moving. People often mix too many wood tones and it looks fragmented. Limit yourself to two wood finishes: one for large elements and one for small accessories. Layer towels over a tray, then tuck a plant behind for depth.
3. Add Height and Drama with Open Shelving
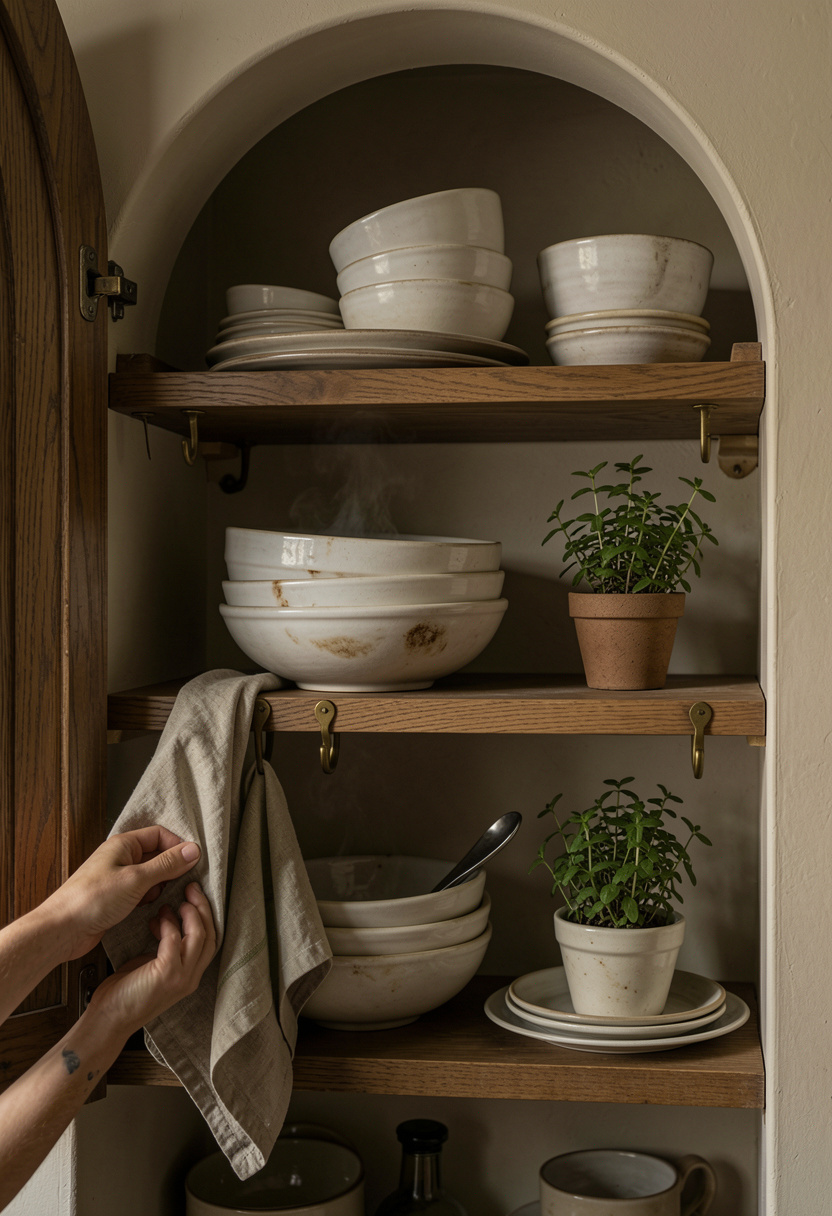
Open shelving gives the arch purpose and creates a mini vignette. Use it sparingly so the arch doesn’t read like more clutter.
Choose one material for shelves, then limit displayed dishware to one color family. I used a white stoneware dinner plate set of 6 around $45 to $80 and mix in brass hooks for small hanging pieces: aged brass S hooks 6 pack approx $8 to $15.
Principle: rhythm and negative space. Leave every third shelf intentionally sparse. What fails often is styling every shelf fully. It looks like retail. Instead, alternate pottery with plants and books, and keep groupings in odd numbers.
4. Create Ambiance with Warm Diffused Lighting
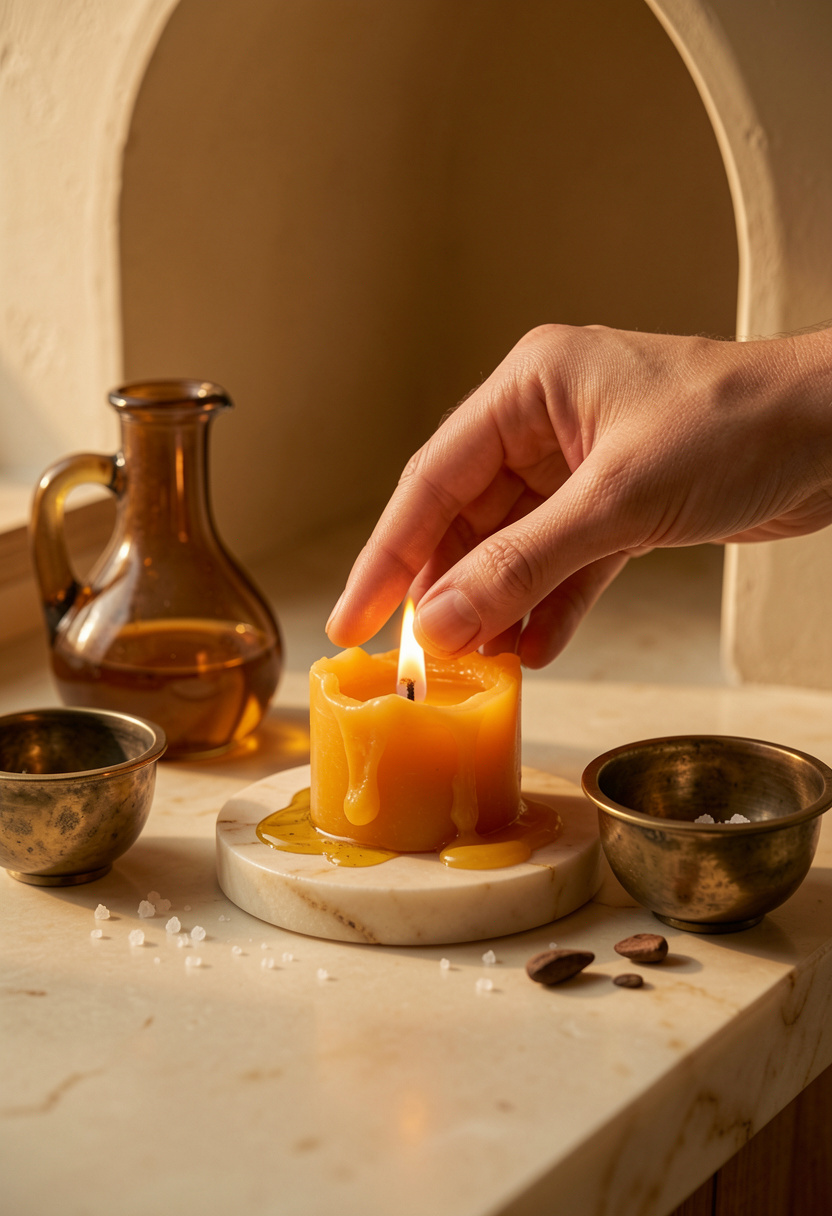
Lighting seals the mood. A warm, layered glow makes the arch read as intentional architecture rather than an afterthought.
Plug-in wall sconces or a small pendant add theater. I used a rattan pendant light 15 inch approx $60 to $120 and an under cabinet warm LED tape 2700K around $20 to $40 for soft washes.
Color temperature matters. Cool white makes the space feel clinical. Warm 2700K light reads cozy and highlights wood grains. A mistake I made early on was using a single overhead bulb. It flattened the arch. Layer low-level light, and aim for pockets of shadow to give the niche depth.
Common Styling Mistakes to Avoid
Mistake: Lining up canisters at the same height on the counter
Why it doesn't work: It creates a flat horizontal line with no focal point.
Do this instead: Vary heights in odd numbers and mix textures like Matte white ceramic canister set with acacia wood lids around $35 to $50.
Mistake: Filling every shelf to the edge
Why it doesn't work: Makes the arch feel heavy and busy.
Do this instead: Leave negative space between groups and use a small terracotta herb pot 4 inch approx $6 to $15 as a breathing point.
Mistake: Using only cool LED light under the arch
Why it doesn't work: Washes out wood and flattens texture.
Do this instead: Swap to warm LED strips like under cabinet LED tape 2700K around $20 to $40.
What You'll Need for This Look
Foundation Pieces
Large acacia cutting board 20 x 16 inch around $25 to $45
Matte black soap dispenser pump stainless steel approx $15 to $30
Matte white ceramic canister set with acacia wood lids around $35 to $50
Textiles & Soft Goods
Sage linen tea towels set of 2 approx $18 to $30
Woven kitchen rug 24 x 36 inch neutral stripe around $30 to $70
Lighting
Rattan pendant light 15 inch approx $60 to $120
Under cabinet LED strip 2700K warm white around $20 to $40
Finishing Touches
White stoneware dinner plate set of 6 around $45 to $80
Terracotta herb pot 4 inch approx $6 to $15
Aged brass S hooks 6 pack approx $8 to $15
Budget Swaps
Acacia look wooden cutting board alternative around $15 to $25 (thrifted finds at HomeGoods often cheaper)
Shopping Guide for This Look
Seasonal swaps: Swap fresh herbs for faux in winter; try small faux rosemary pot approx $12 to $20.
Thrift hack: Buy vintage brass trays and refinish; pair with new white stoneware bowls around $20 to $40.
2025 trend tip: Natural textures stay strong; prioritize real wood like acacia floating shelf 24 inch approx $35 to $70.
Splurge vs save: Splurge on lighting like a rattan pendant, save on towels and canisters at discount home stores or matte ceramic canisters around $25 to $40.
Conclusion
Start with one anchor piece under the arch, like a large acacia board or a pendant light. That single decision tells you the rest of the palette.
My final rule is simple: choose two materials and three finishes, then repeat them. It makes an arch feel intentional rather than awkward.
Which element will you try first under your arch?