I installed three types of flooring before I stopped regretting my choice.
how to choose kitchen flooring was the search that finally saved me. I learned the $400 faux-sample buy-in trick and what really hides crumbs.
This guide shows what to match first, what to splurge on, and the three ugly truths that most installers do not tell you. Budget range: under $500 to refresh, $1,500 to $6,000 for full replacement.
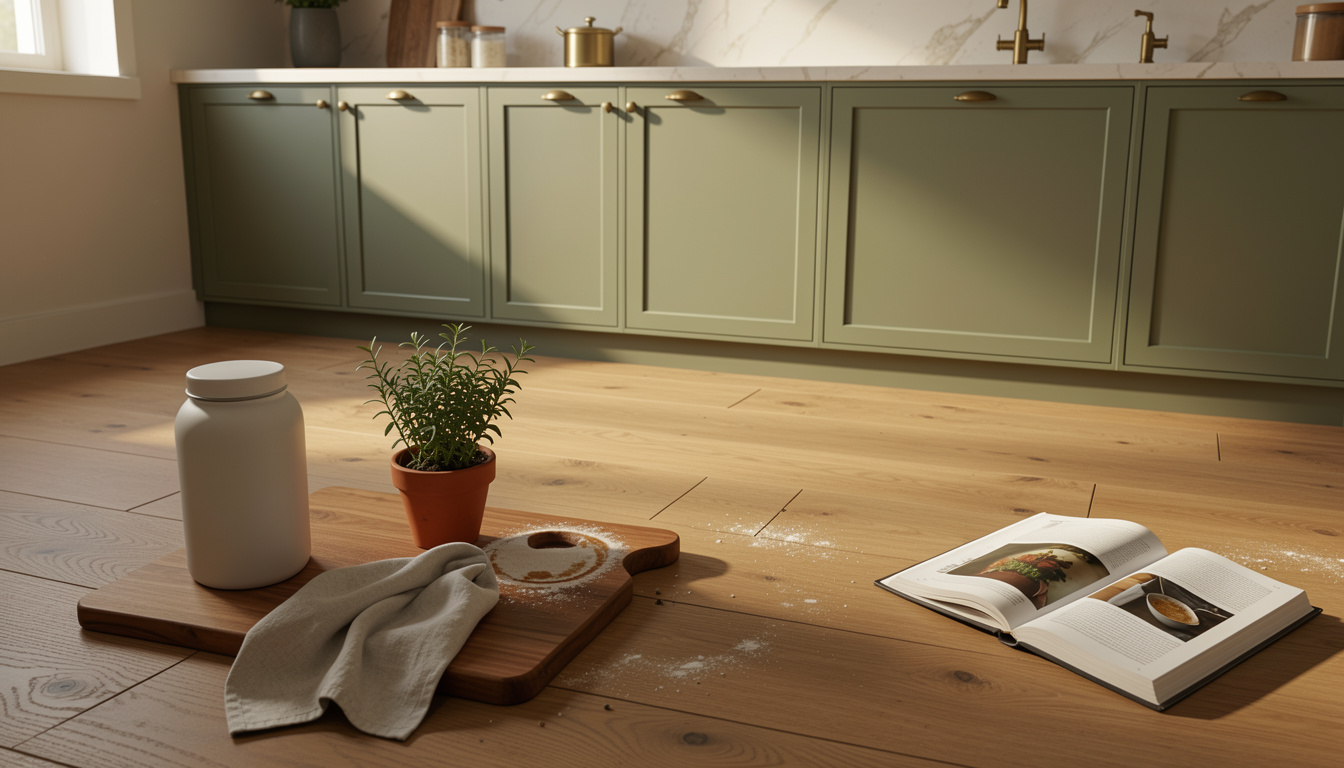
My vibe here is warm modern with lived-in textures. This suits mid-century, modern farmhouse, and small urban kitchens.
I've noticed homeowners leaning into wood-look planks paired with honed stone counters for 2025. Durability and low maintenance remain top priorities in recent Houzz kitchen trend notes, so I focused on products that wear well.
1. Start with the Foundation: Counter and Cabinet Reset
Match your floor tone to cabinets and countertops first. The trick is visual weight: dark floors need lighter counters to avoid a cave effect.
If you have warm oak cabinets, pick engineered hardwood planks in a honey oak or warm walnut tone. Engineered hardwood flooring plank, oak finish around $3 to $6 per square foot.
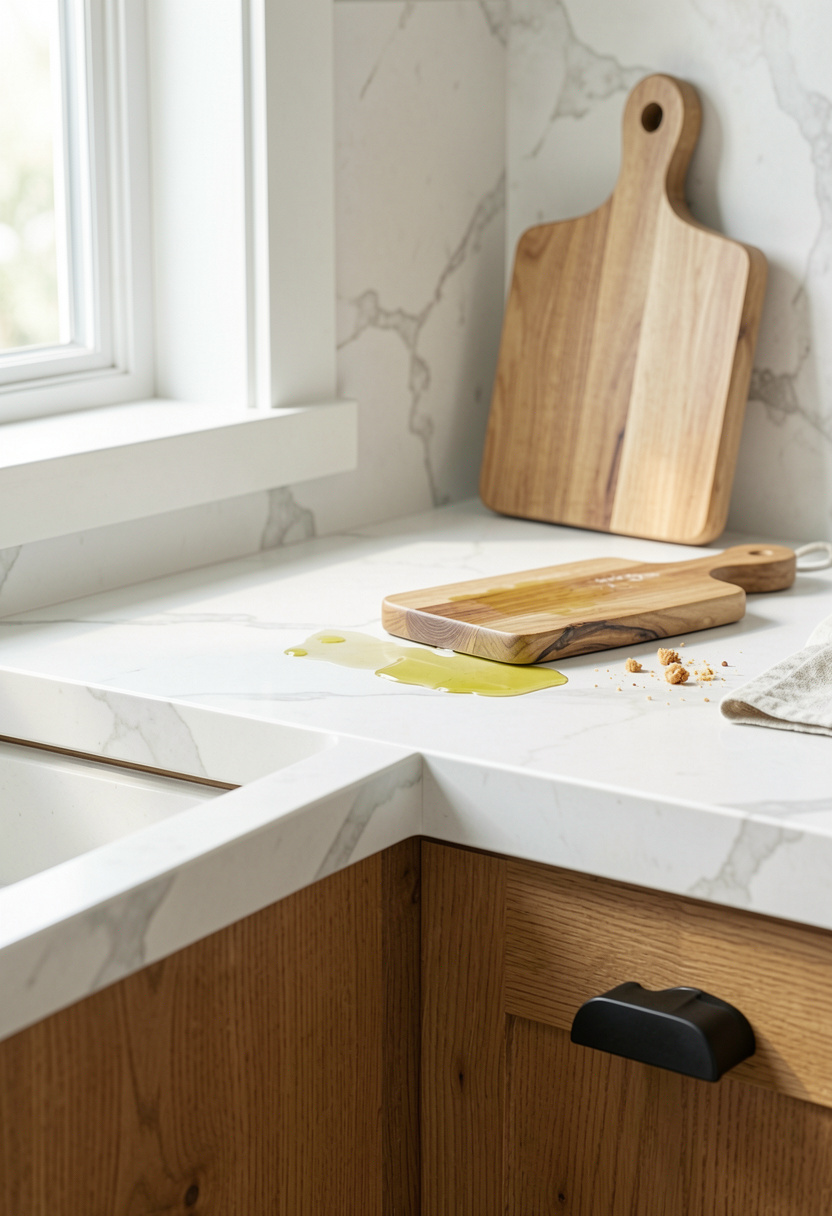
If counters are cool stone, a neutral wide plank luxury vinyl works beautifully and hides water spots. Luxury vinyl plank waterproof flooring, wide plank approx $2 to $5 per square foot.
Visual principle: aim for a 60/30/10 balance—60 percent dominant surface (floor), 30 percent secondary (cabinets), 10 percent accent (hardware). That guides tone choice.
Common mistake: matching everything too closely. Instead, contrast a shade lighter or darker than your cabinets for depth.
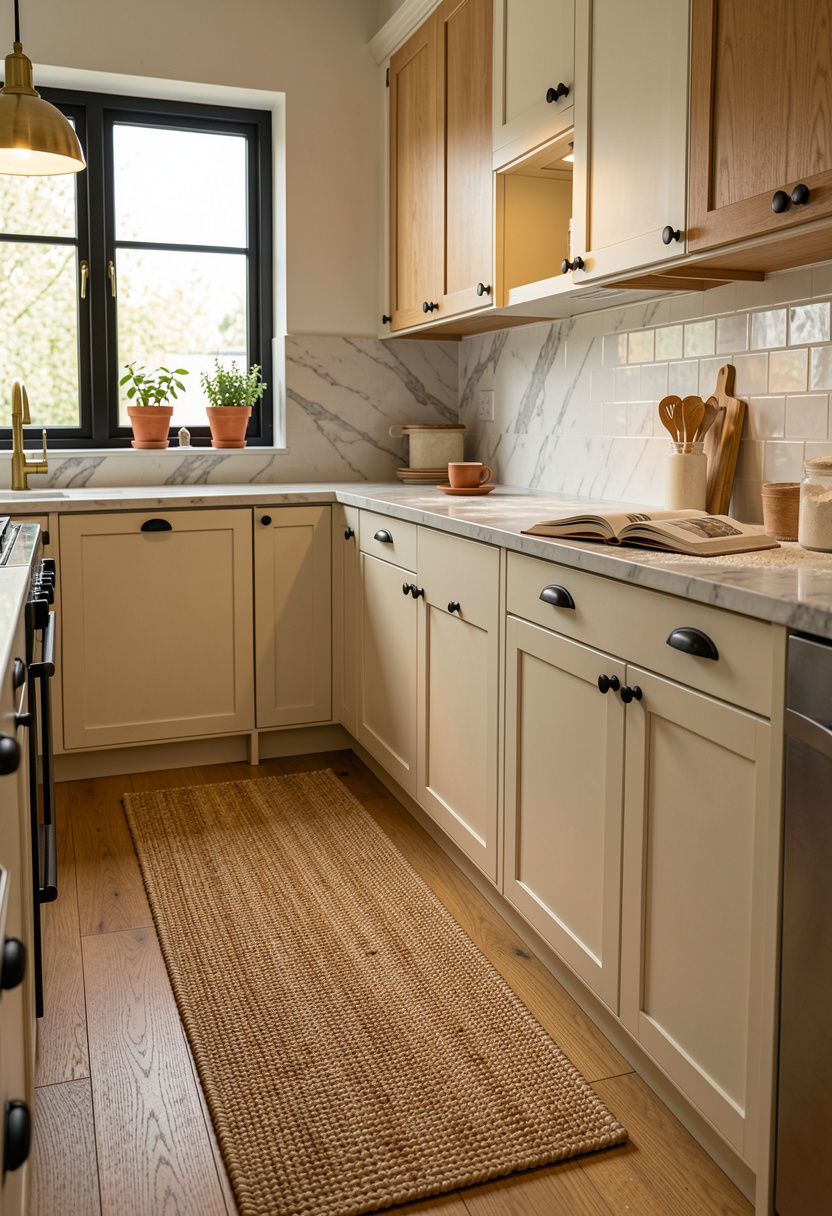
2. Layer Warmth with Wood-Look Flooring and Rugs
If you want low regret, choose a wood-look with realistic grain and a durable wear layer.
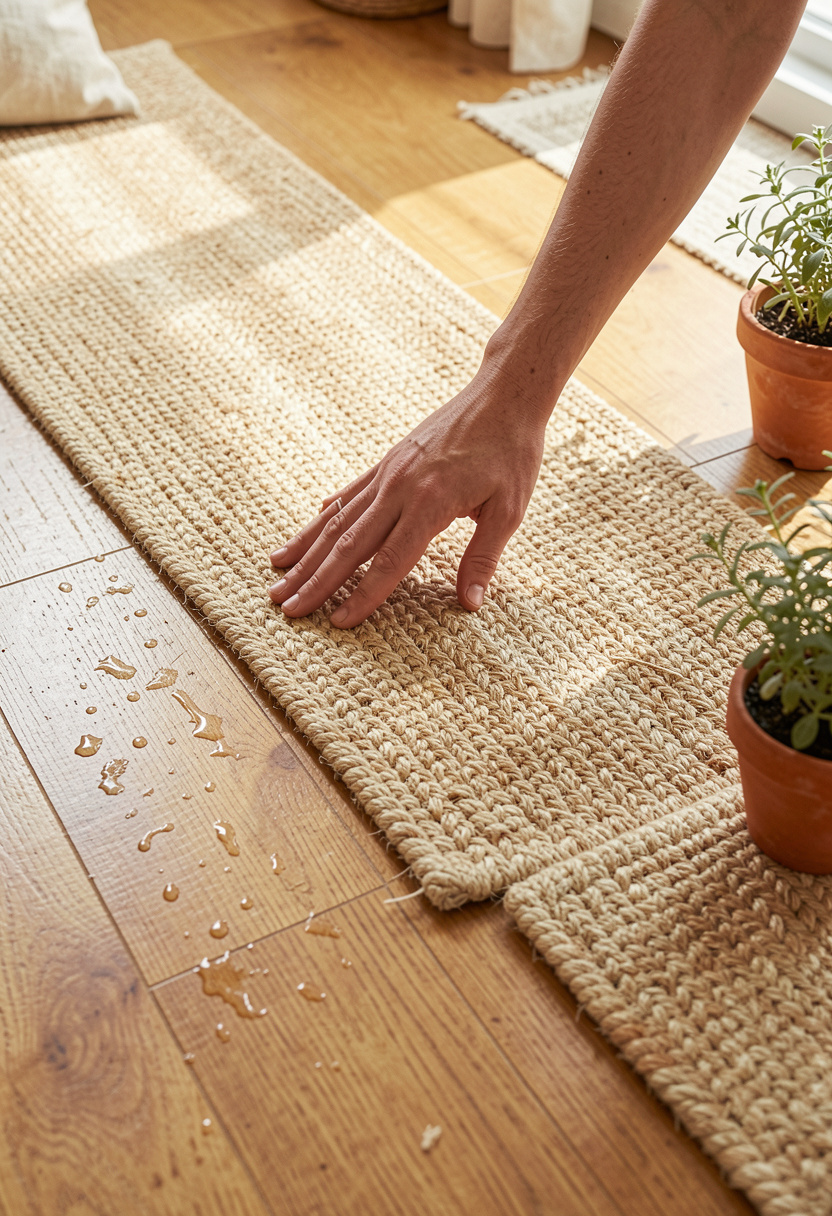
Luxury vinyl plank is waterproof and forgiving near sinks. Pair it with a sisal or wool runner in the prep zone to add texture and hide crumbs. Sisal runner rug 2×8 natural around $45 to $120.
For a warmer, higher-end look choose engineered hardwood with an ultra-matte finish. Engineered hardwood flooring plank, oak finish (sample before buying).
Place runners so 60 percent of the island length is covered, leaving 20 percent at each end exposed. That keeps sightlines clean.
Ugly truth: light floors show crumbs. Fix: pick mid-tone planks and layer a runner where you stand most.
3. Add Height and Drama with Backsplash and Wall Color to Support the Floor
The backsplash and wall color frame the floor. Paint can warm or cool the whole scheme.
If you chose warm oak flooring, pair it with a cool honed tile backsplash to keep things fresh. Porcelain tile in honed marble look 12×24 approx $2 to $6 per square foot.
Use a 70/20/10 ratio for color: 70 percent floors/cabinets, 20 percent counters/backsplash, 10 percent accents. That keeps balance without fuss.
Mistake people make: picking busy patterned tile across the whole wall. Instead, try a slim band or a full-height neutral tile and add pattern with a rug or canisters.
4. Create Ambiance with Warm Diffused Lighting and Protective Layers
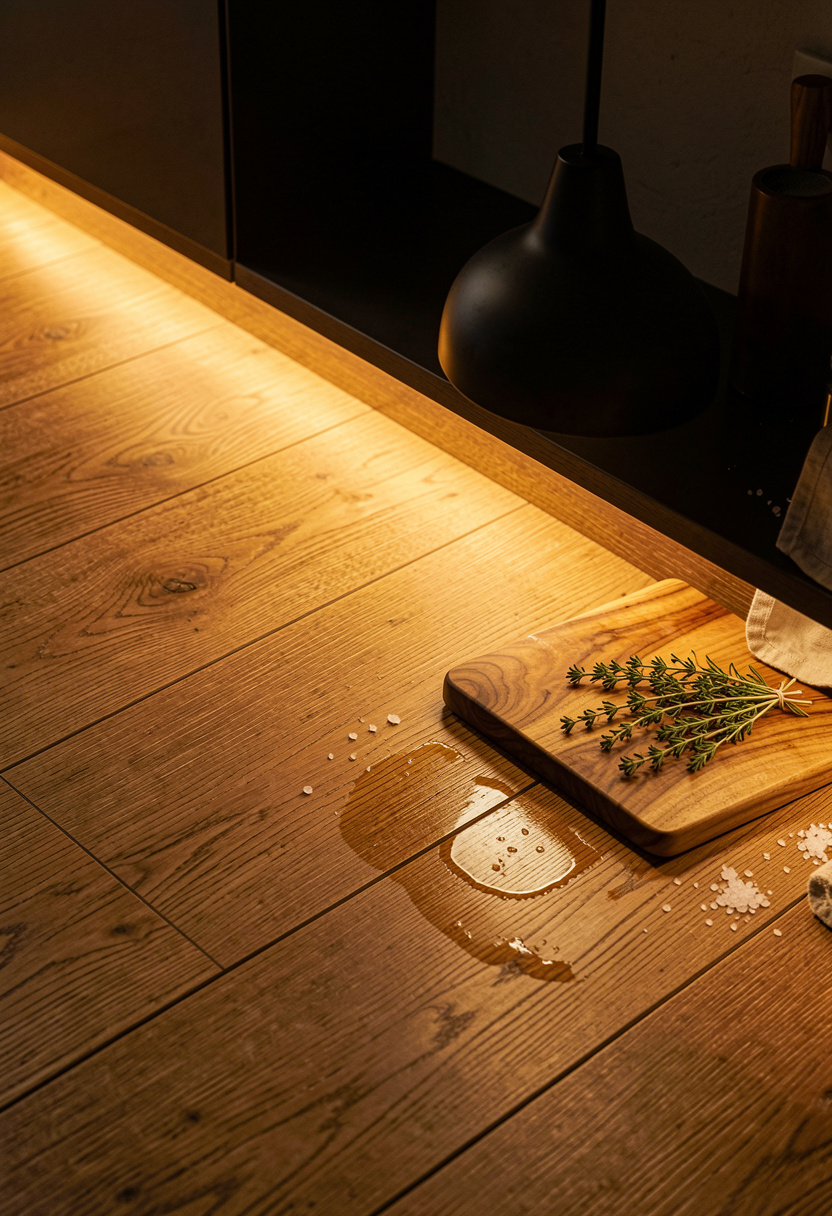
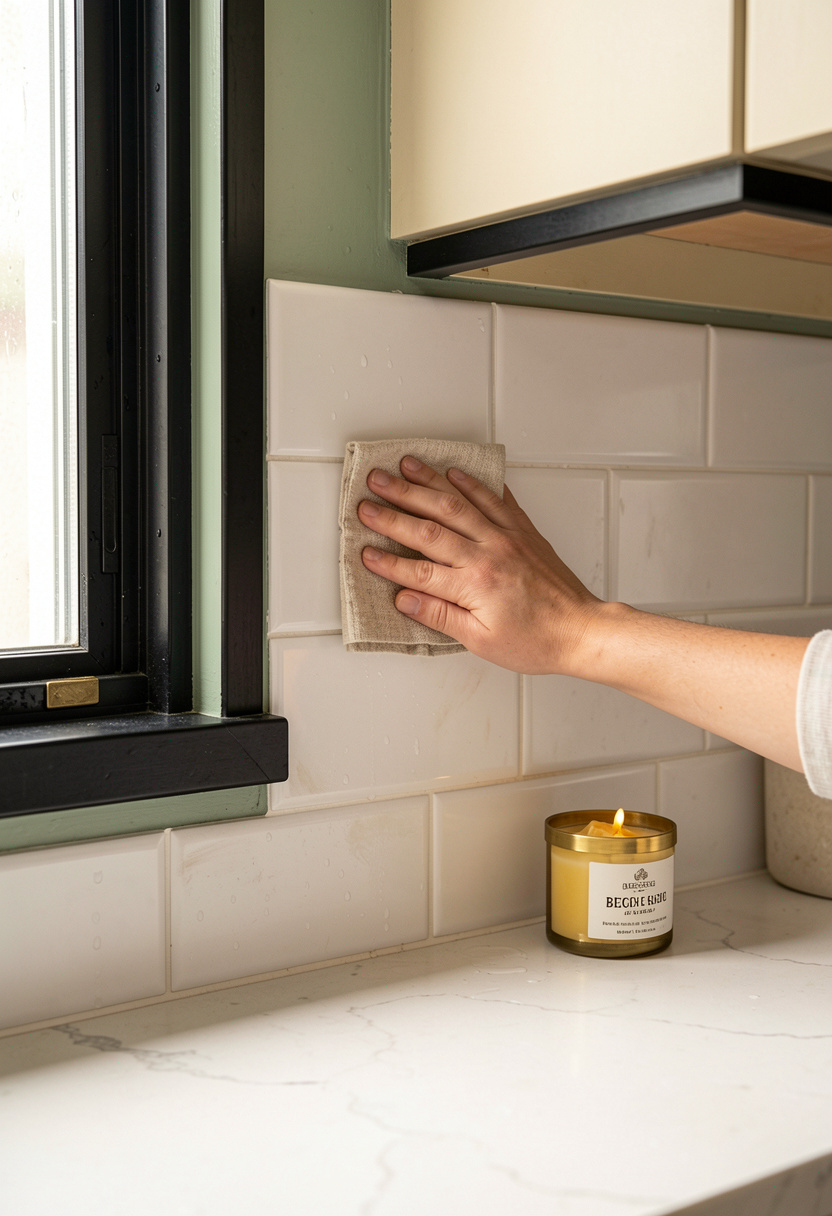
Good lighting shows a floor the way you want it seen. Soft, warm under-cabinet lighting reduces glare on glossy tiles.
Install warm white LED strips for counters, and pendants above islands to create pools of light on your chosen floor. Under cabinet LED light strip warm white around $20 to $50.
Add protective rugs or anti-fatigue mats where you stand. Clear gel kitchen mat 36×18 anti fatigue approx $25 to $60.
Visual principle: layer light to emphasize texture rather than shine. Mistake: choosing glossy finishes that highlight scratches. Instead pick matte or honed finishes and seal grout. Tile grout sealer, clear, 8 oz around $8 to $15.
Common Styling Mistakes to Avoid
Mistake: Picking the cheapest plank without a wear layer
Why it doesn't work: Looks fine month one, falls apart near the sink.
Do this instead: Choose luxury vinyl plank waterproof flooring, wide plank with a clear wear-layer.
Mistake: Installing patterned tile across entire floor for a small kitchen
Why it doesn't work: Quickly reads dated and overwhelms space.
Do this instead: Use pattern as an accent rug or runner and test with a sample like peel and stick porcelain tile sample.
Mistake: Leaving furniture legs unprotected on wood-look floors
Why it doesn't work: Causes scratches and dents.
Do this instead: Add furniture pads felt 1 inch round to all stools and chairs.
What You'll Need for This Look
Foundation Pieces
Engineered hardwood flooring plank, oak finish around $3 to $6 per sq ft
Porcelain tile in honed marble look 12×24 approx $2 to $6 per sq ft
Acacia wood cutting board large around $25 to $60
Textiles & Soft Goods
Sisal runner rug 2×8 natural around $45 to $120
Wool braided kitchen rug 5×7 approx $70 to $180
Natural linen tea towels set of 4 around $20 to $40
Lighting
Under cabinet LED light strip warm white $20 to $50
Antique brass pendant light 15 inch $60 to $220
Finishing Touches
Matte white ceramic canister set around $35 to $50
Small terracotta herb pots set of 3 approx $15 to $30
Scented beeswax candle small $8 to $20
Budget Swaps
Peel and stick porcelain tile sample $10 to $30 (thrift patterned rug can be cheaper at local shops)
Shopping Guide for This Look
Test Samples First: Order plank and tile samples before buying large quantities, engineered hardwood sample $5 to $15.
Seasonal Sales: Buy flooring in late fall when retailers discount end-of-line planks, luxury vinyl plank wide plank $2 to $5.
Thrift Hack: Score a runner or terracotta pots at Goodwill and pair with sisal runner rug 2×8 natural as backup.
Splurge vs Save: Splurge on a realistic plank with a thick wear layer, save on accents like canisters, Matte white ceramic canister set $35 to $50.
Trend Tip 2025: Mix mid-tone wood floors with cool stone counters to keep the look relevant, sample both before committing, Porcelain tile honed marble look sample.
Conclusion
Start with one sample in your kitchen and live with it for a week. Walk across it in socks, set a coffee cup on it, place your rug sample and see how crumbs behave.
The one principle that saved me was picking mid-tone planks and layering texture rather than pattern everywhere.
Which floor sample are you testing first?