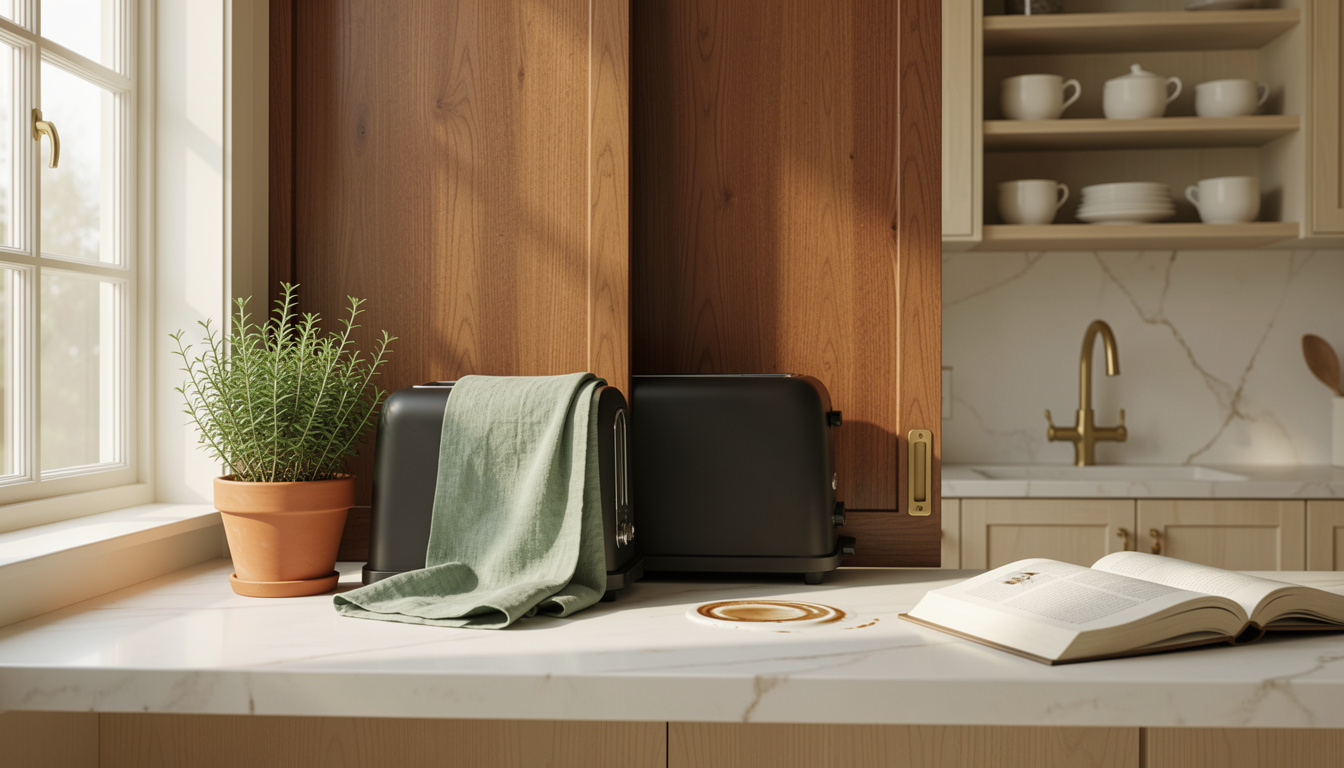
I hid my toaster behind a little walnut door and people thought my kitchen was custom. Hidden appliance cabinet kitchen solutions make a small remodel feel expensive without a full gut. Here are 13 practical builds I used or tested, most under $250, a few splurges up to $900. Expect pantry-style pulls, slide-away panels, and one ugly truth about ventilation you should plan for.
My focus is layered, intentional kitchens that actually get used. Most ideas are under $250, with a few splurges around $900 for built-in ovens. These work in modern, farmhouse, and small urban kitchens. Lately I keep seeing integrated panels and appliance garages paired with warm wood and matte black finishes.
1. Appliance Garage with Roll-Up Tambour Door
Style: Modern Farmhouse | Budget: Under $200 | Best For: Toaster, blender
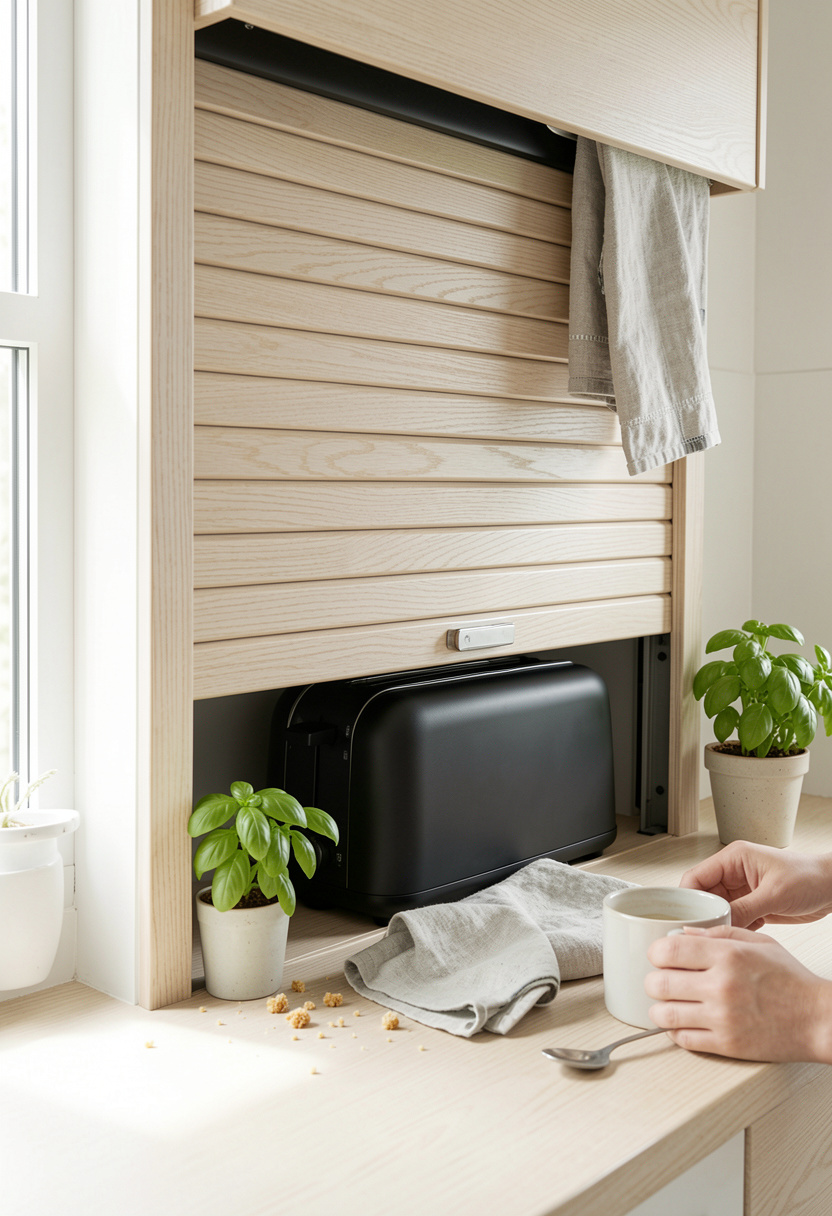
My first hidden cabinet used a tambour roll-up door in acacia-finish. The result: my counter looked clear, yet the toaster and Vitamix were ready. Tip: leave 1.5 inches of ventilation at the back for heat. I paid about $160 to retrofit a 24-inch base, found the tambour at Home Depot, and my partner actually thanked me. Ugly truth: cheap tambours can stick, so budget for good tracks, about $40 to $80.
Shop this idea:
2. Sliding Panel Cabinet Face
Style: Modern | Budget: $150 to $350 | Best For: Coffee maker, kettle

I installed a 30-inch sliding panel that moves across two cabinet openings to hide my espresso maker. Material: MDF with satin navy paint. Tip: use soft-close tracks so the panel glides quietly. Price anchor: I spent about $220 including tracks and paint. Ugly truth: panels gain fingerprints, so choose satin or add a wax coat. The neighbor asked how I hid my machine and then copied the slide.
Shop this idea:
3. Appliance Drawer With Lift-Up Counter
Style: Minimal | Budget: $200 to $400 | Best For: Stand mixer, food processor
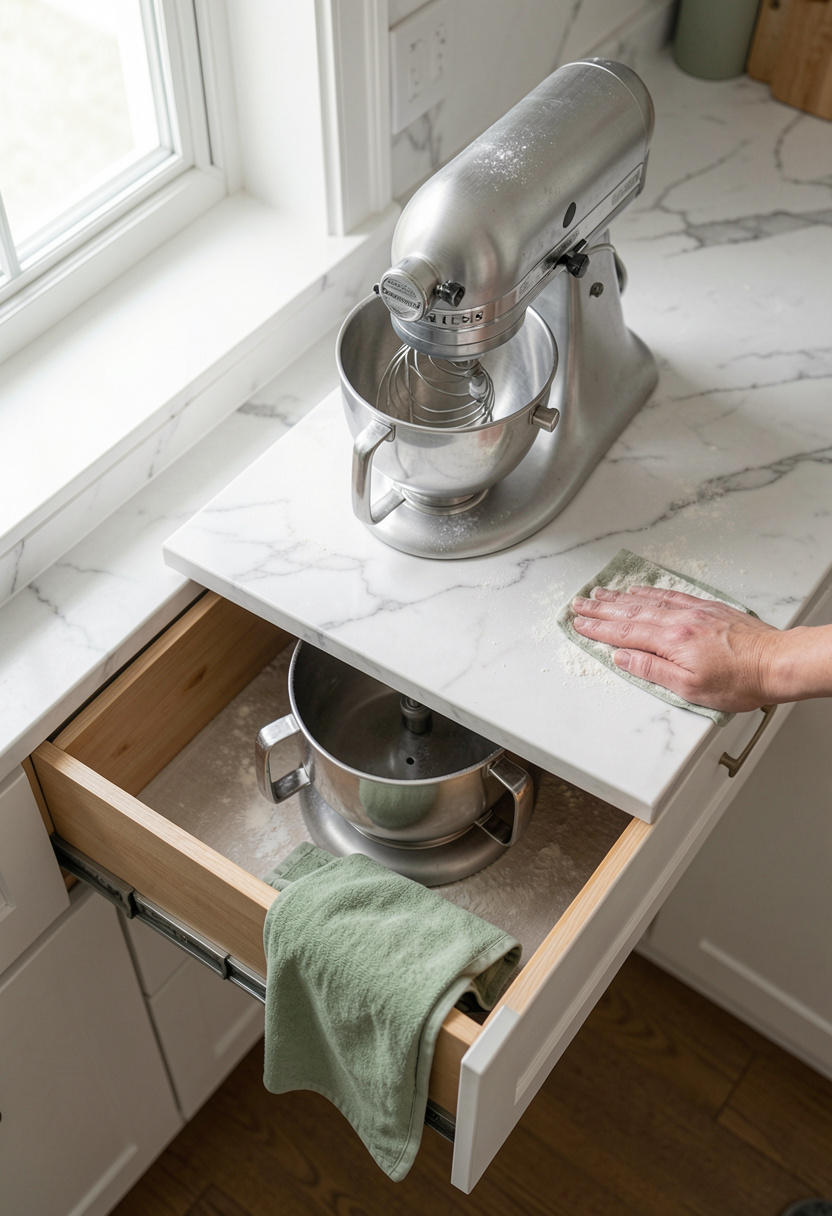
A pop-up lift inside a deep drawer keeps my KitchenAid out of sight. The mechanism holds the mixer and lifts to counter height. Tip: check weight ratings, mine was 75 pounds and needed heavy-duty slides. I spent about $320 for a pro-grade lift and the installer saved me from a wobble. Ugly truth: cheap lifts sag over time, so invest in rated hardware.
Shop this idea:
4. Appliance Garage with Retracting Glass Door
Style: Bright & Airy | Budget: $180 to $300 | Best For: Microwave, toaster oven
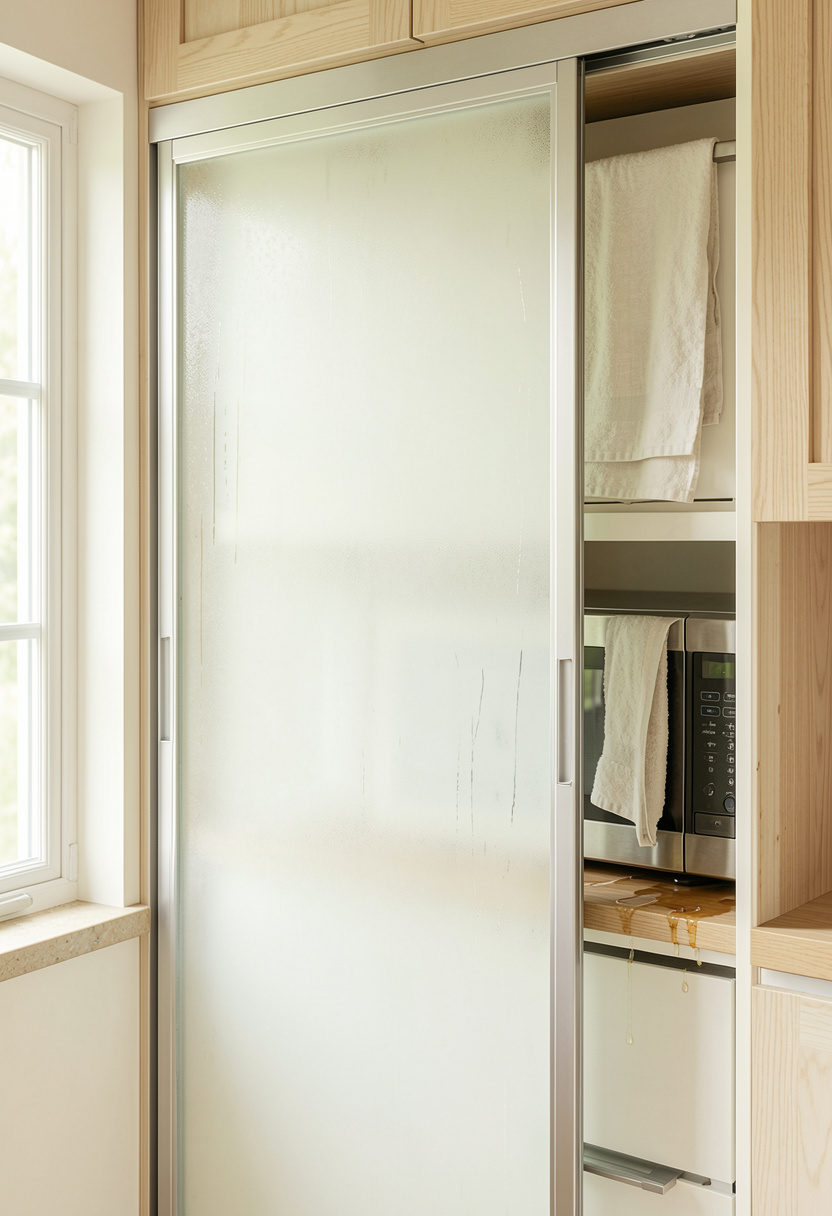
A retracting frosted-glass door softens the look of a microwave and keeps it handy. I used frosted tempered glass with aluminum rails. Tip: include a heat-resistant backboard and 2 inches of airflow. I estimate $210 for the glass and hardware. The ugly truth: frosted glass hides crumbs but shows fingerprints, so a microfiber is essential.
Shop this idea:
5. Flip-Up Countertop Hatch
Style: Rustic | Budget: Under $120 | Best For: Toaster, coffee grinder
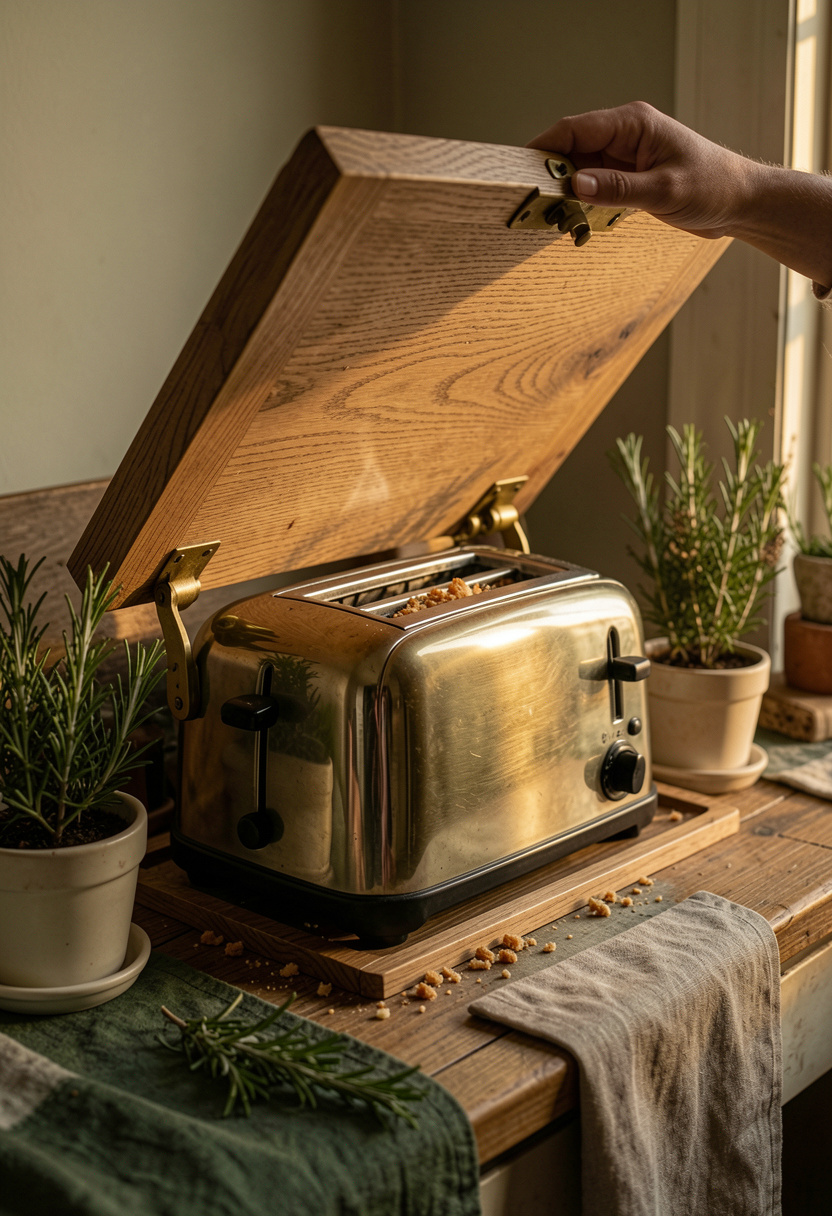
I made a small flip-up hatch on a 12-inch counter cubby for my grinder and toaster. Material: reclaimed oak with brass counter-bearing hinge. Tip: add a magnetic catch so the hatch stays closed when sweeping counters. I spent $68 on materials and found the hinge at a local hardware store. Ugly truth: hatch gaps collect crumbs, so line the interior with washable silicone mat.
Shop this idea:
6. Under-Cabinet Roll-Out Tray
Style: Modern | Budget: $75 to $150 | Best For: Slow cooker, air fryer
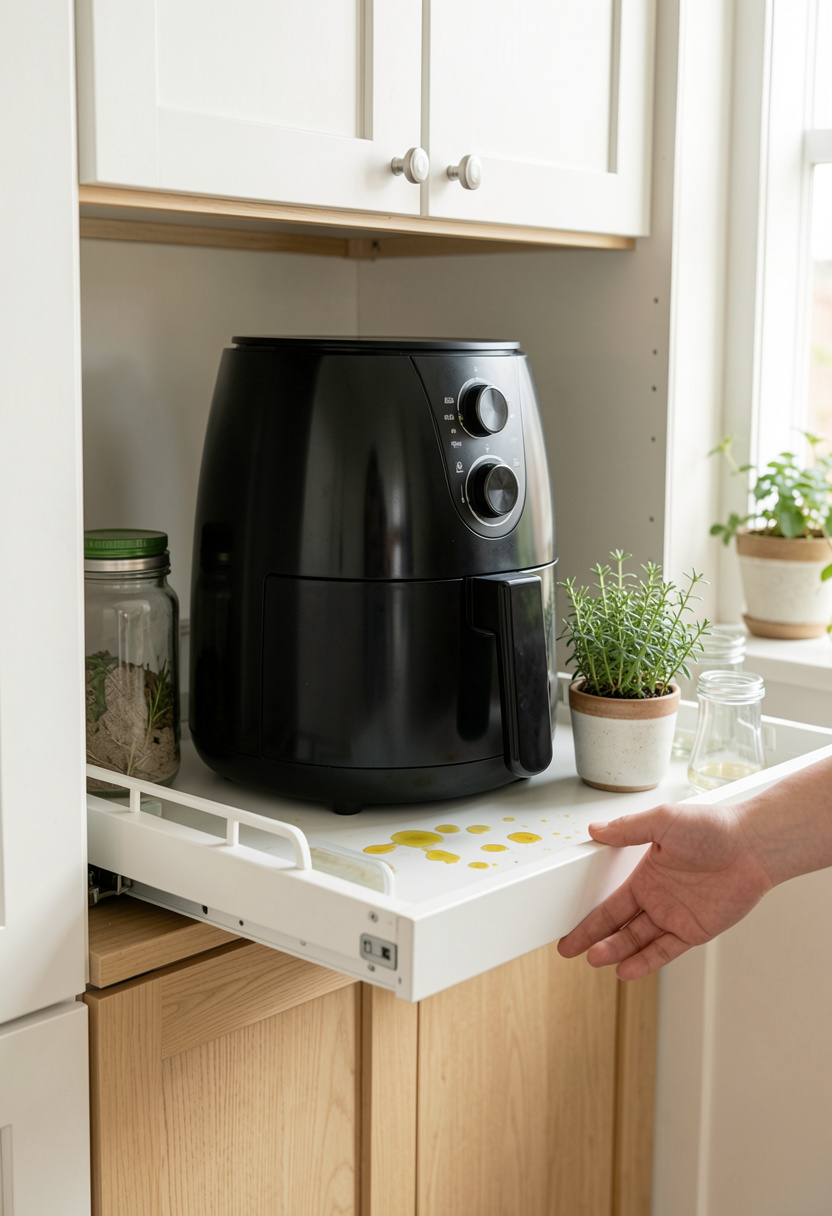
A 20-inch roll-out tray tucked under an upper cabinet keeps my air fryer accessible but off the counter. Use full-extension slides and a raised lip to prevent spills. I bought a pre-built tray for about $95 and it saved 6 inches of daily clutter. Ugly truth: slides wear if overloaded, so check the weight rating before installing.
Shop this idea:
7. Flush Panel Fridge with Access Door
Style: High-End Modern | Budget: $600 to $900 | Best For: Refrigerator
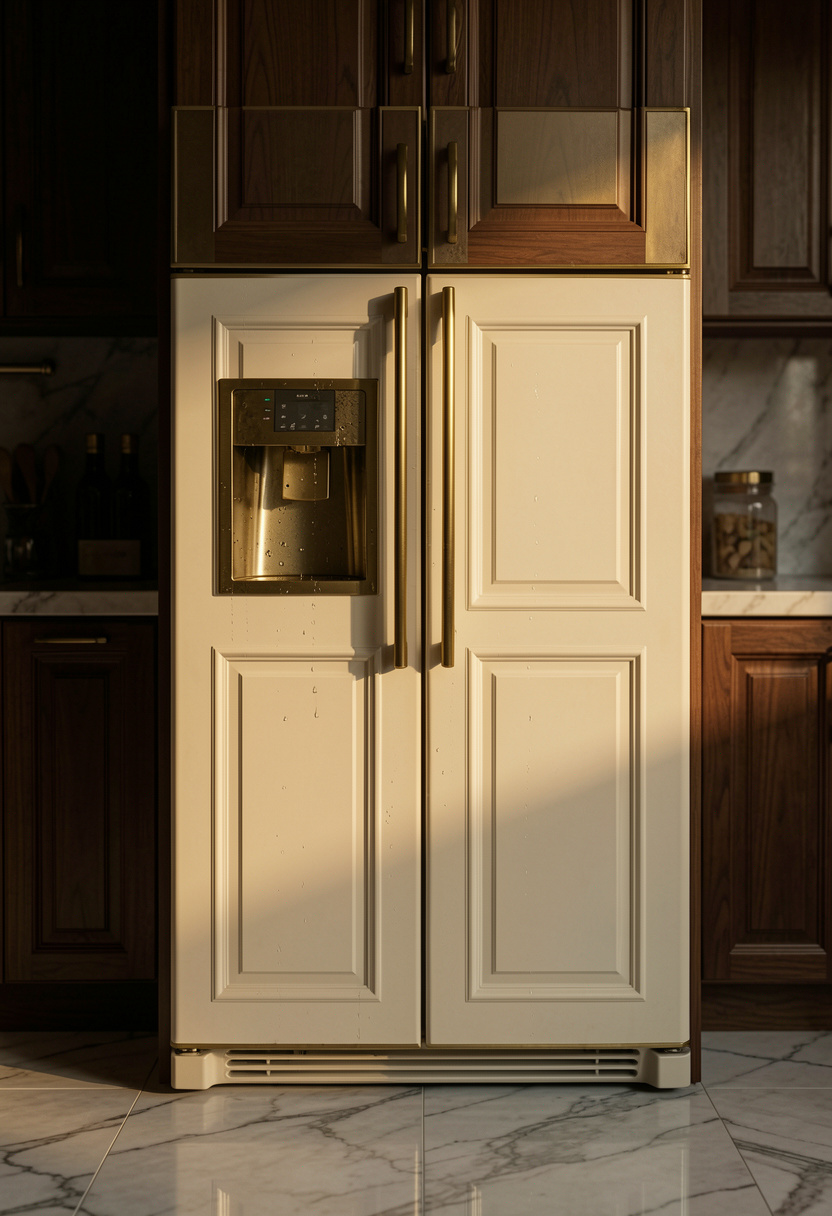
I matched my fridge with the cabinet face and added a small access recessed pull so it reads like custom cabinetry. Tip: confirm HVAC/venting needs for panel-ready fridges; some require toe-kick vents. This was my priciest change at about $750 with pro fitting. Ugly truth: panel-ready fridges often need custom venting, adding unexpected cost.
Shop this idea:
8. Hidden Range Hood Behind Trim
Style: Minimal | Budget: $200 to $450 | Best For: Range hood concealment

I boxed in my vent with a painted wood facade and routed the hood behind it. Practical tip: use a perforated vent strip and confirm CFM requirements for your range. I budgeted $320 for the face and contractor time. Ugly truth: hiding a hood reduces visible performance, so never undersize the blower.
Shop this idea:
9. Built-In Microwave Drawer
Style: Contemporary | Budget: $400 to $700 | Best For: Microwave drawer

A microwave drawer at knee height cleared space at eye level and looks built-in. Pick a model with soft-open and child lock. Tip: allocate a 2-inch clearance for ventilation at the back. I paid about $620 for my unit and the family loved the ergonomic change.
Shop this idea:
10. Hidden Coffee Nook Behind Pull-Down Panel
Style: Cozy | Budget: Under $180 | Best For: Nespresso, grinder

I built a six-cup coffee station behind a pull-down panel and routed the outlet inside the cavity. Tip: install a pop-out outlet so cords disappear. My build cost about $140 and paid off during weekday chaos. Ugly truth: put moisture-sensitive beans in an airtight tin or they stale faster in warm cabinets.
Shop this idea:
11. Under-Island Appliance Cubby
Style: Bold & Saturated | Budget: $250 to $500 | Best For: Wine fridge, mini fridge

I added a pantry-style cubby in my island for a 24-inch mini fridge. The door matches the island color for a custom feel. Tip: ensure ventilation from the back or toe-kick. I spent about $390 including venting. The family loved having cold drinks at island height during parties.
Shop this idea:
12. Appliance Shelf Behind Glass-Paneled Doors
Style: Vintage-Modern | Budget: $120 to $260 | Best For: Mixer, slow cooker
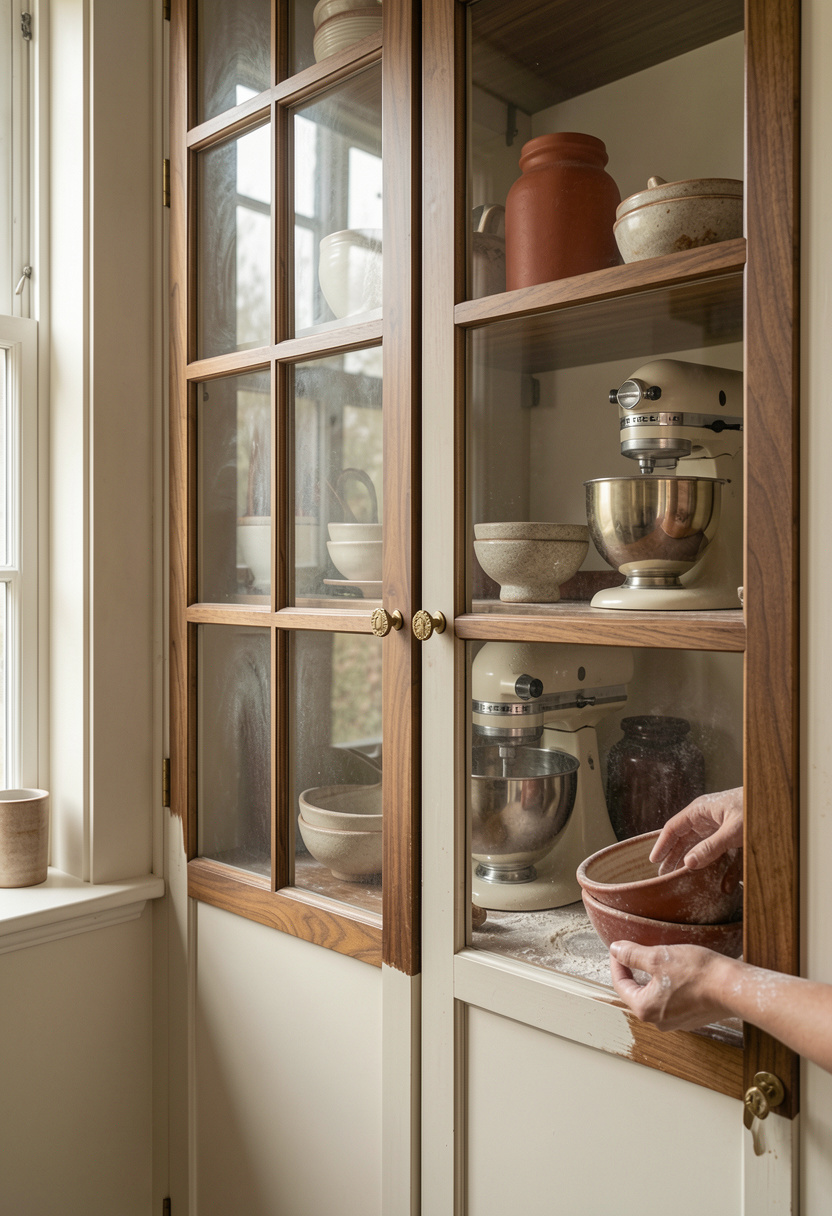
Frosted or mullioned glass doors hide appliances while keeping the shelf airy. I used satin glass to blur clutter. Tip: use removable shelf liners to protect paint from heat. Total I spent about $150 on glass panels and hinges. The ugly truth: clear glass shows everything, so if you want hidden, choose frosted or mullioned.
Shop this idea:
13. Pull-Out Garage with Charging Station
Style: Modern Rustic | Budget: $95 to $220 | Best For: Small appliances, phones
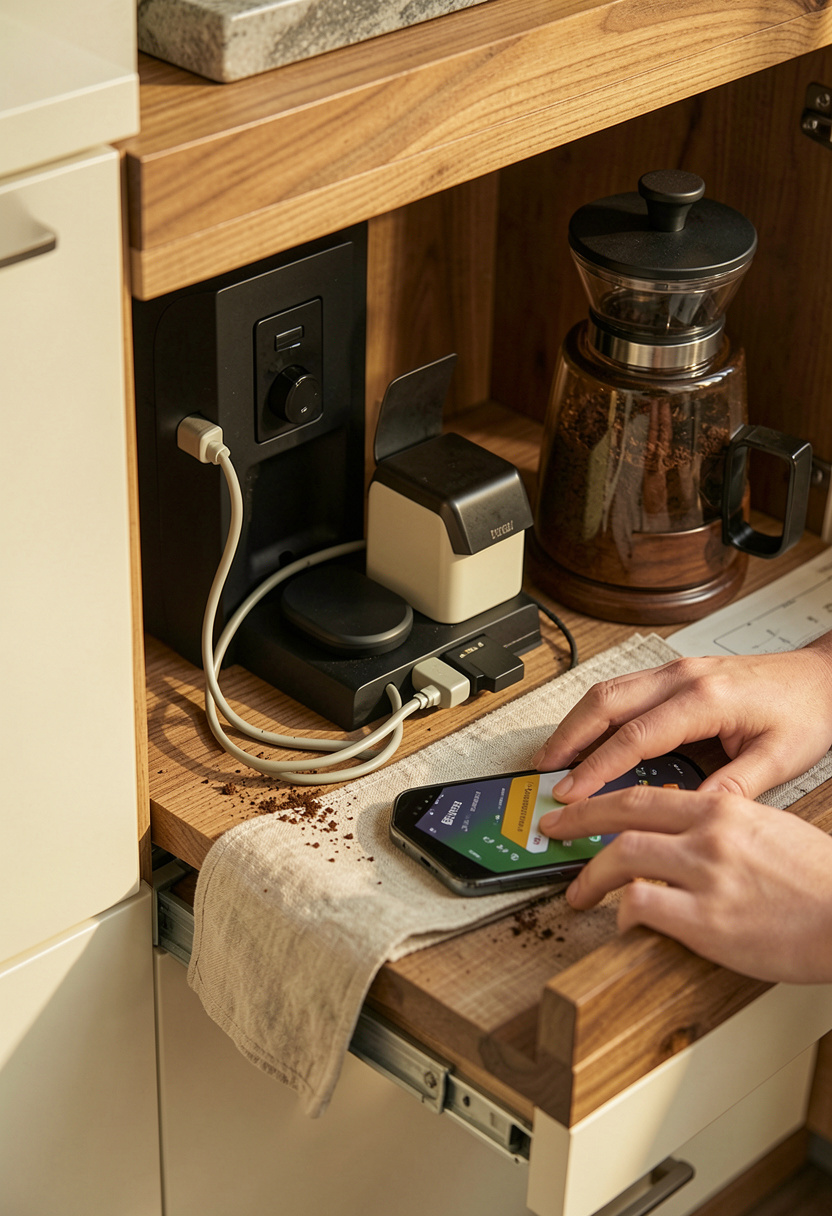
A shallow pull-out garage with built-in outlets became my morning command center for phones, timers, and the grinder. Tip: wire a USB-C outlet inside for modern devices. I paid about $140 and love that everything is charged but hidden. Ugly truth: adding outlets may require an electrician, so budget $100 to $200 if you are not DIY-savvy.
Shop this idea:
What You'll Need to Get This Look
Countertop & Storage
- Acacia chopping board 18×12 around $25 to $45
- Silicone drawer liner around $8 to $18
- Full-extension roll-out shelf 20 inch around $60 to $120
- Mixer lift hardware kit around $80 to $200
Wall Decor & Open Shelving
- Acacia floating shelves 24 inch around $30 to $80
- Mullioned glass cabinet door 18×30 around $60 to $160
Textiles & Soft Goods
- Sage linen dish towels set of 4 around $12 to $30
- Microfiber cleaning cloths 6 pack around $8 to $20
Greenery & Freshness
- Small terracotta herb pot 4 inch around $6 to $15
- Potted rosemary plant around $10 to $25
Budget Swaps
- Faux basil stems set of 3 around $8 to $20 (thrifted pots for less at HomeGoods)
- Pop-out countertop outlet around $60 to $120 (install yourself to save)
Shopping Tips for These Looks
1. Time Big Buys Around Sales: Buy hardware and appliances during Memorial Day or Black Friday. I scored a mixer lift at 20% off last fall. Mixer lift hardware kit
2. Thrift Then Match: Hunt for vintage pulls at thrift stores, then order matching new hinges. Often I find a $6 brass pull that defines the style. Recessed cabinet pull brass
3. Measure Twice, Panel Once: For panel-ready appliances, measure depth and vent needs. I learned this after buying a fridge that needed an extra 1.5 inches. Panel-ready refrigerator trim kit
4. Seasonal Trend to Watch 2025: Designers are pairing integrated panels with warm wood and matte black hardware. Try a matte black toaster or pulls instead of shiny chrome. Matte black two-slice toaster
5. Thrift Hack for Doors: Repaint thrifted cabinet doors and add new hinges for a custom look on a budget. I painted a $12 door and it reads like custom, paired with new pulls. Brass piano hinge 12 inch
6. Avoid Ventilation Mistakes: Never assume hidden equals non-vented. Check CFM and clearance, especially for ovens and hoods. Under-cabinet range hood insert 400 CFM
Frequently Asked Questions
Q: Are hidden appliance cabinets worth the cost?
A: Yes, they give a custom look and reduce counter clutter while keeping functionality. For small items, try a roll-out shelf first like a Full-extension roll-out shelf 20 inch.
Q: How do I ventilate a hidden microwave or toaster?
A: Leave 2 inches at the back and use perforated vent strips or toe-kick vents to prevent heat build-up. See Perforated vent strip 30 inch for panels.
Q: Can I DIY a hidden appliance lift?
A: Yes if you follow weight ratings and install heavy-duty slides. I DIYed a mixer lift with a 75 lb kit. Try the Mixer lift hardware kit.
Q: What’s a low-cost first project to hide appliances?
A: Start with a flip-up hatch or tambour roll-up for under $200 to test the look. I started with a $68 hatch and it changed morning flow. Solid oak tambour roll-up kit
Conclusion
Start small, like a roll-out tray or a tambour door, to see how hidden appliance cabinet kitchen solutions change daily life. My best tip: plan ventilation first, aesthetics second. Which appliance is driving you crazy on the counter right now, the toaster or the mixer?