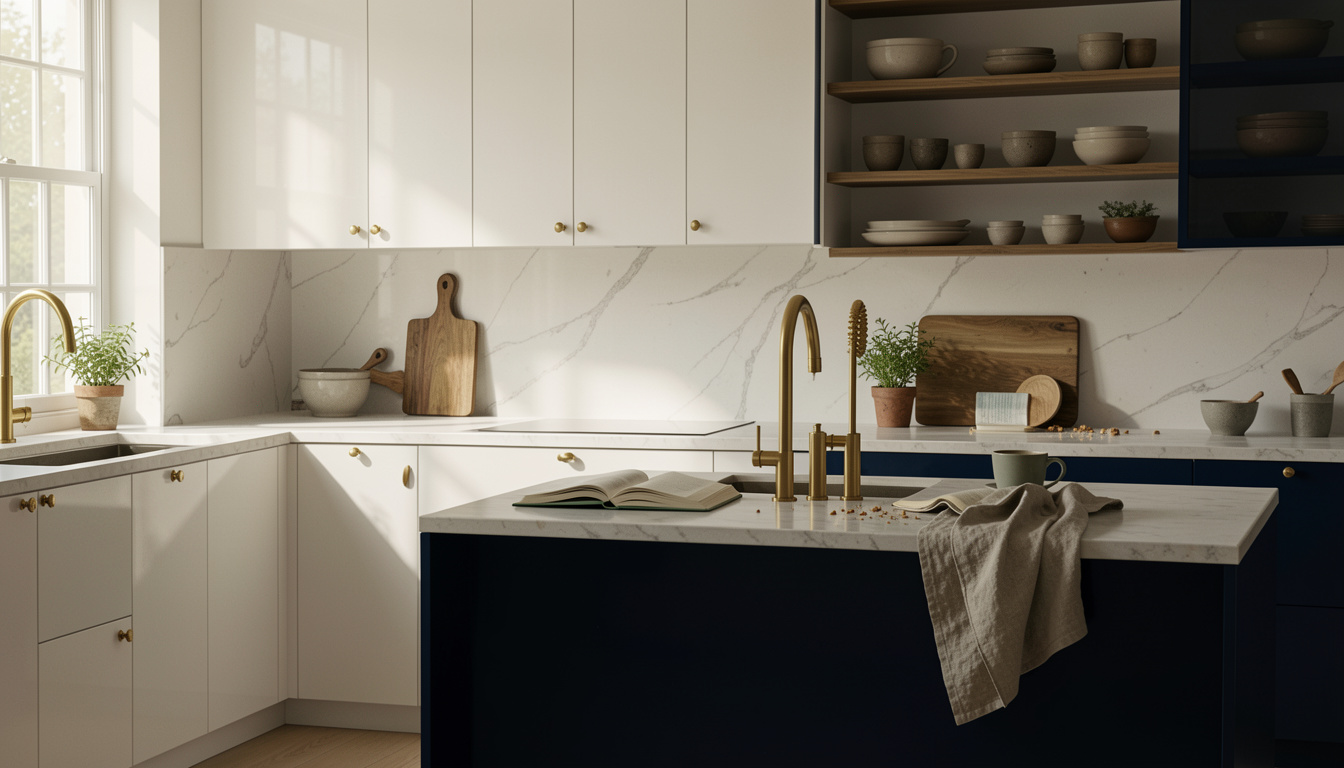
Acrylic kitchen color combination was the single change that made my small galley feel twice as big. I tested 15 combos to get a glossy, clean, expensive look on modest budgets, most under $50 and a few splurges around $120. These are the exact pairings, tips, and Amazon finds that worked in my kitchen and for friends who wanted high-shine without the contractor price tag.
Glossy, modern, and practical. Most ideas cost under $50 for styling pieces, with three splurges around $120 for acrylic panels or statement hardware. These ideas suit modern, minimal, and small open-plan kitchens. I’ve noticed gloss cabinets, bold islands, and mixed metals keeping strong traction into 2025 as people chase reflective, easy-to-clean surfaces.
1. Gloss White Acrylic + Honey Oak
Style: Bright & Airy | Budget: Under $75 | Best For: Small kitchens

The result is impossibly clean. Pair high-gloss white acrylic uppers with honey oak lower shelves or butcher block to warm the room. The trick is to pick a warm oak tone, like acacia or walnut honey, so the gloss white reads crisp not sterile. I bought a gloss white acrylic panel sample on Amazon for around $25 to $45 to test under my light, and it saved me from a paint mistake. Tip: clean with a microfiber and mild soap to avoid streaks.
Shop this idea:
2. Deep Navy Acrylic + Marble Counter
Style: Bold & Saturated | Budget: $60 to $120 | Best For: Islands, statement cabinets

Navy acrylic instantly reads luxe against marble. I painted mine navy once and regretted the sheen levels. Acrylic panels give consistent high gloss and resist fingerprints better than lacquer. I ordered navy gloss samples for around $35 to $80 and matched the brass pulls. Practical tip: pick a low-reflective marble finish like honed Carrara to avoid competing glares.
Shop this idea:
3. Sage Green Acrylic + Matte Black Hardware
Style: Modern Farmhouse | Budget: Under $90 | Best For: Cabinet faces, pantry doors

I underestimated how calming a sage acrylic front could be. Matte black hardware grounds the gloss and hides smudges. One ugly truth, gloss shows every fingerprint, so choose darker greys or add powder-coated matte pulls. I swapped in matte black cup pulls for around $20 to $45 and it felt like a pro update.
Shop this idea:
4. Blush Acrylic + Warm Brass
Style: Bright & Airy | Budget: Under $80 | Best For: Small accents, appliance fronts

Blush acrylic reads very modern when paired with warm brass. I used it on a microwave surround and it turned heads. Ugly truth: pastel gloss can look cheap if paired with cheap hardware. Choose solid brass or brass-toned stainless for around $50 to $120 to keep it upscale. Wipe gently to keep the blush from clouding.
Shop this idea:
5. Charcoal Acrylic + Polished Chrome
Style: Moody & Cozy | Budget: $70 to $140 | Best For: Full lower runs
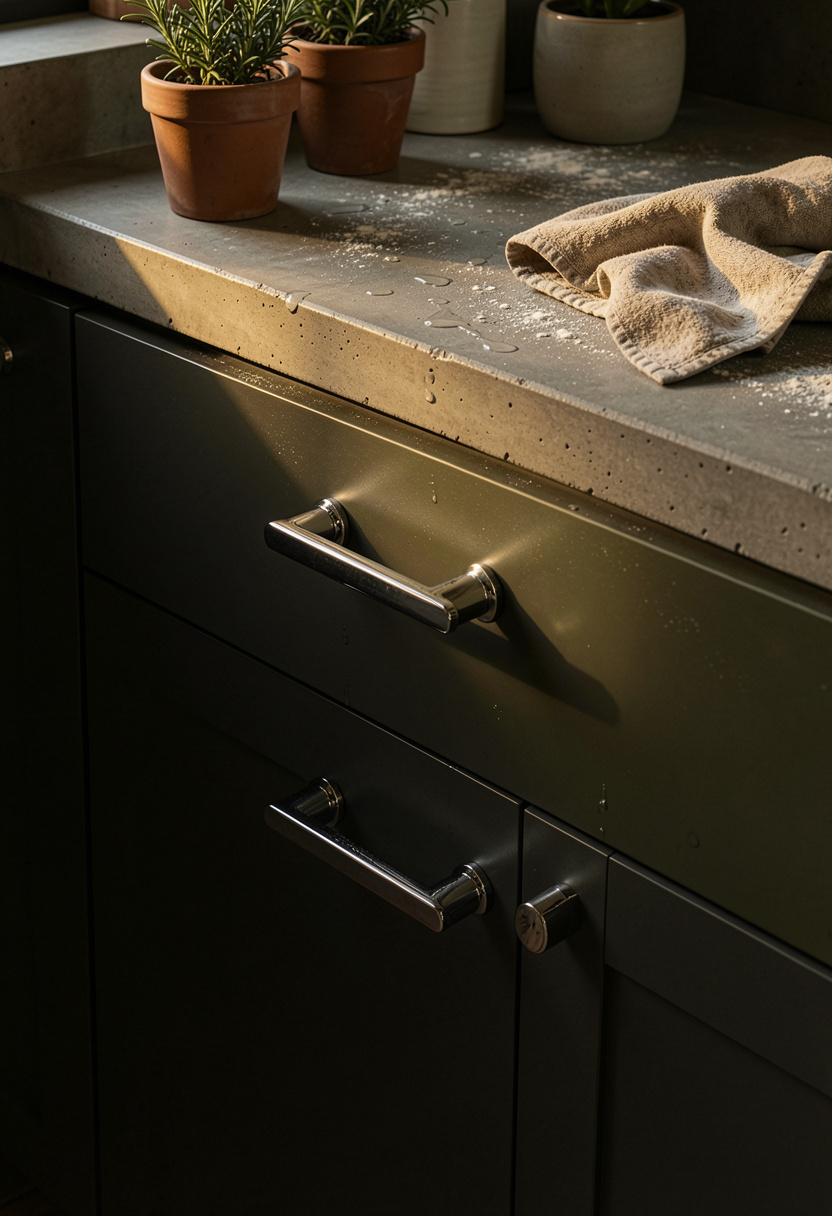
Charcoal gloss balances drama and elegance. I installed charcoal acrylic on lower cabinets once and kept uppers light to avoid a cave effect. Practical tip: use polished chrome or stainless for a modern contrast. Expect sample panels around $40 to $100 per panel depending on size.
Shop this idea:
6. Black Acrylic + Reclaimed Wood
Style: Bold & Saturated | Budget: $80 to $160 | Best For: Statement islands
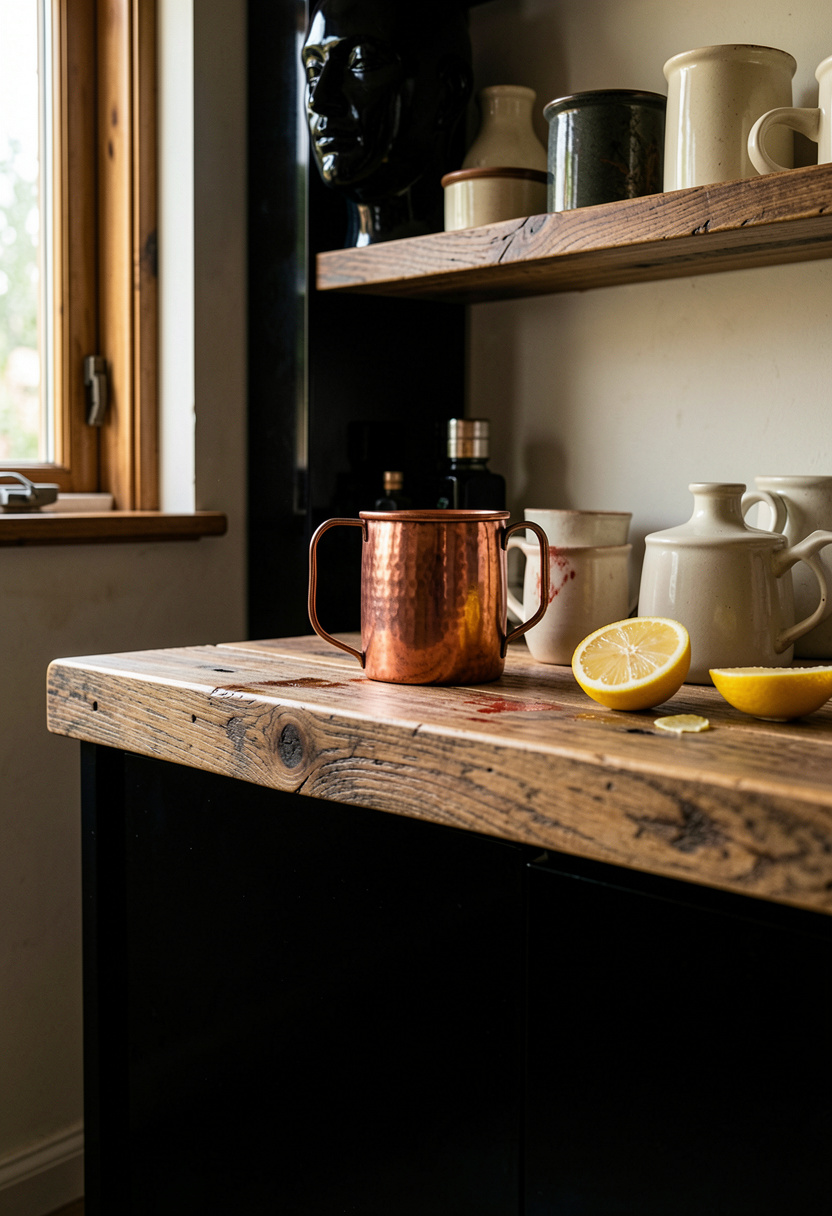
High-gloss black acrylic looks expensive next to reclaimed wood. I learned the hard way that pure black shows dust, so pair with open shelving to break the surface. A practical maintenance tip, keep a small microfiber cloth by the sink for quick wipes. Sample panels ran about $45 to $110 when I shopped.
Shop this idea:
7. Soft Gray Acrylic + White Quartz
Style: Modern Minimal | Budget: Under $100 | Best For: Contemporary cabinets

Soft gray acrylic gives the feel of a custom kitchen without the price. I swapped drawer fronts to gray acrylic and paired with a white quartz top to keep brightness. One tip, choose a mid-tone gray so it reads clean in different lights. Expect around $40 to $90 per panel.
Shop this idea:
8. Teal Acrylic + Brass Trim
Style: Bold & Saturated | Budget: $60 to $130 | Best For: Bar areas, beverage centers
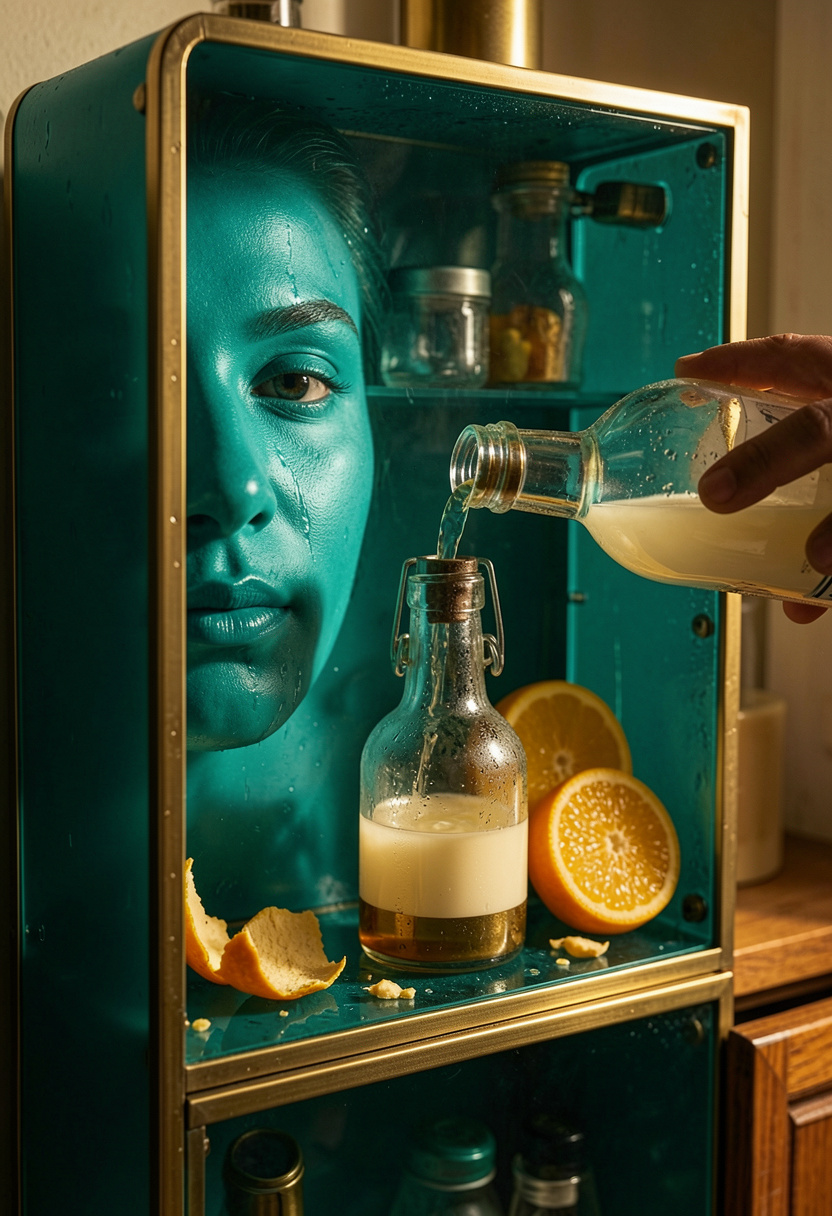
A teal acrylic bar looks like a boutique hotel touch. I used brass edging to catch light and avoid the flat-box look. Ugly truth: small colored gloss fronts can feel busy if you overuse pattern or bright tiles nearby. Keep surrounding materials calm. Panels sampled for around $35 to $95.
Shop this idea:
9. Cream Acrylic + Limestone
Style: Bright & Airy | Budget: Under $90 | Best For: Coastal, cottage kitchens
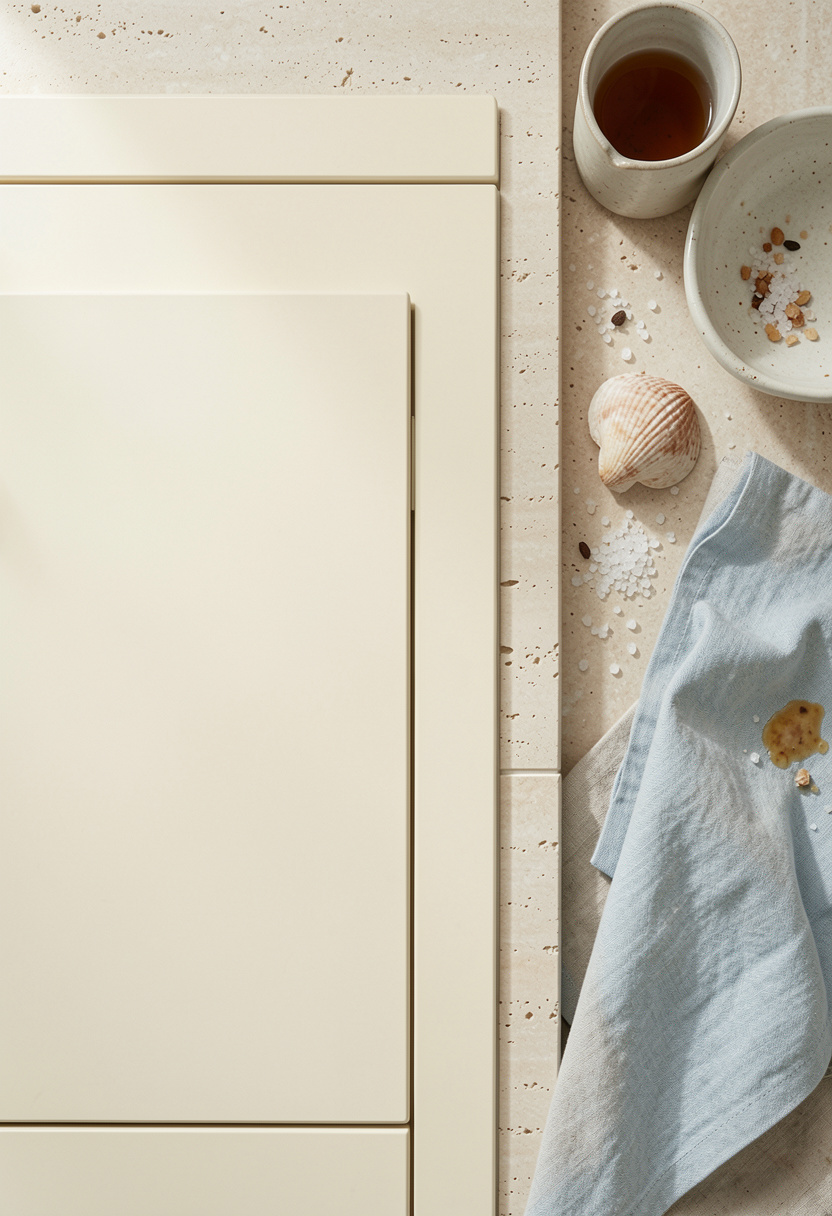
Cream acrylic reads warmer than stark white and pairs beautifully with limestone. I swapped a few lower drawers to cream acrylic and it softened the whole room. Tip: choose limestone with subtle veining for texture without visual clutter. Sample sizes were around $30 to $70.
Shop this idea:
10. Lemon Yellow Acrylic + White Subway Tile
Style: Bright & Airy | Budget: Under $60 | Best For: Accent cabinets, coffee nooks

A small pop of lemon yellow acrylic instantly lifts a coffee nook. I tried a full yellow run once and it overwhelmed the space, so keep yellow to accents. Ugly truth: bright gloss colors age quickly if trends shift, so place them where they’re easy to swap. Price for sample panels was about $25 to $55.
Shop this idea:
11. Coral Acrylic + Matte Stone
Style: Bold & Saturated | Budget: $50 to $120 | Best For: Open shelving back panels

I used coral acrylic behind open shelving to create a layered, expensive-looking backdrop. Coral reads editorial when paired with matte stone counters. Practical tip: paint the shelf underside the same coral for a seamless look. Expect back panels for around $35 to $90.
Shop this idea:
12. Mint Acrylic + Stainless Steel
Style: Bright & Airy | Budget: Under $80 | Best For: Retro-modern styling
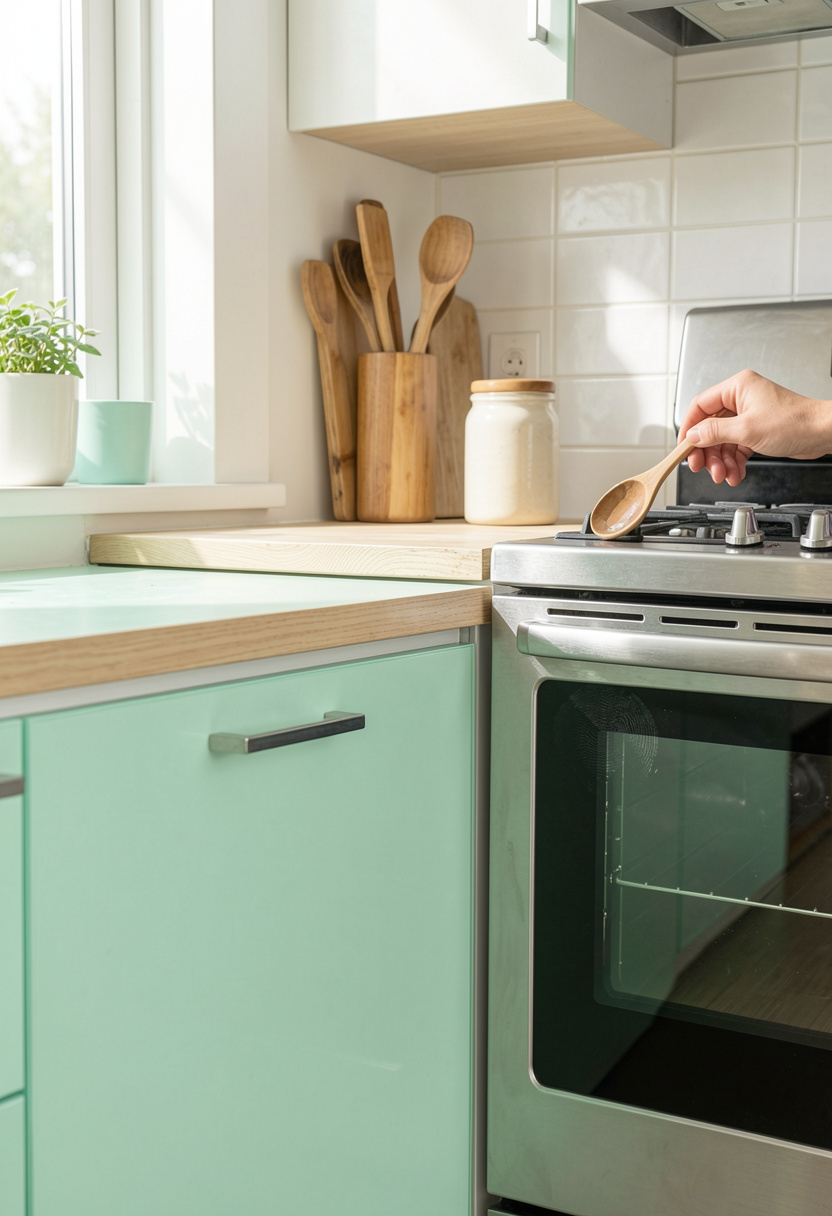
Mint acrylic with stainless steel gives a mid-century nod without kitsch. I tested a mint drawer front around a fridge and it read fresh. Ugly truth: pastels show water marks, so avoid near sinks. Panels priced around $30 to $70.
Shop this idea:
13. Forest Green Acrylic + Walnut Trim
Style: Moody & Cozy | Budget: $80 to $150 | Best For: Full-height pantries, cabinetry
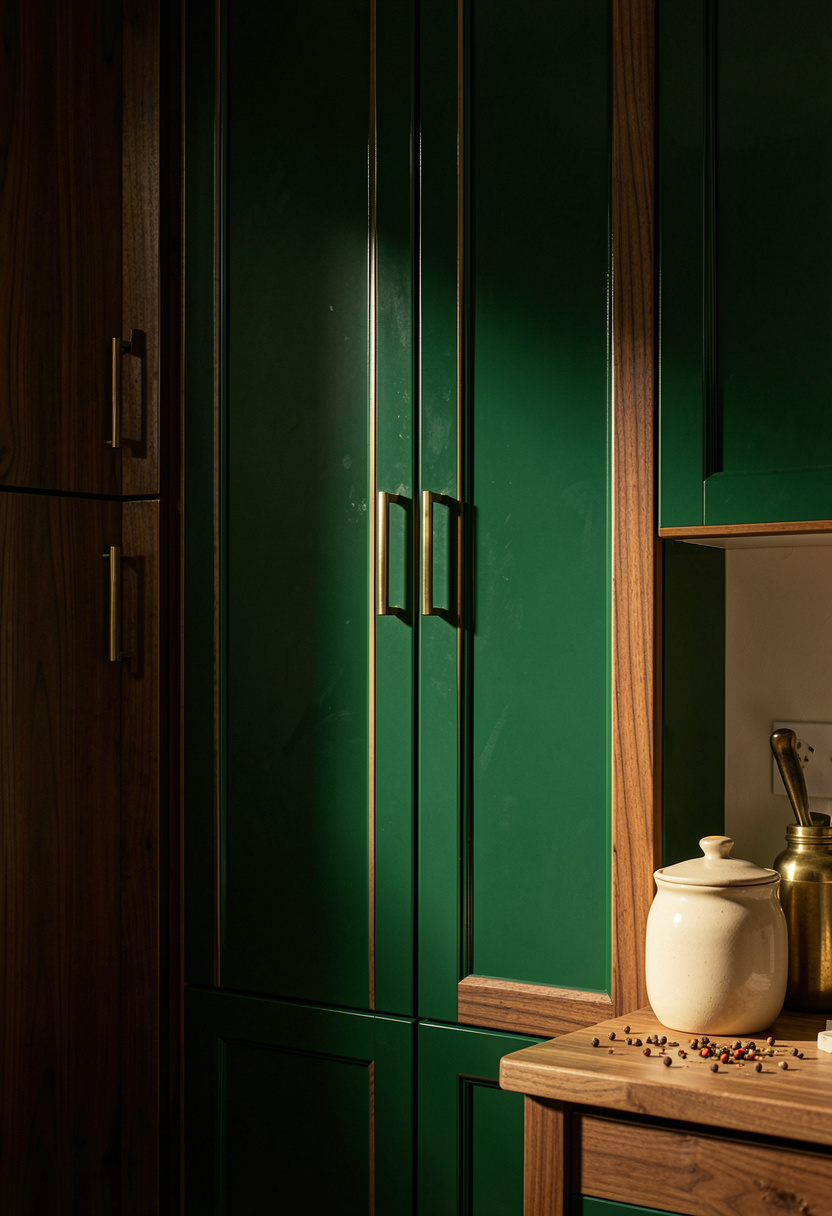
Forest green acrylic reads like a custom lacquer when matched with walnut trim. I did this in a pantry and the walnut softened the depth. Practical tip: use hidden hinges rated for gloss panels to prevent warping. Sample panels were about $50 to $120.
Shop this idea:
14. Clear Acrylic + Colored Backing
Style: Bold & Saturated | Budget: $40 to $90 | Best For: Backsplashes, protective panels
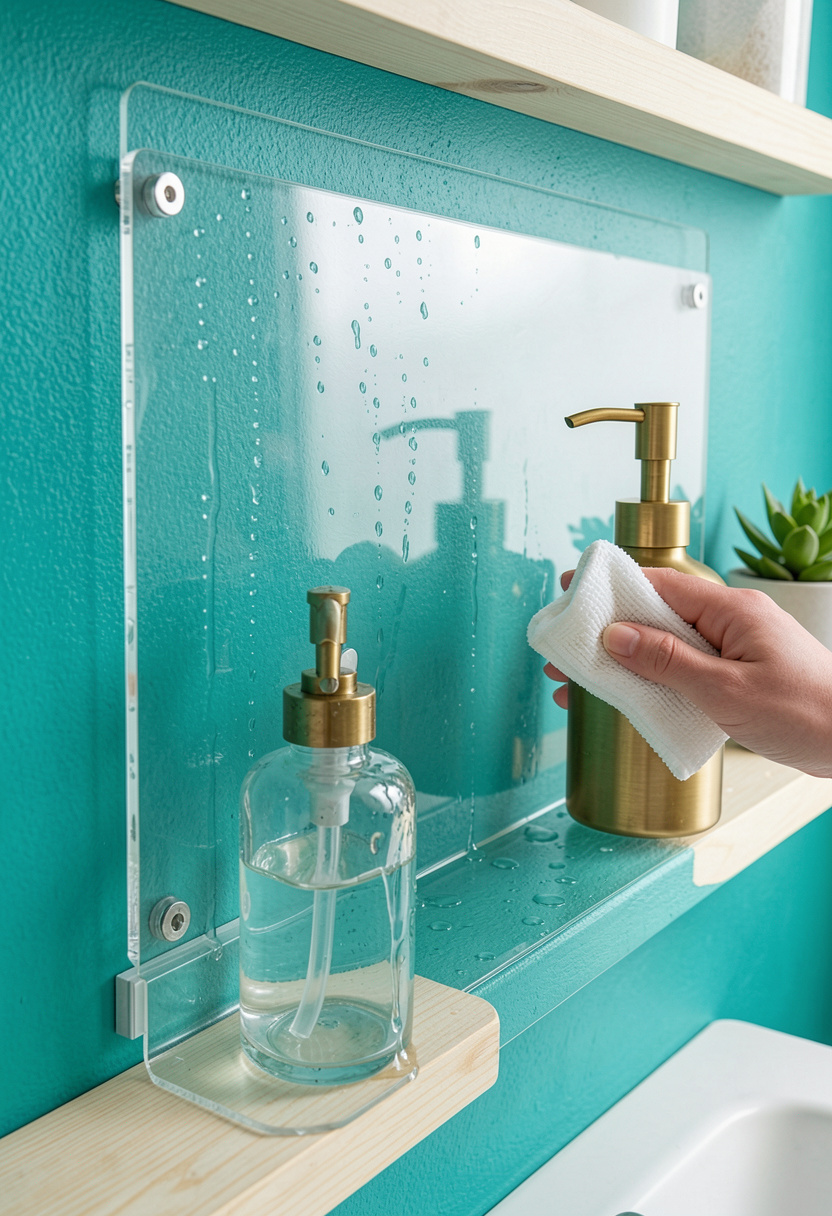
Clear acrylic over a painted color is a cheap way to get a glossy backsplash without tile. I installed a small clear panel over teal paint for around $45 to $85. Tip: use 1/8 inch acrylic and silicone beads behind fasteners for expansion. This is one of the cheapest ways to get glossy acrylic impact.
Shop this idea:
15. Two-Tone Acrylic: White Upper + Forest Lower
Style: Modern Minimal | Budget: $90 to $180 | Best For: Classic, balanced kitchens
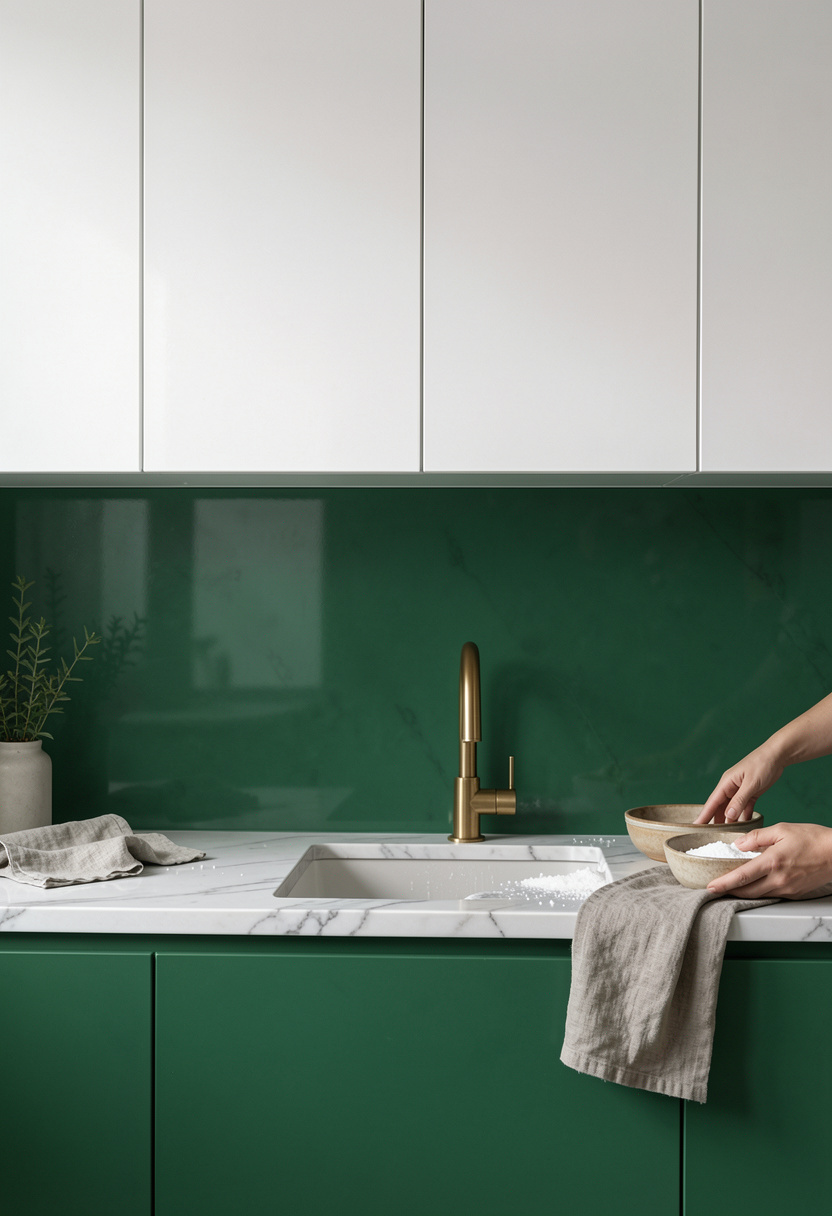
Two-tone acrylic is my go-to when I want a magazine look without the contractor. White upper acrylic floats the room, forest lower acrylic anchors it. I swapped lower cabinet faces first to test the balance and lived with it for a week before committing. Practical tip: sample both panels together in your kitchen light. Expect full-panel swaps to total around $90 to $180 depending on doors.
Shop this idea:
What You'll Need to Get This Look
Countertop & Storage
- Honed Carrara marble sample around $10 to $30
- Acacia cutting board 18×12 inch around $20 to $45
- Large acacia fruit bowl 12 inch around $25 to $60
Wall Decor & Open Shelving
- Acacia floating shelves 24 inch around $25 to $70
- Clear acrylic splash panel 24×18 inch around $45 to $85
- White subway tile sample around $5 to $20
Textiles & Soft Goods
- Sage linen tea towels set of 4 around $15 to $35
- Neutral linen runner 24×72 inch around $20 to $60
Greenery & Freshness
- Potted basil starter kit around $12 to $25
- Small terracotta herb pots 3-pack around $10 to $30
Budget Swaps
- Acrylic cabinet panel sample pack around $25 to $60 (swap full doors for splurge)
- Matte black cabinet pulls cheap set around $15 to $35 (thrift brass handles for patina)
- Peel-and-stick subway tile around $15 to $40 (temporary glossy backsplash)
Shopping Tips for These Looks
Shop samples first: Order acrylic panel samples and marble/quartz samples to test in your light, most samples cost $10 to $40, and you’ll avoid costly mistakes. Gloss white acrylic cabinet panel
Timing matters: Buy acrylic panels and hardware during spring refresh sales or Amazon Prime Day to save 15 to 30 percent on larger pieces. Polished chrome cabinet pulls
Thrift hack: Hunt for solid wood shelves and brass finds at HomeGoods or thrift stores, then pair them with new acrylic panels to look curated for less. Acacia floating shelves 24 inch
Mix matte and gloss: To keep gloss from feeling clinical, add matte textiles, matte stone, or matte hardware. I swapped a matte linen runner and it balanced the sheen. Sage linen tea towels set of 4
Think modular: For renters, choose clear acrylic splash panels and peel-and-stick options so you can remove them later. Clear acrylic splash panel 24×18 inch
Follow the 60/40 rule: Keep 60 percent neutral gloss (white, cream, soft gray) and 40 percent color or wood to avoid a trend-heavy kitchen. Soft gray acrylic panel
Frequently Asked Questions
Q: Will acrylic scratch easily?
A: Acrylic resists shattering but can scratch, especially glossy finishes. Use a soft microfiber and mild soap; for deeper marks, acrylic polish can help. Try a sample clear acrylic splash panel first.
Q: Can I install acrylic over existing cabinet doors?
A: Yes, many people adhere 1/8 inch acrylic sheets to flat doors with double-sided adhesive or replace just the front panels. I tested adhesive strips first then upgraded to small screws for durability. Consider acrylic cabinet panel sample pack.
Q: How do glossy acrylic and fingerprints behave?
A: Gloss shows fingerprints, especially on dark colors. A microfiber cloth kept by the sink solves most day-to-day marks. For hardware, choose darker or textured finishes like matte black cabinet pulls.
Q: Is acrylic heat-safe near stoves?
A: Acrylic is heat-resistant but not heatproof; avoid direct contact with open flames or hot pans. Keep splash panels at least a few inches from burners and use stainless or tile directly at the cooking zone. I use clear silicone sealant to secure panels.
Conclusion
Start small, sample widely, and let natural light be your guide. Swap a single drawer face or add a clear acrylic splash for an immediate glossy upgrade that reads expensive. If you try one combo from this list, tell me which one you picked and what surprised you about the finish.