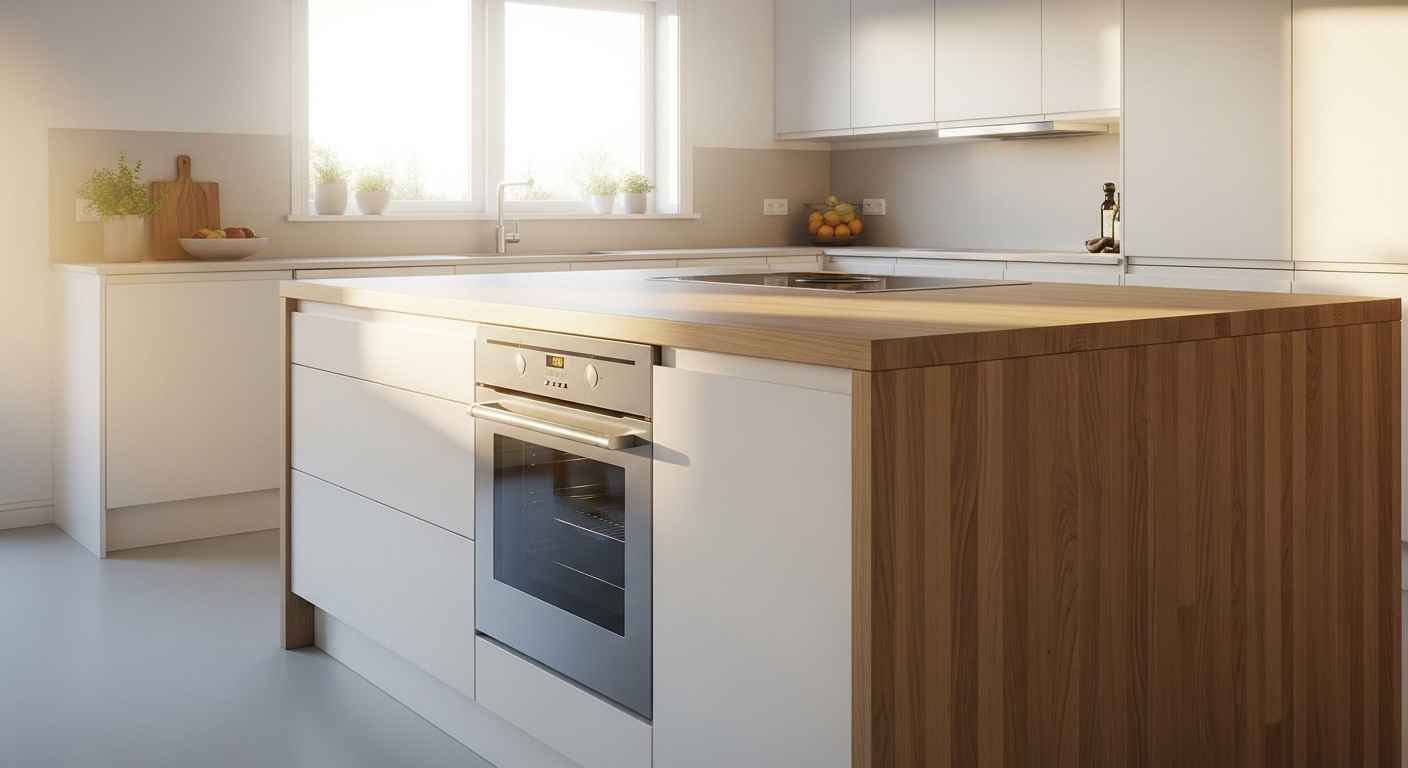
A kitchen island with an oven changes how you cook. It brings heat and preparation into the center of the room. This setup makes your kitchen work better. You can move from the sink to the oven without taking extra steps. It turns the island into the main command post for meals. These ideas show how to fit an oven into your island design, no matter your kitchen’s size or style.
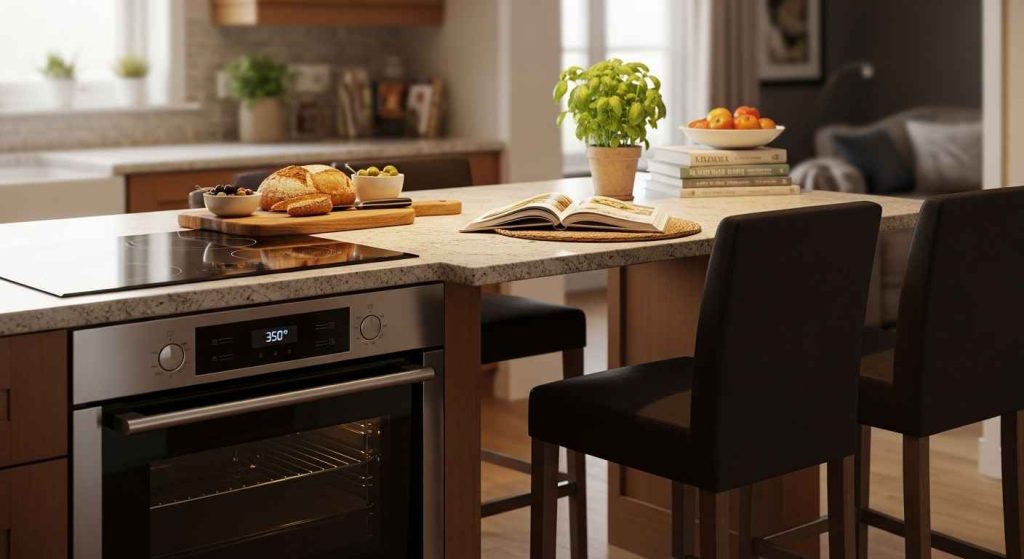
1. The All-in-One Powerhouse Island
This island does it all. It combines cooking, baking, and prep space in one central spot. You can check a roast without walking across the kitchen. The oven is at a comfortable height, which is easier on your back. Keep your most-used pots and pans in the drawers below the oven for quick access. A budget-friendly way to achieve this is to use a freestanding range unit instead of a built-in oven. This gives you a cooktop and oven together.
2. Streamlined Galley Workflow Solution
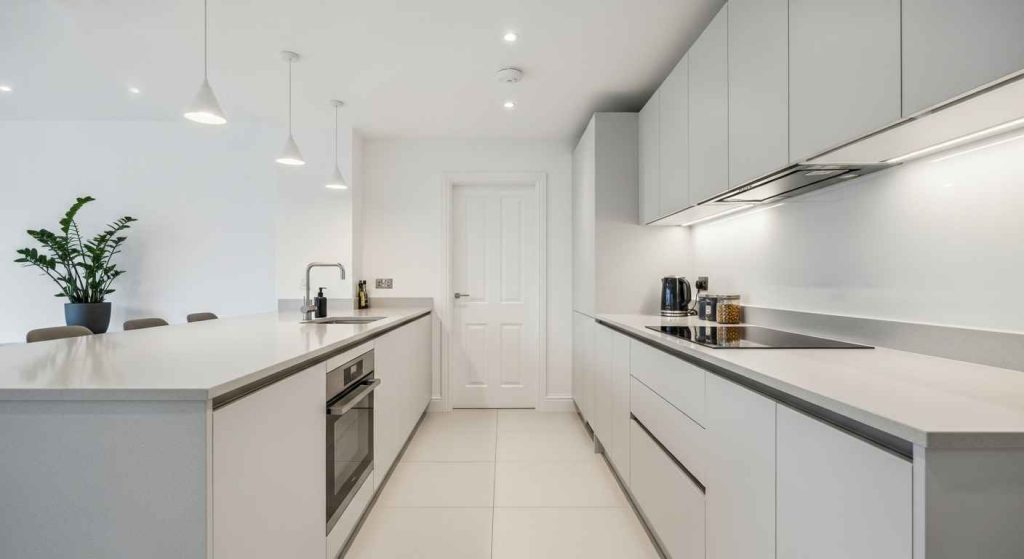
In a galley kitchen, every inch counts. A slim island with an oven creates a super-efficient work triangle. You can move from the fridge to the island prep area to the oven in a straight line. This layout cuts down on wasted steps. Choose a compact oven model to save space. A simple DIY project is to add a pull-out cutting board next to the oven. This gives you extra landing space right where you need it.
3. Double Oven Island for Busy Cooks
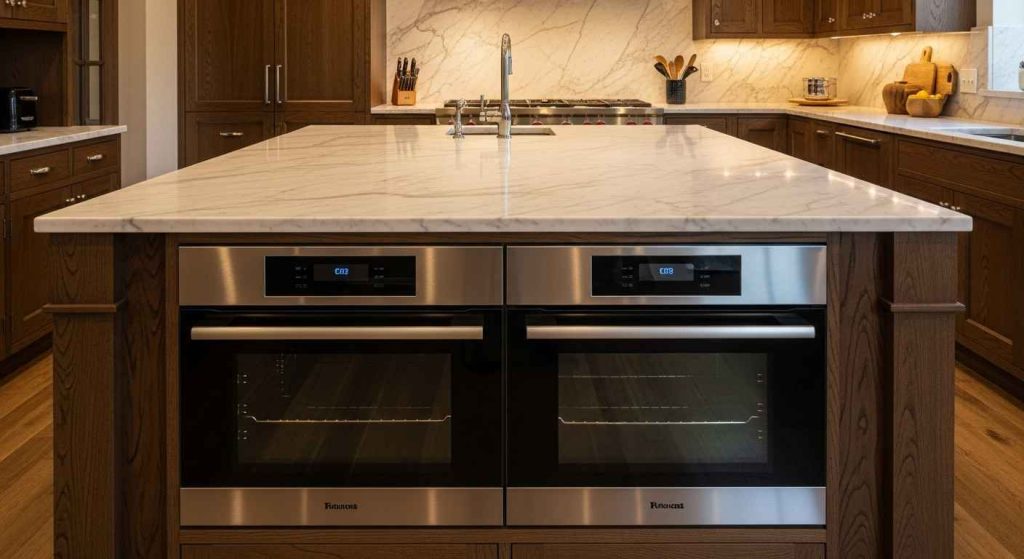
If you often cook large meals or entertain, two ovens are a game changer. You can bake a dessert while roasting a main course at different temperatures. This setup is perfect for holidays and family gatherings. Place the ovens at a height that means you don’t have to bend down. For a more budget-friendly version, look for a single oven with a built-in warming drawer below. This adds extra functionality without the cost of a second full oven.
4. The Entertainer’s Dream Setup
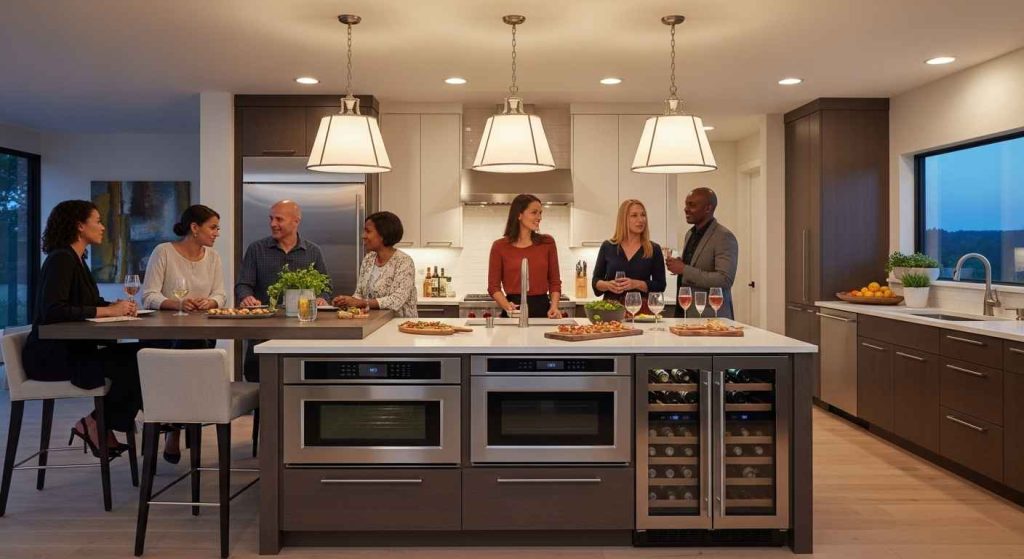
This island makes you the host. You can cook and talk with guests without turning your back on them. The oven is part of the social space, so you are always part of the conversation. Include a small sink or a drink fridge in the island to keep everything in one spot. Use durable, easy-to-clean materials for the countertop. Bold a phrase like this to make it stand out. Add open shelving on one end to display serving platters.
5. Space-Saving Narrow Island Oven

You do not need a huge kitchen for this idea. A narrow island can still hold an oven, adding major function without eating up floor space. It provides extra counter space on top and a place to cook. Look for specially designed narrow or compact ovens. A great DIY tip is to use the end panel of the island for shallow spice racks or utensil holders. This uses every bit of available space wisely.
6. The Baker’s Multitasking Hub
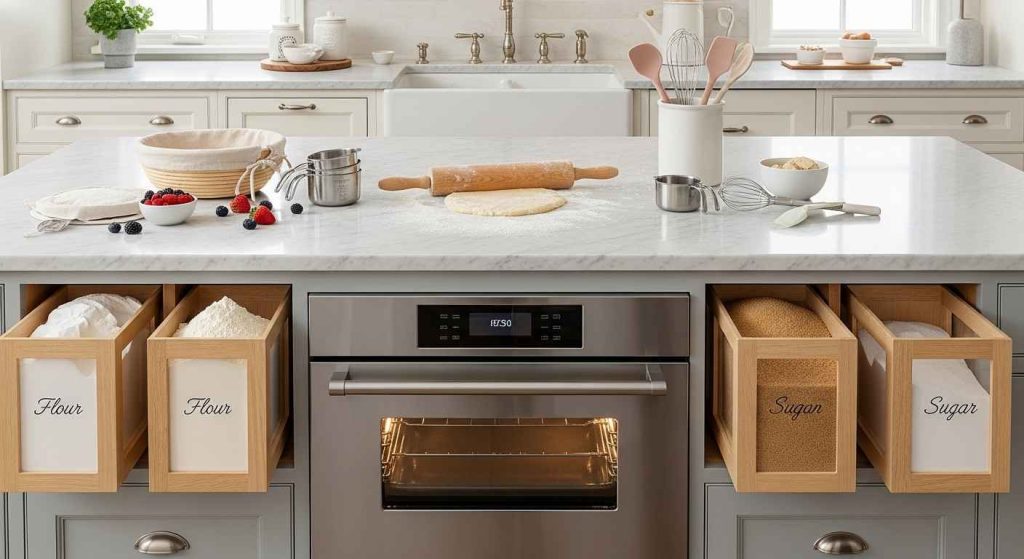
This island is built for baking. Having the oven at the center of your workstation keeps the process flowing. You can mix, knead, and bake without moving your dough across the room. A marble or stone countertop section is ideal for keeping pastry cool. Install a pop-up power outlet in the island to plug in a mixer right where you work. Store baking sheets in a vertical divider next to the oven for easy access.
7. Peninsula Oven for Small Kitchens

A peninsula acts like an island but is attached to a wall. This is a smart choice for smaller rooms. It gives you the benefits of an island oven without needing free-standing space. It defines the kitchen area in an open-plan room. Use the back of the peninsula for extra shelving or a mini coffee station. Choose a slide-in oven that fits flush with the cabinets for a clean look.
8. Integrated Microwave & Oven Combo
Combine two appliances in one spot to save space. A microwave and oven stack makes the island a complete cooking center. It is perfect for quick reheating and full-scale baking. This setup keeps countertops clear. When shopping, look for a microwave and oven trim kit that allows them to be installed together neatly. This creates a custom, built-in appearance without a full custom cabinet order.
9. The Rustic Hearth Centerpiece
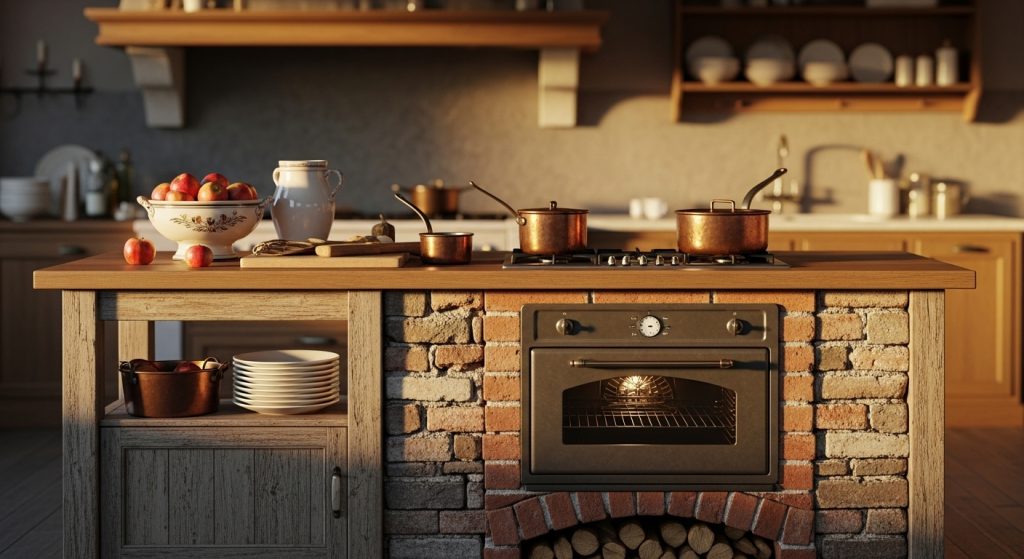
This island brings a warm, hearth-like feeling to your kitchen. The oven becomes a beautiful focal point, often with a decorative hood above. Use natural materials like reclaimed wood or brick for the surround. This style works well in country homes or to add character. A budget-friendly idea is to use brick veneer or stone-look tiles instead of full brick. This gives the same visual effect for less.
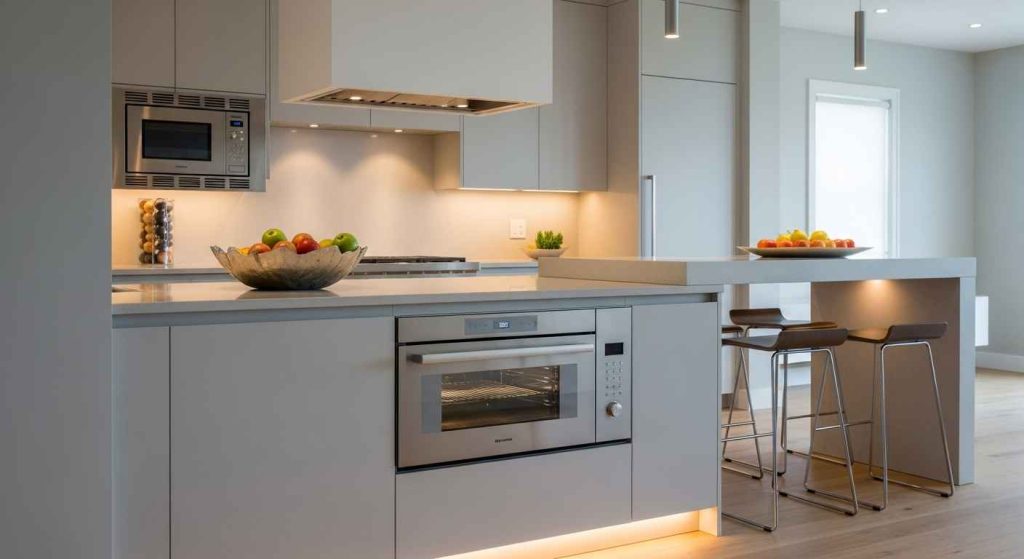
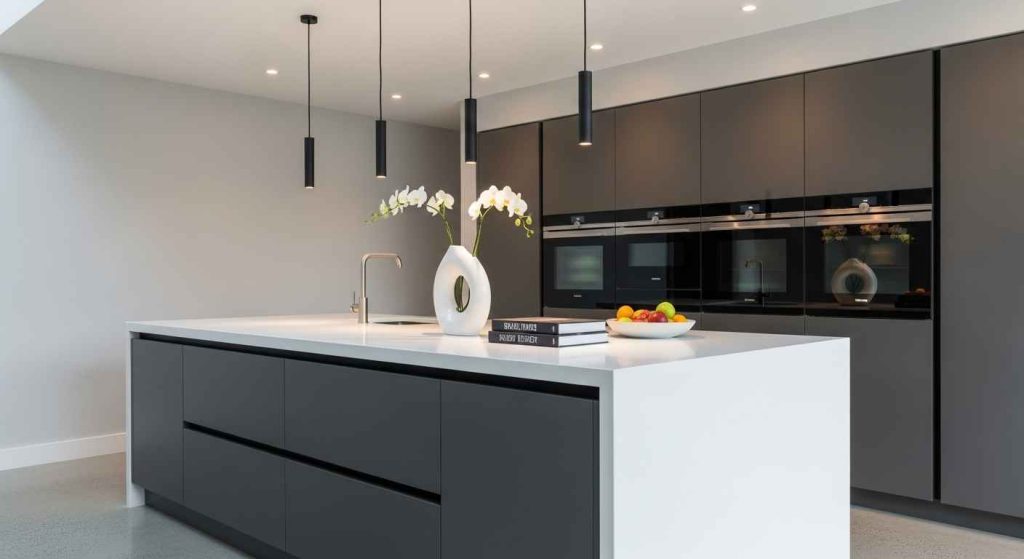
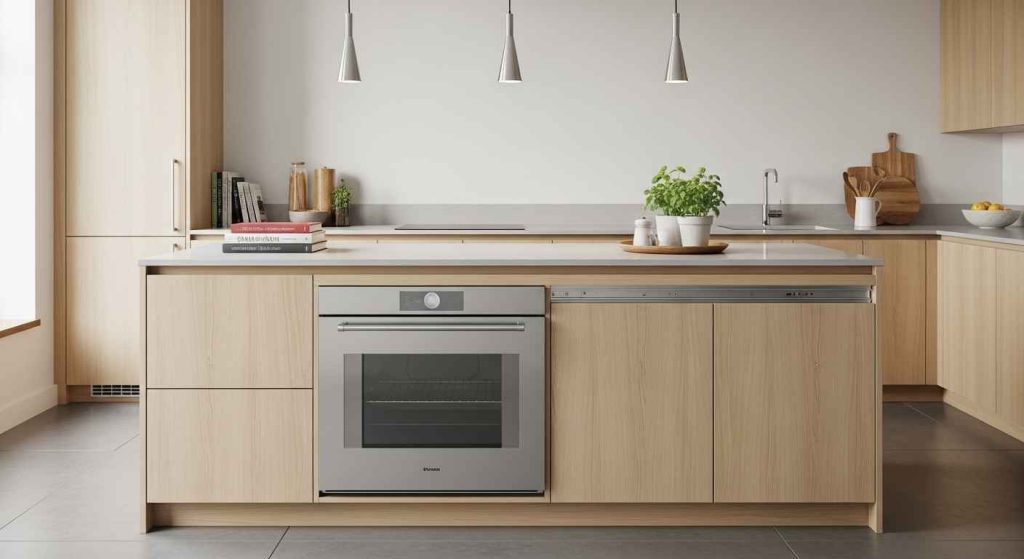
10. Modern Minimalist Oven Island
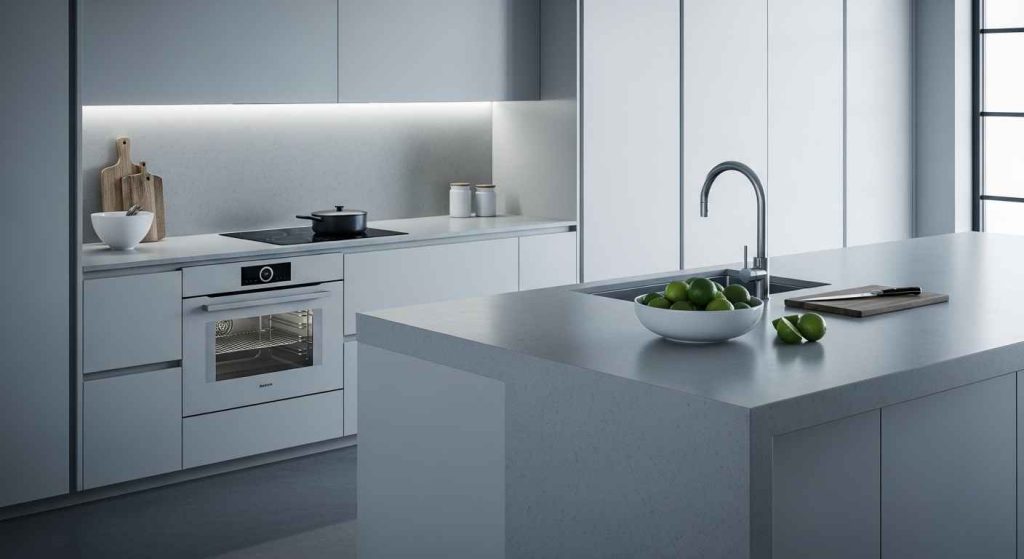
Clean lines and simplicity define this look. The oven disappears into the island, creating a seamless appearance. This style is about reducing visual clutter. Choose appliances with integrated fronts that match your cabinet doors. For a DIY approach, you can update your existing cabinet panels to match a new oven’s facade. Keep countertops clear to maintain the minimalist feel.
11. A Chef’s Professional-Grade Station
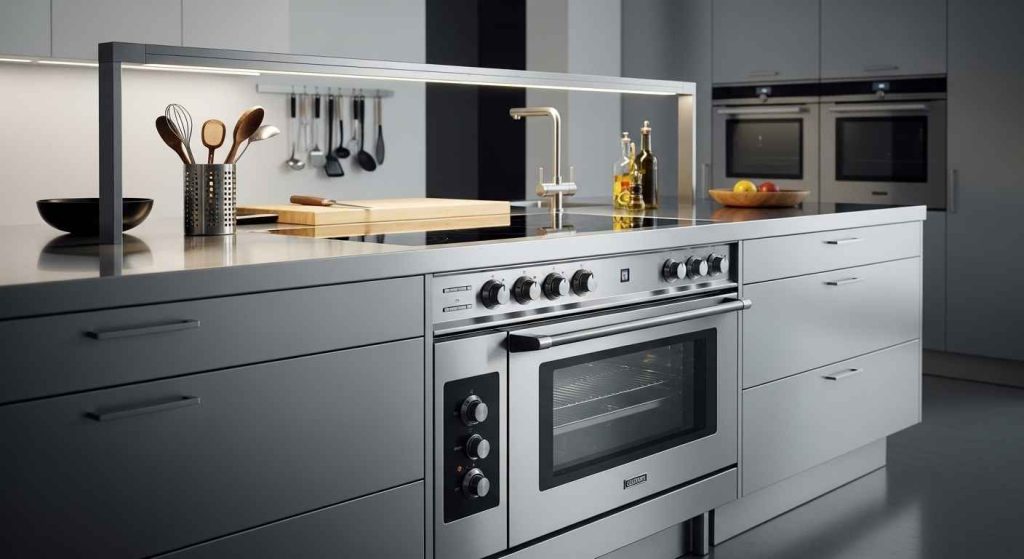
This is for those who love to cook. A commercial-grade oven offers high heat and precision. The island is built with durable, easy-to-clean materials that can handle heavy use. Include a pot filler faucet above the cooktop for filling large pots. While a full pro setup can be costly, you can get the look with a pro-style range that fits into a standard island cutout.
12. The Farmhouse-Style Gathering Point
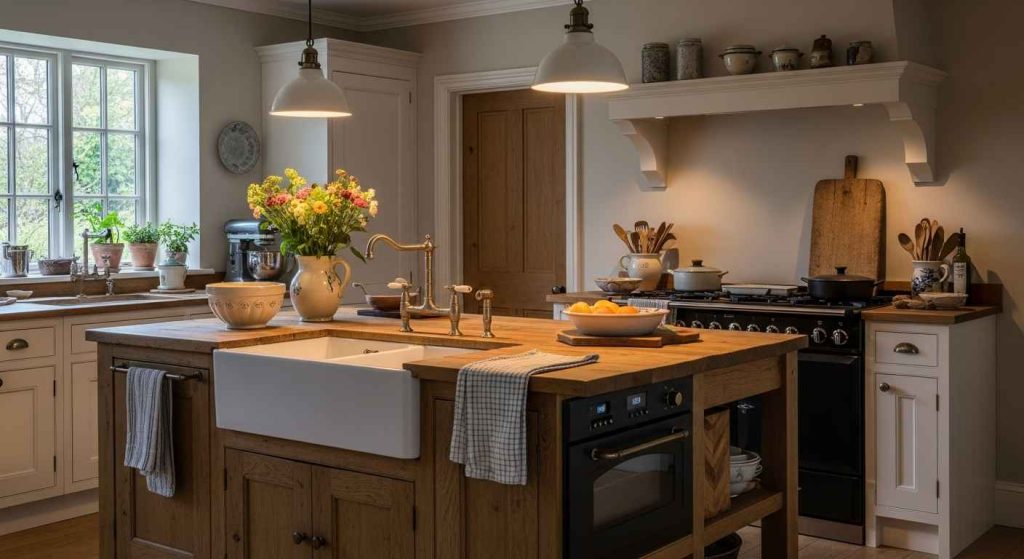
This island is the heart of the home. It often pairs a farmhouse sink with an oven, making the whole space functional for family life. The style is warm and inviting. Use a butcher block countertop for a classic, practical surface. A budget-friendly tip is to look for a freestanding “range” style oven that gives you both a cooktop and oven, fitting the farmhouse aesthetic perfectly.
13. Open-Plan Focal Point Island
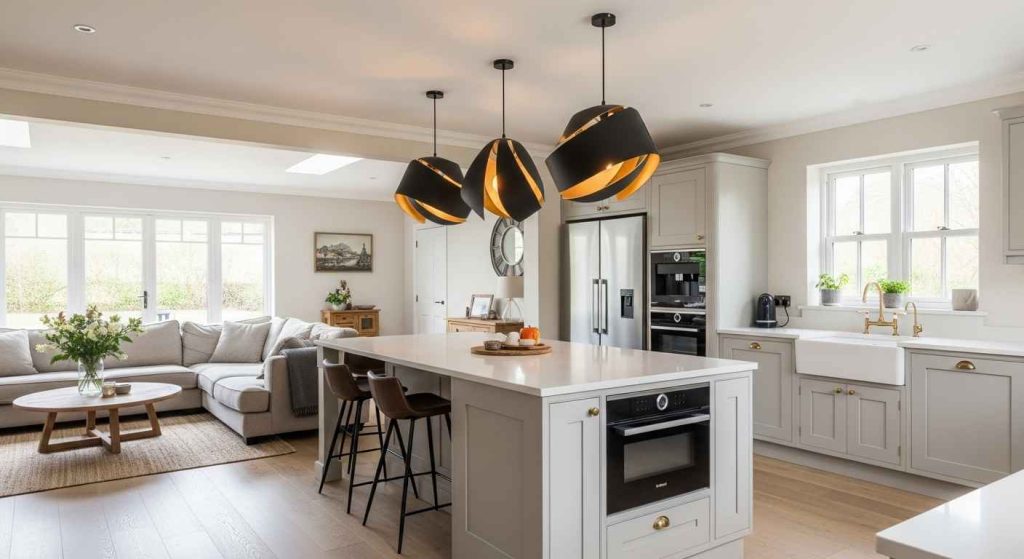
In an open-plan home, the island defines the space. An oven within it makes the kitchen the true hub of activity. It allows the cook to be part of the living room conversation. Choose a countertop material that complements the living area’s decor. Use the back of the island for hidden storage to keep the living room side looking tidy.
14. Breakfast Bar & Oven Combo
This island serves two purposes. One side is for cooking, and the other is for eating. It is perfect for quick breakfasts and helping kids with homework while dinner cooks. Make sure there is enough clearance between the oven and the seating area for safety and comfort. A simple DIY project is to add hooks under the overhang for hanging towels or aprons.
15. The Ultimate Pizza Oven Island
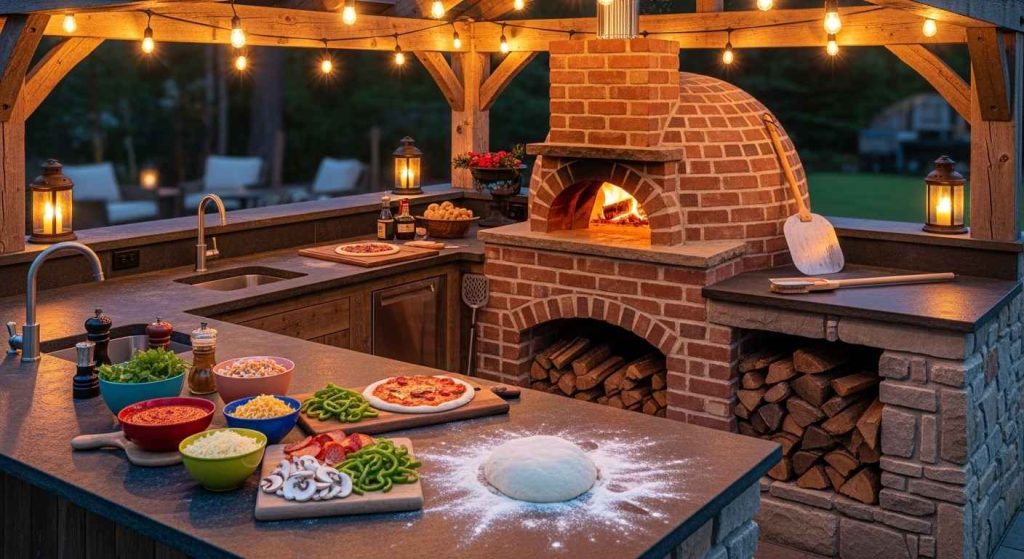
Take pizza night to the next level. A dedicated pizza oven in your island creates a fun, interactive cooking experience. It reaches high temperatures for a perfect, crispy crust. This is a great feature for outdoor kitchens. You can build a DIY pizza oven using a kit or refractory bricks. It becomes a fantastic project that the whole family can enjoy.
16. Sleek Handle-Free Oven Integration
This design is all about a smooth, uninterrupted surface. Push-to-open mechanisms mean no handles are visible. It creates a very modern and clean aesthetic. This style is also safer in high-traffic areas with no handles to bump into. When planning, ensure your cabinet maker knows you want an integrated appliance look. You can often retrofit existing cabinets with new, handle-less fronts.
17. Two-Toned Island with Built-In Oven
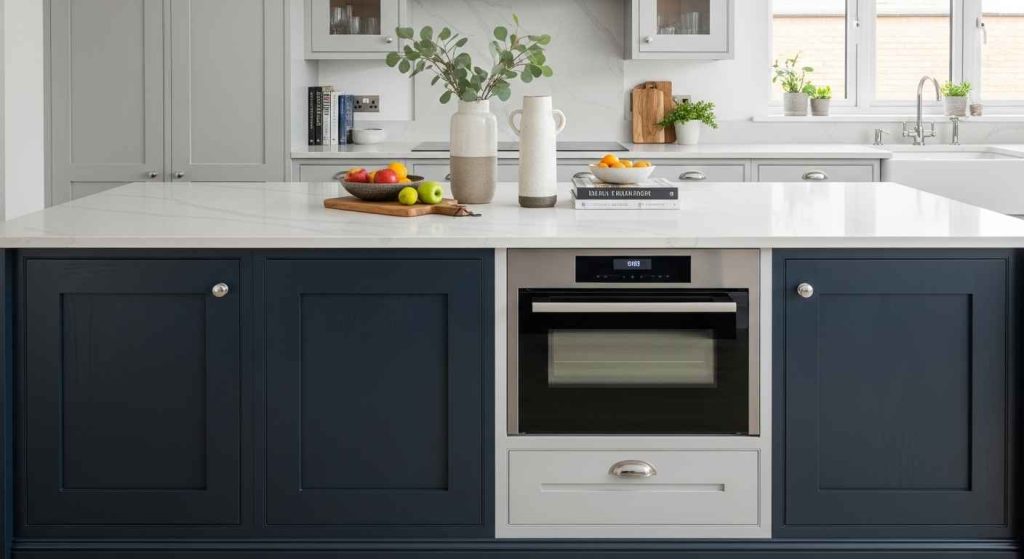
Using two colors adds visual interest and defines different zones on the island. You can use a darker color on the oven side to make it a subtle focal point. This is an easy way to add personality without a major remodel. A budget-friendly approach is to paint the island yourself. Use a durable, wipeable paint for the lower sections that might get more wear.
18. Maximizing Corner Space with an Oven
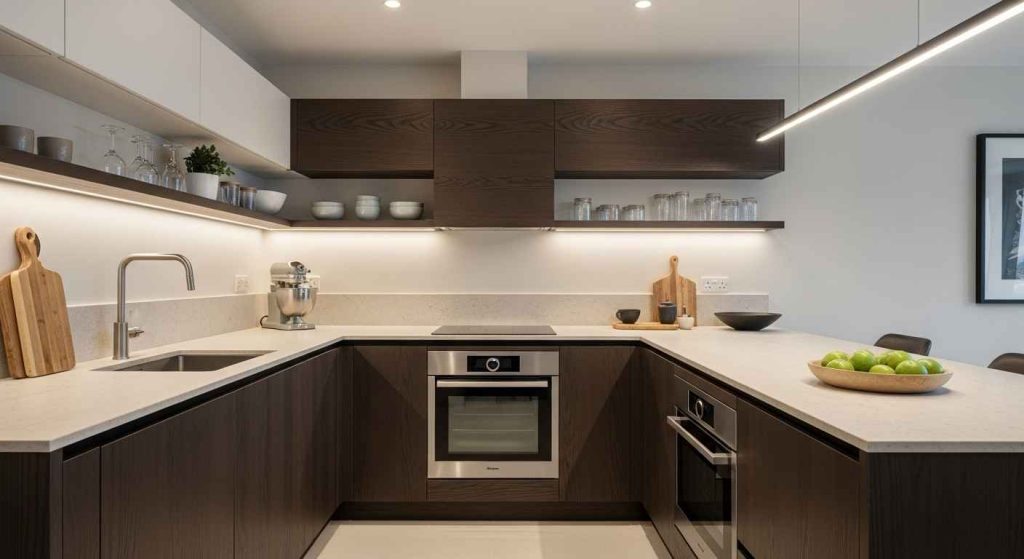
Do not let corner space go to waste. An L-shaped or angled island can incorporate an oven in the corner section. This uses often-forgotten space effectively. It can help connect two runs of cabinetry smoothly. Choose an oven with a door that opens fully without hitting adjacent cabinets. This is a smart use of an awkward layout that adds significant function.
19. The Cozy Hearth & Kitchen Island
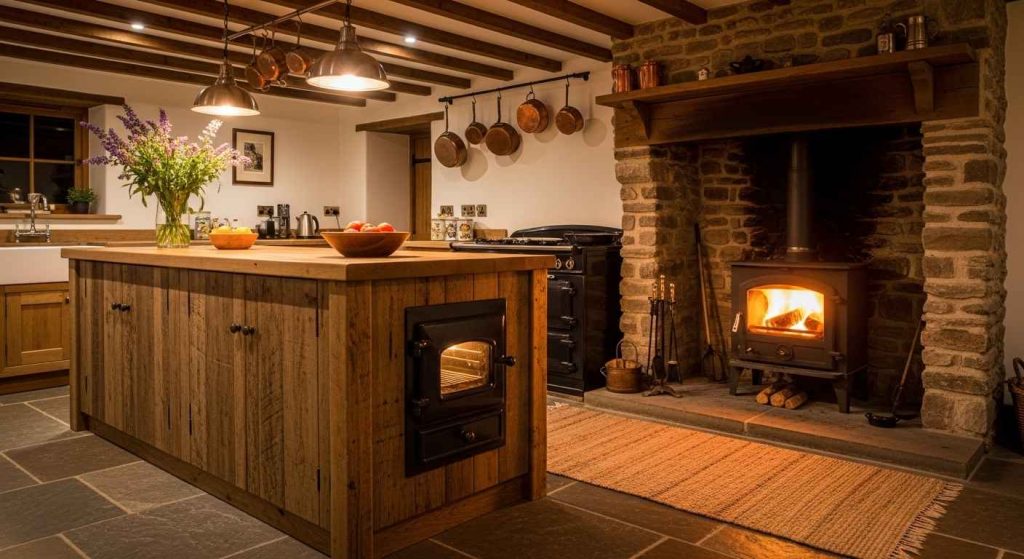
This design combines two sources of warmth. Having an oven near a fireplace creates an incredibly cozy atmosphere. It is perfect for colder climates and makes the kitchen the warmest room in the house. Use heat-resistant materials for the countertop near the fireplace. This layout encourages gathering and slow cooking. It feels traditional and comforting.
20. A Pop-Out Oven for Compact Spaces
This is the ultimate space-saver. A pop-out or slide-out oven module can be hidden within the island structure. You pull it out to cook, then push it back in to regain floor space. This is ideal for studio apartments or very small kitchens. Look for appliance companies that specialize in compact and movable kitchen solutions.
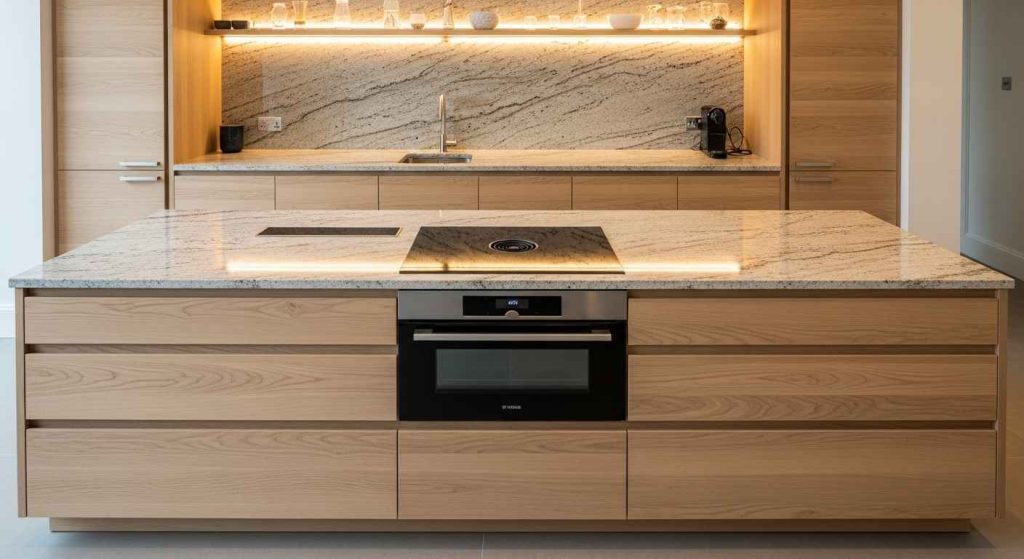
21. The Statement Marble & Oven Island
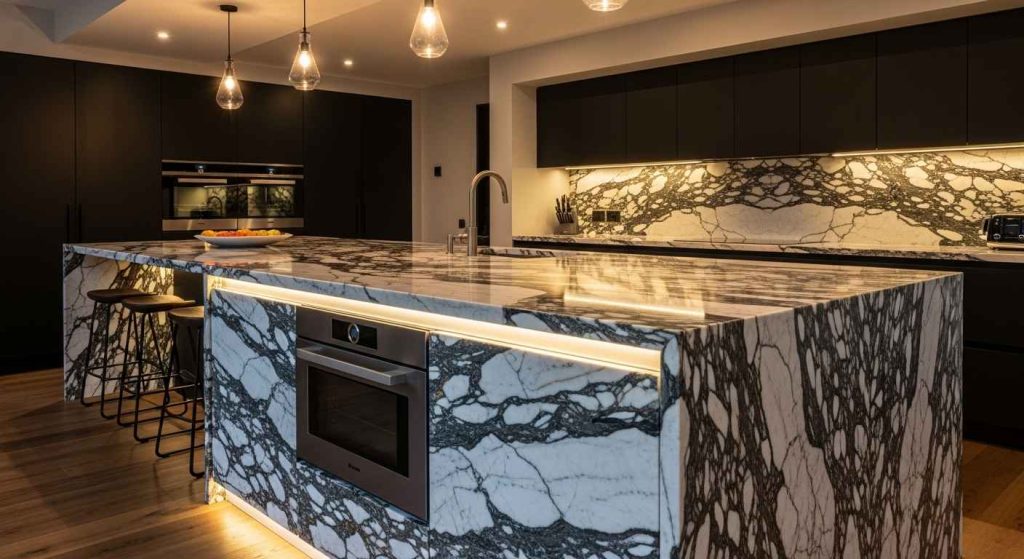
Marble makes a bold style statement. Using it on an island with an oven creates a piece of furniture that is both beautiful and useful. The natural veins in the stone ensure no two islands are alike. To make this more budget-friendly, use marble tiles on the island’s sides or a marble-look quartz for the countertop. This gives the high-end look with more durability and a lower cost.
22. Smart Storage Around Your Island Oven
The space around your oven should work hard. Include deep drawers for sheet pans and pots. Use vertical dividers for cutting boards and trays. A narrow pull-out cabinet next to the oven is perfect for oils and spices. A simple DIY addition is installing a slide-out rack inside a deep drawer. This makes it easy to access heavy pots at the back without straining.
Adding an oven to your kitchen island is a practical change. It brings the action to the center of your home. Start by looking at your current kitchen layout. See where you take the most steps. Think about how a central oven could shorten that path. Even a small change can make your daily cooking routine feel smoother and more enjoyable.