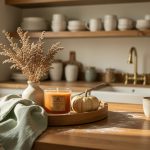
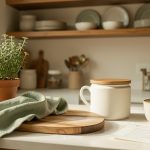
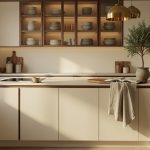
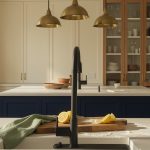

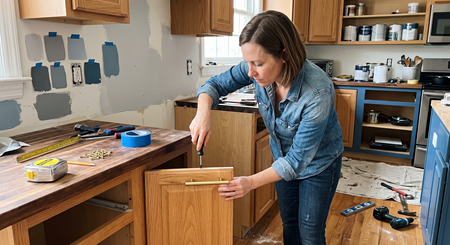
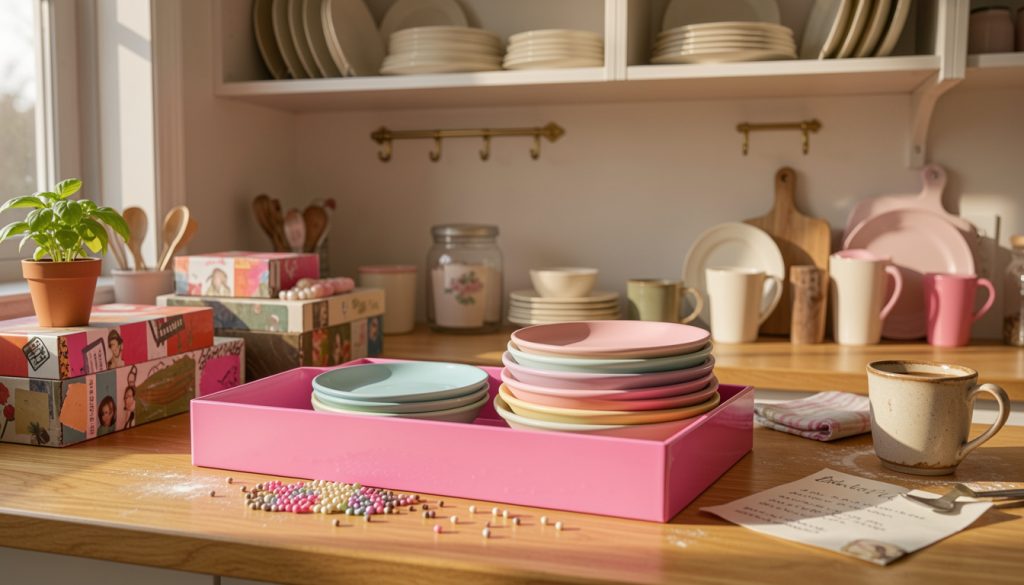

I turned a pile of boxes, beads, and leftover paint into a real diy barbie kitchen that people actually use. In this post I show 15 small DIY looks you can build for mostly under $50, with a few splurges up to $120 for glossy finishes. Expect counter vignettes, shelf makeovers, and tiny retro appliances reimagined as decor — all with tips to keep it from feeling like a toy set.
This list leans Barbiecore retro glam but stays practical. Most projects are under $50, a few lacquered finishes hover near $120. These ideas suit small apartments, rental kitchens, and anyone who wants playful color without permanent renovation. I noticed Barbiecore keeps showing up in trend roundups, so these translate that energy into real-life counters, shelves, and lighting moments.
1. Pink Box Counter Vignette
Style: Retro Glam | Budget: Under $25 | Best For: Small counters
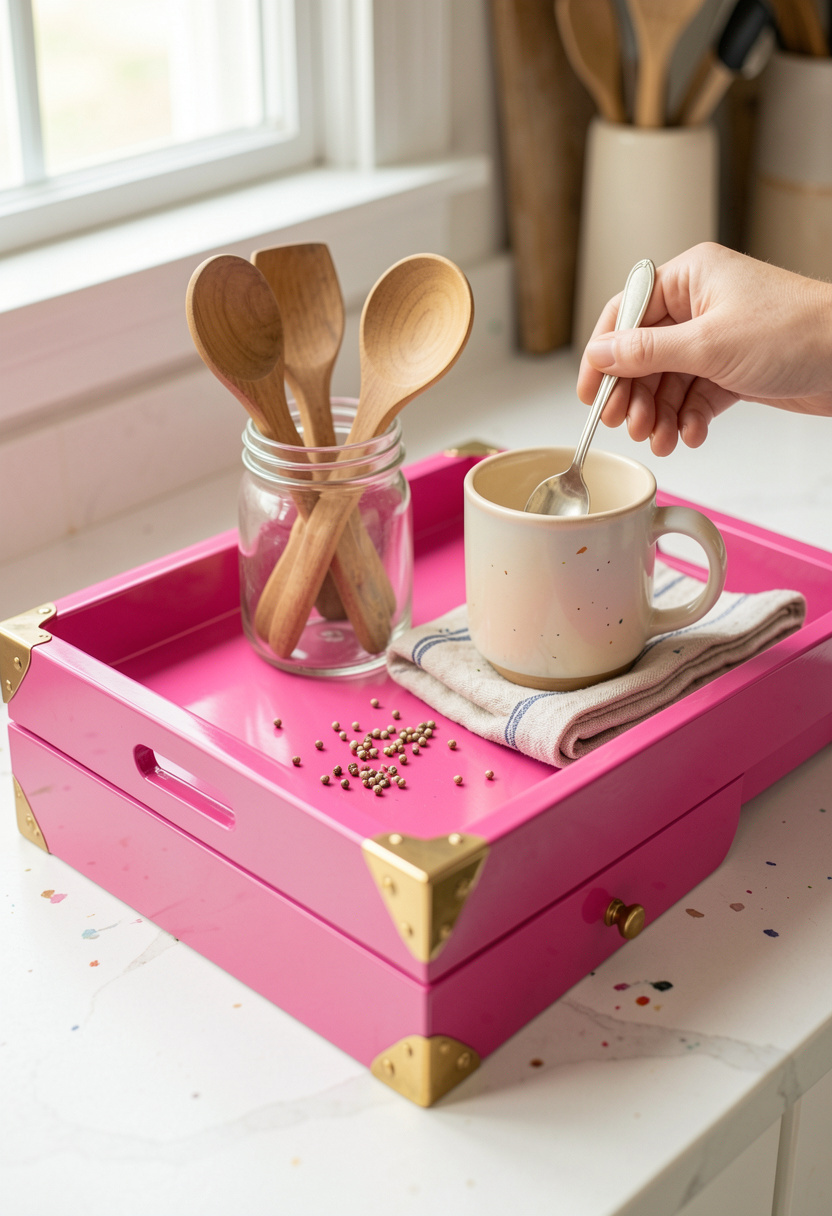

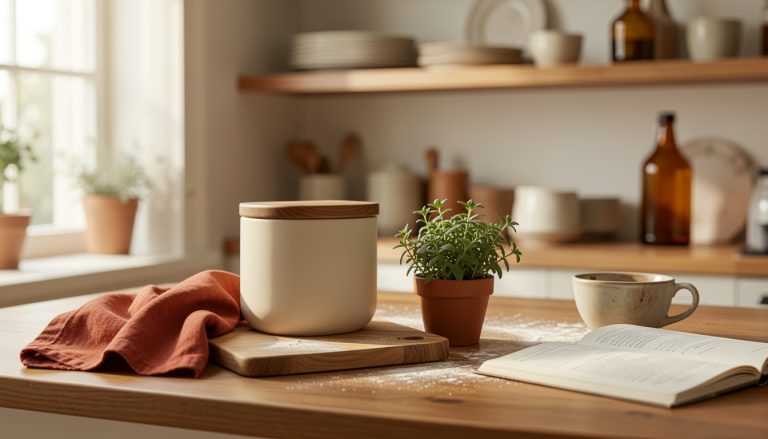
I made a tray from a cereal box, covered in craft paint and a glossy sealer, to corral my espresso maker and a tiny plant. The trick is to seal the paint with clear gloss so water and spills wipe off. I paid about $6 for paint and sealer and found glossy finishes read expensive, even on a budget. Gallery friends thought it was a vintage find until I confessed it was cardboard.
Shop this idea:
2. Beaded Curtain Cabinet Door
Style: Playful Retro | Budget: Under $30 | Best For: Rental-friendly doors
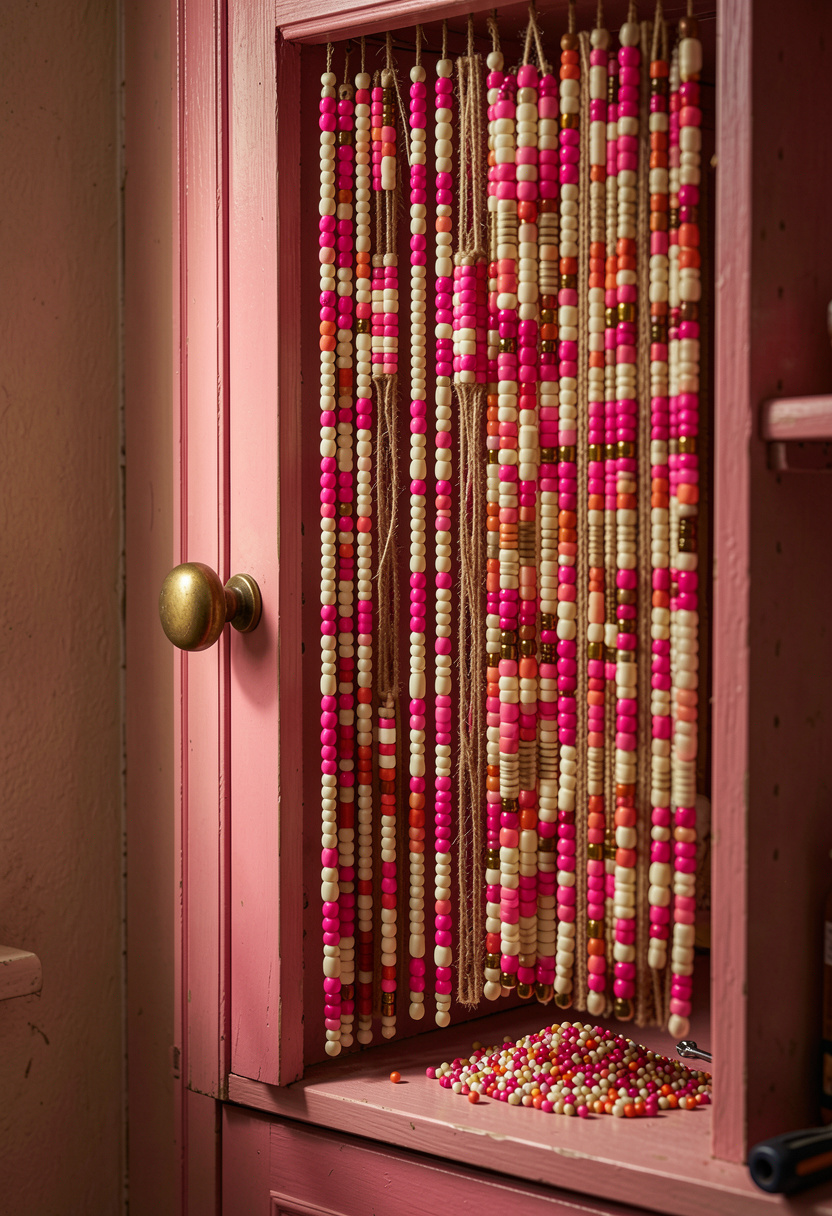

I swapped a cabinet door for a beaded curtain strung on a tension rod to make a playful reveal for mugs. Use nylon thread and large-hole acrylic beads so it slides. It cost me about $18 in beads and looked like a designer detail once installed. Ugly truth: beads collect grease near the stove, so keep this away from heavy cooking zones or use it on a pantry door.
Shop this idea:
3. Mini Cardboard Oven Front
Style: Miniature Retro | Budget: Under $15 | Best For: Shelf styling
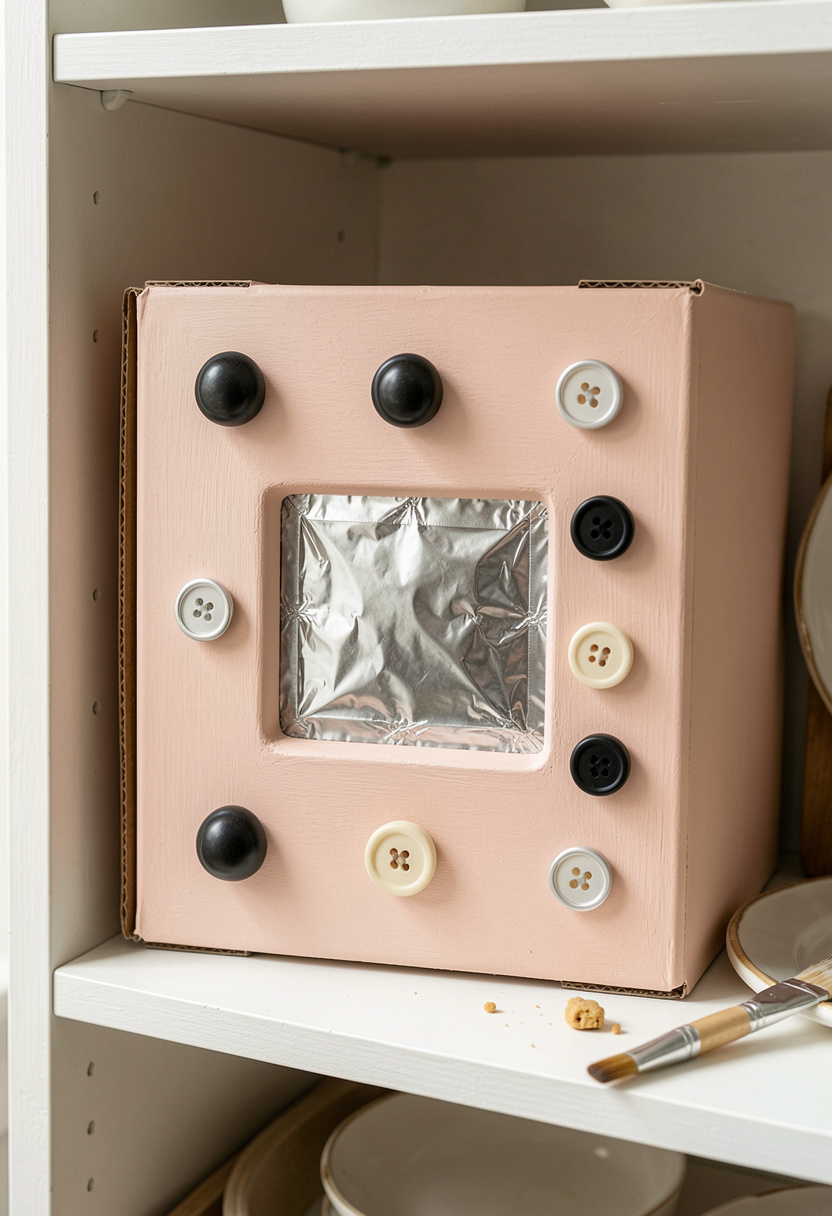

I cut a small box to mimic a retro oven front, painted it blush, and added button knobs and a foil window. Use metallic tape behind the window for a realistic reflective look. This is purely decorative but gives shelf styling a dollhouse energy without cluttering counters. Price: about $12. Heads-up: don’t put it where kids will chew the glue.
Shop this idea:
4. Bead-Trimmed Tea Towels
Style: Textured Cute | Budget: Under $20 | Best For: Function + decor
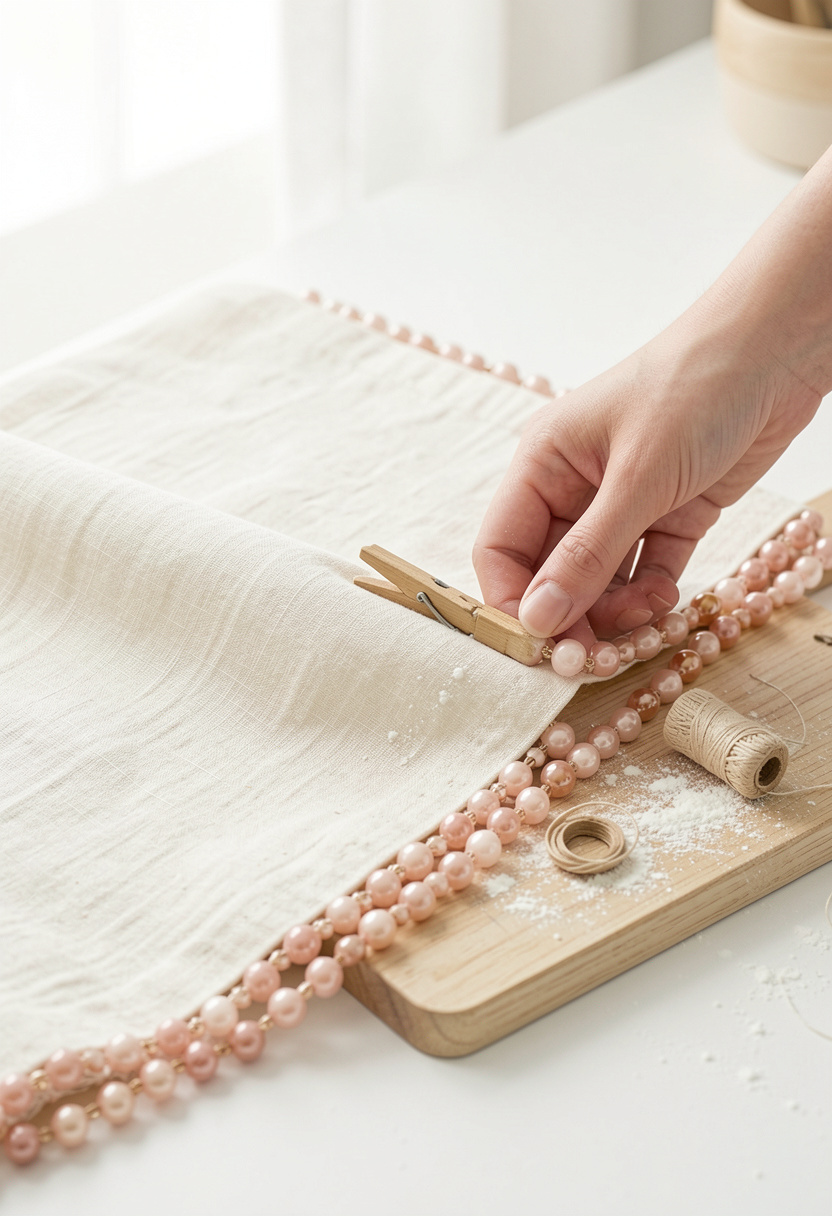

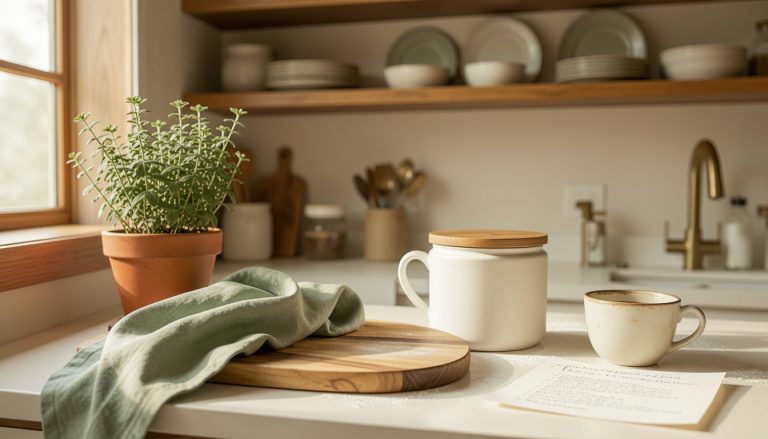
I sewed a line of seed beads along the edge of plain linen tea towels to make them look custom. Use a single bead color (blush or hot pink) for cohesion and machine-wash on delicate. I spent about $8 per towel in materials. Ugly truth: beads make towels heavier, so use them as display towels, not full-time dish cloths.
Shop this idea:
5. Jewelry Bead Tile Backsplash Accent
Style: Bold Accent | Budget: $20 to $50 | Best For: Small backsplash spots
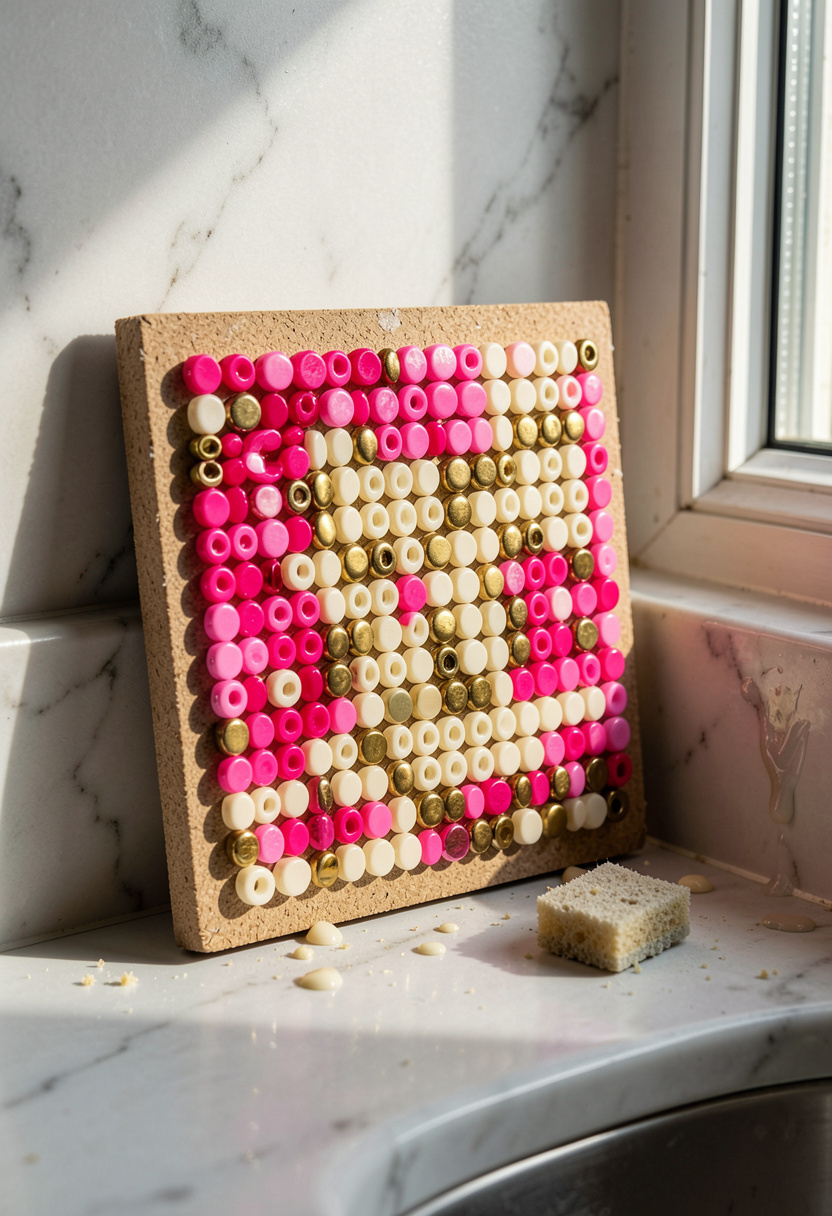

I glued flat-backed beads onto a small plywood panel to create a removable accent tile I prop against the backsplash. Seal with marine varnish for splash resistance. Cost was about $30 for beads and panel. Tip: keep the panel as a removable art piece so renters can take it with them. My neighbor asked where I bought the tile, and then I admitted it was handmade.
Shop this idea:
6. Painted Scrap Wood Floating Shelf
Style: Modern Barbiecore | Budget: $25 to $40 | Best For: Open shelving
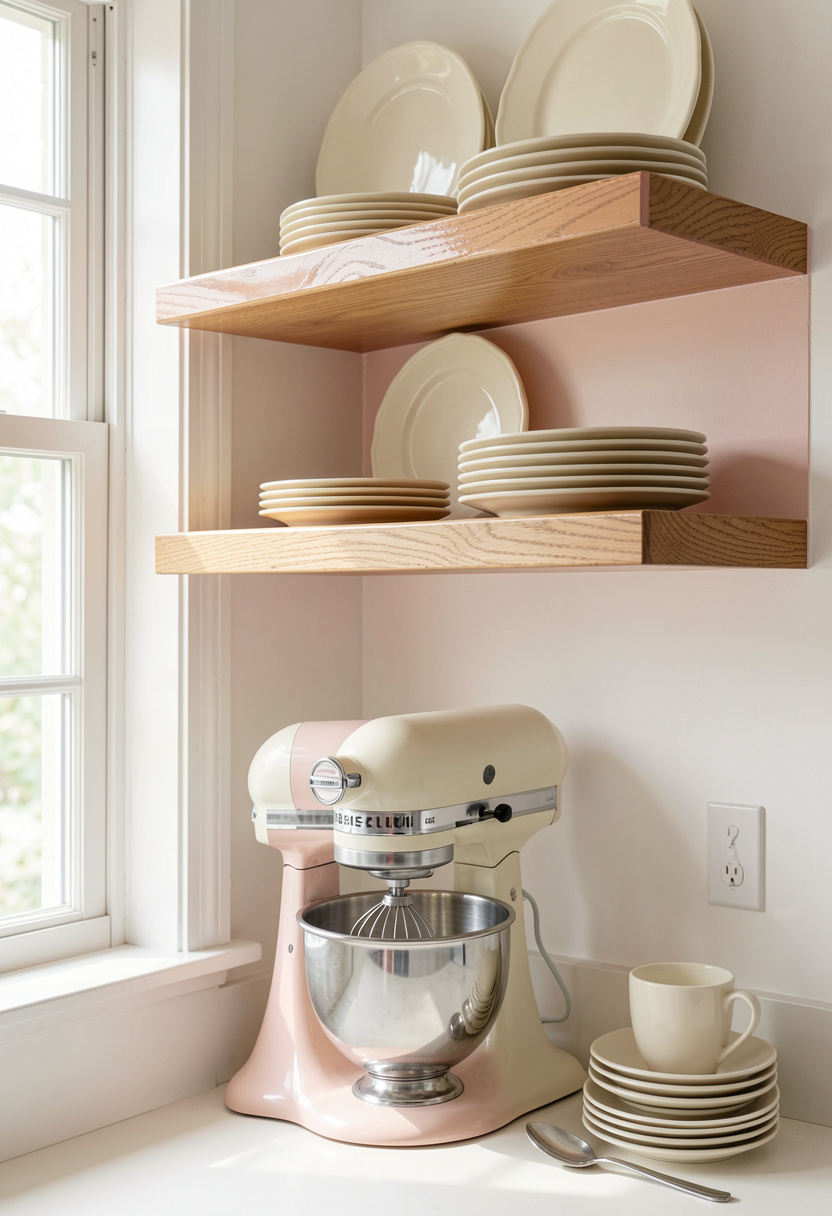

I cut leftover baseboard into a narrow floating shelf, painted the underside hot pink, and left the top natural oak for contrast. Use small floating shelf brackets and anchor into studs for safety. Cost: about $28 including brackets. The pink underside is a quiet wink that reads grown-up instead of childish. Pro tip: balance with cream dishes to keep the color anchored.
Shop this idea:
7. Glossy Bead-Trimmed Canisters
Style: Glossy Glam | Budget: $30 to $60 | Best For: Counter storage


I upgraded plain canisters by gluing a ring of beads to the lid base and finishing with clear lacquer. The glossy ceramic plus bead texture reads luxe. I paid $45 for the set and $8 for beads. Practical tip: glue sparingly and keep canisters away from direct stove heat. Lesson learned: too many tiny beads becomes visually noisy, so I used bead-trim on lids only.
Shop this idea:
8. Scrap-Box Drawer Fronts with Faux Pulls
Style: Retro Minimal | Budget: Under $20 per drawer | Best For: Rental cabinets
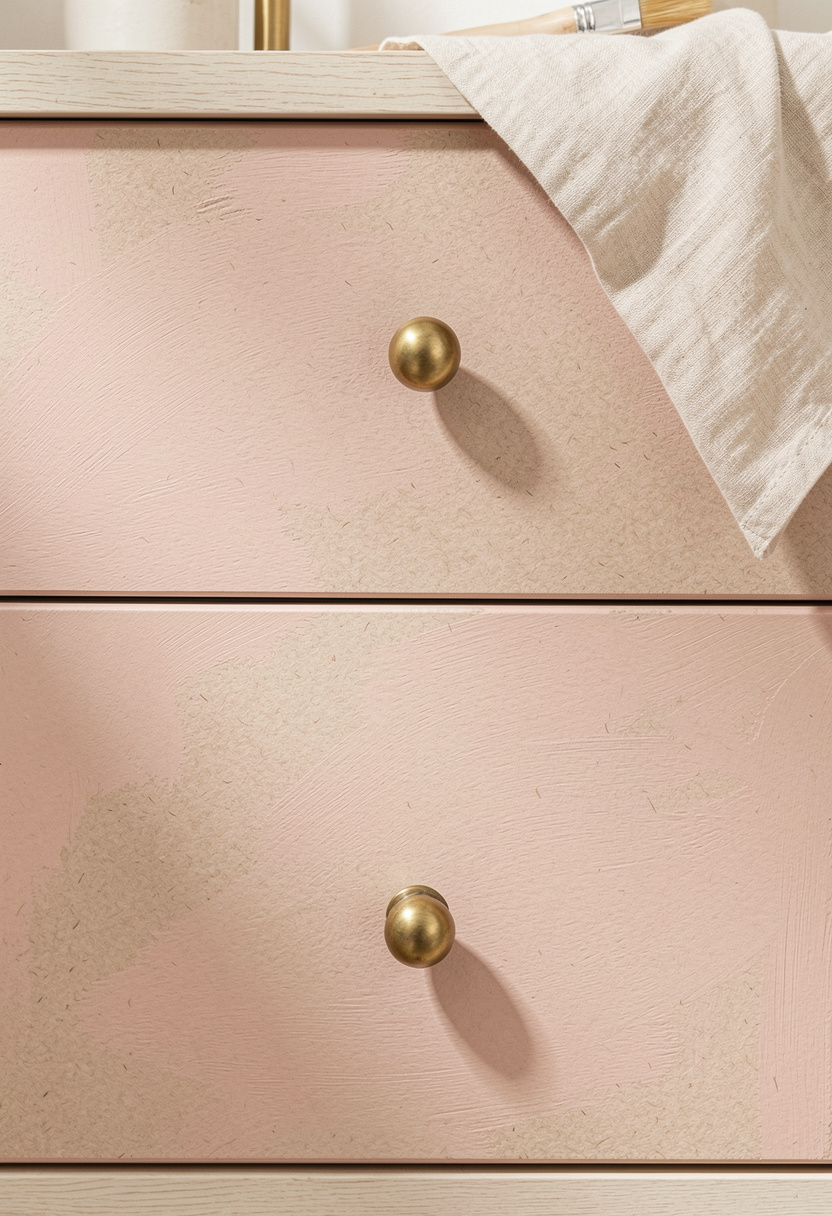

I covered boring drawers with painted kraft paper and glued on bead knobs to mimic brass hardware. This is removable and renter-safe. Use contact cement for durability, and budget about $12 per drawer. Warning: edges peel faster if they meet water, so trim inside cabinet, not on the sink side. My landlord loved that it was removable and asked me to do the hallway too.
Shop this idea:
9. Tiny Retro Appliance Mock-Up
Style: Appliance-as-Art | Budget: $20 to $80 | Best For: Open shelves & counter corners


I built a faux retro toaster from a shallow box and chrome-effect adhesive paper, so it sits on my shelf as a retro prop. It signals a "retro appliance" vibe without the real cost. Cost: about $18. Practical: avoid placing near heat or steam. Honest note: some people expect it to work, so label it as decor if hosting friends.
Shop this idea:
10. Patterned Scrap Fabric Roman Shade
Style: Pattern Mix | Budget: $35 to $80 | Best For: Window over sink
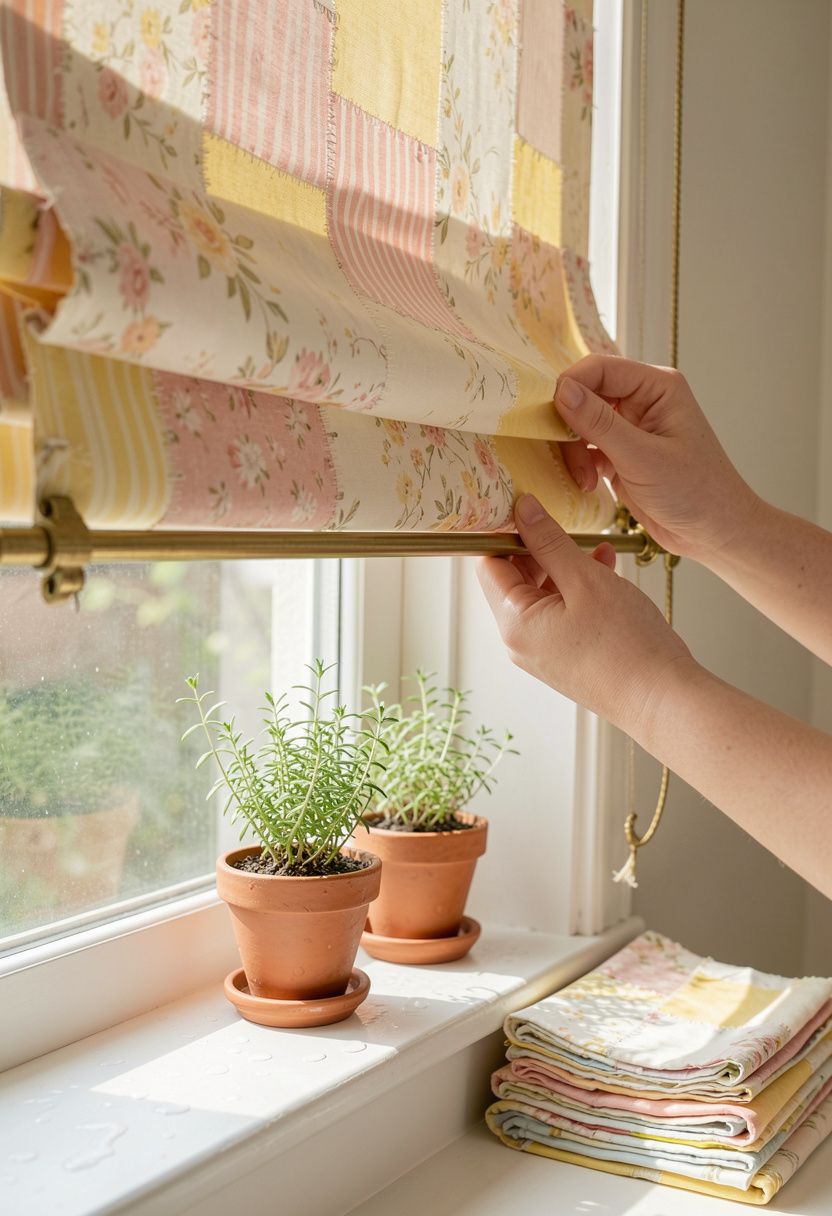

I made a Roman shade from leftover fabric scraps sewn into panels for an eclectic retro look. Use heat-bond tape for a no-sew option and install on an inside mount. Cost: $20 in fabric remnants and $18 for a tension rod. Tip: choose one dominant stripe or floral to avoid feeling busy. Ugly truth: mixed patterns on every textile can quickly read chaotic.
Shop this idea:
11. Painted Tile Coasters from Scrap Cardboard
Style: Retro Pop | Budget: Under $15 | Best For: Countertop protectors


I cut scrap cardboard into coaster squares, painted mid-century patterns, then sealed with waterproof varnish. These protect counters and add playful pop. Cost: roughly $10 total. Practical: cork backing prevents scratches. Pro tip: swap one or two for real stone coasters when placing hot pans, since cardboard is still not heatproof.
Shop this idea:
12. Bead-Trimmed Framed Pop Art
Style: Pop Shelf Art | Budget: $20 to $45 | Best For: Wall above counter
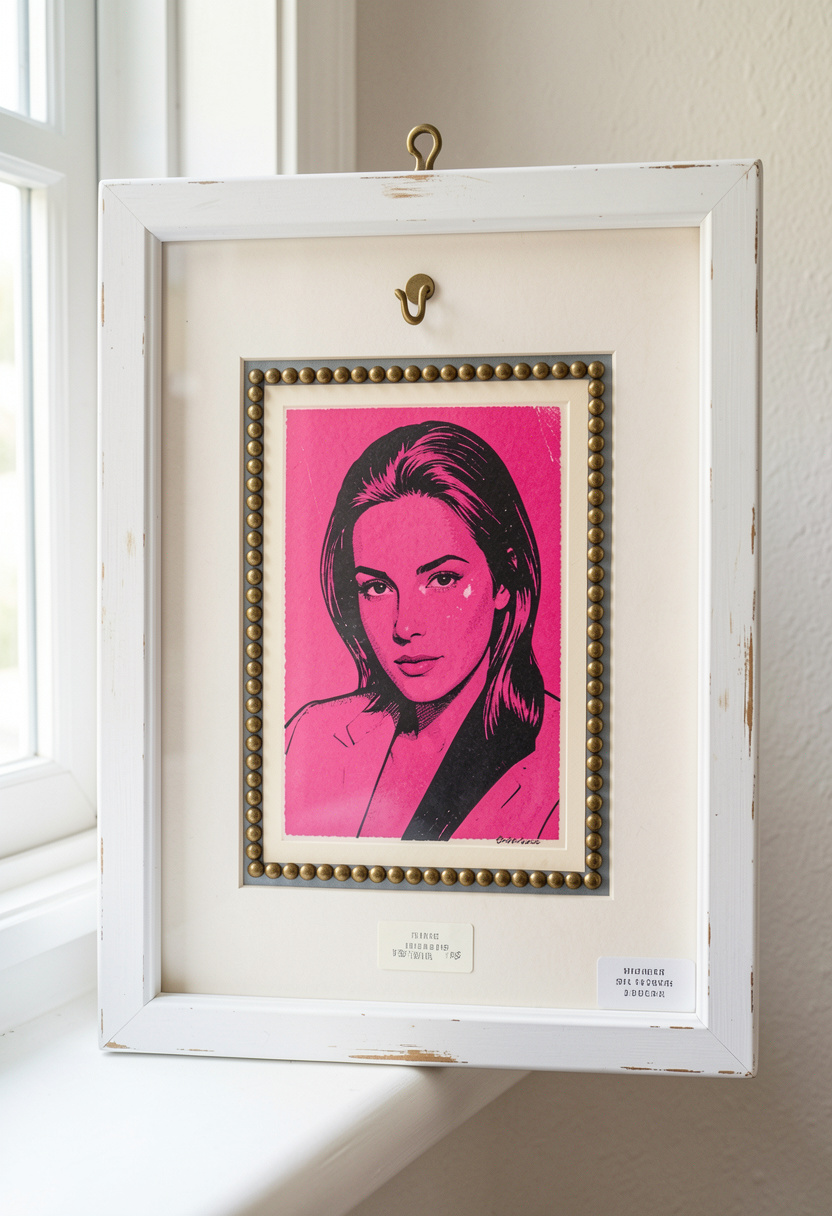

I bought a printable retro print, printed it on heavy paper, and glued a bead border to the mat before framing. The bead detail makes the art read custom and ties into other pink accents. Total cost: $22 including frame. Maintenance: dust beads gently with a soft brush. Honest note: too many DIY frames in one room can look inconsistent—limit yourself to one curated art moment.
Shop this idea:
13. Faux Herb Box from Recycled Crate
Style: Fresh Accent | Budget: $15 to $35 | Best For: Window sill
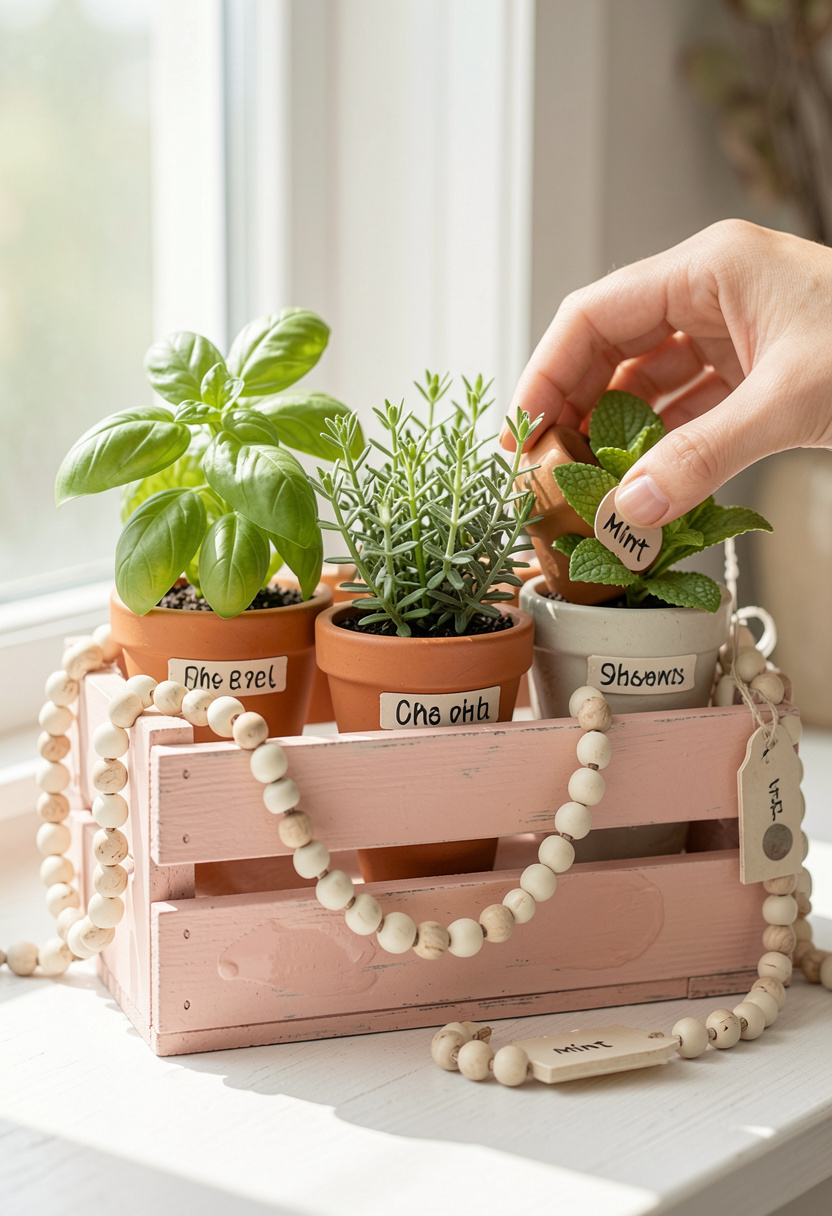

I built a tiny herb box from a thrifted crate, painted it cream with a pink rim, and used faux herbs for low maintenance. Total about $22. If you want real herbs, line with plastic and use drainage pebbles. My rent-friendly kitchen needed greenery but I couldn’t keep real herbs alive for long, so faux was the practical win here.
Shop this idea:
14. Mirror-Backed Box Shelf for Shine
Style: GlossMod Look | Budget: $30 to $90 | Best For: Make a small space feel bigger
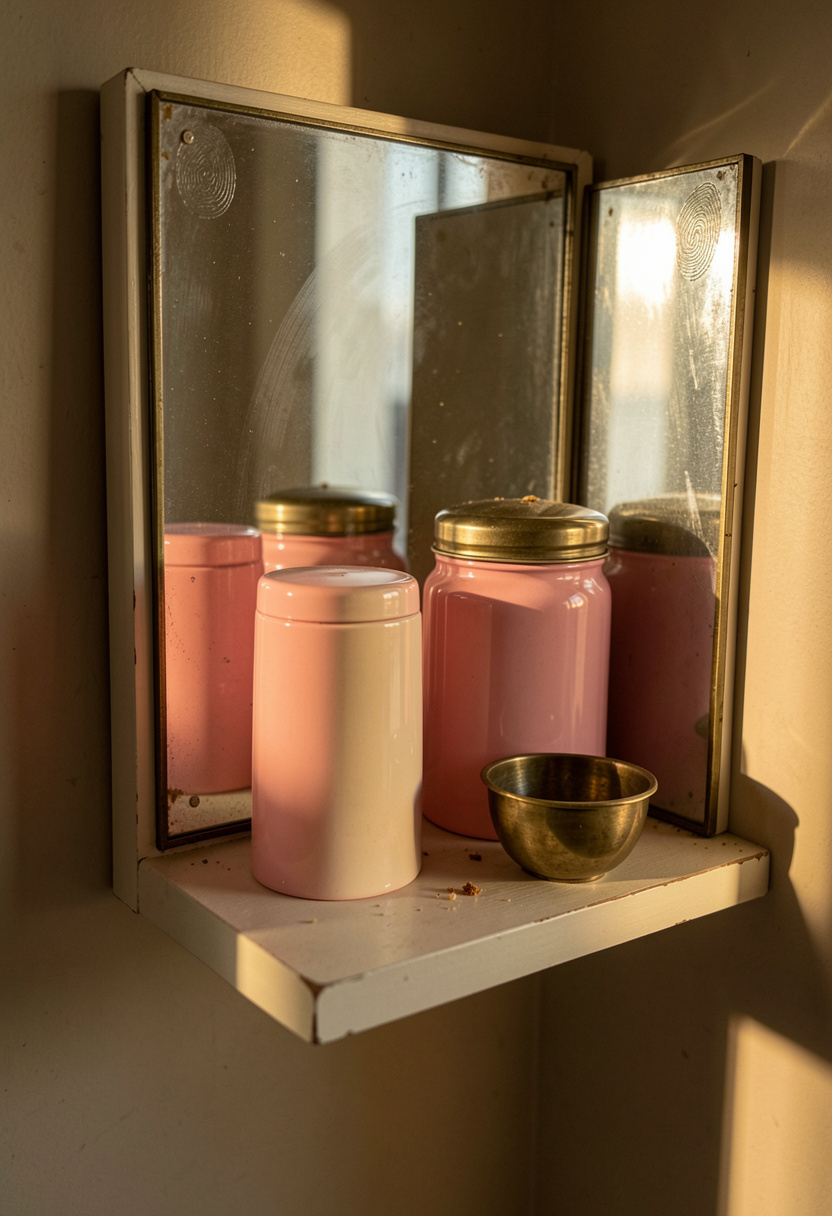

I lined the back of a small box shelf with a mirror tile to reflect light and double the pink accents. Use mirror mosaic sheets cut to size and glue with silicone. Cost: around $45. This trick reads expensive and is renter-friendly since the shelf can be removed. Note: mirror shows dust, so plan for quick wipe-downs.
Shop this idea:
15. Seasonal Swap Apron Display
Style: Functional Display | Budget: Under $20 | Best For: Personal finishing touch
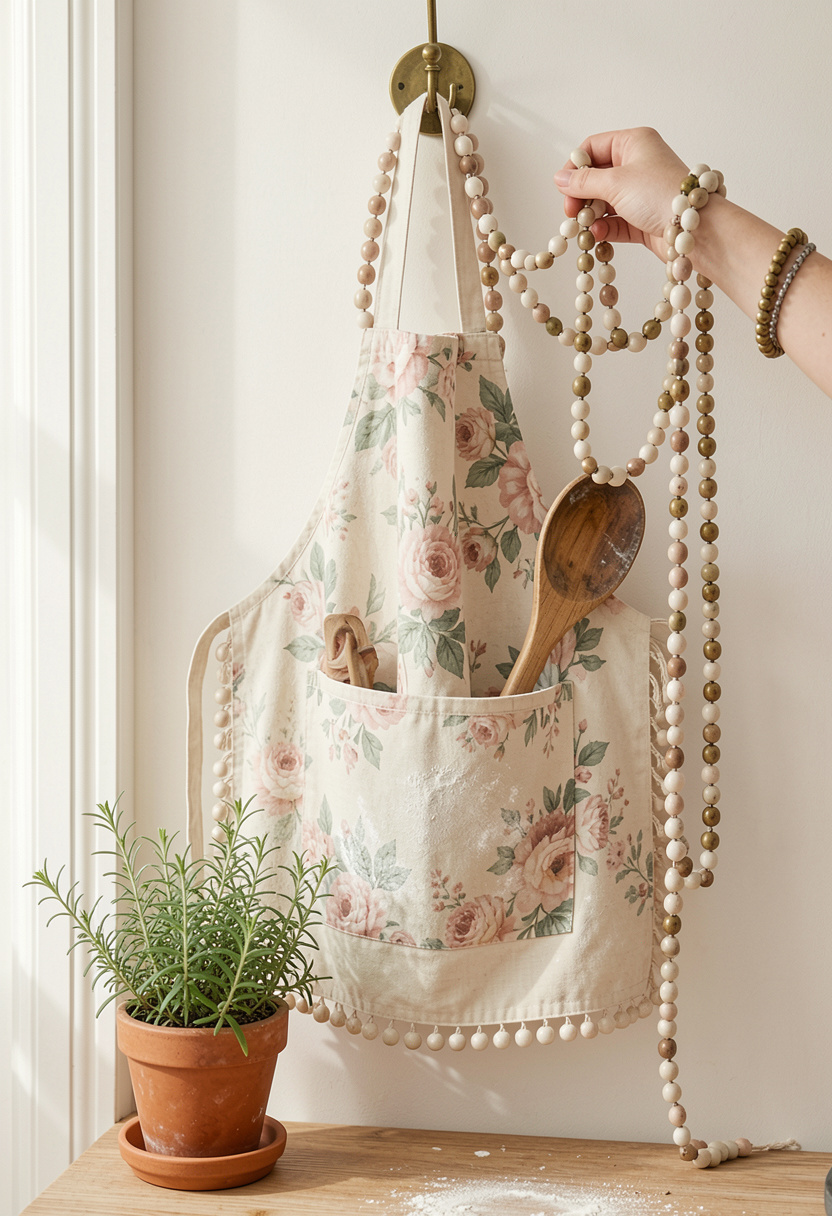

I display a pretty apron on a brass hook and swap it seasonally to keep the kitchen feeling fresh. Aprons act as decor and are useful during baking. I picked one from Target for about $16 and added a bead fringe. Tip: choose machine-washable fabrics and hang away from the stove to avoid grease stains. People often underestimate how much personality an apron adds.
Shop this idea:
What You'll Need to Get This Look
Countertop & Storage
- Glossy pink ceramic canister set around $30 to $60
- Small ceramic espresso mug set around $12 to $25
- Small wooden sugar scoop around $8 to $15
Wall Decor & Open Shelving
- White floating shelf brackets around $10 to $25
- Mirror mosaic sheets 12×12 around $15 to $40
- Small white photo frame 8×10 around $8 to $20
Textiles & Soft Goods
- Sage linen tea towels set of 2 around $18 to $36
- Floral cotton apron for kitchen decor around $12 to $25
Greenery & Freshness
- Small faux potted herb trio around $10 to $30
- Mini terracotta pots set of 3 around $8 to $18
Budget Swaps
- Acrylic craft beads pack instead of loose glass beads, around $6 to $15 (thrift beads are cheaper)
- Self-adhesive cork pads as coaster bases, around $5 to $12
- Printable retro kitchen art instead of framed purchases, around $3 to $10 (frame often found at thrift)
Shopping Tips for These Looks
- Group on a Tray: Use one tray to corral three items and leave breathing room, this instantly reduces clutter, try a clear acrylic tray around $15 to $30.
- Buy One Splurge, Fill with Finds: Pick a glossy tray or canister as the splurge, then mix thrifted mugs and DIY accents around it. I splurged on a mirrored tray and found thrift mugs that matched.
- Seasonal Swap Strategy: Change one textile or apron each season for a quick refresh, store the rest in a labeled bin like stackable storage boxes around $12 to $25.
- Thrift + Repair Hack: Scavenge wooden boxes and small frames at thrift stores, then paint or line them; a little sanding and paint make a huge difference. Use all-purpose wood filler around $7 to $15.
- Timing Tip: Buy beads and craft paint off-season or during craft store sales; their clearance cycles often drop prices 30 to 50 percent, and bulk buys save long-term.
- Renters’ Rule: Choose removable changes first—art, trays, and textiles—so you keep flexibility and avoid landlord conflict. For wall-mounted items use damage-free hooks around $6 to $15.
Frequently Asked Questions
Q: Can I do a diy barbie kitchen in a rental without drilling?
A: Yes. Focus on counter vignettes, tension-rod bead curtains, and removable framed art. Use tension curtain rods 24 inch and damage-free hooks for no-drill installs.
Q: How do I keep pink from looking childish?
A: Balance hot pink with cream, warm wood, or brass finishes and one high-gloss piece to anchor the palette. Try a polished brass hook single for warmth.
Q: What’s the easiest DIY for countertop impact?
A: A glossy box tray plus one canister and a faux plant follows the rule of three and clears clutter quickly. A clear gloss sealer helps finishes last.
Q: Are bead accents practical near the stove?
A: Not ideal. Beads collect grease and dust, so place them on shelves away from direct heat or use bead trims only on lids and away from cooking zones. Consider small faux potted herb trio as a low-maintenance alternative.
Conclusion
Start small: build one glossy tray vignette from a painted box and a thrifted canister, then live with it for a week. My favorite trick is adding one reflective surface to make budget pieces read polished. Which of these 15 diy barbie kitchen looks are you trying first — the bead curtain or the mirror-backed shelf?