



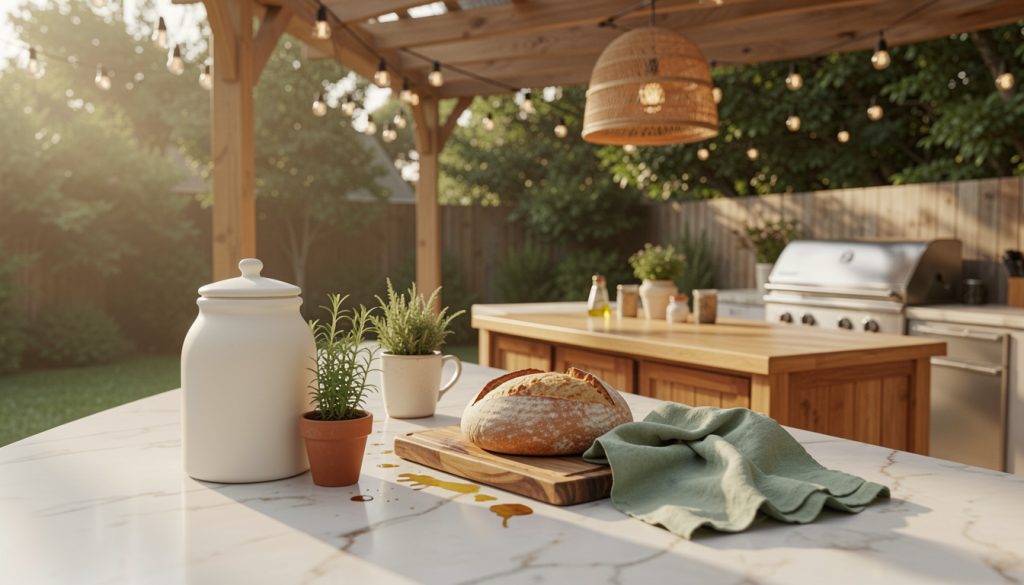

My first weekend building an outdoor kitchen turned into three weekends of running to stores and changing my mind. How to build a backyard outdoor kitchen without wasting weekend after weekend became my obsession.
I learned to prioritize a clear visual plan, a handful of durable pieces, and simple finishing touches. This guide shows what to buy first, where to place it, and what to skip, for budgets from about $300 refreshes to $3,000 basic builds.
A bright modern-rustic vibe suits small patios and larger yards alike. I kept costs down by choosing outdoor-grade finishes and swapping one splurge item for thrifted finds. I also noticed more people in 2025 leaning into modular islands and weatherproof wood tones.
1. Start with the Foundation: Counter and Cabinet Reset
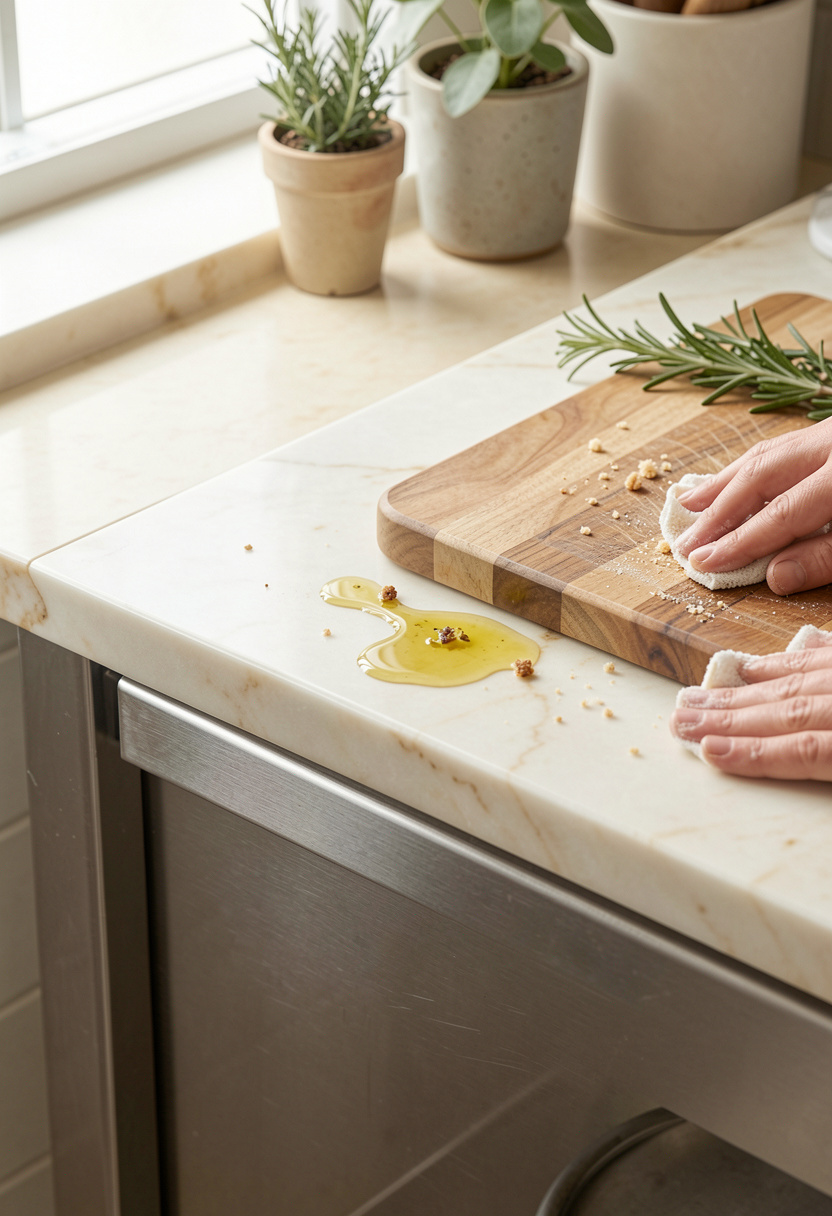

Start by choosing the hard surfaces. The trick is picking weatherproof counters and a prep surface that reads as indoor-grade outdoors.
If you want a clean look, a honed granite slab or composite counter reads elevated and stays low maintenance. I placed a Stainless prep table 48 inch at the grill line for durability and a Composite countertop slab sample for a refined edge.
Visual principle: one uninterrupted plane grounds everything. Place the prep table flush with the grill, leaving 18 to 24 inches of landing space on the primary side.
Mistake people make: matching every surface exactly. Instead, mix a cool stone counter with a warm acacia block for balance.
2. Layer Warmth with Wood and Linen Textures

Once the foundation is set, soften it. Wood and linen read lived-in and keep the space inviting.
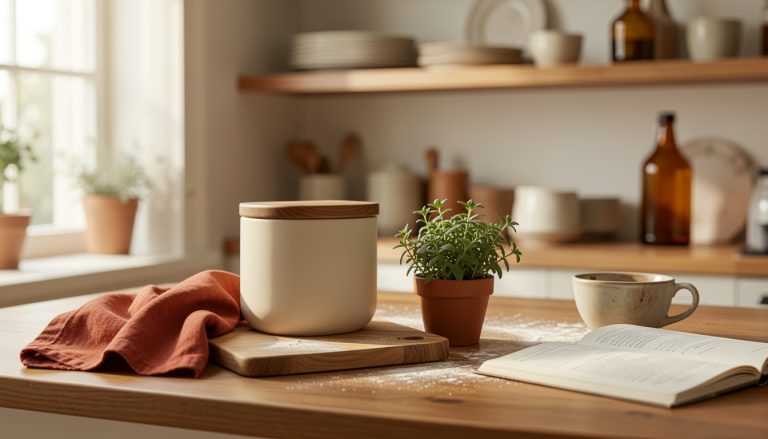
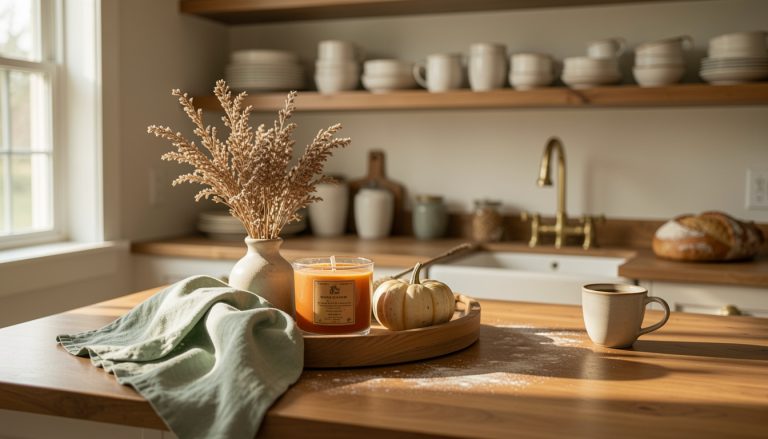
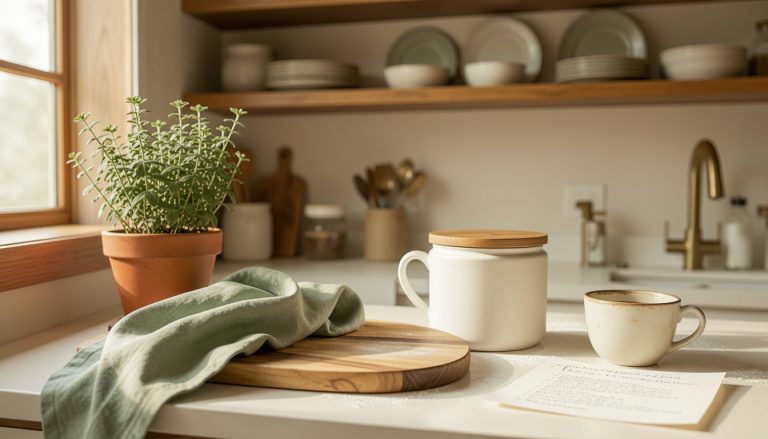
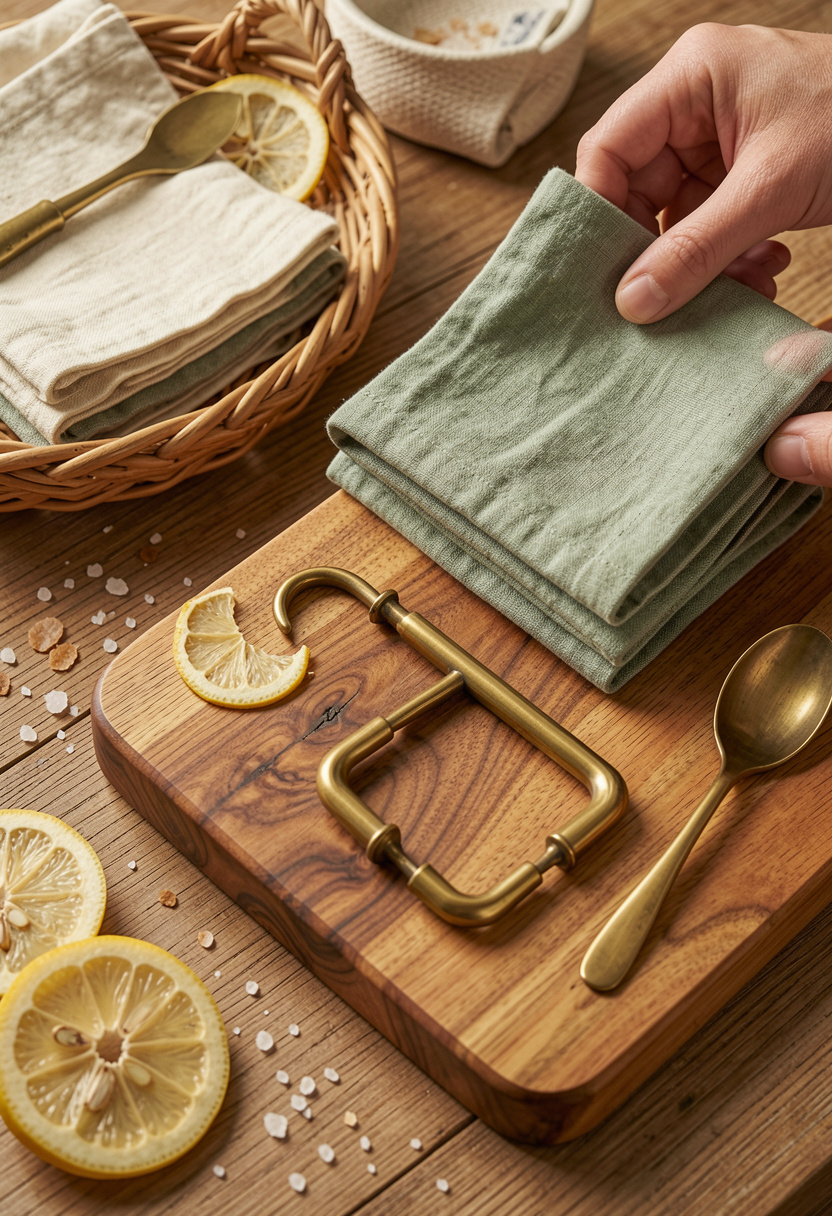
I layered an Acacia wood cutting board 24 inch and a Sage linen napkin set of 4 near the prep area. Add a Wicker serving tray to corral oils and salts.
Visual principle: texture contrast. Pair cool stone with warm wood and soft linen to avoid an industrial cold feel.
Styling specifics: stack textiles folded in thirds, place the cutting board perpendicular to the counter edge, and keep a 2:1 width ratio of wood to textiles.
Most people over-accessorize here. Stop at two large pieces and one small cluster for impact.
3. Add Height and Drama with Open Shelving and Pergola Details
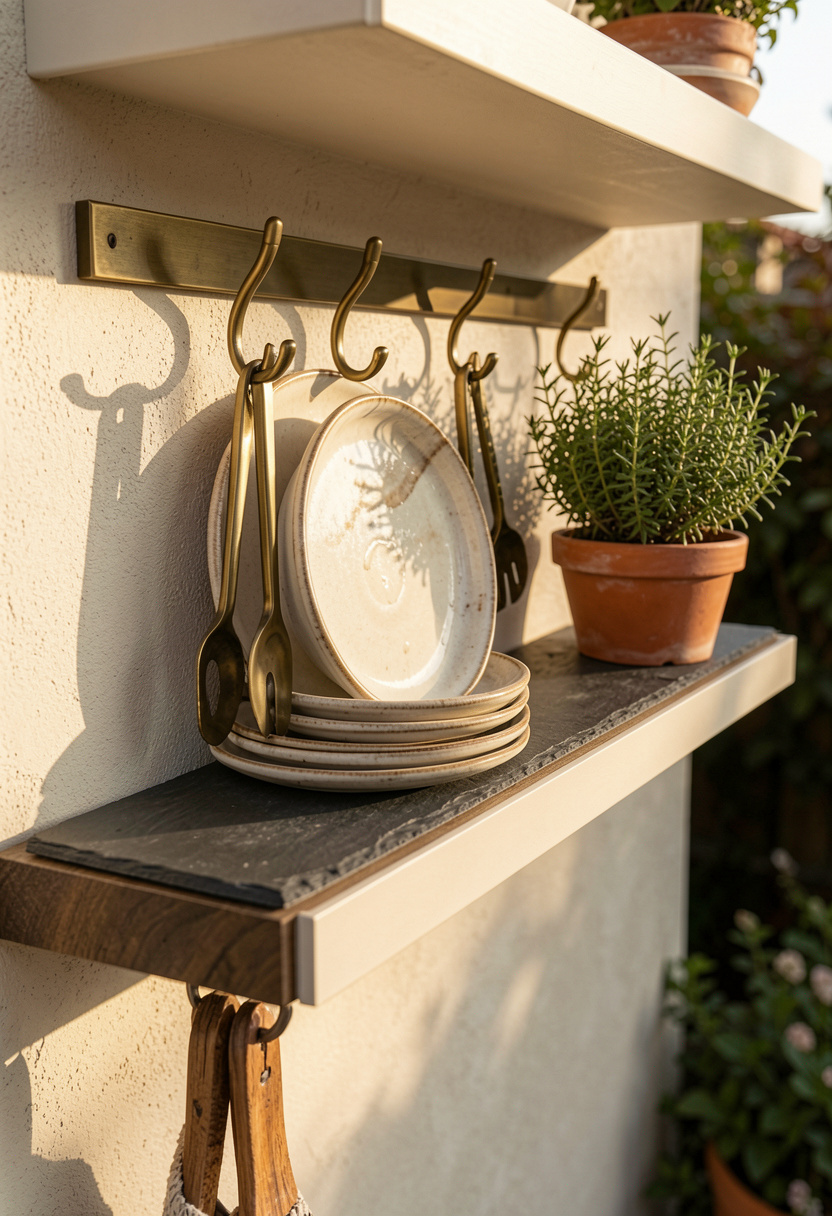

Height makes the space feel finished. I installed weatherproof shelving and used a pergola beam as a hanging rail.
A pair of Powder-coated floating shelves 36 inch holds stoneware and glass. Add a Rattan pendant 15 inch over the island for instant focus.
Visual principle: vertical balance. Keep shelves 16 to 18 inches above counter and stagger objects in odd numbers.
Mistake: filling every shelf with matching plates. Instead, mix open space, a stack of 3 plates, and a single vertical object to guide the eye.
4. Create Ambiance with Warm Diffused Lighting
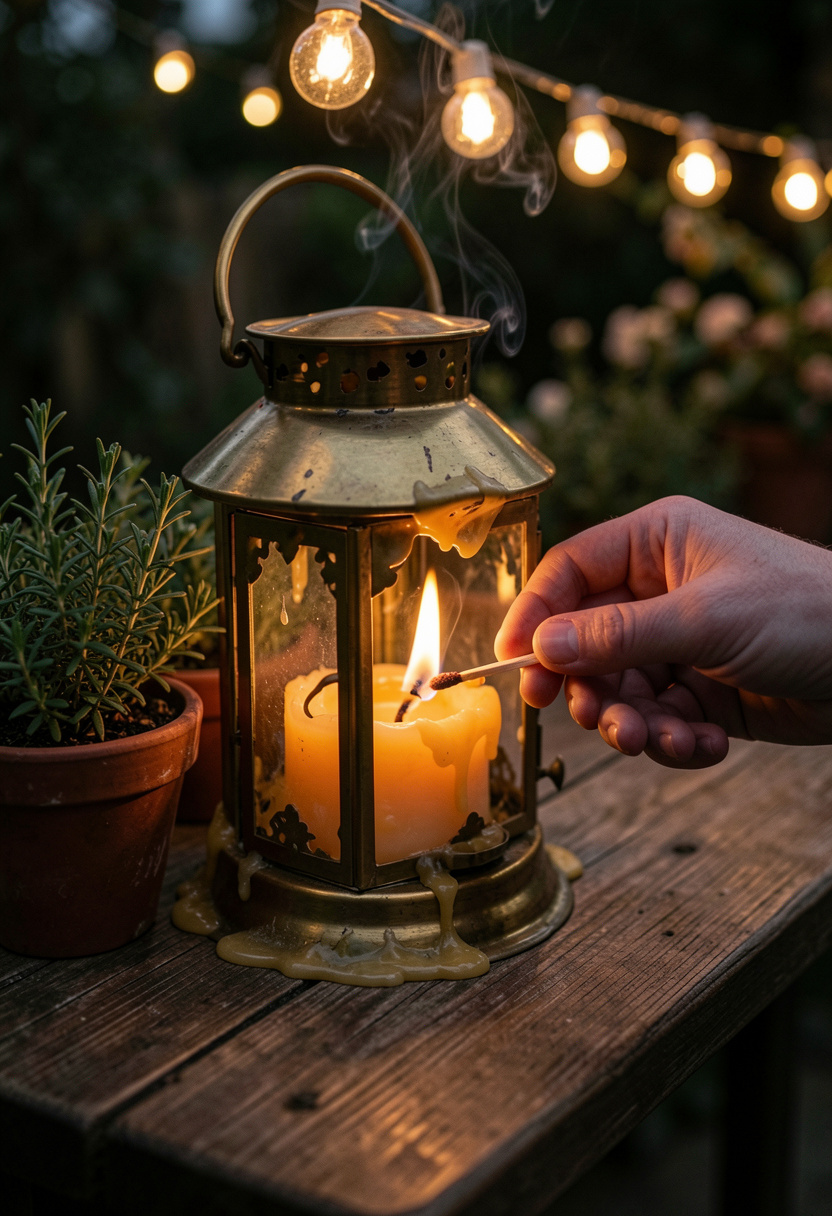

Lighting makes nights usable. I layered string lights, task LEDs, and a few flame elements.
Start with Outdoor warm string lights 48 foot and add Under-cabinet LED puck lights beneath shelving for prep.
Principle: three-point lighting. Combine ambient, task, and accent to avoid a flat look.
People go too bright. Use warm bulbs and dimmers where possible. Soft light keeps the space cozy and useful.
5. Finish with Greenery and Lived-In Details
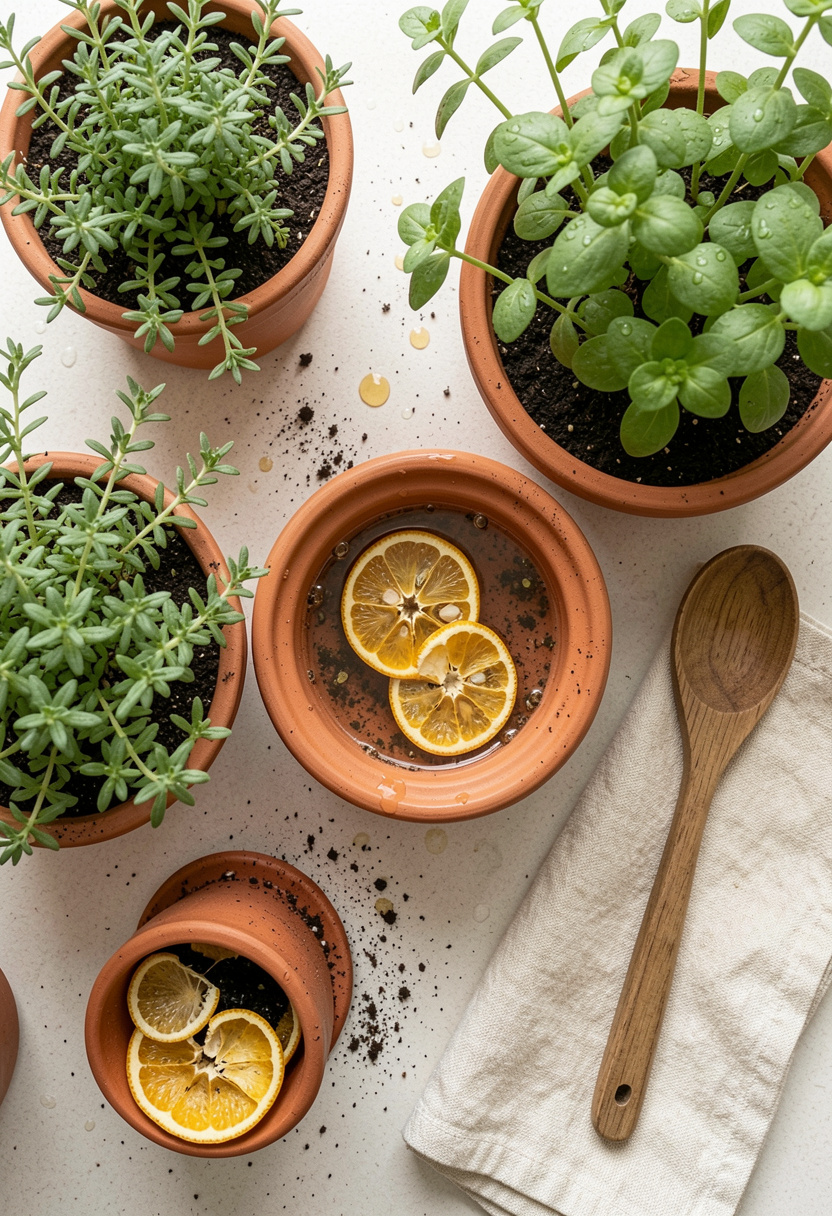

Plants and small finishes sell the space. I grouped herbs near the prep zone for fragrance and function.
A Self-watering herb planter 3-pack and a Terracotta planter set medium look curated and survive heat.
Visual principle: clusters and odd numbers. Group three pots of varying heights at one end of the counter.
Ugly truth: faux greenery often reads fake outdoors. Use real herbs or high-quality potted succulents for credibility.
Common Styling Mistakes to Avoid
Mistake: Matching every metal finish
Why it doesn't work: Feels staged and flat.
Do this instead: Mix aged brass and stainless. Try a Brass utensil holder to bridge metals.
Mistake: Open shelving packed full
Why it doesn't work: Gets greasy and chaotic.
Do this instead: Keep one shelf decorative. Use a Stoneware plate stack for display and store the rest.
Mistake: Too many small accessories on counters
Why it doesn't work: Visual clutter reduces usefulness.
Do this instead: Limit to a tray, cutting board, and one plant. A Woven tray 16 inch corrals essentials.
What You'll Need for This Look
Foundation Pieces
Stainless prep table 48 inch around $120 to $260
Composite countertop sample board approx $20 to $50
Large acacia cutting board 24 inch around $25 to $60
Textiles & Soft Goods
Sage linen napkin set of 4 $18 to $35
Outdoor kitchen runner 2×6 ft $25 to $60
Lighting
Outdoor warm string lights 48 foot $20 to $50
Under-cabinet LED puck lights $15 to $40
Finishing Touches
Self-watering herb planter 3-pack $25 to $50
Terracotta planter set medium $20 to $45
Beeswax candle in brass lantern $15 to $35
Budget Swaps
Wicker tray dupe similar at thrift for less
Acacia cutting board alternative $15 to $30
Shopping Guide for This Look
Buy the heavy stuff first: Order the Stainless prep table 48 inch early, shipping can delay weeks.
Thrift hack: Score vintage brass at flea markets, pair with new Brass utensil holder for consistency.
2025 trend pick: Look for modular island pieces like Outdoor prep carts that snap together.
Splurge vs save: Spend on counters, save on textiles. Consider a high-grade Composite countertop sample and cheaper napkins.
Conclusion
Start with one high-impact piece, like the prep table, and style around it. That single choice keeps decisions from spilling into endless weekends.
Keep materials practical and layered textures intentional. One brass accent and three potted herbs will make the space feel complete.
Which part of an outdoor kitchen would you start with on your patio?