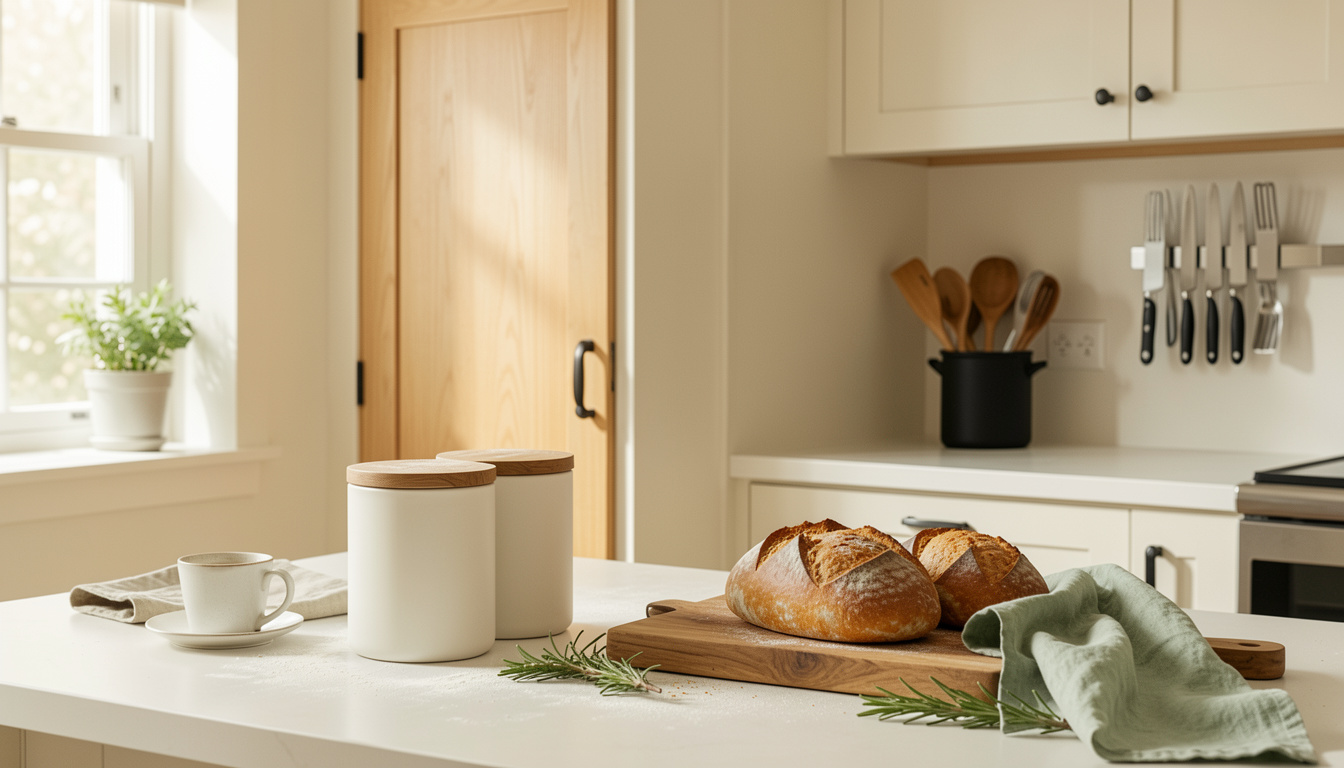
I used to play appliance shuffle every week: toaster, blender, kettle hunting in three cupboards.
When I finally asked how to organize kitchen appliances in cupboards I stopped losing morning minutes and started liking my counter again.
You’ll learn cupboard zones, a few space-saving purchases, and a $40 trick that cut my clingy clutter in half. Budget: roughly $75 to $350 depending on how many storage pieces you add.
My kitchen leans modern farmhouse with pale oak and matte black accents. This approach fits small to mid-size kitchens that want tidy counters and visible style.
I’ve noticed people in 2025 favor hidden appliance garages and tactile materials like acacia and linen over glossy plastic. If you want that lived-in, calm look under $300, this will work.
1. Start with the Foundation: Counter and Cabinet Reset
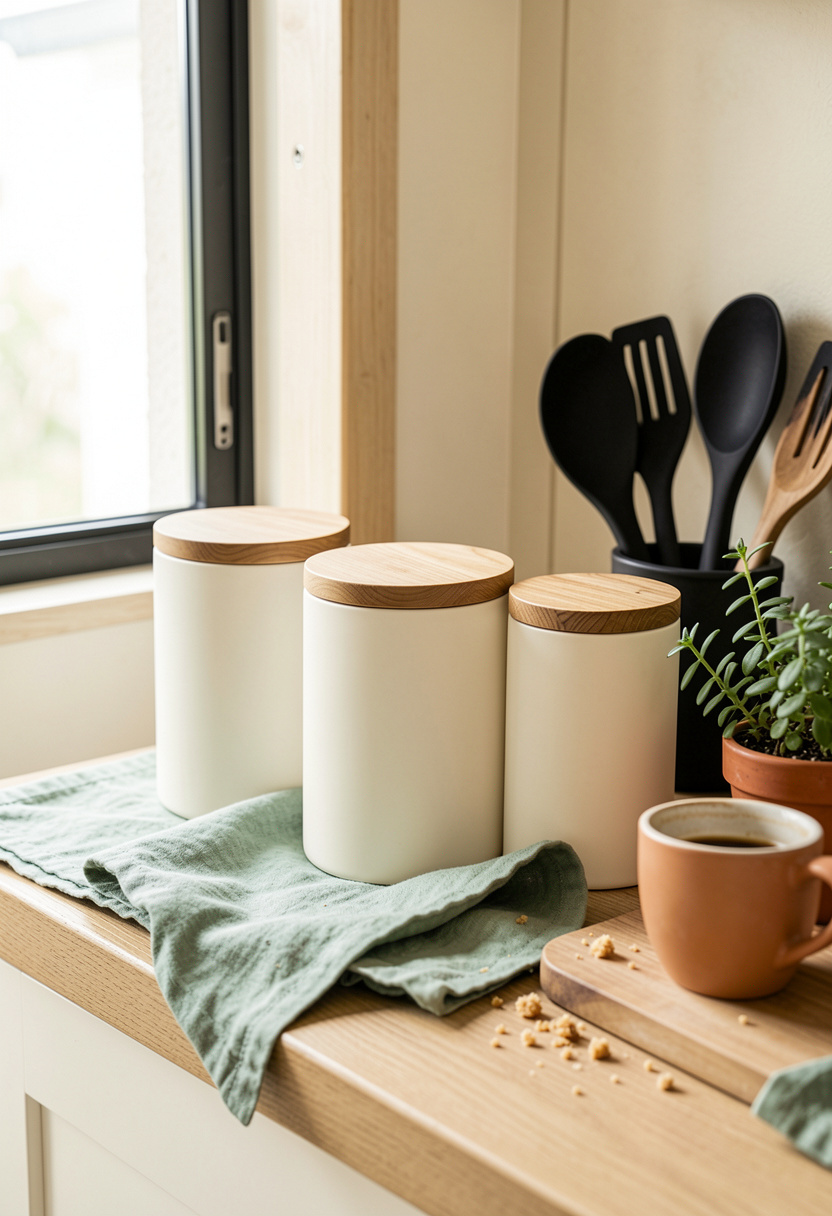
Clear counter first. I removed everything that didn’t need daily access and gave each appliance a home inside a nearby cupboard.
Keep everyday items on the counter and stow the rest. I use a Matte white ceramic canister set with acacia wood lids around $35 to $50 for frequently used staples next to the toaster.
Inside the cupboard, place heavier appliances on the lowest shelf and lighter ones above. A Stackable small appliance stand 12 inch approx $35 to $70 keeps the blender accessible without hogging space.
Visual principle: balance bulk with negative space. If a cupboard looks stuffed it reads as chaos. Don’t pile like books; create zones for heavy, light, and weekly items.
Mistake people make: shoving everything in the deepest bin. Instead, bring forward items and label zones so you don’t shuffle at 7 a.m.
2. Layer Function with Adjustable Shelving and Bins
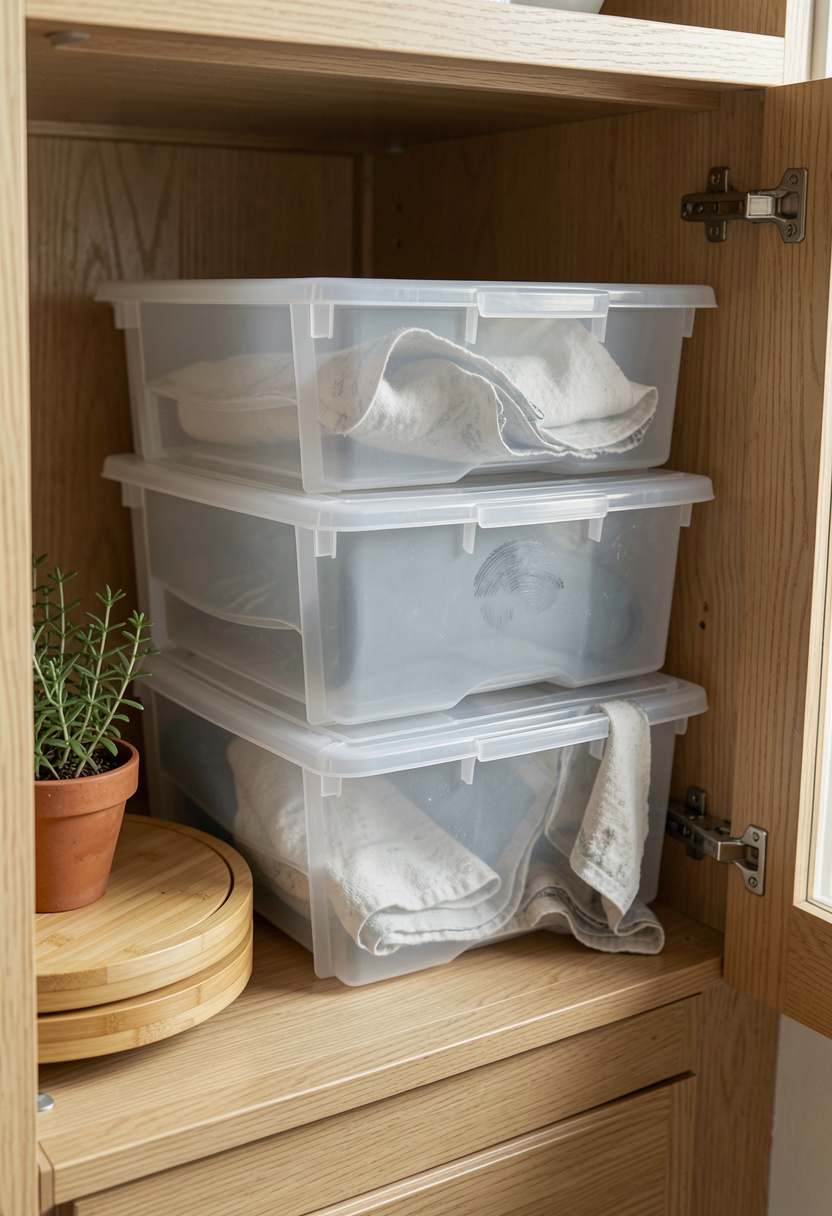
The trick is making cupboard interiors readable. Adjustable shelves and clear bins make items visible and reachable.
I added Clear plastic appliance storage bins set of 3 around $25 to $45 for small gadgets and charger cords.
Use a Adjustable shelf risers metal 2 pack approx $20 to $35 to create a second plane inside tall cupboards.
Visual principle: proportion and repetition. Keep like-sized items grouped and repeat materials (bamboo, clear plastic) for calm rhythm.
Common error: mixing loose cords and attachments on top shelves. Instead, corral them in labeled bins so you pull one box, not five.
3. Design a Dedicated Appliance Garage for Daily Use
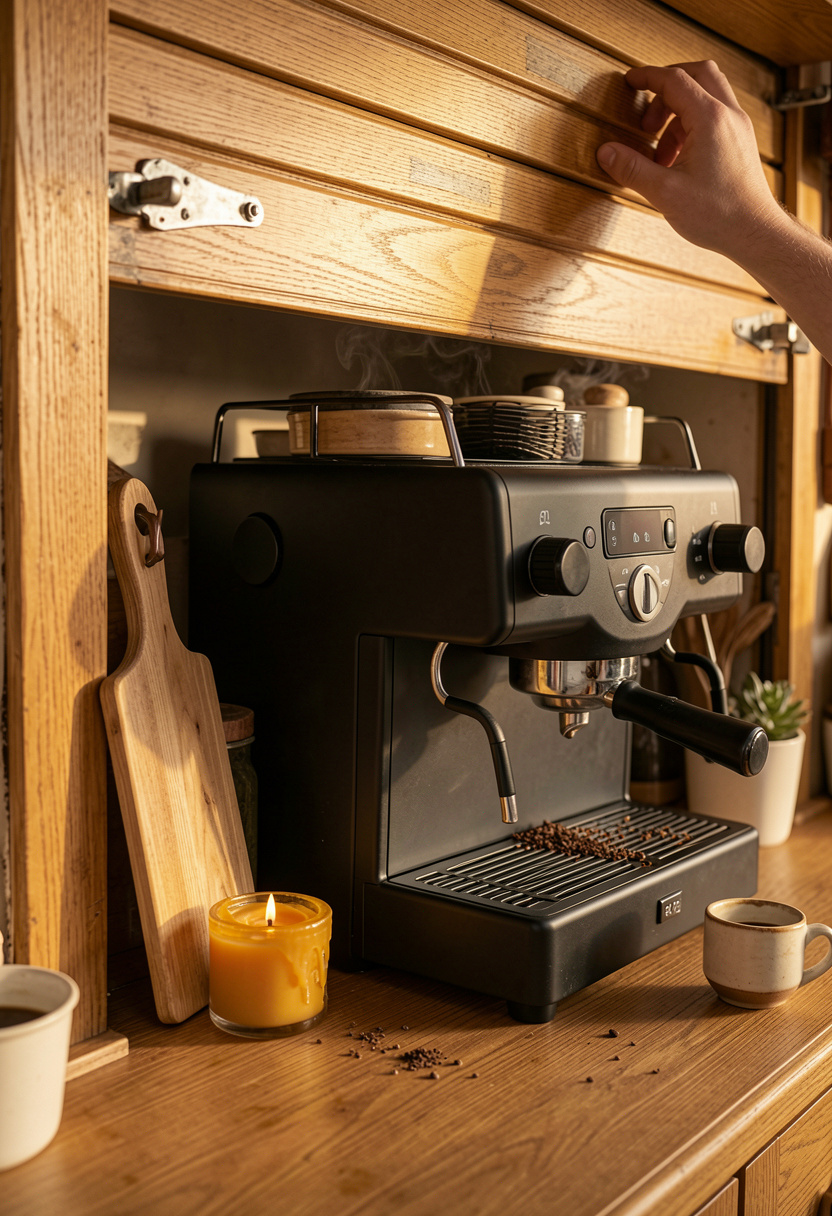
An appliance garage hides visual clutter but keeps presence. Mine sits beside the stove and holds the espresso and toaster.
Look for an Appliance garage roller door oak finish approx $70 to $150 or retrofit with fold-down trays.
Place the garage at counter height so you can use appliances without moving them. Rule of thumb: allow 2 to 4 inches clearance above appliances for ventilation.
Design idea: match the garage finish to lower cabinets for a seamless block of color that reads tidy.
What fails: using a garage for every appliance. Keep daily machines inside and stash the seldom-used elsewhere.
4. Finish with Vertical Storage and Easy-Reach Solutions

Use vertical surfaces on the inside of doors and cabinet sides for frequently used tools.
A Magnetic knife strip stainless steel 18 inch approx $20 to $45 frees counter space and looks intentional.
Add Heavy duty cabinet hooks brass finish around $8 to $20 for measuring cups and linen towels.
Visual principle: scale and hierarchy. Taller vertical elements anchor the eye and make small items read as curated, not cluttered.
Don’t make cabinet doors a dumping ground. Select 3 to 5 must-haves to hang, not every tool.
Common Styling Mistakes to Avoid
Mistake: Storing heavy blenders on top shelves
Why it doesn't work: Looks top-heavy and is awkward to lift.
Do this instead: Move heavy appliances to the lowest shelf and use a Stackable small appliance stand 12 inch approx $35 to $70.
Mistake: Clear counter with everything shoved behind closed doors with no order
Why it doesn't work: Creates one big messy cavern you avoid opening.
Do this instead: Use Clear plastic appliance storage bins set of 3 around $25 to $45 and label them.
Mistake: Hanging identical canisters at same height on counter
Why it doesn't work: Feels static and boring.
Do this instead: Layer heights and textures with a Matte white ceramic canister set with acacia wood lids around $35 to $50.
What You'll Need for This Look
Foundation Pieces
Matte white ceramic canister set with acacia wood lids around $35 to $50
Large acacia cutting board 18×12 approx $25 to $60
Stoneware serving bowl 12 inch $30 to $70
Textiles & Soft Goods
Sage linen dish towels set of 4 $18 to $35
Natural fiber kitchen rug 2×3 $25 to $70
Lighting
Under cabinet LED puck lights warm white $20 to $45
Rattan pendant light 15 inch $60 to $150
Finishing Touches
Small terracotta herb pot 4 inch $6 to $18
Beeswax dinner candle 8 oz jar $12 to $28
Framed kitchen art print 8×10 botanical $15 to $40
Budget Swaps
Collapsible silicone appliance mats set of 2 $10 to $22 (thrift bowl works too)
Shopping Guide for This Look
Time purchases for sales: Buy appliance stands and rollers during retailer holiday sales; Appliance garage roller door oak finish $70 to $150.
Thrift hack: Score cutting boards or bowls at HomeGoods and backfill with Large acacia cutting board 18×12 $25 to $60.
2025 trend tip: If you like hidden storage, add an appliance garage for a curated look; see Appliance garage roller door oak finish $70 to $150.
Splurge vs save: Splurge on a sturdy cutting board like Large acacia cutting board 18×12 $25 to $60; save on linens with Sage linen dish towels set of 4 $18 to $35.
Conclusion
Start with removing three items from your counter right now and decide which one goes in the appliance garage.
The visual principle to remember: group like with like, repeat a material twice, and leave breathing room around appliances.
What one appliance will you give a permanent home to this weekend?