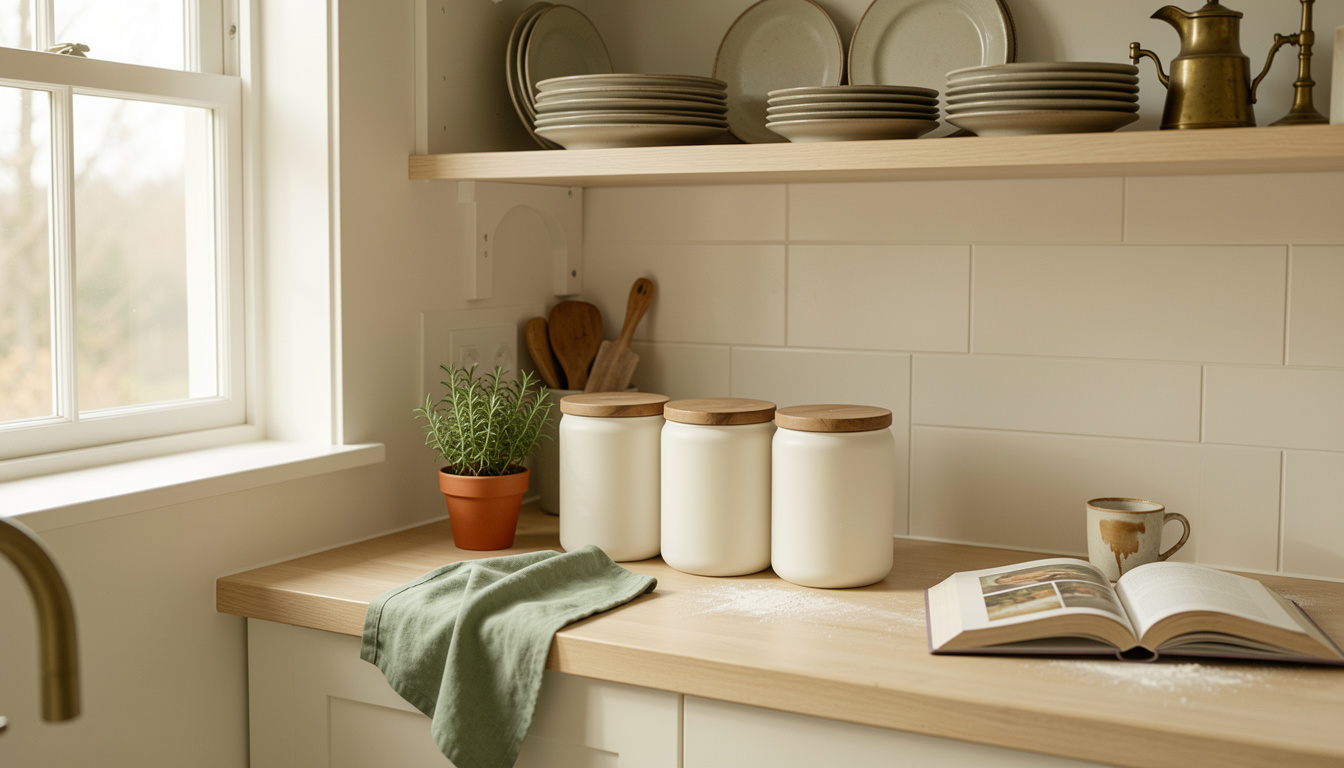
Small kitchen appliance storage ideas saved my counter and my sanity. I’m sharing 19 small kitchen appliance storage ideas that cleared my countertops for good, with most solutions under $75 and a few splurges around $120. I started with one messy toaster and ended with a kitchen that actually feels calm.
My focus is practical, layered, and lived-in. Most picks are under $50, with a few $80 to $120 splurges. These work in modern, farmhouse, and galley kitchens. Lately I’ve noticed everyone leans into open shelving and hidden appliance garages.
1. Open Shelving With Warm Wood and Stoneware
Style: Bright & Airy | Budget: Under $75 | Best For: Small galley kitchens

Shelf styling cleared my counters fast. I mounted a 24-inch acacia shelf and parked my compact toaster behind a low bread box so appliances stay accessible but out of sight. The trick is to keep shelf depth under 12 inches so the shelf doesn’t feel heavy. I paid about $35 to $60 for the shelf. I found the shelf at HomeGoods and returned because it was slightly warped, lesson learned, buy a solid acacia one online.
Shop this idea:
2. Appliance Garage With Roll-Up Door
Style: Modern Farmhouse | Budget: $60 to $120 | Best For: Counters near outlets
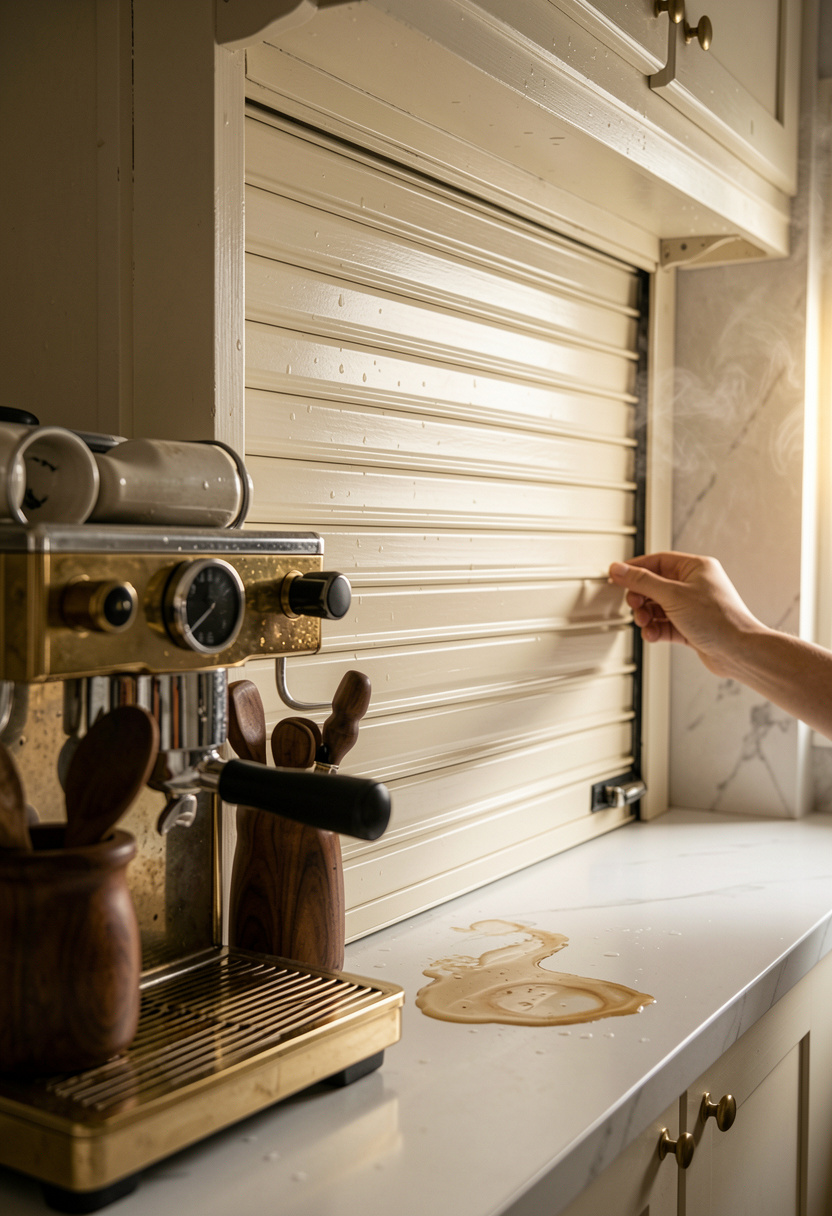
An appliance garage keeps the mixer and toaster hidden without unplugging them. I built one with a tambour roll-up door in matte cream and set the mixer inside on a lazy Susan. Tip: leave 2 inches behind an appliance for cord routing. My garage cost about $80 to $120 and got a neighbor’s jealous text. Ugly truth: cheap tambour doors warp; spend a bit more.
Shop this idea:
- Tambour roll-up appliance garage
- [Kitchen lazy Susan 12 inch](https://www.amazon.com/s?k=12+inch+laz y+susan&tag=kitchenwaves-20)
3. Pull-Out Cabinet Shelf for Small Appliances
Style: Clean & Functional | Budget: $50 to $90 | Best For: Base cabinets
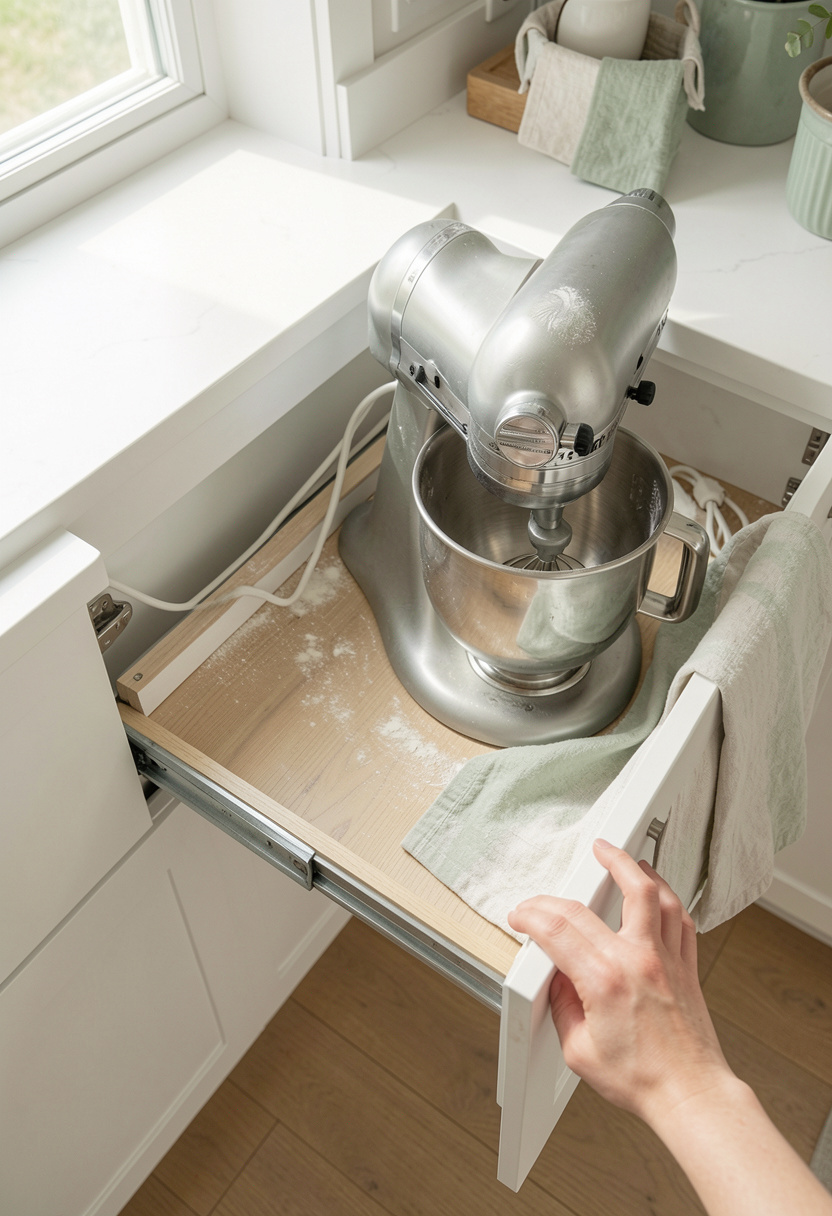
I installed a pull-out shelf for my toaster oven and air fryer. It makes heavy appliances safe to use while keeping counters clear. Pro tip: measure interior cabinet depth and allow 2 to 3 inches clearance for ventilation. This kit ran me about $55 to $85. Ugly truth: some pull-outs don’t lock; drill a stop screw.
Shop this idea:
4. Under-Shelf Hanging Baskets for Slim Appliances
Style: Minimal | Budget: Under $30 | Best For: Open shelving
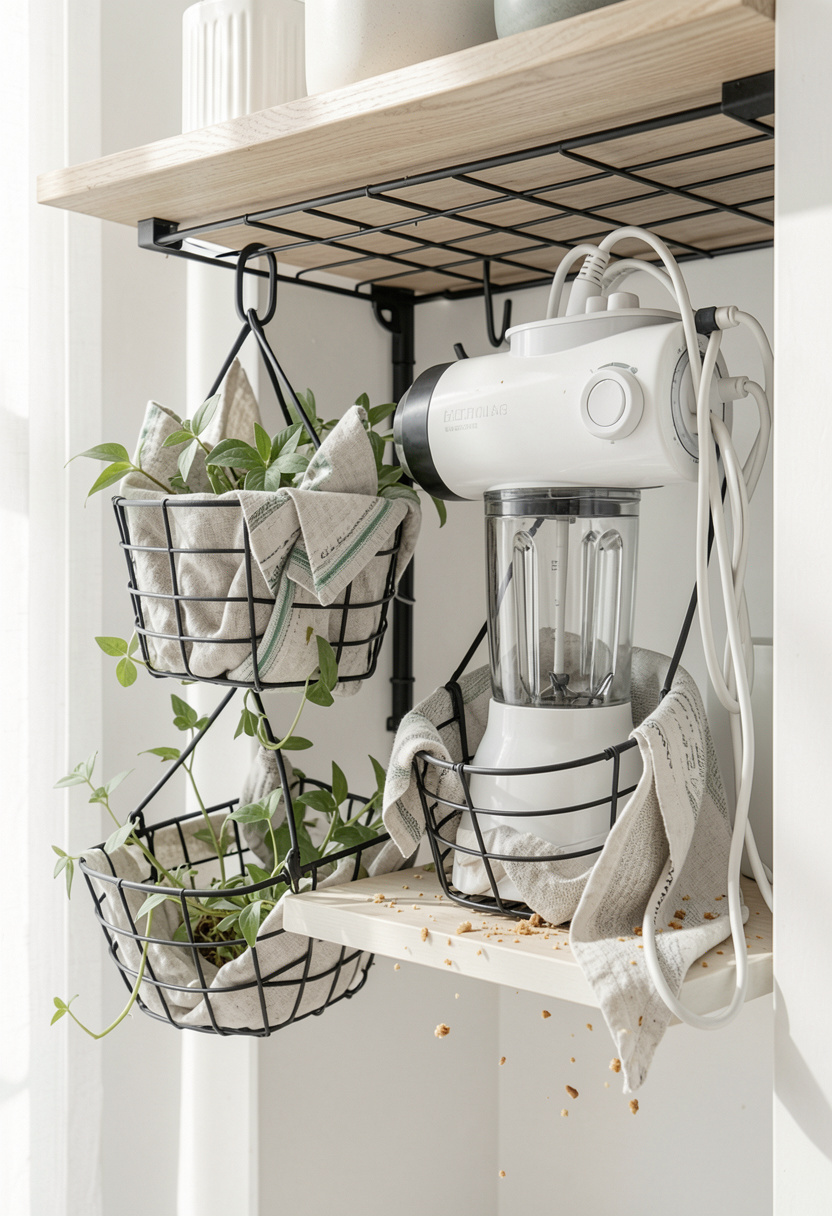
Hanging wire baskets under a shelf gave me space for hand mixers and immersion blenders. I screwed small brackets under the shelf and slid baskets on. Tip: use a basket with a solid base for grease-prone appliances. Cost: around $15 to $30. I snagged mine at a flea market for $8 and felt like I scored.
Shop this idea:
5. Slim Rolling Appliance Cart That Tucks Away
Style: Urban Cottage | Budget: $45 to $90 | Best For: Narrow gaps

My narrow gap between wall and fridge became storage with a 7-inch rolling cart. Now the espresso machine lives on middle shelf and the cord wraps behind. Tip: add non-slip pads and lockable wheels. Price: around $45 to $70. Ugly truth: cheap carts wobble; get heavy-gauge steel.
Shop this idea:
6. Overhead Pot Rack That Holds Small Appliances
Style: Moody & Cozy | Budget: $60 to $110 | Best For: High ceilings
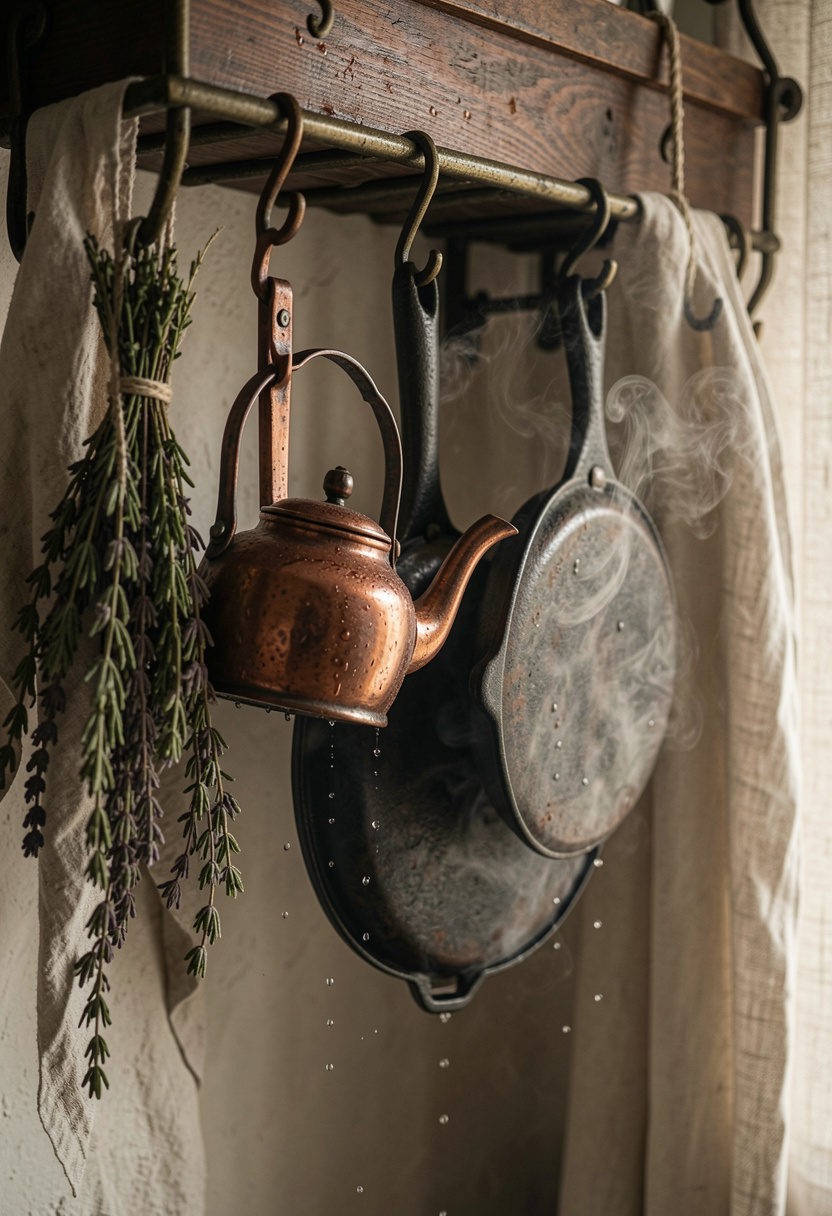
I hung a compact iron rack above a narrow island and stored my go-to kettle and hand-crank grinder. Keep weight under the rated limit and anchor into studs. This saved counter space and felt intentional. Cost: about $60 to $110. Personal moment: my sister asked if it was professional—no, just clever.
Shop this idea:
7. Built-In Microwave Drawer
Style: Clean & Modern | Budget: $80 to $120 | Best For: Remodels
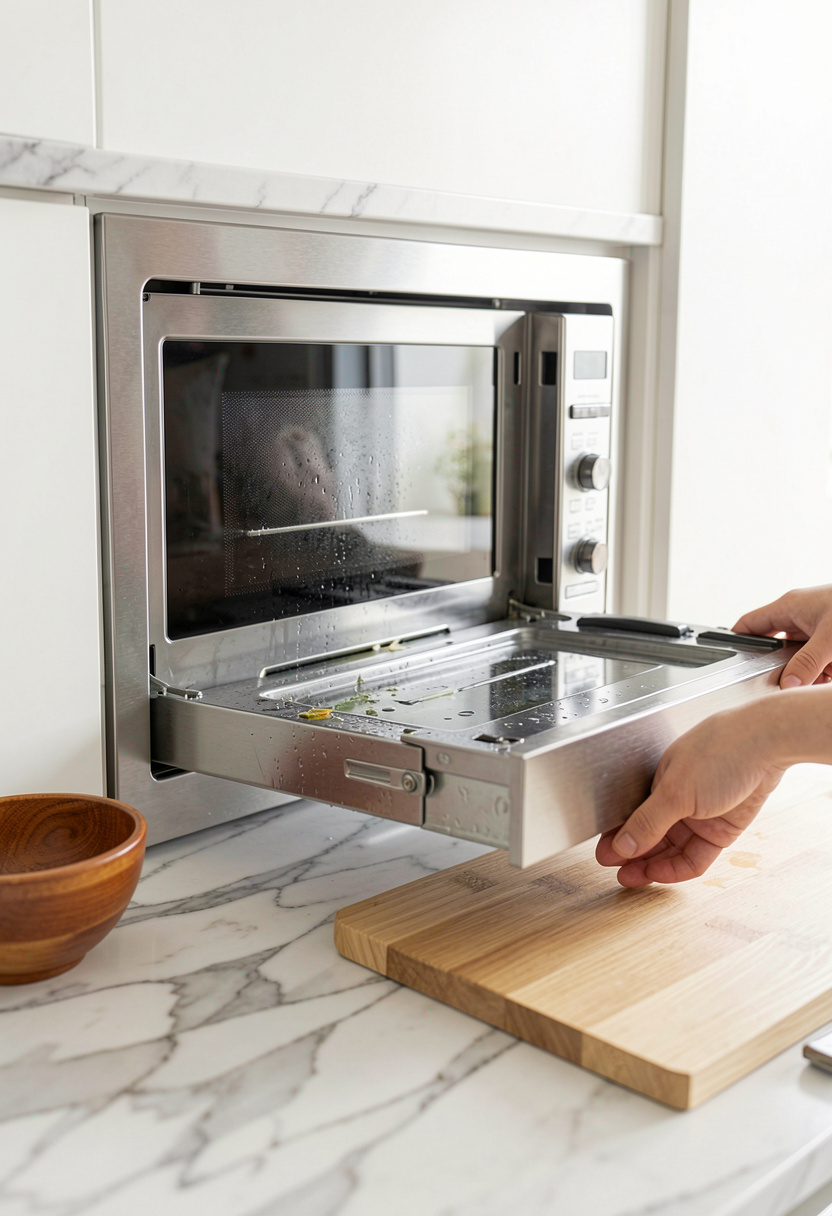
A microwave drawer lifted microwave bulk off counters and made the unit feel built-in. This is a remodel-level swap but worth it in small kitchens. Tip: ensure drawer ventilation and allow 2 inches clearance. Cost: $200+ for pro install, but some compact units available $80 to $120. Ugly truth: not every cabinet can fit a drawer unit, measure twice.
Shop this idea:
8. Appliance Corner Lift Platform
Style: Functional Rustic | Budget: $25 to $60 | Best For: Corner counters

The corner of my counter was dead space until I made a lift platform for the blender. It raises the appliance so its cord tucks behind and the unit is easier to reach. Use unfinished wood sealed with food-safe oil. Cost: about $25 to $40. One ugly truth: raising an appliance too high makes it unstable, test the center of gravity.
Shop this idea:
9. Wall-Mounted Folding Shelf for Occasional Use
Style: Minimal | Budget: Under $40 | Best For: Tiny kitchens

I screwed a fold-down shelf by the coffee corner. It holds the grinder when needed, and folds back flat the rest of the day. Tip: choose a piano hinge rated for weight and add a small chain stop. Cost: around $20 to $40. I learned the hard way that cheap hinges sag after months.
Shop this idea:
10. Deep Drawer Organizer for Coffee Station
Style: Collected | Budget: $30 to $60 | Best For: Drawer-heavy kitchens
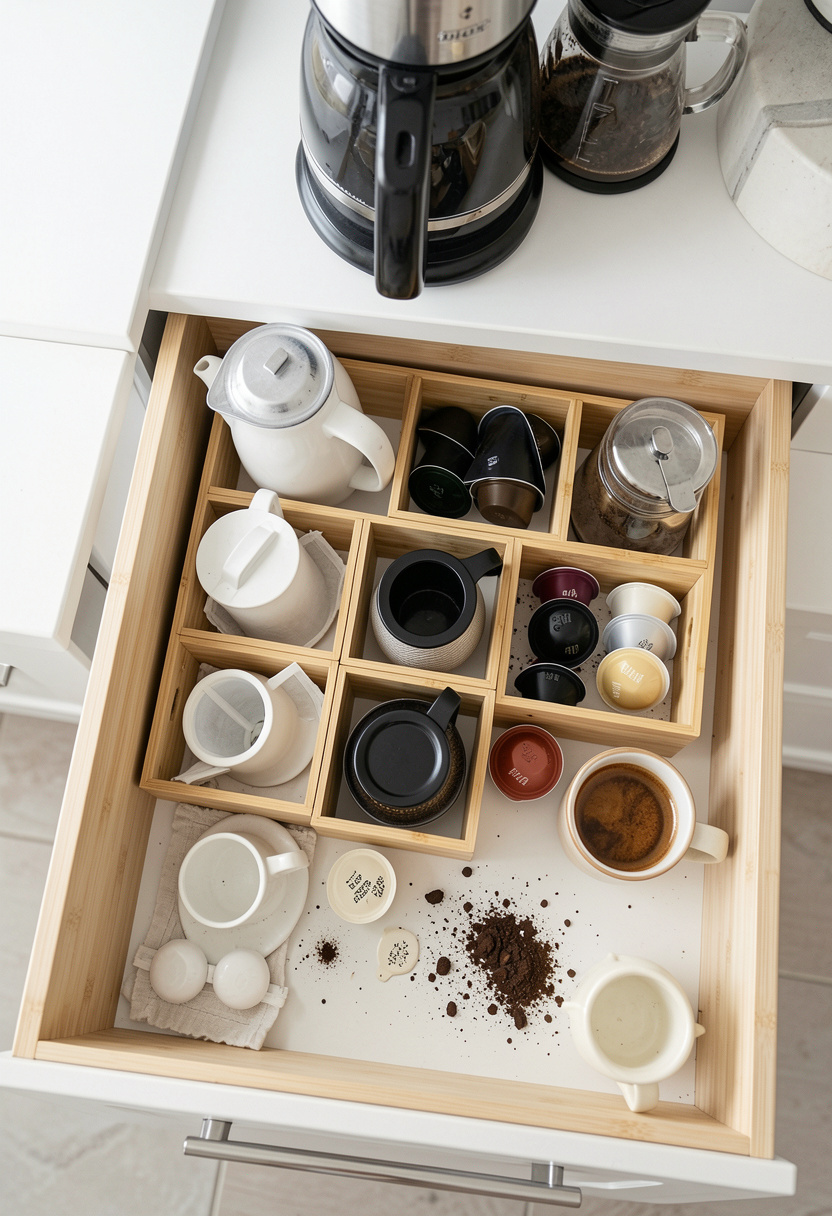
I moved my coffee maker into a deep drawer so it slides out for use and stores below when not. Use heat-resistant silicone mats and divide space with bamboo organizers. Price: around $30 to $60 for dividers and mat. Personal win: morning routine got 30 seconds faster. Ugly truth: some drawers aren’t ventilated, so avoid this for steaming bulky coffee makers.
Shop this idea:
11. Magnetic Knife Strip With Hang Hooks
Style: Bold & Saturated | Budget: Under $25 | Best For: Wall storage

I added a matte black magnetic strip and hung small metal hooks for handheld gadgets like whisks and small sieves. It saved drawer space and kept tools visible. Tip: mount between studs and keep strip at least 12 inches above counter. Cost: $15 to $25. Personal note: inexpensive magnets scratch knives, so choose stainless-backed strips.
Shop this idea:
12. Wall-Mounted Cord Wrap Station
Style: Industrial | Budget: Under $20 | Best For: Wall-adjacent counters
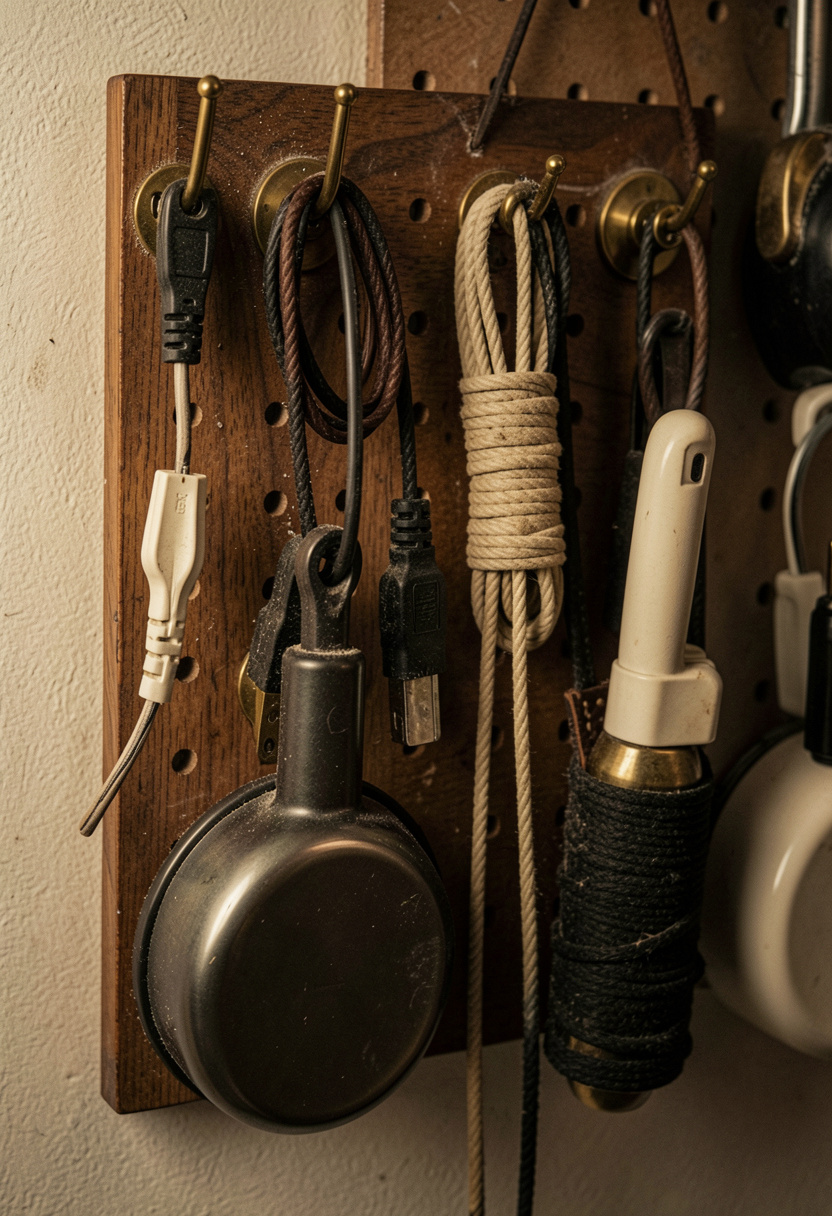
My ugly tangle problem vanished after I mounted a small pegboard with leather cord wraps. Each appliance has a labeled peg and cord loop. Tip: label with a permanent marker and loop cords loose to protect insulation. Cost: about $12 to $20. I used this for blenders and immersion tools and never looked back.
Shop this idea:
13. Behind-the-Door Cabinet Rack
Style: Farmhouse Practical | Budget: Under $30 | Best For: Pantry doors

I used the inside of a pantry door for a slim metal rack that fits handheld appliances and attachments. It’s out of sight but easy to reach. Pro tip: use racks that screw through the door into shallow spacers so hinges still work. Cost: $15 to $30. Ugly truth: adhesive racks won’t hold heavy mixers.
Shop this idea:
14. Countertop Lift That Hides Under a Cutting Board
Style: Creative | Budget: $40 to $80 | Best For: Multi-use counters

I made a hidden lift disguised as a thick cutting board. Press a latch, and the mixer emerges. It’s a weekend project or you can buy a small lift. Tip: ensure the lift’s motor has proper ventilation. Price range: $40 to $80. My first prototype stuck once, lesson learned: lubricate the guides.
Shop this idea:
15. Tiered Shelf Risers for Small Counters
Style: Bright & Airy | Budget: Under $25 | Best For: Short counters

Tiered risers changed how I stacked a toaster, bread box, and a small air fryer. Vertical storage frees up working space. Tip: pick stainless or coated metal to avoid rust. Cost: around $15 to $25. Personal note: they made my counter look purposely curated instead of cluttered.
Shop this idea:
16. Appliance Shelf Above the Fridge
Style: Collected | Budget: Under $40 | Best For: Tall ceilings
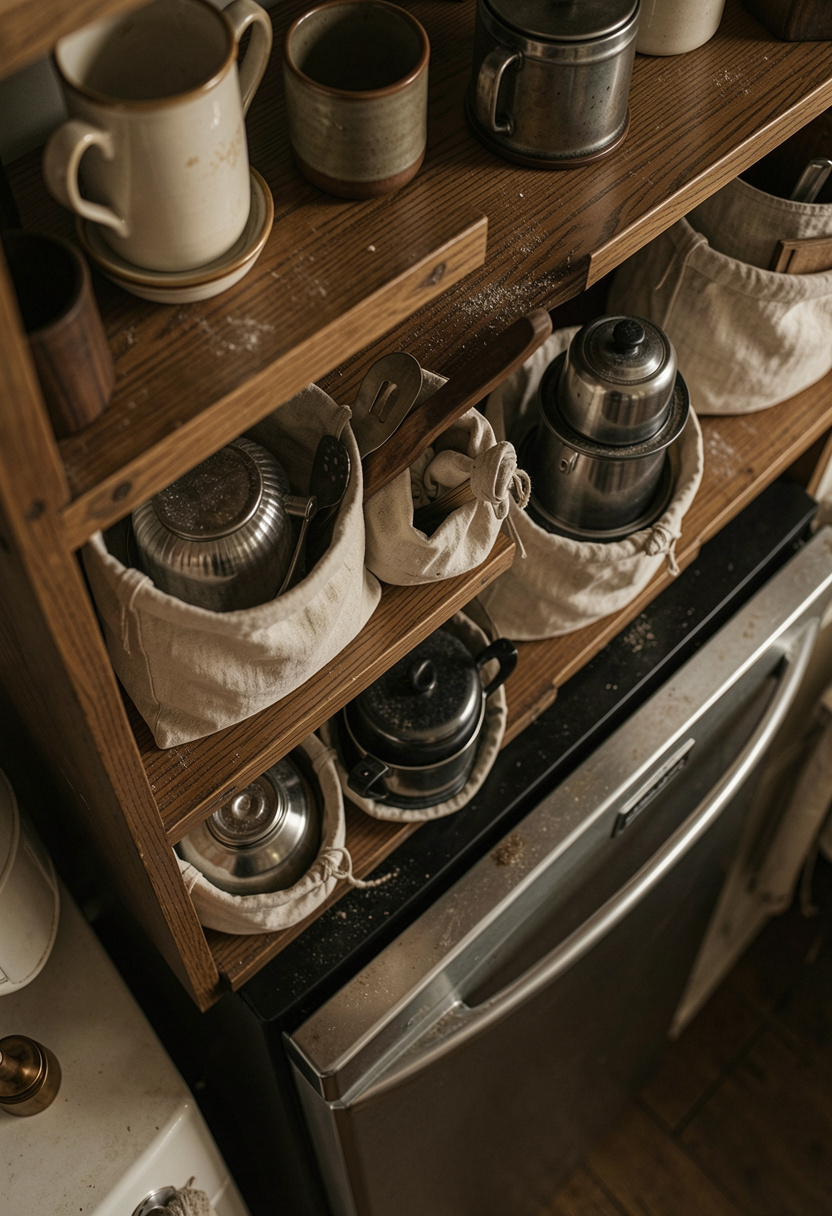
The top of my fridge used to be a dust magnet. I installed a shallow shelf and store seasonal appliances in labeled linen bags. Tip: rotate items seasonally and keep heavier items toward studs. Cost: about $25 to $40. Ugly truth: it’s not for daily-use appliances—reach and balance are issues.
Shop this idea:
17. Sliding Countertop Tray for Weekend Use
Style: Coastal Casual | Budget: Under $30 | Best For: Small islands
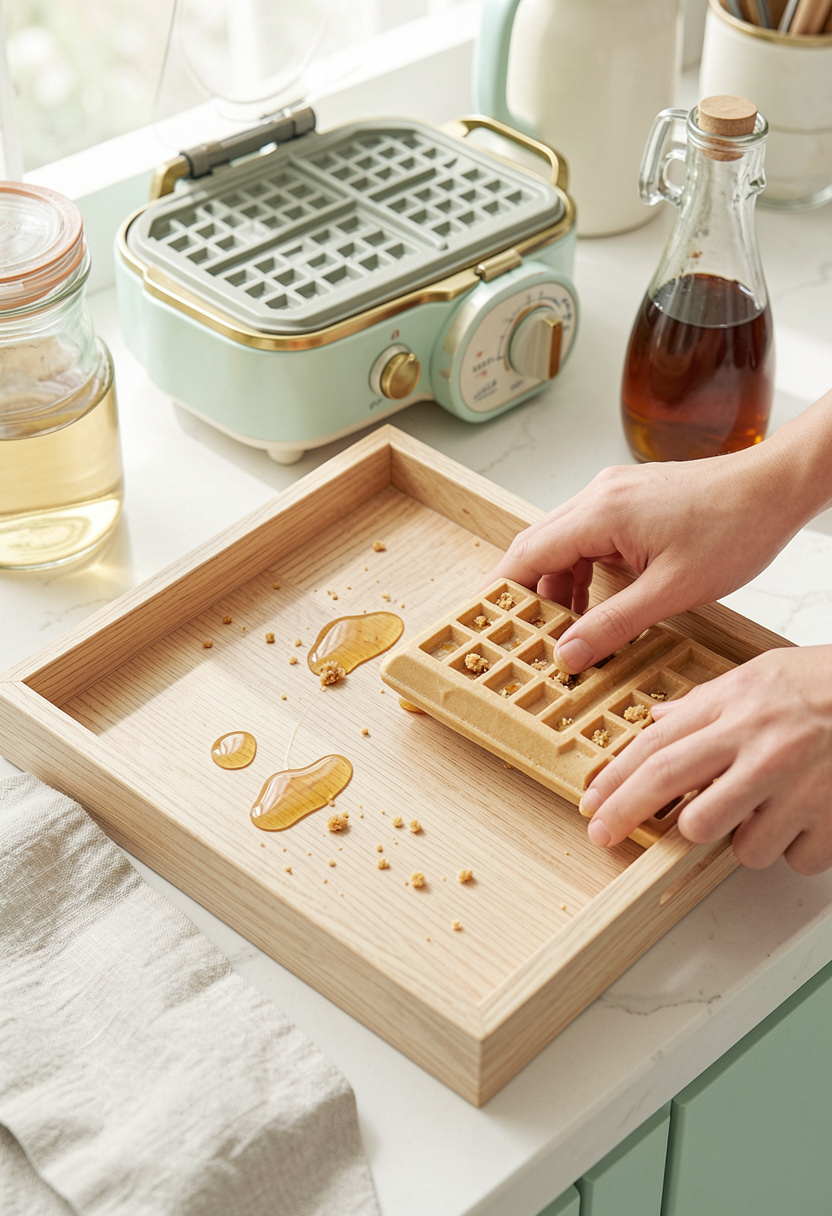
I keep a slim sliding tray for weekend appliances like a crepe maker. It glides out for use and tucks beneath a shelf when not needed. Tip: fit felt pads to the bottom to protect counters. Price: $18 to $30. Personal moment: my kids now know where the waffle maker lives.
Shop this idea:
18. Vertical Appliance Storage Rack Inside Pantry
Style: Modern | Budget: $35 to $70 | Best For: Walk-in pantries
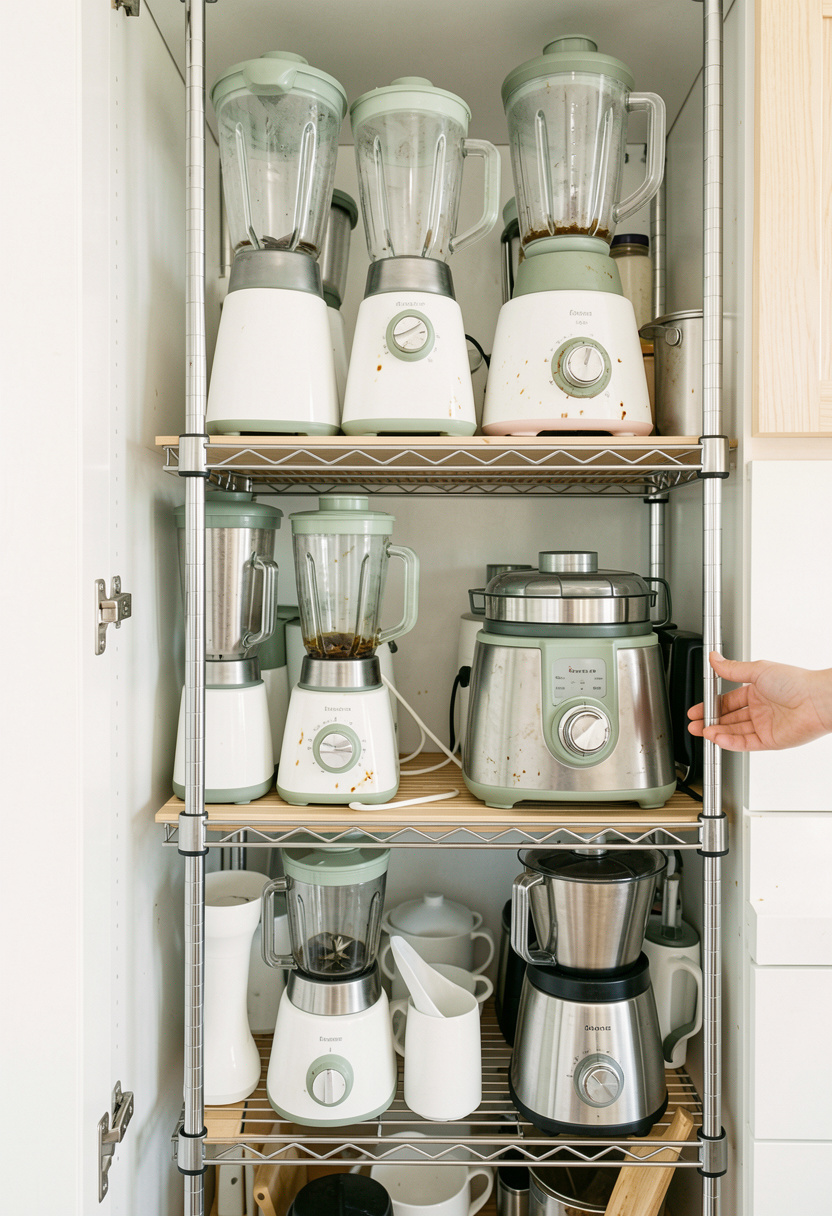
A vertical rack in my pantry turned bulky boxes into neat zones. Place heavy appliances low and lighter ones up top. Allow at least 2 to 3 inches for cords. Cost: about $35 to $70. I saved a full shelf and felt surprisingly proud of that invisible economy.
Shop this idea:
19. Transparent Stackable Bins for Clear Visibility
Style: Functional Minimal | Budget: Under $25 | Best For: Shelving and cabinets

Clear stackable bins were a game-changer for me. I labeled each and can instantly see what’s inside without pulling everything out. Tip: use adhesive label holders so labels can change. Cost: around $12 to $25 for a set. Ugly truth: opaque bins hide mess; clear wins.
Shop this idea:
What You'll Need to Get This Look
Countertop & Storage
- Matte white bread box around $25 to $45
- Acacia floating shelves 24 inch around $35 to $60
- Pull-out cabinet shelf 18 inch around $55 to $85
- Clear stackable storage bins around $12 to $25
Wall Decor & Open Shelving
- Matte black magnetic knife strip around $15 to $30
- Under shelf hanging baskets around $12 to $25
- Small pegboard panel around $10 to $20
Textiles & Soft Goods
- Sage linen dish towels set of 4 around $18 to $35
- Linen storage bags set around $15 to $30
Greenery & Freshness
- Terracotta herb pot small around $8 to $20
- Small rosemary plant around $6 to $15
Budget Swaps
- Thrifted wooden shelf (DIY stain) similar at thrift stores for less
- Used rolling cart (refurbish) similar at Facebook Marketplace
- DIY pegboard hooks cheaper than pre-built racks
Shopping Tips for These Looks
Buy the right depth: Measure appliance height and depth, then add 2 to 3 inches for ventilation and cord clearance, check drawer dimensions with a tape measure and compare to product pages like this pull-out cabinet shelf 18 inch.
Time your purchases: Big kitchen sales come around spring and Black Friday, save up for splurges like a tambour roll-up appliance garage, seasonal timing cuts price by 15 to 30 percent.
Thrift hack: Mix thrifted wood and new hardware, pick up a solid wood tray at a flea market and pair it with non-slip wheel locks for a polished look.
Use layered storage: Combine clear bins with labels and a small matte white bread box for the visual balance of hidden and visible zones.
Think ventilation: For enclosed appliance storage, prioritize ventilation. Add under-cabinet vent trim or choose an open-front shelf like acacia floating shelves 24 inch.
Seasonal rotation: Keep bulkier appliances off high shelves and rotate them seasonally. A set of linen storage bags set helps protect fragile items from dust.
Frequently Asked Questions
Q: How do I store an air fryer without sacrificing ventilation?
A: Keep the air fryer in an open shelf or a pull-out with at least 2 inches of clearance for airflow, and consider an appliance cooling pad for heavy use.
Q: Can I keep my toaster in a cabinet?
A: Yes if the cabinet has ventilation and an accessible outlet, use a pull-out like pull-out cabinet shelf 18 inch and leave 2 to 3 inches behind for the cord.
Q: What’s a low-cost way to hide small appliances?
A: Use clear stackable bins and a tiered riser to visually organize and tuck away items; try clear stackable storage bins.
Q: How do I avoid cords cluttering behind appliances?
A: Install an under-cabinet outlet extender so cords stay near the appliance and use leather cord wraps to loop excess cord.
Conclusion
Start small, pick one counter zone, and try a single change like a clear bin or a slim rolling cart. My favorite first move was a 24-inch acacia shelf; it cost $40 and felt like a mini renovation. Which counter is driving you crazy right now, and should we tackle it together?