When I figured out how to install vinyl kitchen flooring in a weekend, my tiny galley kitchen stopped feeling like a fixer-upper and started feeling like a place I wanted to linger.
I paid about $420 for materials and lived with the result for two years before swapping anything else. In this guide you’ll learn how to pick the right planks, style around the new floor, and avoid the rookie mistakes that make a weekend project feel endless.
My goal: refresh the whole room for roughly $200 to $700 depending on plank choice and accents.
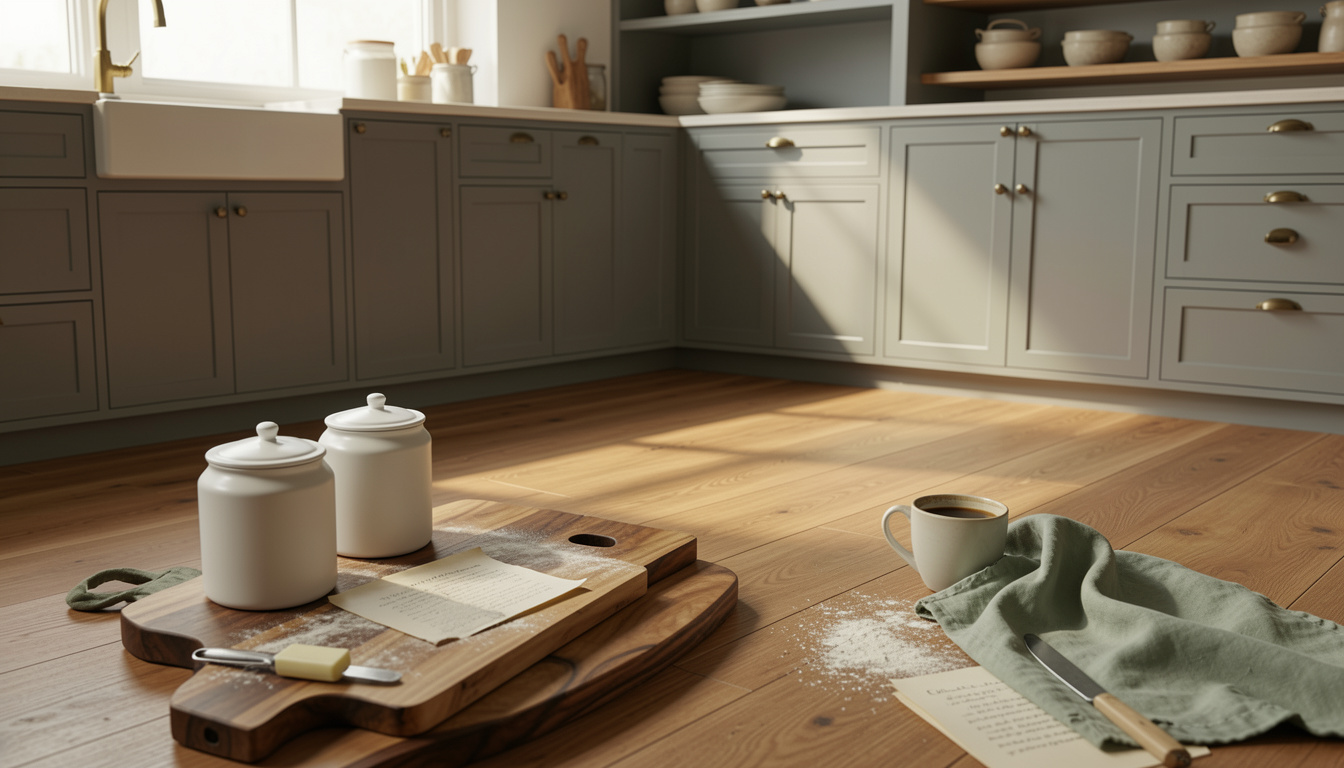
This approach suits renters and homeowners who want a high-impact change without demo. I’m leaning into warm oak planks, linen textiles, and mixed metals — a look I’ve noticed more people favor in 2025 for its cozy modern vibe.
1. Start with the Foundation: Pick the Right Plank and Palette
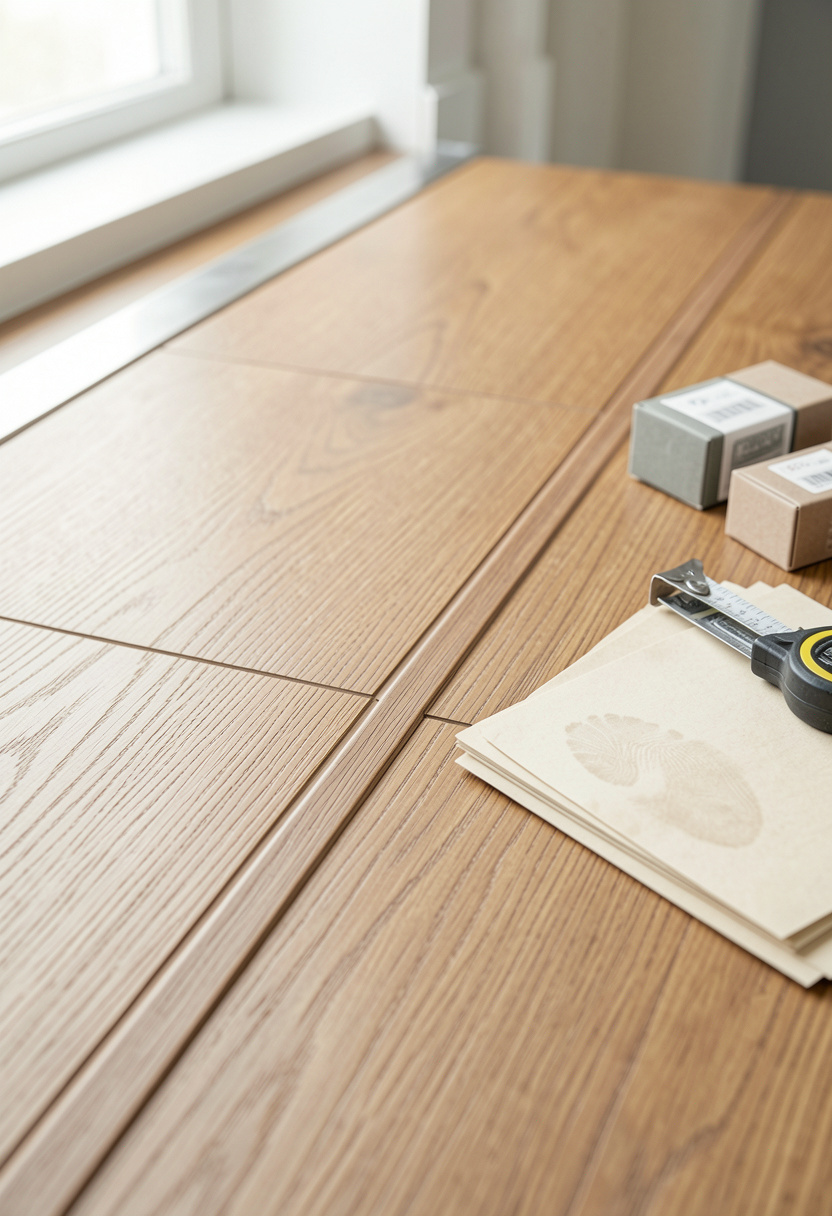
First things first: pick a plank that reads like real wood at arm’s length. Waterproof luxury vinyl plank in a warm oak tone keeps the kitchen feeling bright and forgiving.
I went with a 6mm plank that has a matte embossed grain. Waterproof luxury vinyl plank oak 6mm around $1.50 to $3.50 per sq ft and a thin vinyl flooring underlayment 2mm approx $10 to $30 per roll make the floor feel underfoot.
The visual principle is proportion and continuity. Wider planks (6 to 9 inches) read cleaner in small kitchens and elongate the room visually.
Most people grab the cheapest plank and regret the plastic shine. Do this instead: choose matte finish, medium tone, and match trim pieces like a brushed nickel transition strip 36 inch so the transitions read intentional.
2. Layer Warmth with Wood and Linen Textures
The trick is to let the floor be the stage and add warm layers that anchor the room.
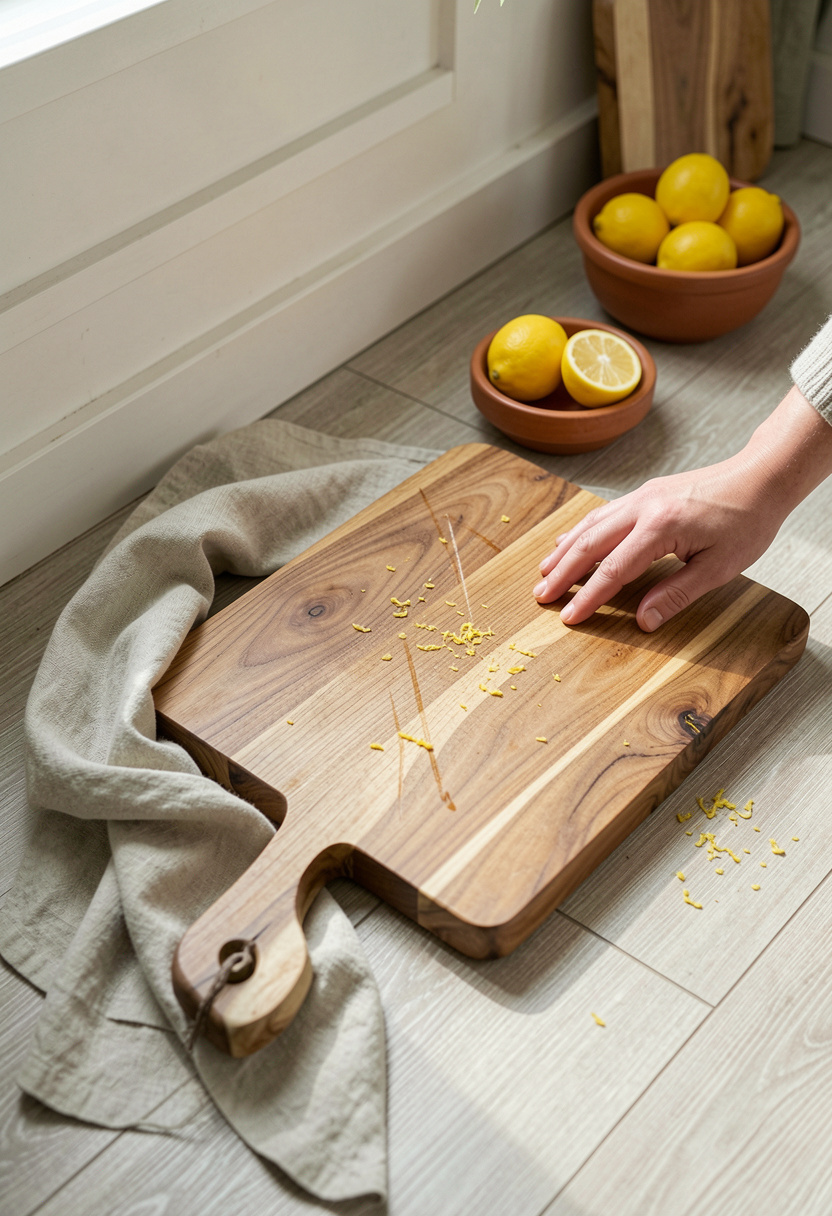
Place a large acacia cutting board 18 inch (around $25 to $60) leaning against the backsplash to echo the plank tone. Add a narrow flatweave jute runner 2×8 approx $40 to $120 in front of the sink.
This creates balance through texture contrast: soft natural fiber against smooth vinyl. I keep textiles to a 60/40 rule: 60 percent neutral, 40 percent accent. That keeps the floor visible while softening the silhouette.
What doesn’t work is piling mismatched patterns. One patterned runner and linen tea towels in sage tie everything without competing.
3. Add Height And Drama With Open Shelving And Wall Layers
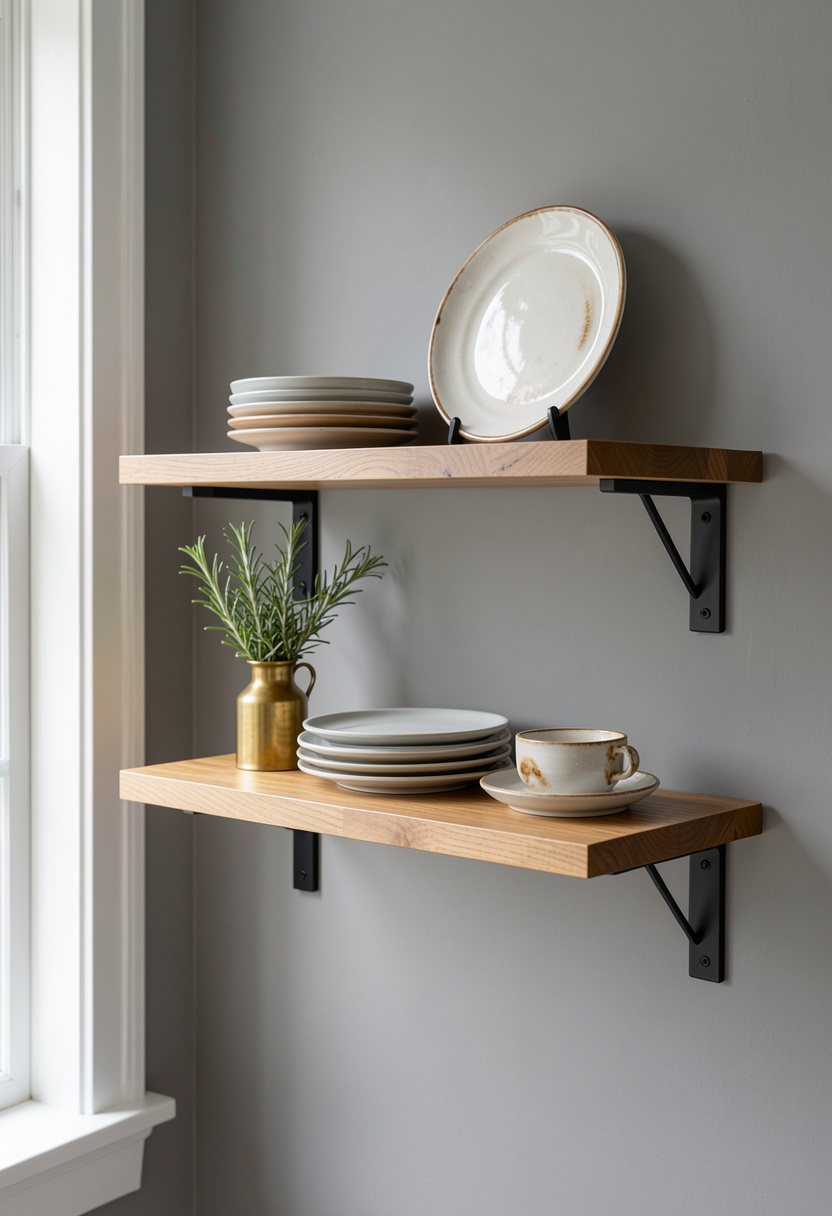
Open shelving is the instant style move after new flooring. It lifts the eye and keeps the weight off lower cabinetry.
I use 24-inch acacia floating shelf 24 inch around $30 to $75 and pair with aged brass shelf brackets 6 inch approx $12 to $30 to echo hardware.
Visually, shelves create vertical rhythm. Keep the lowest shelf about 18 inches above the counter and stagger objects in groups of three for balance.
A common mistake is filling shelves with full sets of uniform dinnerware. Instead mix in a small plant, a stack of two plates, and a tall jar. That gives the eye a place to rest.
4. Create Ambiance With Warm Diffused Lighting
Lighting finishes the floor’s visual story. Soft, warm light makes vinyl read like wood in photos and real life.
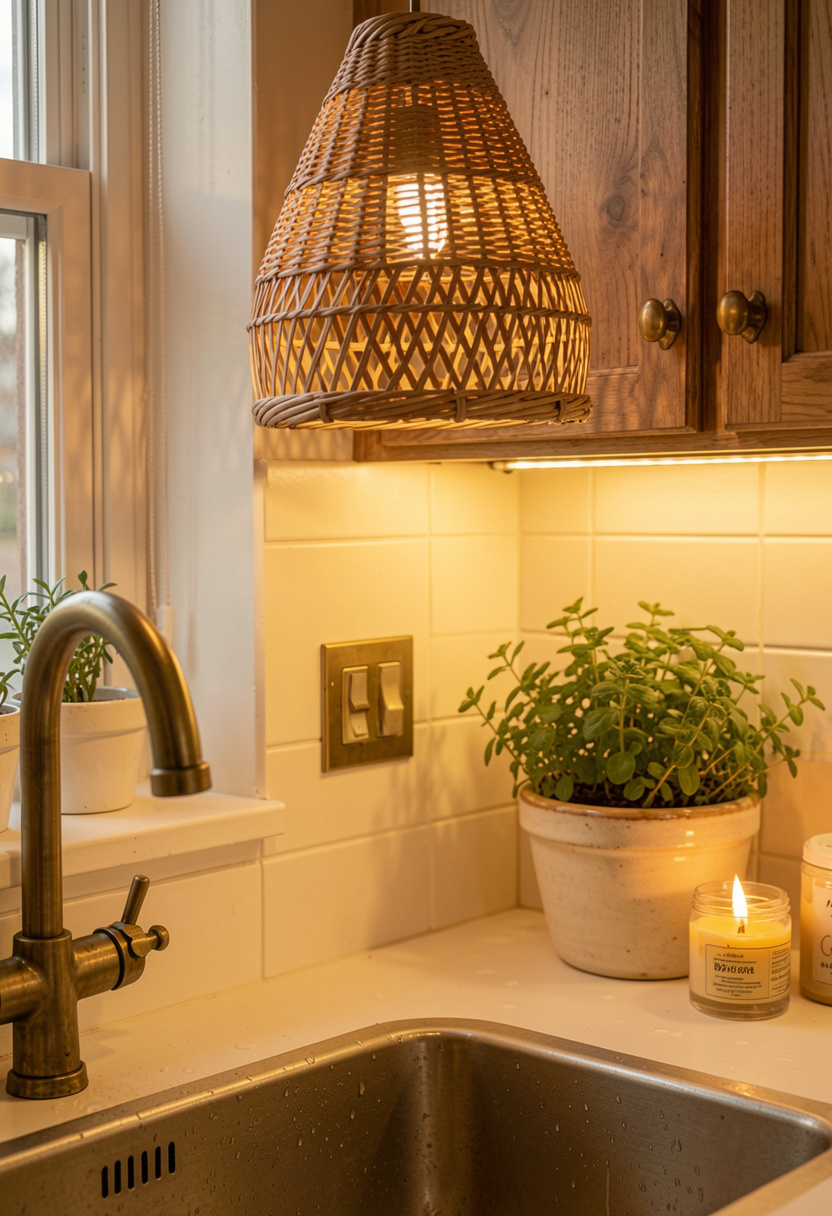
I installed a rattan pendant light 15 inch around $45 to $120 and linked LED under cabinet lights linkable approx $20 to $60 for task light.
The principle is layered light: overhead for mood, under-cabinet for function, and a small counter lamp for cozy corners.
Don’t rely solely on bright overheads. Harsh top light makes the floor look flat. Instead, mix temperatures: warm pendant, neutral under-cabinet.
Common Styling Mistakes to Avoid
Mistake: Matching every wood tone exactly
Why it doesn't work: The space looks staged and flat.
Do this instead: Layer similar warm woods in different finishes. Try an acacia cutting board 18 inch to bridge tones.
Mistake: Runner too wide for the aisle
Why it doesn't work: It visually shrinks the room.
Do this instead: Choose a narrow flatweave jute runner 2×8 so the floor shows on both sides.
Mistake: Overcrowded open shelves
Why it doesn't work: Shelves read messy and heavy.
Do this instead: Edit to odd numbers and include a small ceramic herb pot set of 3 for freshness.
What You'll Need for This Look
Foundation Pieces
Waterproof luxury vinyl plank oak 6mm around $1.50 to $3.50 per sq ft
Vinyl flooring underlayment 2mm approx $10 to $30 per roll
Brushed nickel transition strip 36 inch around $15 to $40
Textiles & Soft Goods
Flatweave jute runner 2×8 $40 to $120
Sage linen dish towels set of 4 $18 to $40
Lighting
Rattan pendant light 15 inch $45 to $120
LED under cabinet lights linkable $20 to $60
Finishing Touches
Matte white ceramic canister set with acacia wood lids around $35 to $50
Small ceramic herb pot set of 3 $20 to $45
Budget Swaps
Peel and stick vinyl plank oak 4mm approx $1 to $2.50 per sq ft (thrift-friendly alternative for rentals)
Shopping Guide for This Look
Buy plank samples first: Order 2 to 3 luxury vinyl plank oak samples to compare tones in your light.
Seasonal sale tip: Flooring and lighting drop in price during spring sales; snag a rattan pendant light 15 inch on promo.
Thrift hack: Score vintage wooden cutting boards at HomeGoods and pair with an acacia cutting board 18 inch backup.
Splurge vs save: Splurge on planks with realistic embossing, save on textiles like sage linen dish towels set of 4.
Conclusion
Start with the floor sample. Once the tone feels right in your light, pick two supporting woods and one metal finish and stick to them.
My favorite final trick is a small runner and a single pendant above the sink. It makes the new vinyl look intentional and lived-in rather than like a weekend project.
What corner of your kitchen would you change first?