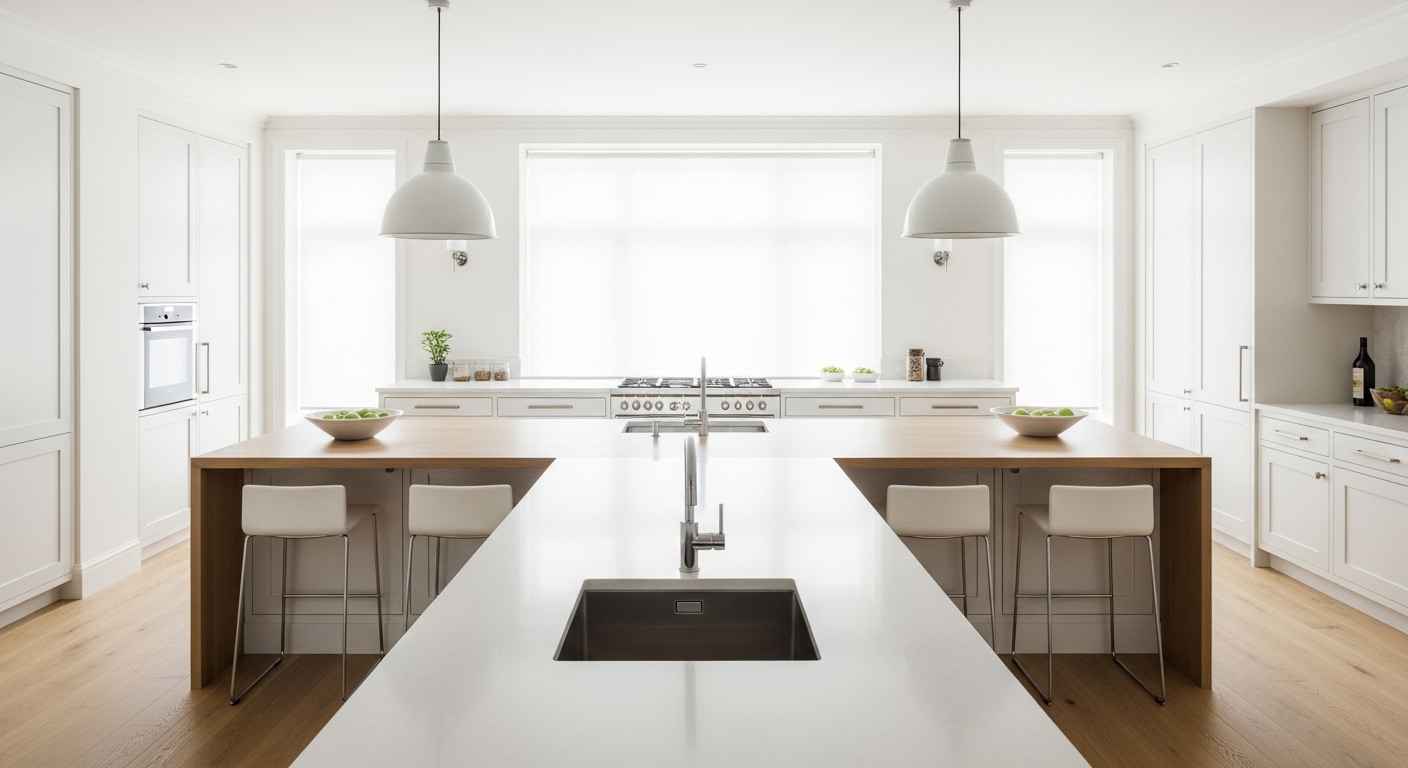
A symmetrical kitchen island creates a sense of order and calm. It makes a space feel intentional and well planned. This visual balance is pleasing to the eye and can make your kitchen more functional. You do not need a full remodel to achieve this look. Small changes can make a big difference. These ideas show how to create harmony with your island layout, lighting, and storage.
1. The Classic Two-Sided Sink
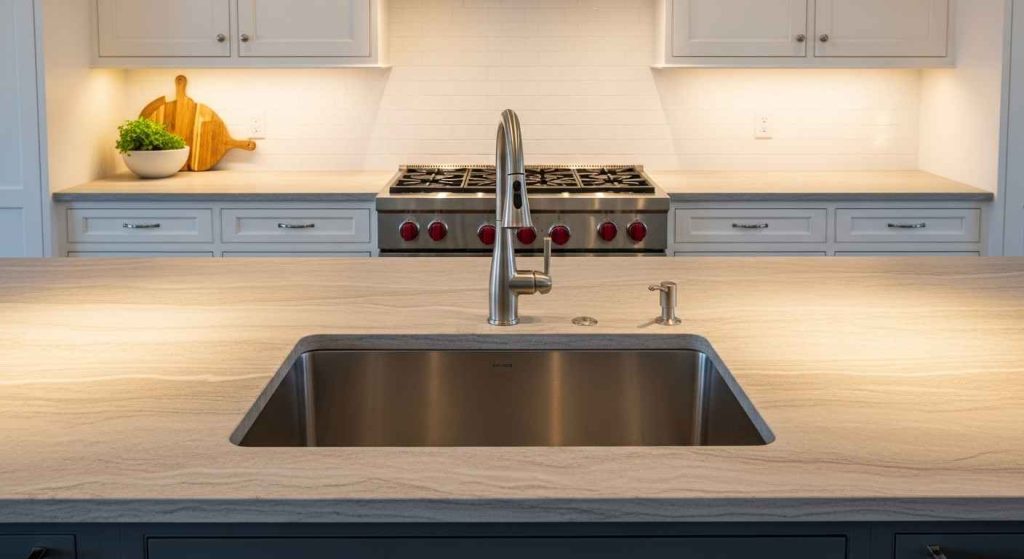
Centering your sink on the island is a timeless approach. It creates a natural focal point and divides the space into two equal work zones. One side can be for prep, the other for cleanup. This layout is practical for multiple cooks. It also looks clean and organized. For a budget-friendly update, simply clear the counters on both sides of your existing sink. This instantly creates a more balanced appearance without any construction.
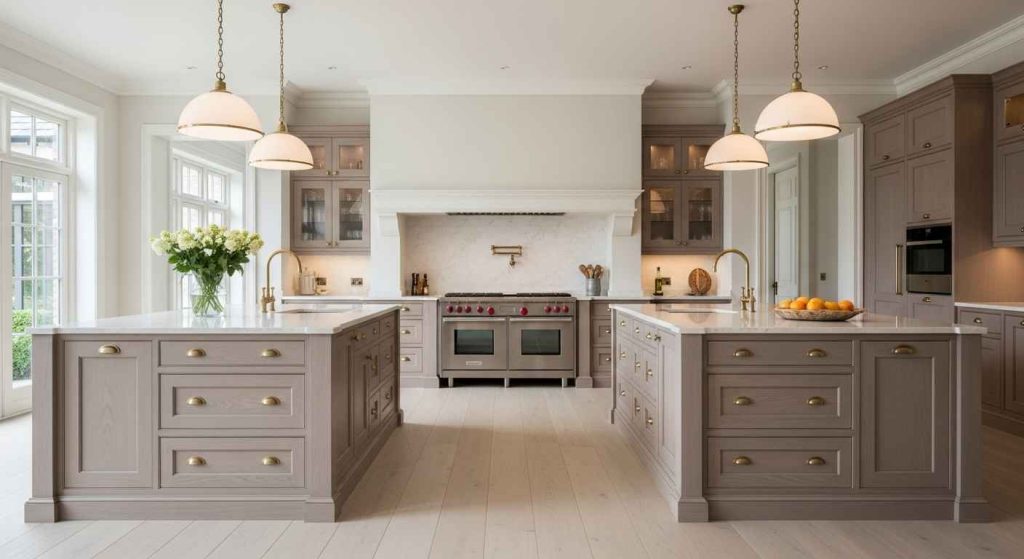
2. Matching Pendant Light Pairs
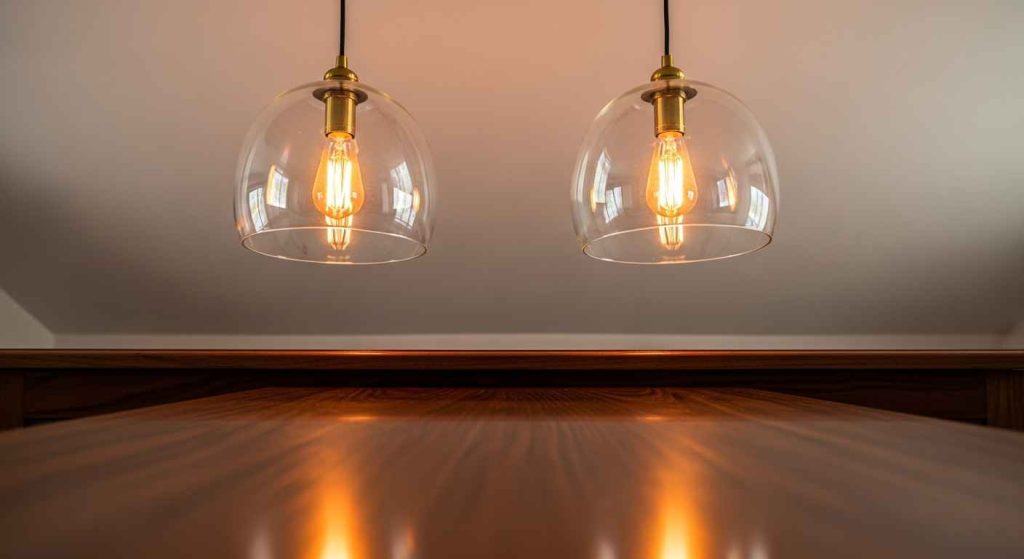
Two matching lights define the island’s boundaries. They provide even, shadow-free task lighting for the entire surface. The repetition of shape and style strengthens the symmetrical feel. Choose lights that are the right scale for your island’s length. A simple DIY tip is to use a tape measure and level when installing the fixtures. This ensures they are hung at the same height and distance from the ends for a perfect match.
3. Symmetrical Seating Arrangements
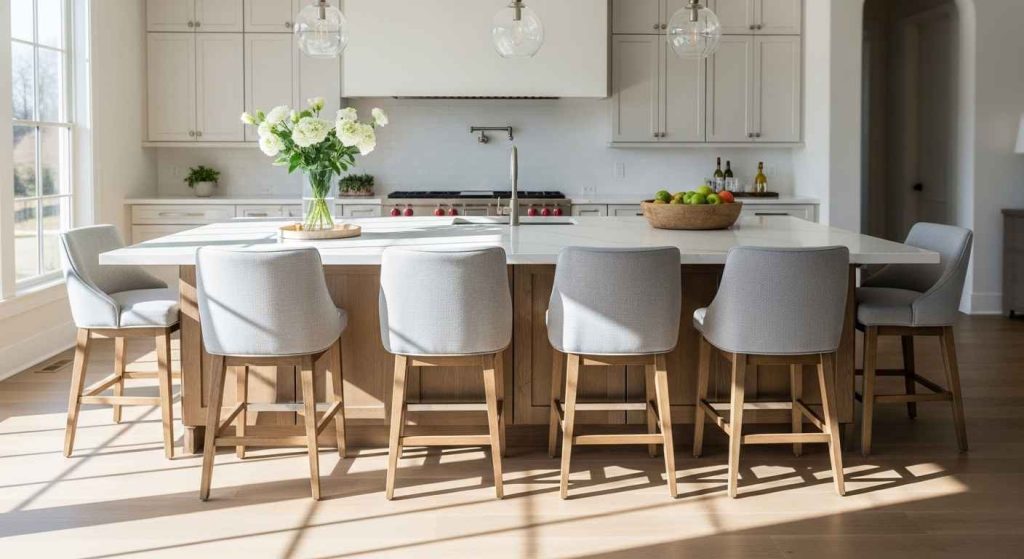
Balance your island by placing the same number of seats on each side. This makes the space feel welcoming and structured. It allows for easy conversation and a clear traffic flow around the island. Keep the leg room consistent for comfort. If you have an odd number of stools, center the middle one to maintain visual order. This is a simple change that anyone can make to improve their kitchen’s layout immediately.
4. Identical Bar Stool Harmony
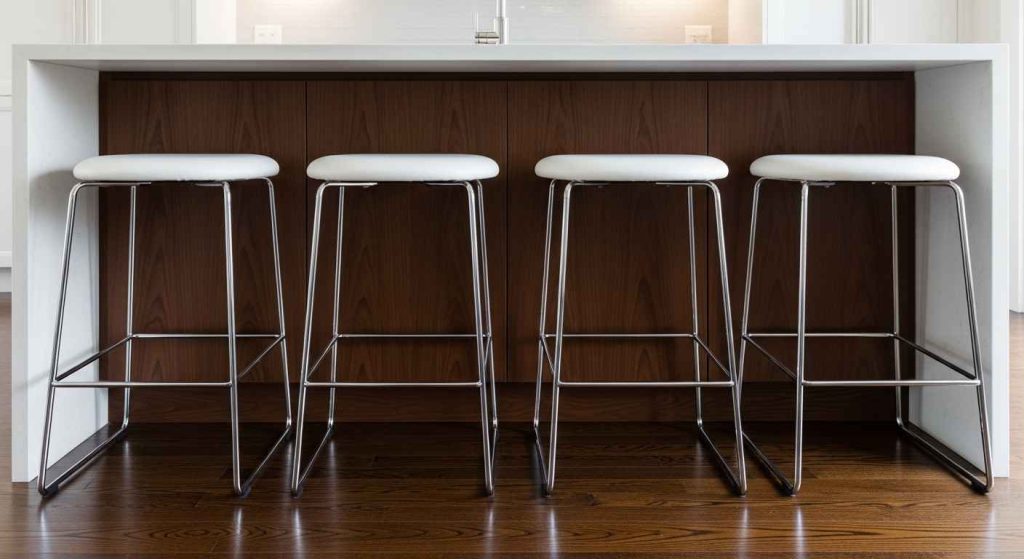
Using the same stool model throughout creates a seamless look. It avoids visual clutter and makes the island appear as a single, cohesive unit. This works with any style, from industrial to farmhouse. For a budget-friendly approach, check secondhand stores for matching sets. You can often find high-quality stools that just need a fresh coat of paint or new seat cushions to look like new.
5. Twin Appliance Integration
Building two of the same appliance into your island adds high function and clear symmetry. Common choices include wine coolers, beverage centers, or dishwashers. This setup is efficient and looks custom-made. It places convenience exactly where you need it. When planning, measure carefully to ensure both units fit perfectly. This prevents awkward gaps and maintains the clean lines that define symmetrical design.
6. Flanking Range Hood Design
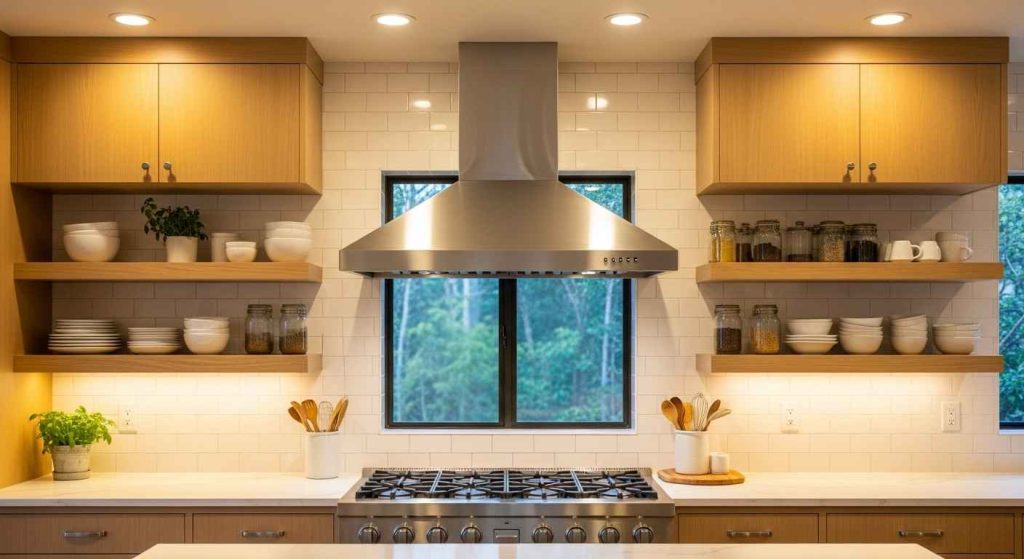
A range hood naturally becomes a central anchor. You can build symmetry around it with matching cabinetry or shelving on its left and right sides. This frames the cooking area and makes the whole wall feel balanced. For a DIY-friendly project, install two simple floating shelves that are the same size and height on either side of your hood. This adds storage and style without a major renovation.
7. Double Dishwasher Placement
Two dishwashers are a practical luxury for large families or frequent entertainers. One can be for clean items and the other for dirty, streamlining cleanup. Placing them symmetrically in the island keeps the workflow efficient and the look tidy. To make this more budget-friendly, consider installing a standard dishwasher and a matching tall cabinet for storage. From the front, they will look like a balanced pair.
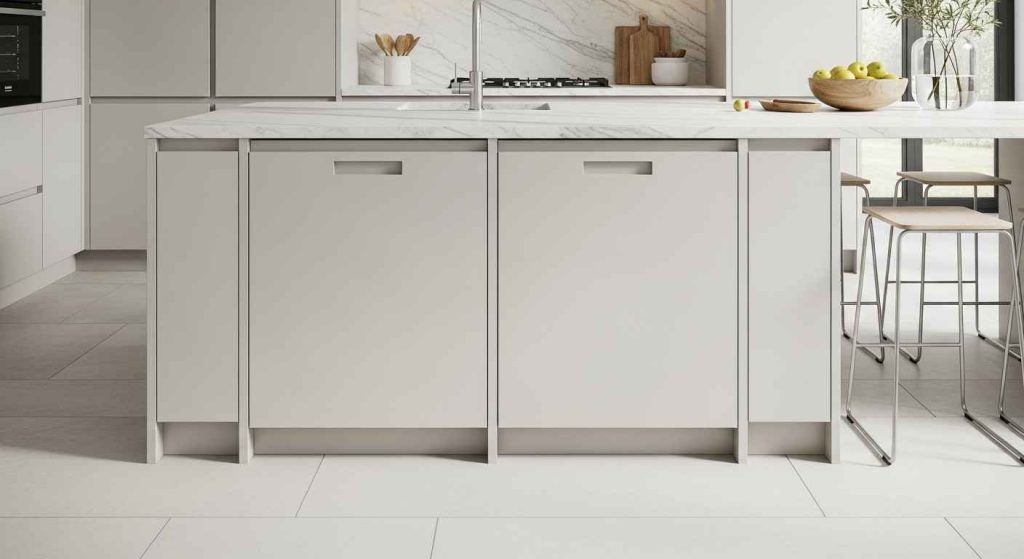
8. Mirror-Image Cabinetry
Design your island so the left and right sides are reflections of each other. This means the drawer stacks, door sizes, and hardware placement are the same. This level of detail makes the design feel intentional and custom. You can achieve this look by ordering matching cabinet fronts for both sides, even if the internal storage is different. It is a smart way to get a high-end look.
9. Balanced Open Shelving
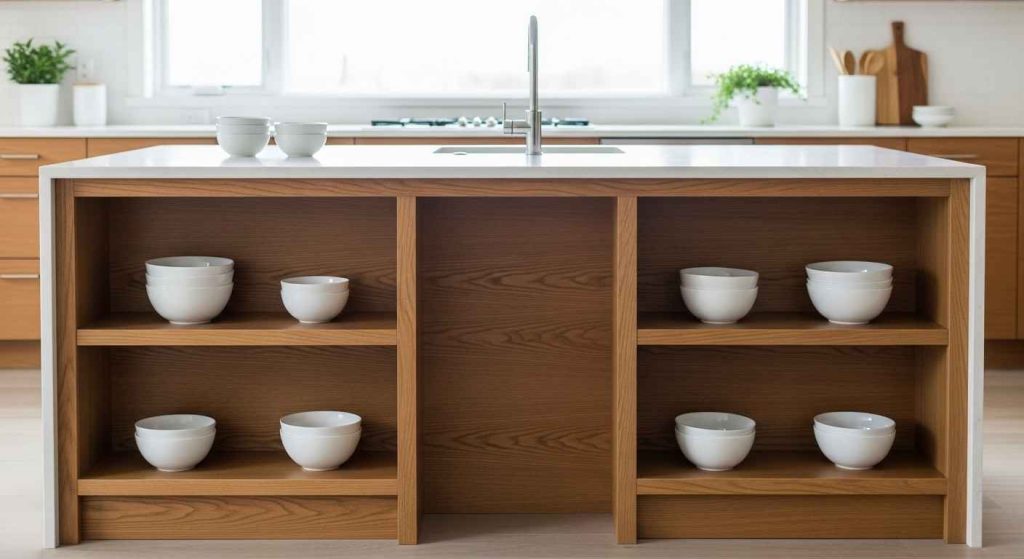
Open shelves on both ends of the island create airy storage and visual weight. They are perfect for displaying matching dishware or cookbooks. This breaks up solid cabinetry and makes the island feel less heavy. For a simple DIY project, add two brackets and a wood shelf to each end of your island. Stain or paint them to match your island’s color for a cohesive finish.
10. Countertop Material Alignment
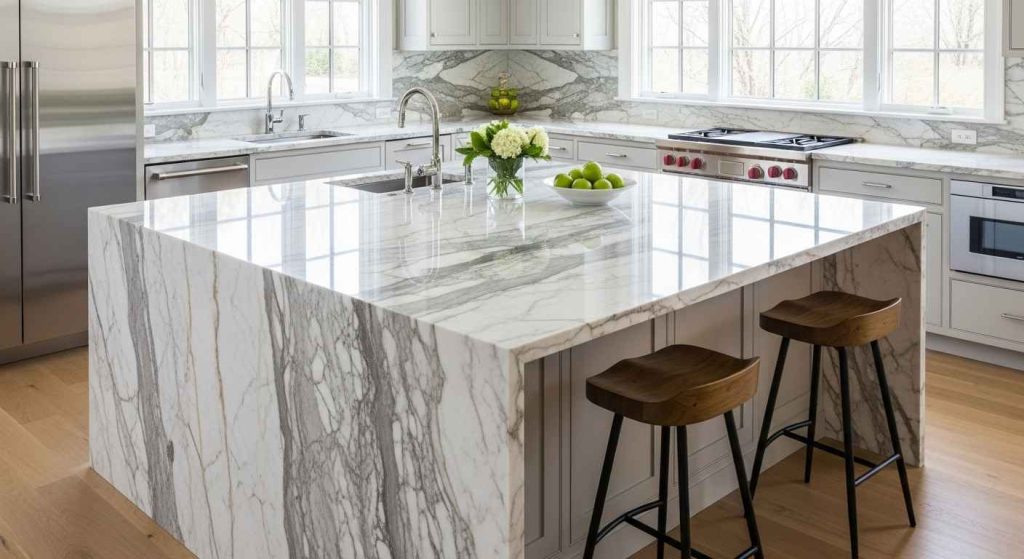
Using one countertop material across the entire island, including the sides, creates a strong, unified form. A waterfall edge, where the countertop continues down to the floor, is a modern way to emphasize this. It makes the island look like a solid block. For a budget-friendly version, use a durable laminate that mimics stone. The continuous pattern will still give you that clean, streamlined effect.
11. Duplicate Faucet Fixtures
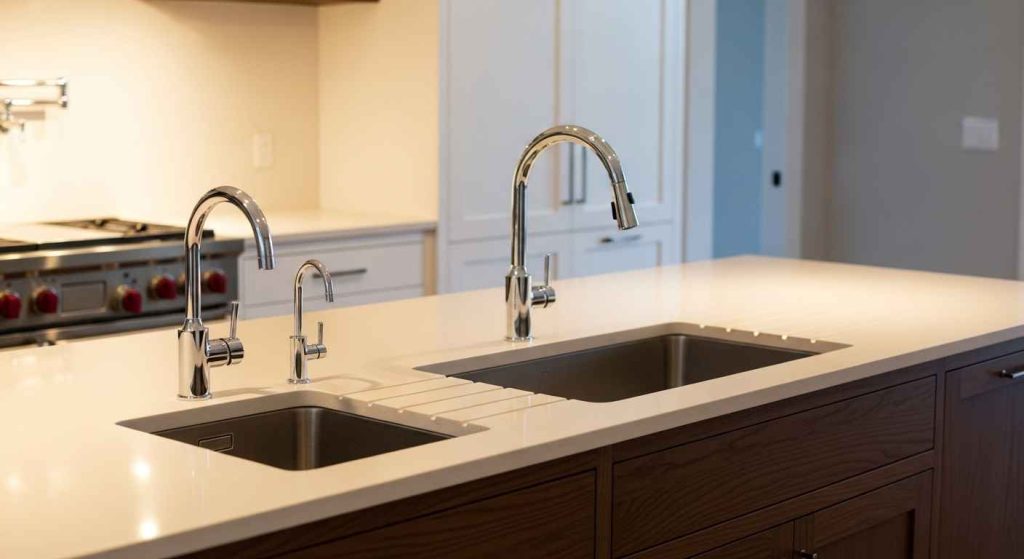
If your island has two sinks, use the same faucet for both. This repetition is a small detail that has a big visual impact. It ties the two work areas together neatly. This is an easy swap that does not require changing plumbing. Just choose a matching pair when you shop. This consistency makes the entire island feel more designed and less like a collection of random parts.
12. Centered Cooktop Focal Point
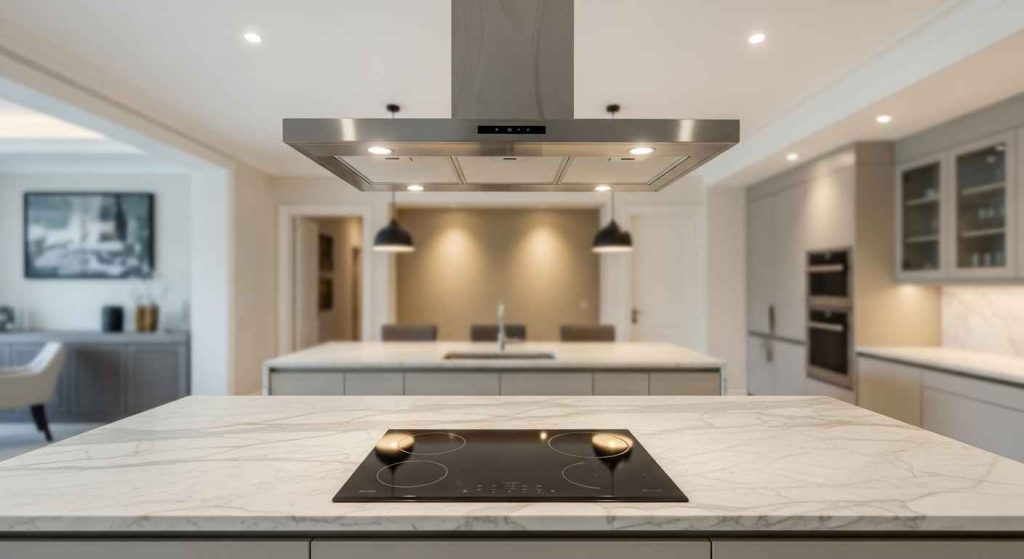
Placing your cooktop in the middle of the island automatically creates balance. It provides equal landing space on the left and right for hot pans and ingredients. This is both safe and efficient for cooking. The hood above reinforces the central focal point. When designing, leave ample clearance on each side. This makes the space practical to use and maintains the clean, symmetrical lines.
13. Harmonious Color Blocking
Use color to define symmetrical sections. Painting the two ends of your island the same bold color visually “bookends” the space. This technique draws the eye across the length and highlights the balanced form. This is a great DIY project. You can paint the end panels yourself with a brush and roller for a quick, low-cost transformation that makes a strong style statement.
14. Geometric Floor Tile Patterns
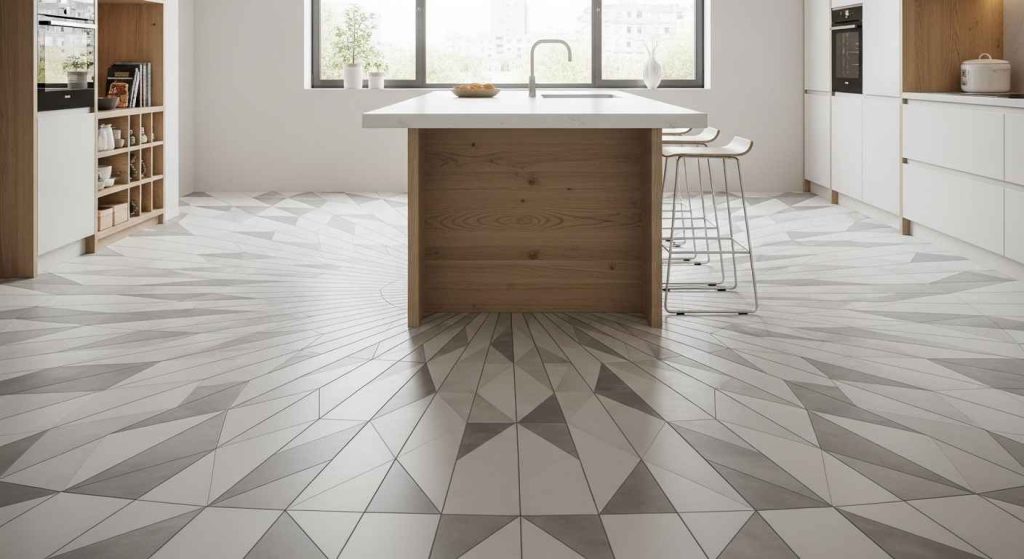
Your floor can reinforce the island’s symmetry. Choose a tile pattern with a clear center line and lay it so the island is the focal point. A classic checkerboard or a geometric design works well. This grounds the island in the space. For a budget-friendly option, use vinyl tiles that mimic cement or encaustic patterns. They are easier to install and maintain than real tile.
15. Recessed Lighting Symmetry
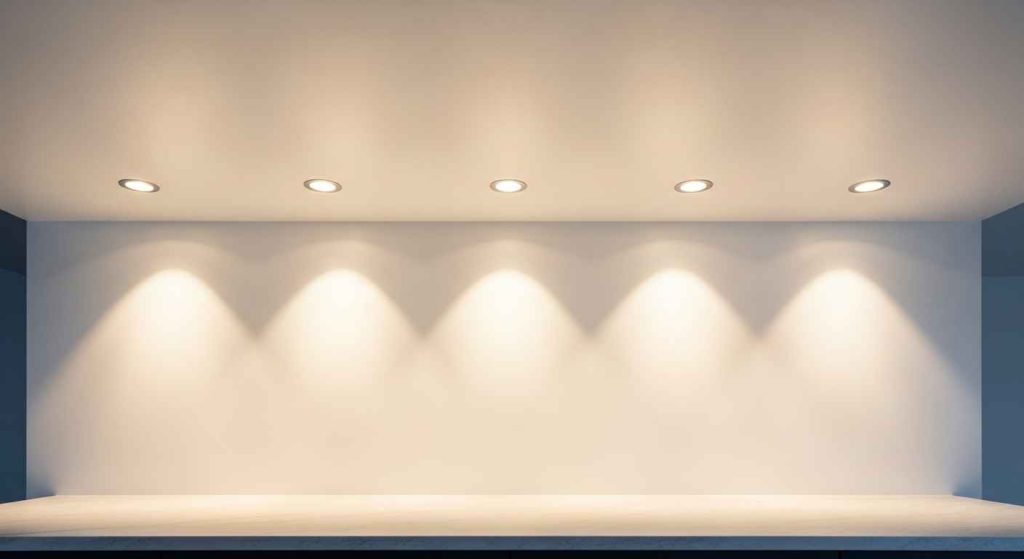
A straight line of recessed lights over the island’s center provides excellent task lighting without visual clutter. It creates a clean, modern look from above. Ensure the lights are spaced evenly for the best effect. This is a practical lighting solution that works in any kitchen. If installing new lights is not possible, ensure your existing pendants or track lighting are centered to achieve a similar balanced effect.
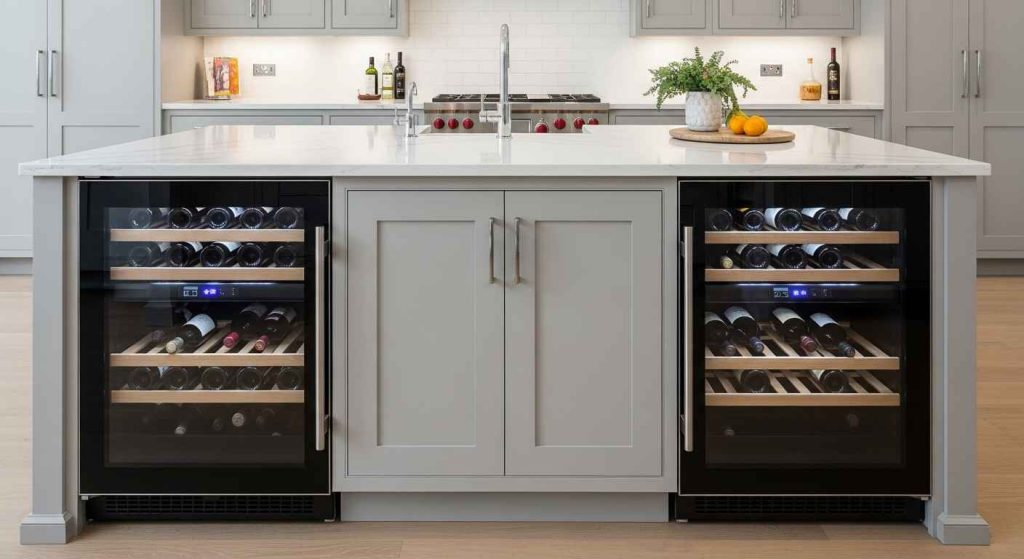
16. Twin Wine Cooler Columns
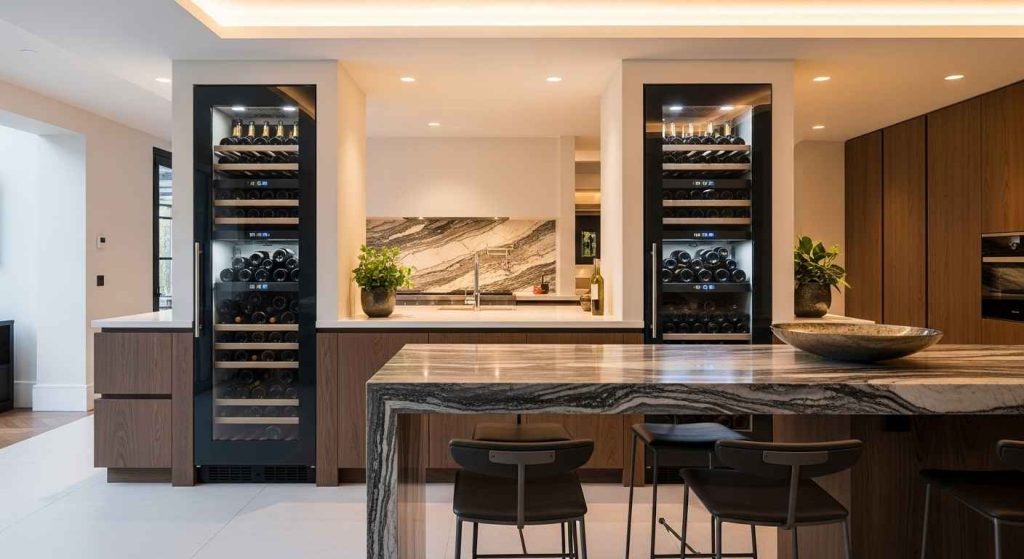
Flanking your island with two wine coolers adds a luxury touch and clear symmetry. It creates a dedicated beverage station that is accessible from all sides. This is perfect for entertaining. The uniform columns make the island feel substantial and well equipped. When planning, consider counter-depth models to avoid the units sticking out too far and disrupting the island’s clean profile.
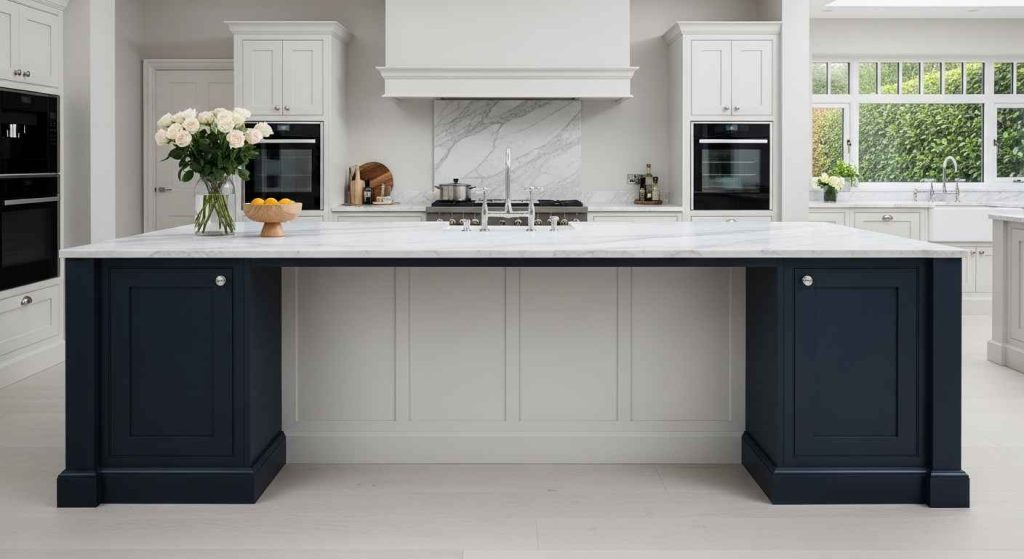
17. Matching End Panels
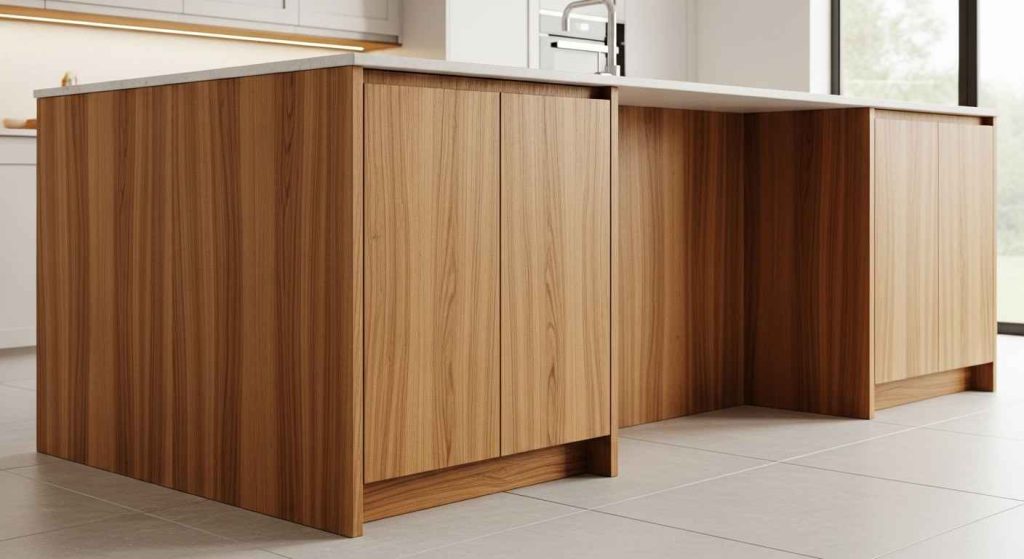
The panels on each end of your island should be identical. This seems simple, but it is key for a polished look. Whether your panels are flat, shaker, or have decorative details, consistency matters. If you are updating your kitchen, order spare panels when you buy your cabinets. This ensures the color and style will match perfectly if you decide to modify your island layout later on.
18. Balanced Overhang Proportions
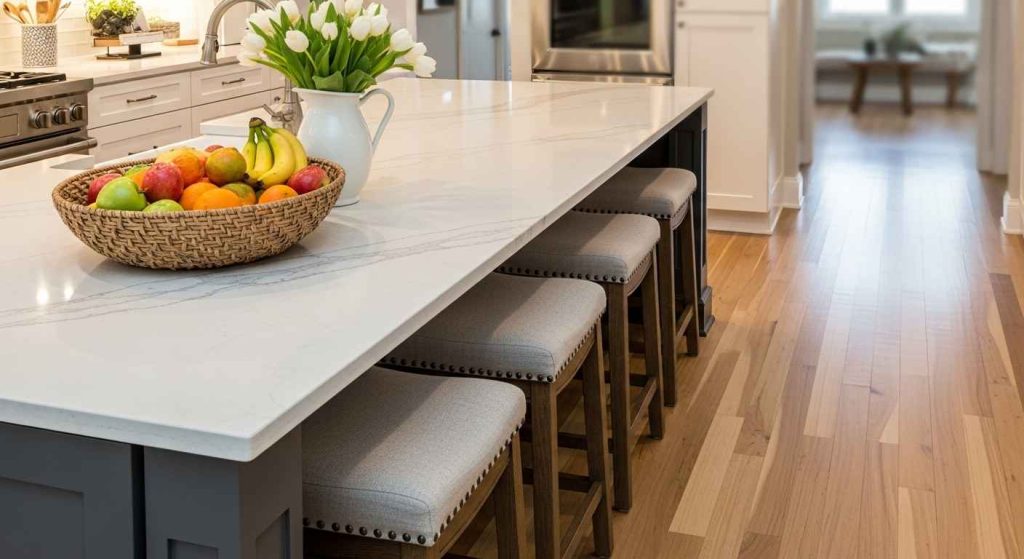
The amount of countertop that overhangs the island base should be equal on both sides. This creates a stable, anchored appearance. It also ensures comfortable leg room for seating is consistent. Before finalizing your island design, check the overhang measurements on your plans. A symmetrical overhang is a fundamental part of a balanced design that is both beautiful and functional.
19. Flanking Window Walls
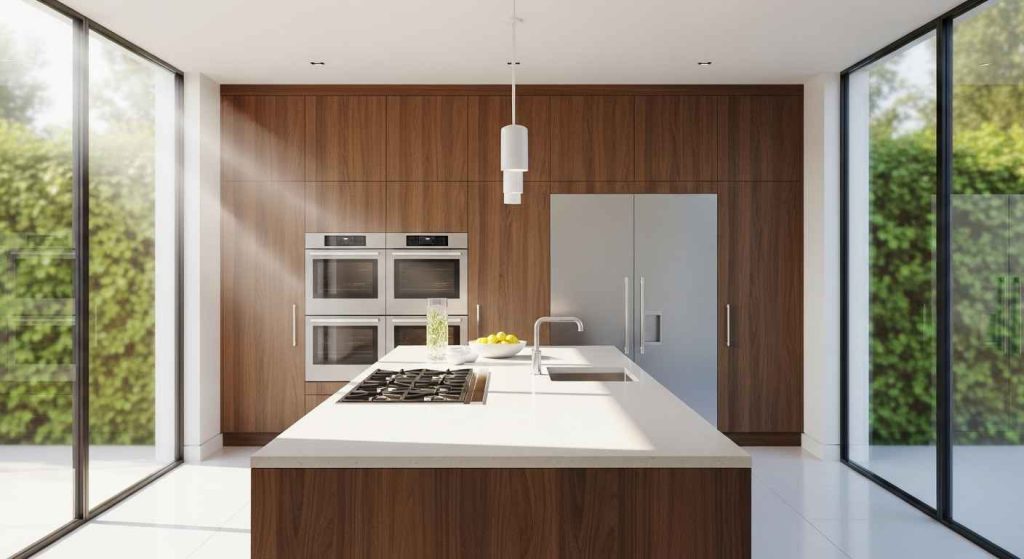
If your kitchen has windows on opposite walls, position your island to sit centered between them. This uses the architecture of the room to create natural symmetry. The island becomes the link between the two light sources. Arrange your main work zone to face one window for a pleasant view. This costs nothing to try and can make your kitchen feel brighter and more open.
20. Identical Drawer Stack Layouts
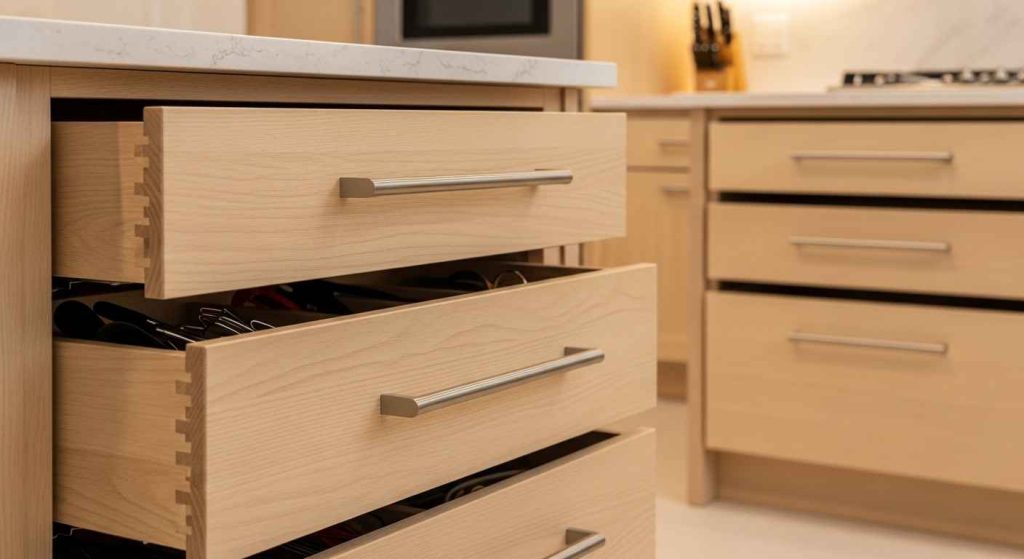
The arrangement of drawers and cabinets on one side of the island should be replicated on the other. For example, if one side has a drawer stack next to a cabinet door, the other side should have the same. This creates rhythm and order. When organizing, use the same interior organizers in matching drawers. This not only looks good but also makes your kitchen more efficient and easy to use.
21. A Centered Chandelier Statement
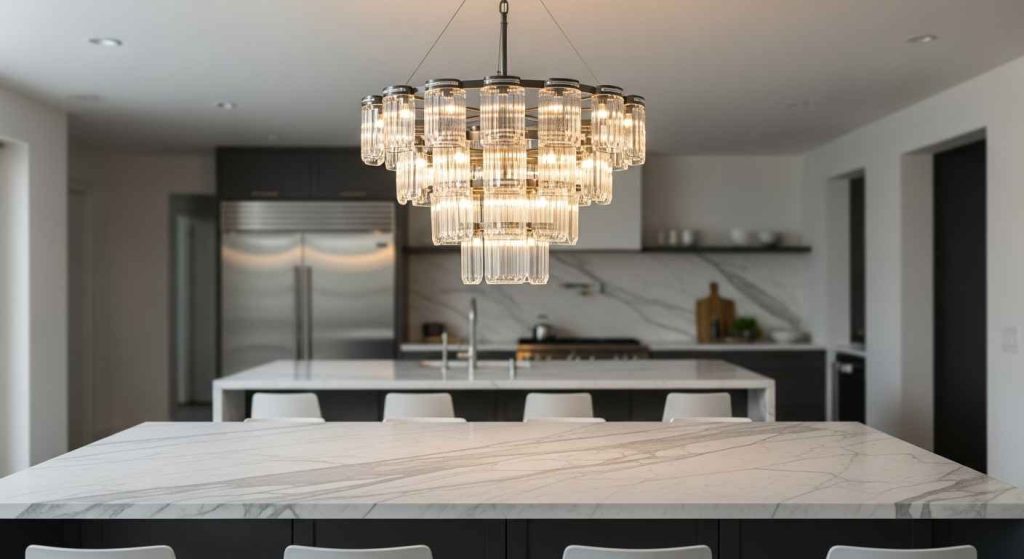
A single, substantial chandelier centered over a large island makes a bold statement. It defines the island as the heart of the kitchen without competing with other elements. This works best in kitchens with high ceilings. Choose a fixture that is wide enough to feel proportional to the island’s size. This is a powerful design move that requires only one electrical box, simplifying the installation process.
Start with one small change. Clear off one side of your island to match the other. Or measure to see if your pendant lights are level. These small steps can help you create a kitchen that feels more calm and put together. You do not need to do everything at once. A little balance goes a long way.