Your kitchen island does more than just provide extra counter space. The trim you choose defines its character. From classic to modern, these trim ideas add personality and detail. They can make a standard island feel custom-made. This list shows how simple changes create big visual impact.
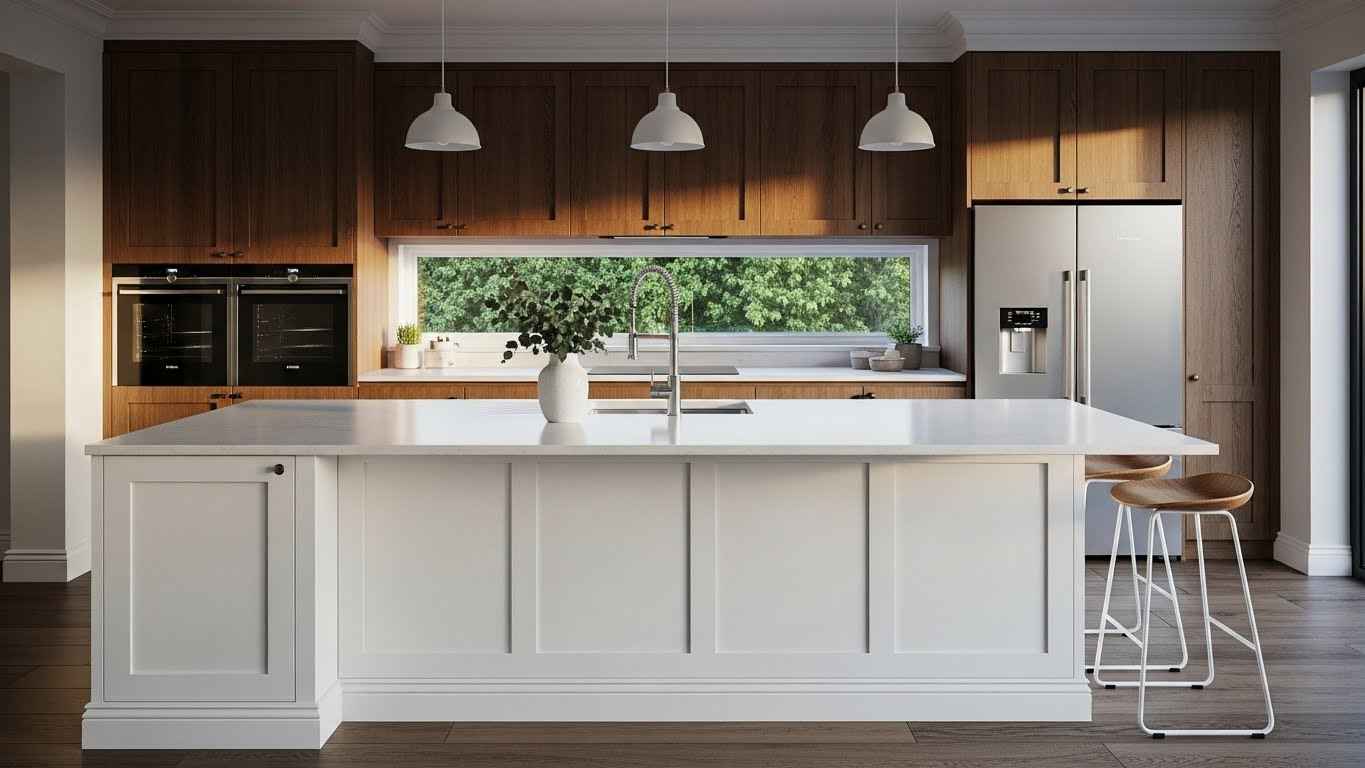
1. Classic Shaker-Style Trim
Shaker trim brings a clean, timeless look. Its simple frame and recessed panel work with almost any kitchen style. This design is easy to keep clean. It adds depth without being too ornate. You can often find pre-made shaker panels at home improvement stores. Paint the trim a different color than the island body for a custom touch. This is a very DIY-friendly option.
2. Modern Recessed Panel Design
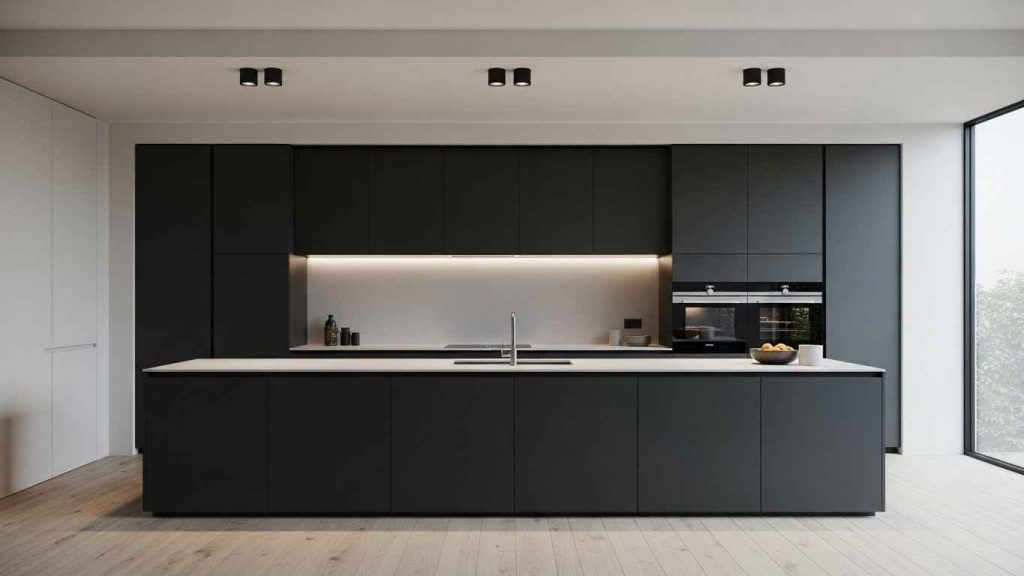
For a contemporary feel, use a flat, recessed panel. This style has no decorative molding. It creates a strong, geometric shadow line. The result is a very clean and uncluttered appearance. Choose a high-gloss or matte laminate for a seamless look. Using a large sheet of MDF is a cost-effective way to achieve this style. It gives you a perfectly smooth surface for painting.
3. Rustic Beadboard Sides
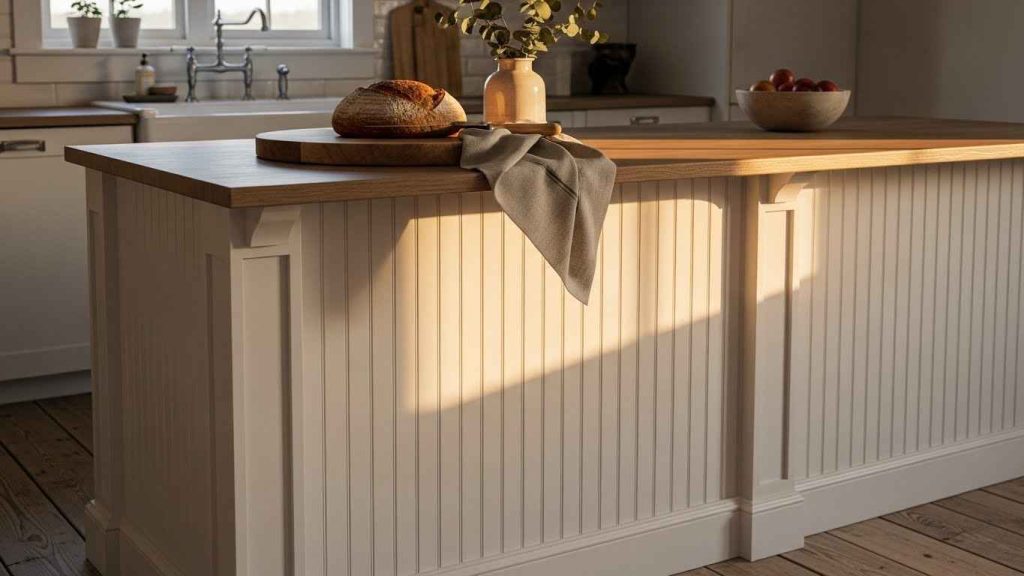
Beadboard adds instant cottage or farmhouse charm. The vertical lines make the island feel taller. It is a great way to introduce texture. This material is surprisingly durable and easy to install. You can buy beadboard planks or large sheets. A beadboard wallpaper applied to the island sides is a fantastic budget-friendly alternative. It gives you the visual effect without the cost of real wood.
4. Ornate Molding & Millwork
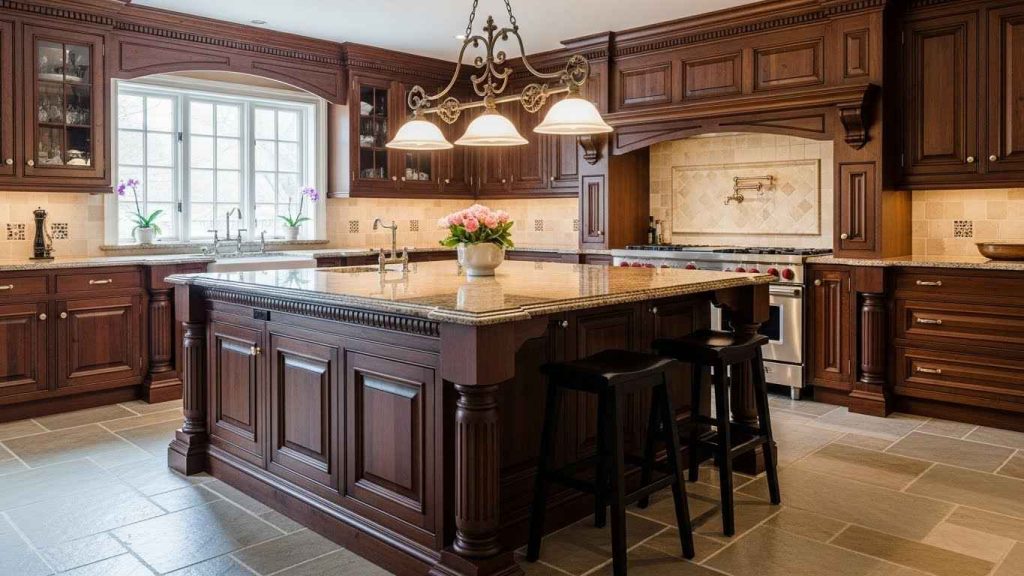
Detailed moldings create a sense of luxury and history. Think about adding crown molding to the top or a decorative baseboard to the bottom. This approach works well in traditional or classic homes. You can layer different types of trim for a custom look. Look for salvage yards that sell old molding pieces. You can often find unique, character-rich trim for less than new materials.
5. Sleek Metal Banding
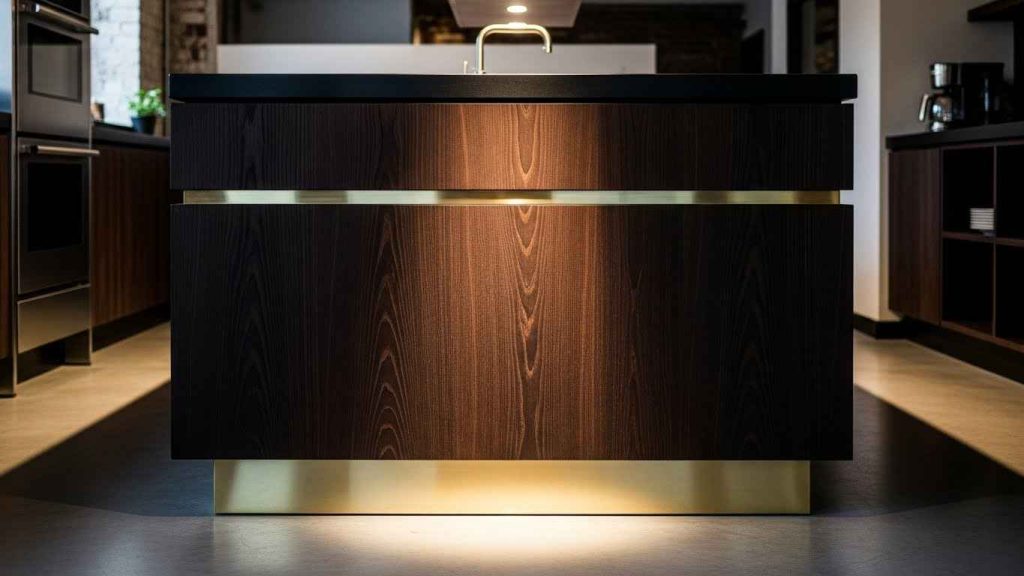
A thin metal band adds a modern, industrial edge. Use brass, nickel, or black steel for the trim. This detail highlights the island’s shape and adds a touch of shine. It is a simple way to incorporate metal finishes. The band protects the edges from wear and tear. Use adhesive-backed metal tape for a quick and easy DIY version. It gives you the metallic look without any complex fabrication.
6. Reclaimed Wood Accents
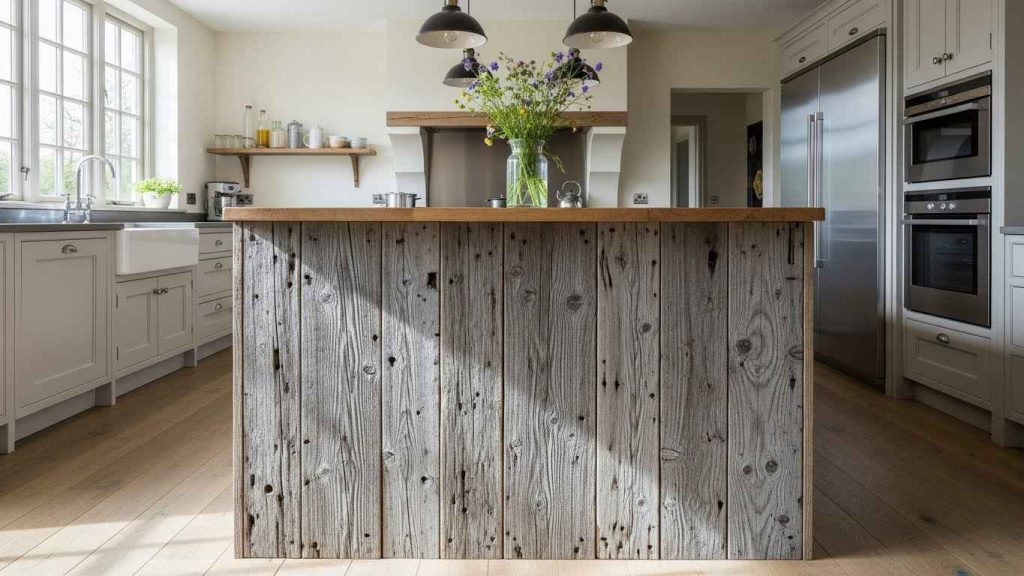
Reclaimed wood brings warmth and a story to your kitchen. Each piece has unique grain, color, and nail marks. This trim makes the island a focal point with character. It pairs beautifully with both modern and rustic styles. Check local listings for people selling old barn wood or fencing. A single reclaimed wood plank mounted as a feature panel is an affordable project. You do not need to cover the entire island.
7. Chunky Farmhouse Apron
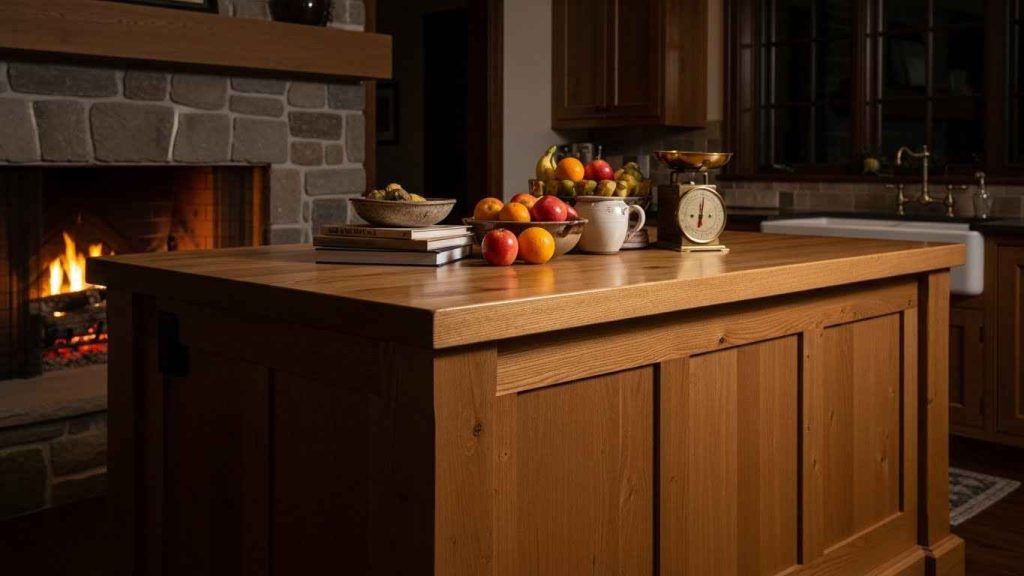
A thick, solid wood apron gives an island a sturdy, grounded feel. This is a signature feature of farmhouse and cottage styles. The chunky profile is both visual and structural. It makes the island look like a permanent piece of furniture. You can use a thick piece of pine or poplar. Staining the apron a different shade than the countertop creates a nice, layered look. This is a simple way to add depth.
8. Subtle Shadowline Reveals
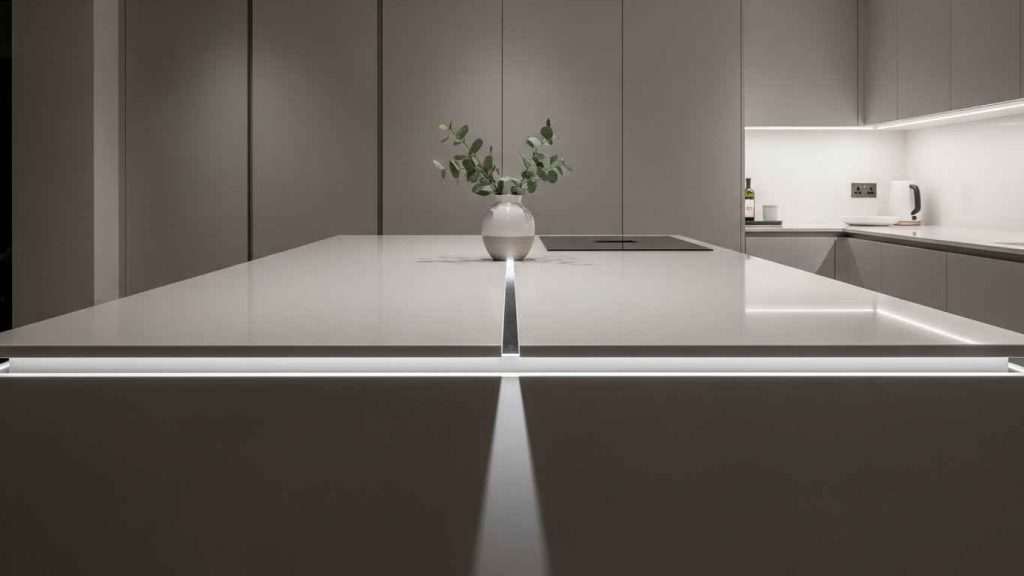
A shadowline is a small, intentional gap that creates a thin line of shadow. It is the ultimate in minimalist trim. This detail makes the countertop appear to float. It requires precise craftsmanship but delivers a huge design payoff. The look is clean and architectural. You can create a similar effect by adding a thin, recessed strip of painted wood. This gives you a clean line without a complex build.
9. Textured Tile Skirts

Tiling the sides of your island adds color, pattern, and texture. It is also very practical and easy to clean. Use subway tile, mosaic, or handmade clay tiles. This is a great opportunity to introduce a pop of color. The grout lines add another layer of visual interest. Use tile samples or leftover tiles from another project to keep costs low. You do not need a large quantity to cover an island’s sides.
10. Color-Blocked Trim Detail
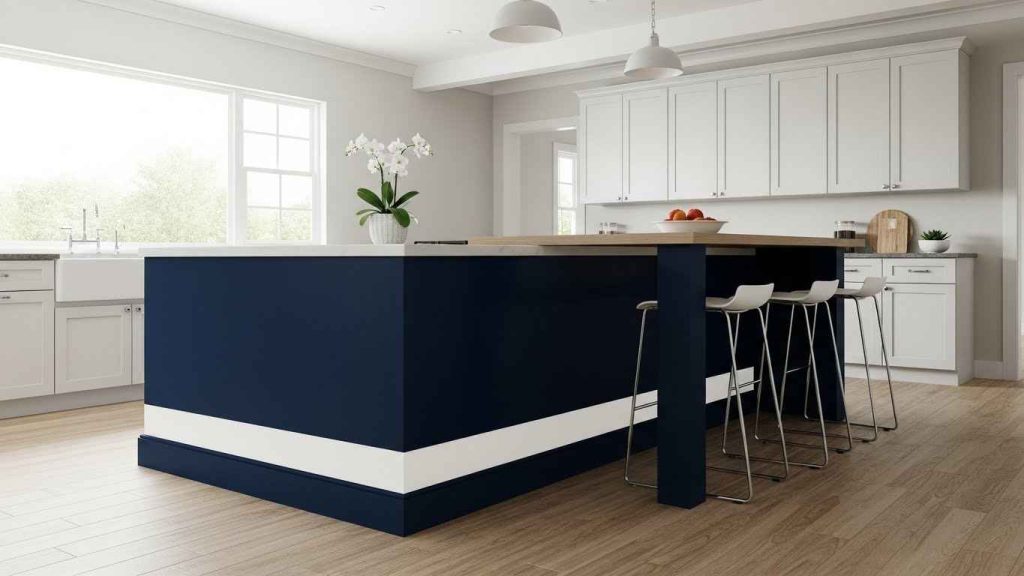
Paint the trim a different color than the main body of the island. This is called color-blocking. It defines the island’s shape and adds a graphic element. You can use a bold contrast or a subtle tonal difference. This is one of the easiest and most affordable updates. Use painter’s tape to get super crisp lines between the colors. This simple trick makes a DIY paint job look professional.
11. Industrial Pipe Legs

Replace solid sides with metal pipe legs for an open, industrial look. This makes a large island feel less bulky. You can see the floor underneath, which makes the space feel larger. Black iron pipe is a popular and sturdy choice. Pipe fittings are standardized, so assembling a base is a very achievable DIY project. You can find all the parts at a hardware store and put them together like a puzzle.
12. Fluted Trim Panels
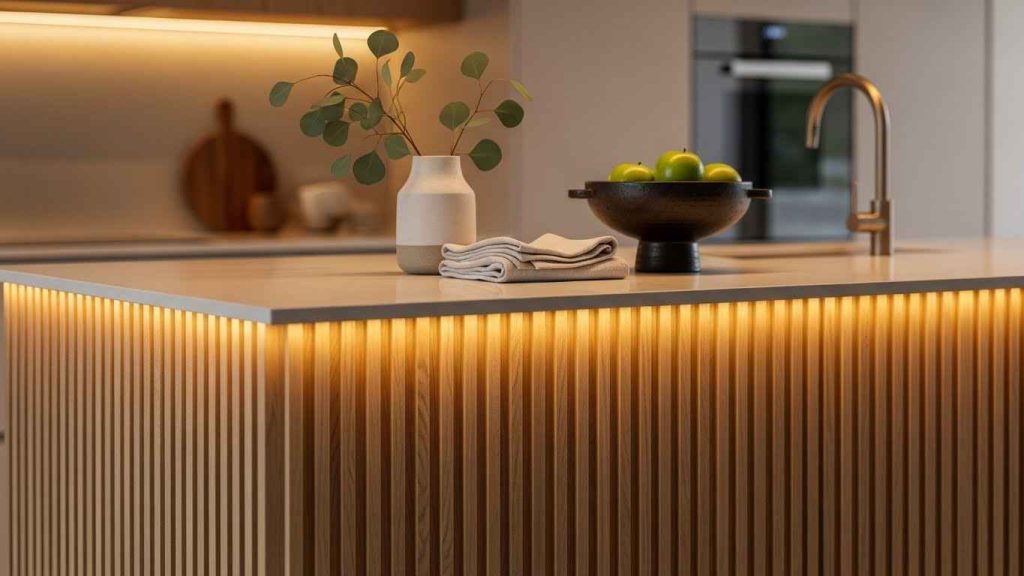
Fluted panels have vertical grooves that add rhythm and texture. This detail feels both classic and current. The lines draw the eye upward, enhancing the sense of height. It works with painted or natural wood finishes. The texture is subtle but effective. You can create fluting with a router if you are handy. For a simpler approach, look for pre-made fluted plywood panels at a lumber supplier.
13. Waterfall Edge Overhang
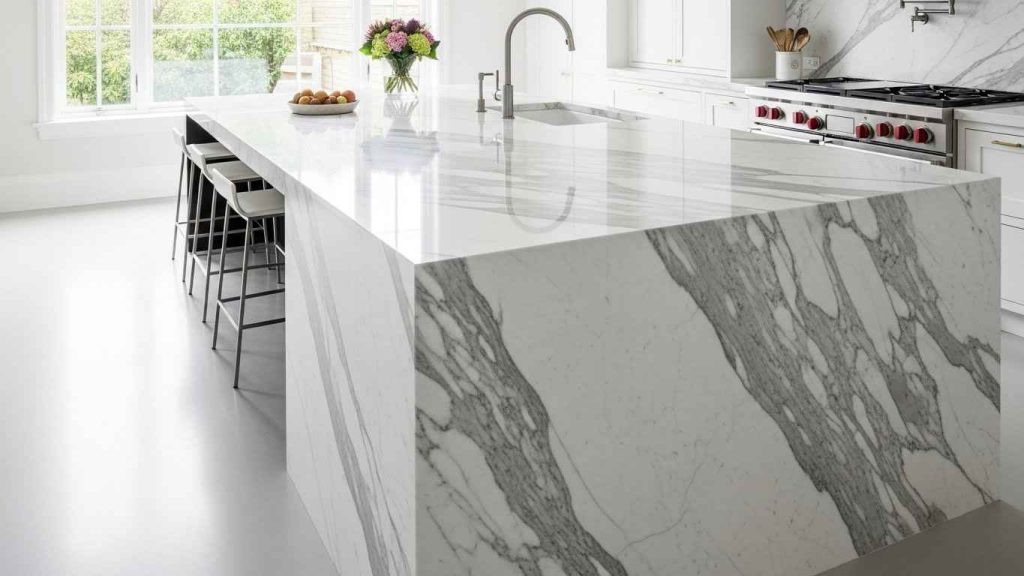
A waterfall edge means the countertop material flows down the sides of the island. This creates a continuous, seamless look. It highlights a beautiful stone or quartz slab. The effect is very modern and luxurious. It also protects the sides of the island from damage. A faux waterfall edge can be made by using a thinner, matching material just on the visible side. This gives the high-end look for a fraction of the cost.
14. Integrated Wooden Towel Bars
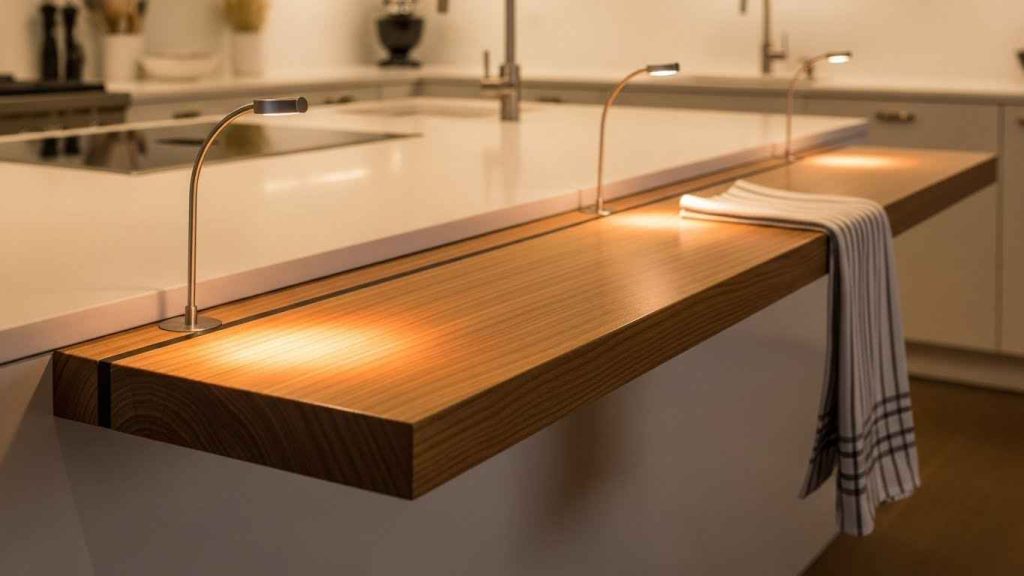
Build a towel bar directly into the island’s trim. This is a smart way to add function. It keeps towels handy and off the counter. Use a matching wood for a seamless look or a contrasting one for a feature. The bar can be a simple dowel or a more shaped piece. A simple wooden dowel inserted into two holes drilled in the side panel is an easy weekend project. It is both useful and decorative.
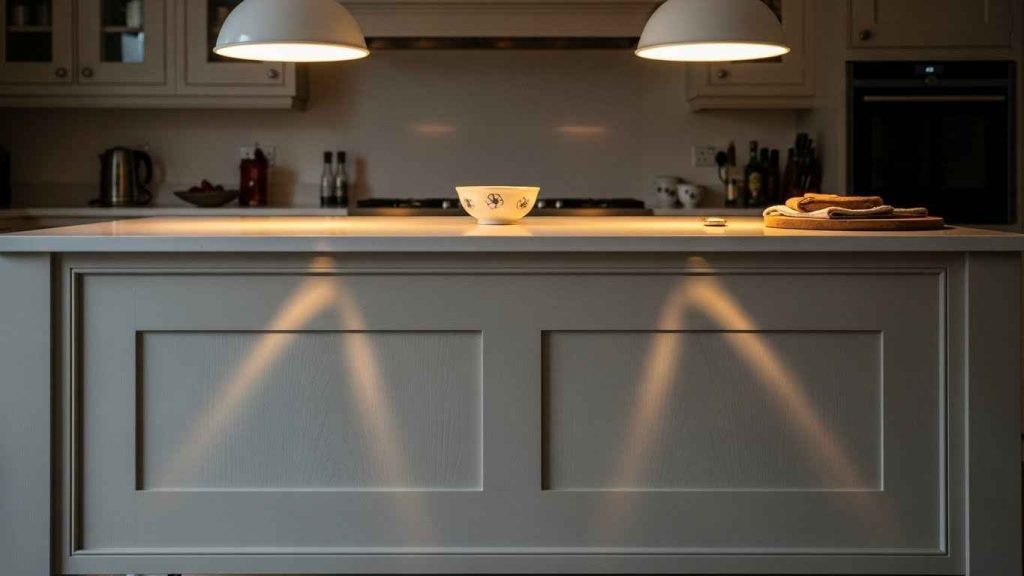
15. Picture Frame Panel Design
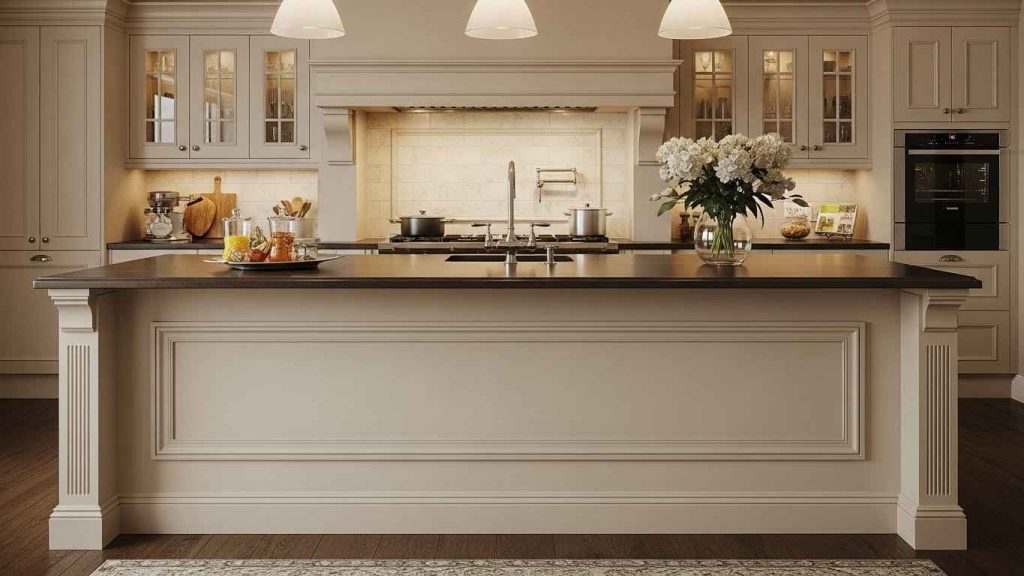
This style mimics a large picture frame on the side of your island. It uses a flat, wide frame around a central panel. The look is elegant and furniture-like. It adds significant visual weight and presence. This design works well with both painted and stained finishes. You can build this with basic lumber by creating a simple frame and attaching it to a flat panel. It is a classic look that is very achievable.
16. Wainscoting for the Island
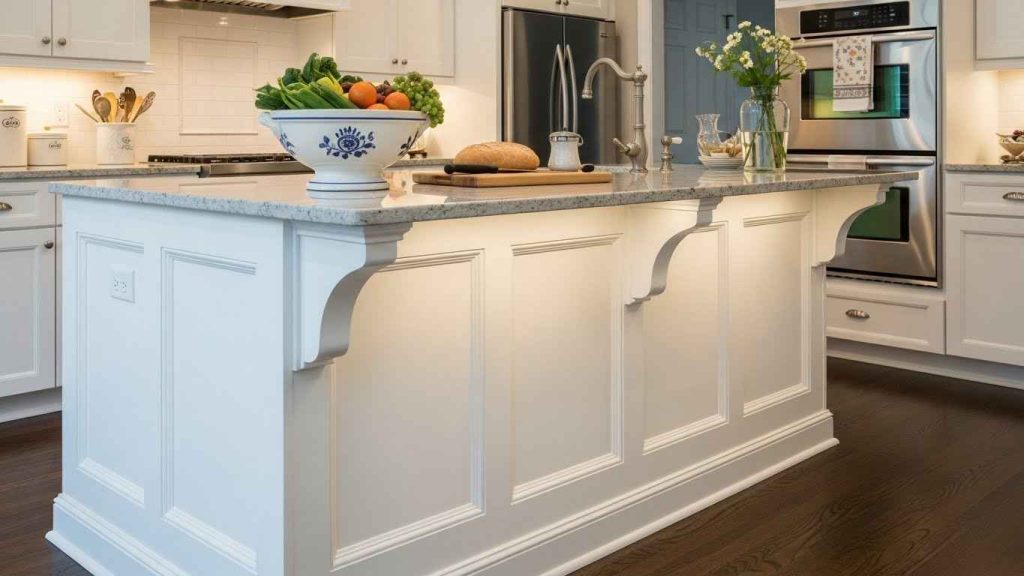
Apply wainscoting paneling to your island’s sides. This wall treatment translates beautifully to furniture. It adds architectural interest and a sense of tradition. Raised panel or flat panel wainscoting both work well. This can make a stock island look built-in and custom. Pre-made wainscoting panels are available and easy to install. They come in sizes that are perfect for covering an island’s side in one go.
17. Leather Wrap Accent
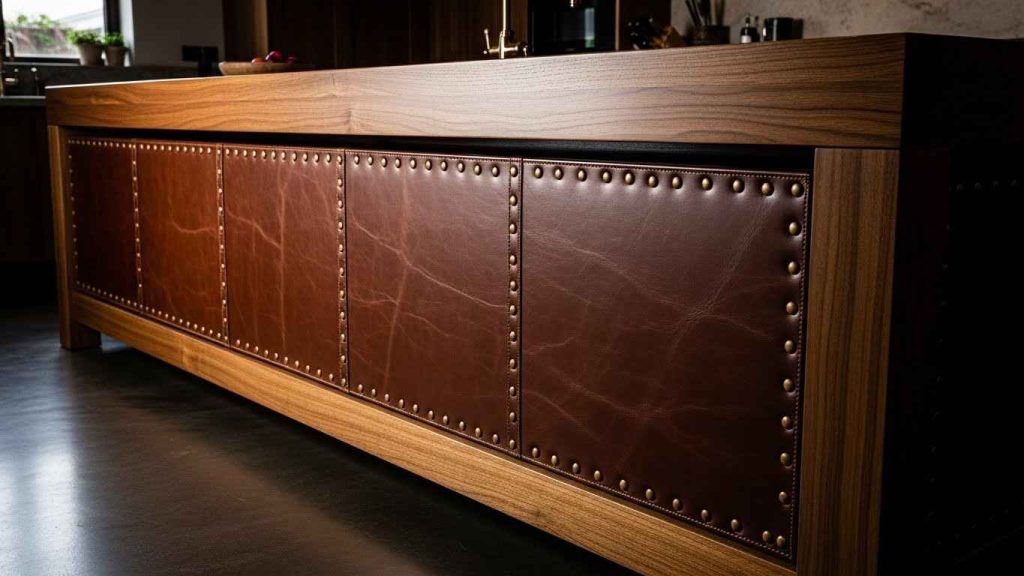
Wrap a section of your island with leather for a unique, tactile detail. This adds warmth and a rich, organic texture. It is unexpected and sophisticated. Use a durable, thick leather and secure it with decorative rivets. This works well on a bar overhang or the base. Look for leather remnants from upholstery shops. You can often find high-quality pieces for a good price, perfect for a small project like this.
18. Geometric Patterned Trim
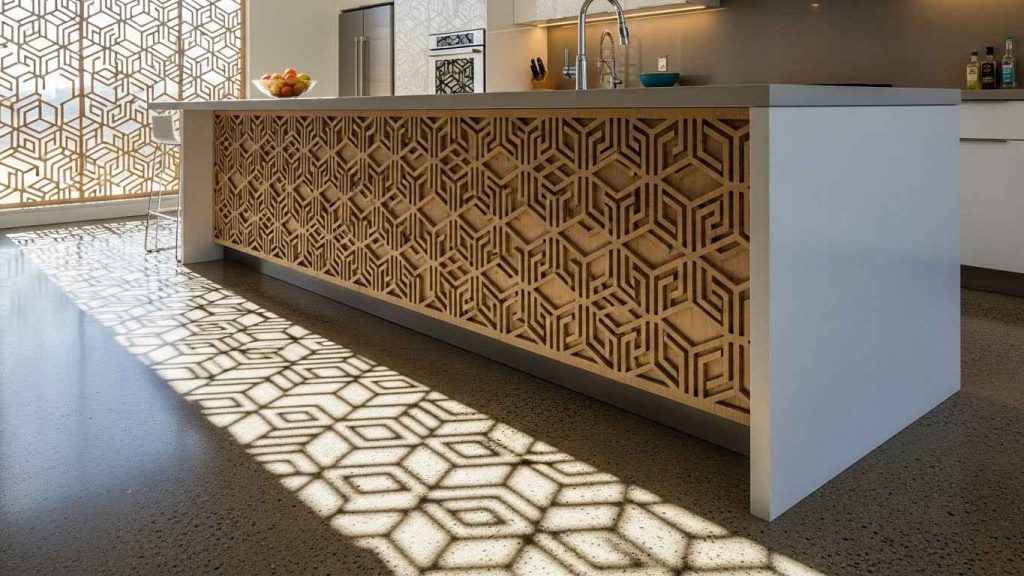
Use a geometric pattern as your trim. This could be a laser-cut wood panel, a metal screen, or a perforated design. It adds a modern, artistic touch. The pattern plays with light and shadow throughout the day. It makes the island a true piece of art. Stencil a geometric pattern directly onto the island side and paint it for a low-cost, high-impact DIY solution. This lets you customize the design perfectly.
19. Contrasting Stain Finishes
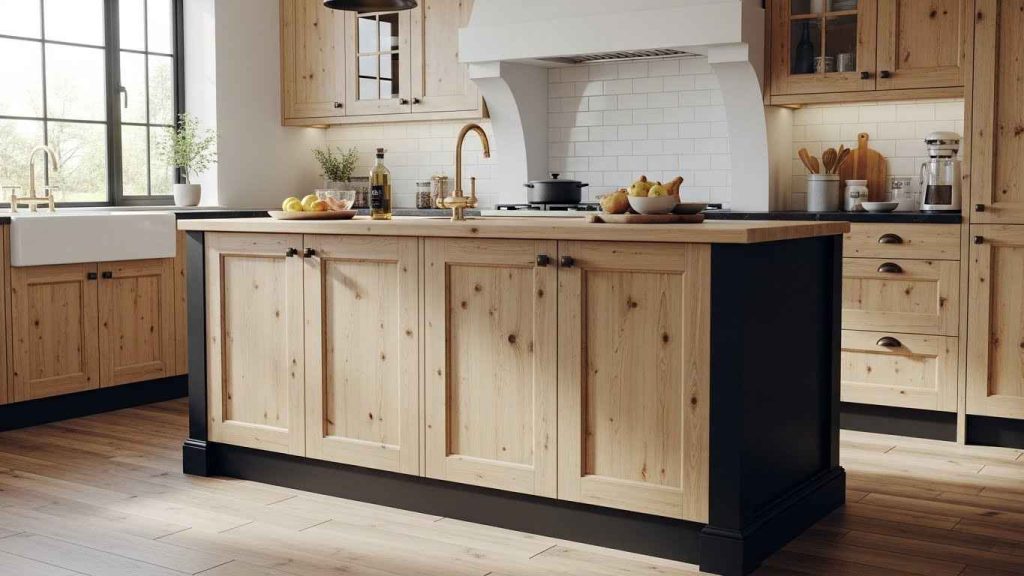
If your island is wood, use stain to create contrast. Stain the trim a different color than the main body. A dark trim on a light island grounds it. A light trim on a dark island frames it. This highlights the island’s structure. Test stains on scrap wood first to see the true color. This is an easy way to experiment without commitment and ensure you love the final look.
20. Bullnose Edge with Molding
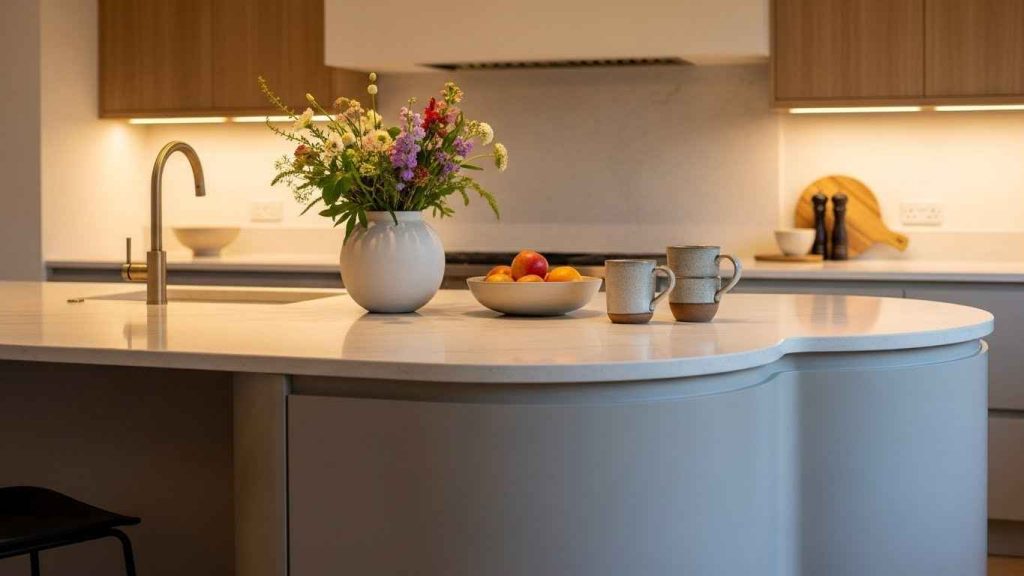
A bullnose edge has a soft, rounded profile. Pair this countertop edge with a curved molding on the island’s base. The repeated curves create a cohesive and friendly look. This is a great choice for families with young children, as there are no sharp corners. Many home centers sell pre-shaped bullnose molding. You can attach it directly to the island’s frame for a finished, professional appearance with minimal effort.
Small changes to your kitchen island’s trim can completely change its feel. You do not need a full remodel. Start with one idea that fits your style and skill level. A simple paint update or an easy-to-install panel can make your island the best part of your kitchen.