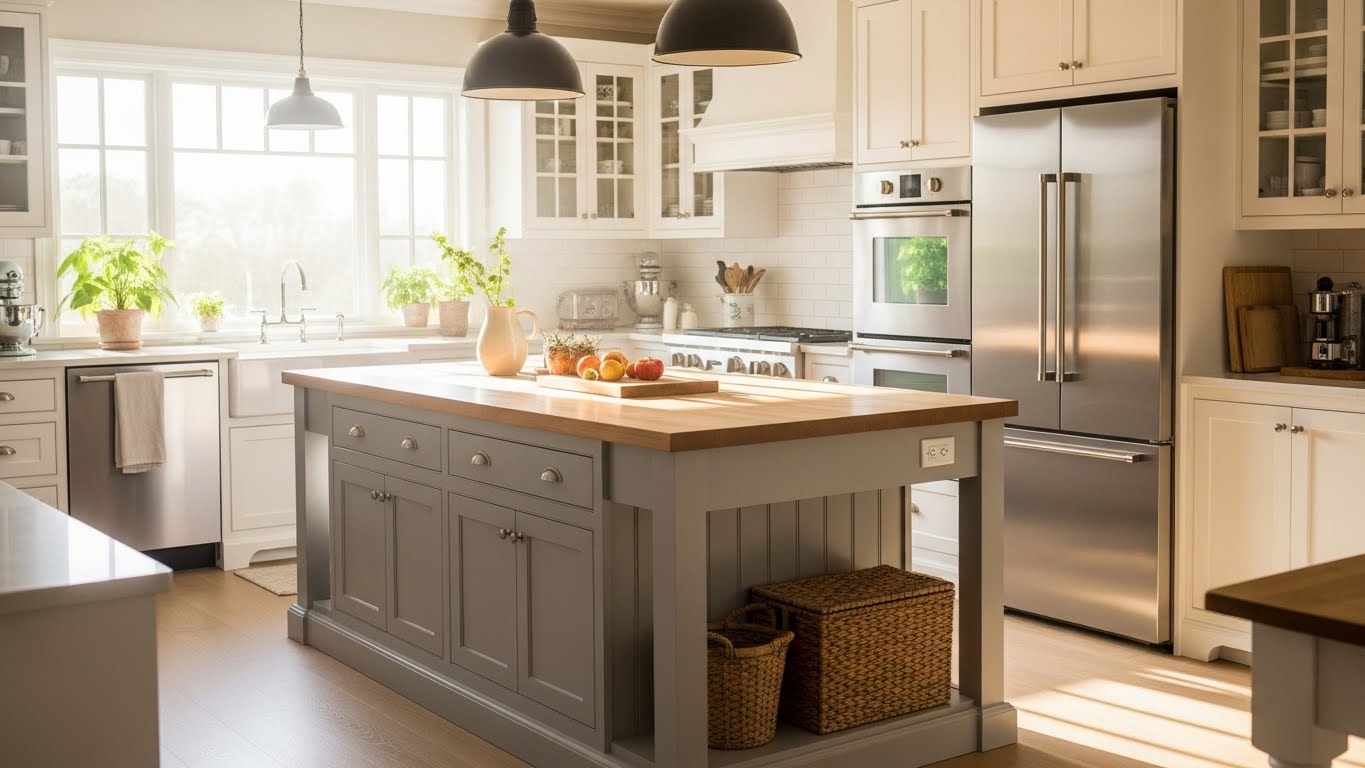
A kitchen island often becomes the heart of the home. Giving it a new look does not require a full renovation. Small changes can make a big difference. These ideas are simple to try. Many can be done in a weekend. You can work with your current setup. Focus on what fits your style and space. Start with one project you like.
1. A Fresh Coat of Paint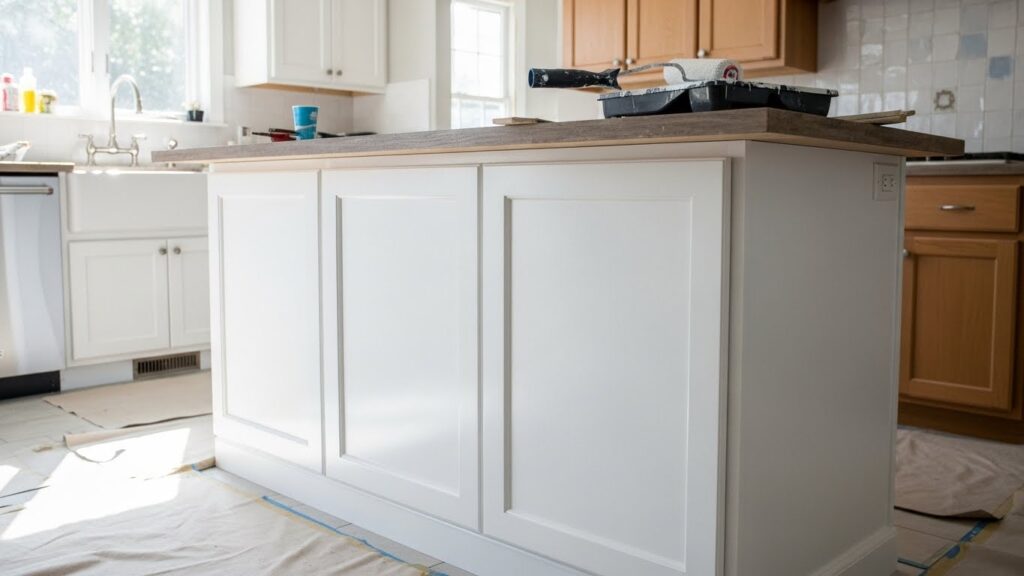
Painting your island is a fast way to change its entire feel. Choose a color that contrasts with your other cabinets. This makes the island a clear focal point. A semi-gloss or satin finish works well. It is durable and easy to clean. Prep the surface properly by cleaning and sanding it first. A good primer helps the paint stick. This is a very budget-friendly project. You can often finish it in a day.
2. Modernize with New Hardware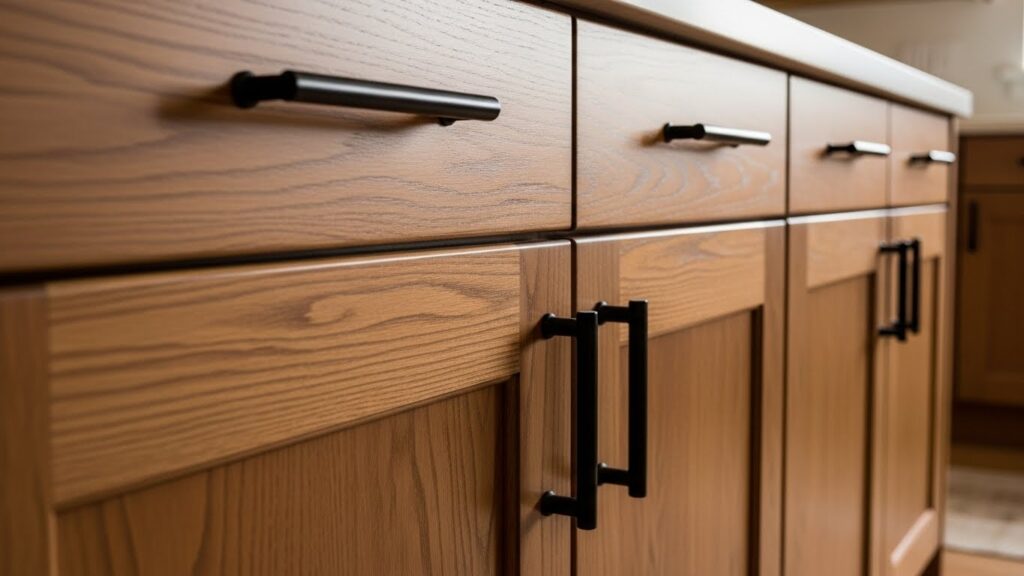
Swapping out knobs and pulls instantly updates your island’s style. It is like adding new jewelry to an outfit. Choose a finish that complements your faucet and lighting. Measure the distance between screw holes for a perfect fit. This is one of the easiest DIY tasks. You only need a screwdriver. Mix and match styles for a custom look. Try long pulls on drawers and smaller knobs on doors. This small change has a big visual effect.
3. Install Open Shelving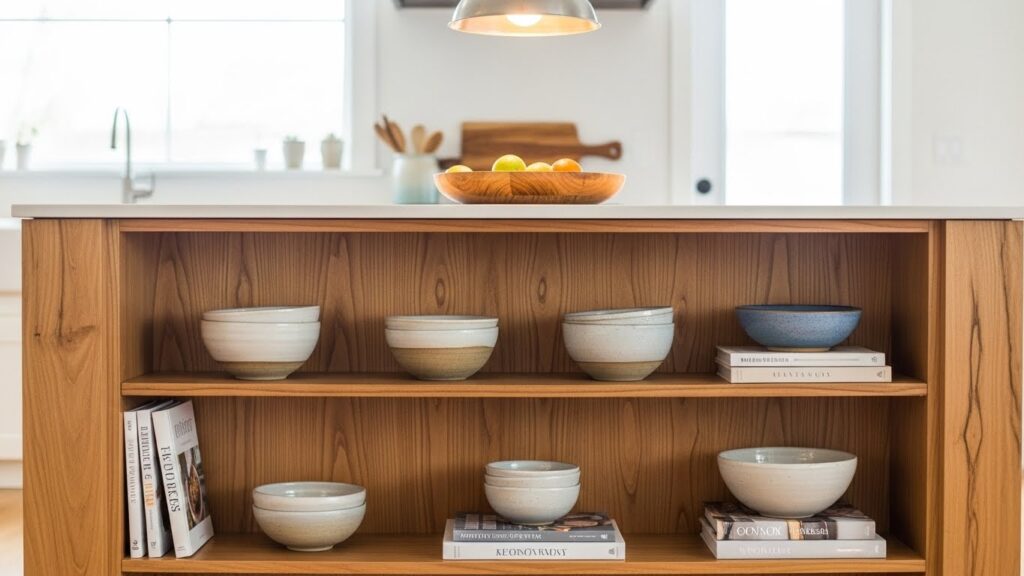
Open shelves replace solid cabinet ends. They make a space feel larger and less heavy. Use them to display favorite dishes or cookbooks. This adds personality and color. You can build simple shelves with wood brackets from a hardware store. Style shelves with useful items you reach for often. Keep the arrangement simple to avoid clutter. This is a practical and decorative solution. It gives your island a lighter, more open character.
4. Add a Pop of Color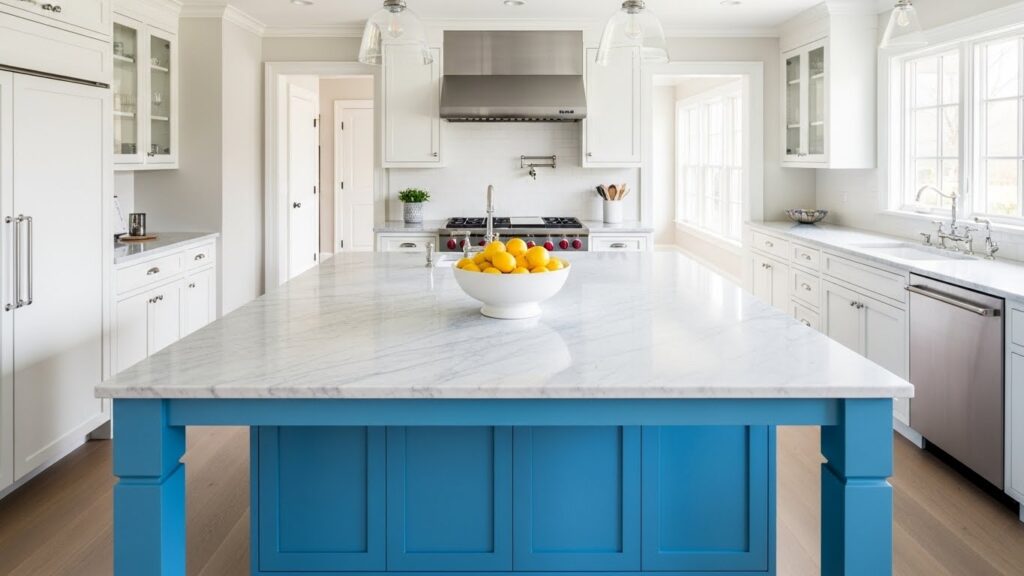
Do not be afraid of a bold color. A bright hue on the island base creates a happy center point. If you are not ready to paint the whole island, try the inside of open cabinets. Another idea is to use colorful bar stools. This adds visual interest without a long-term commitment. Test paint samples on a small area first. See how the color looks at different times of day. A single gallon of paint is often enough for this project.
5. Swap Out the Countertop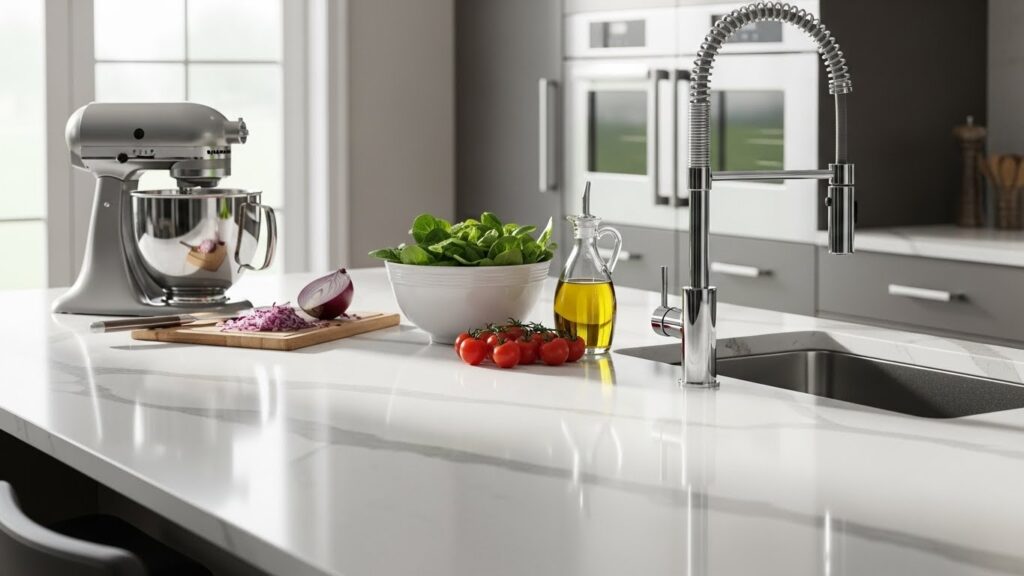
A new countertop can redefine your island. Butcher block offers a warm, rustic feel. Quartz is durable and low-maintenance. Laminate options provide a budget-friendly look of stone. You can often use a remnant piece for an island, which saves money. Consider a contrasting countertop material or color from your main counters. This defines the island as its own special feature. A local fabricator can help you find a cost-effective solution.
6. Install Statement Lighting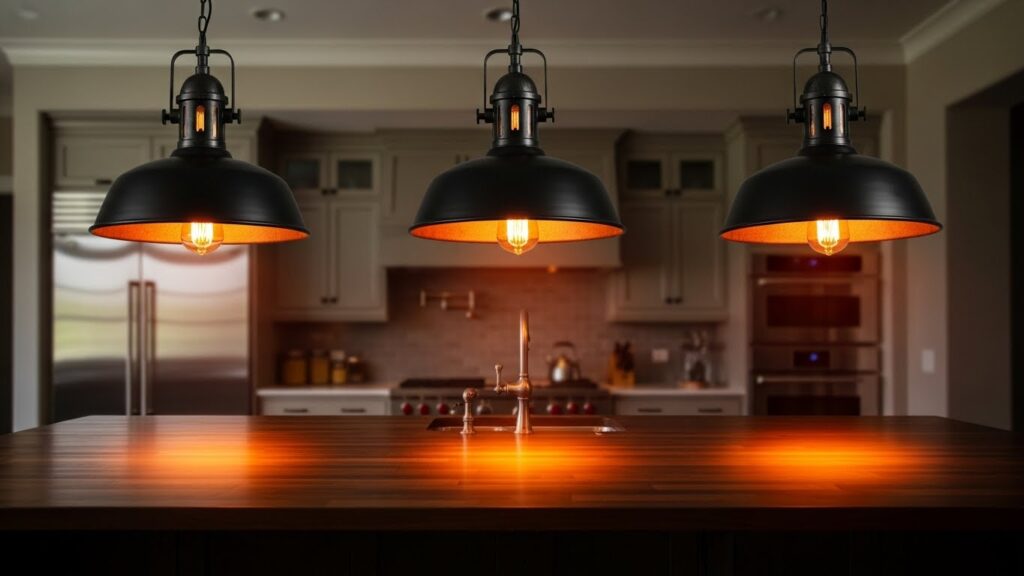
Pendant lights draw the eye and define the island space. Choose fixtures that match your kitchen’s style. Hang them about 30 to 36 inches above the countertop. This provides good task lighting for prep work. For a DIY approach, you can often replace existing fixtures yourself. Just be sure to turn off the power first. A set of matching pendants makes a strong style statement. They are both functional and decorative.
7. Create a Breakfast Bar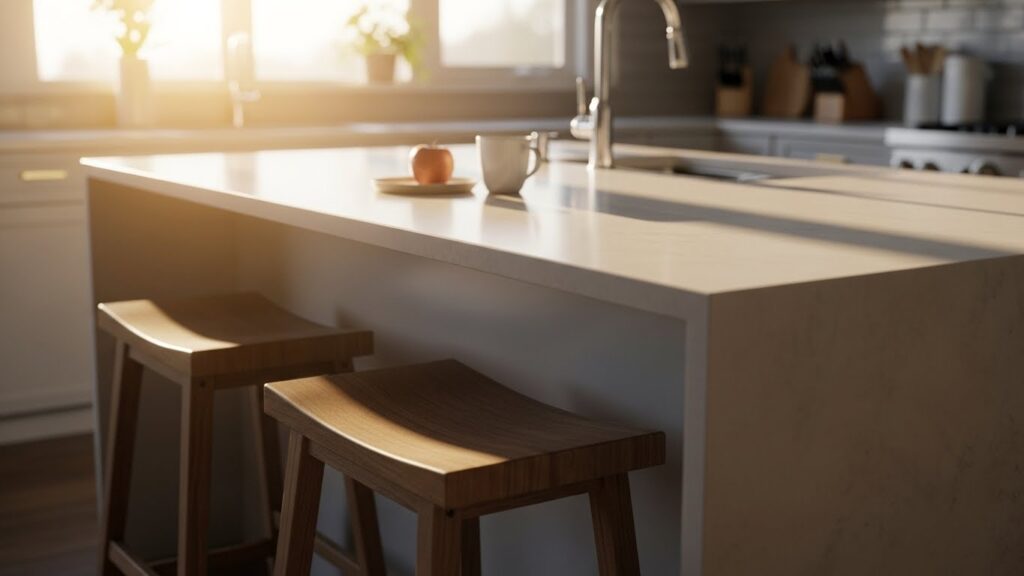
An overhang on one side of your island creates instant seating. This turns it into a casual dining spot. Ensure the overhang is at least 12 inches deep for comfortable knee space. You can add this to an existing island by replacing the countertop. Use stools that tuck completely underneath to save space when not in use. This is a great way to make your kitchen more social. It is perfect for quick meals and homework.
8. Apply a Striking Stain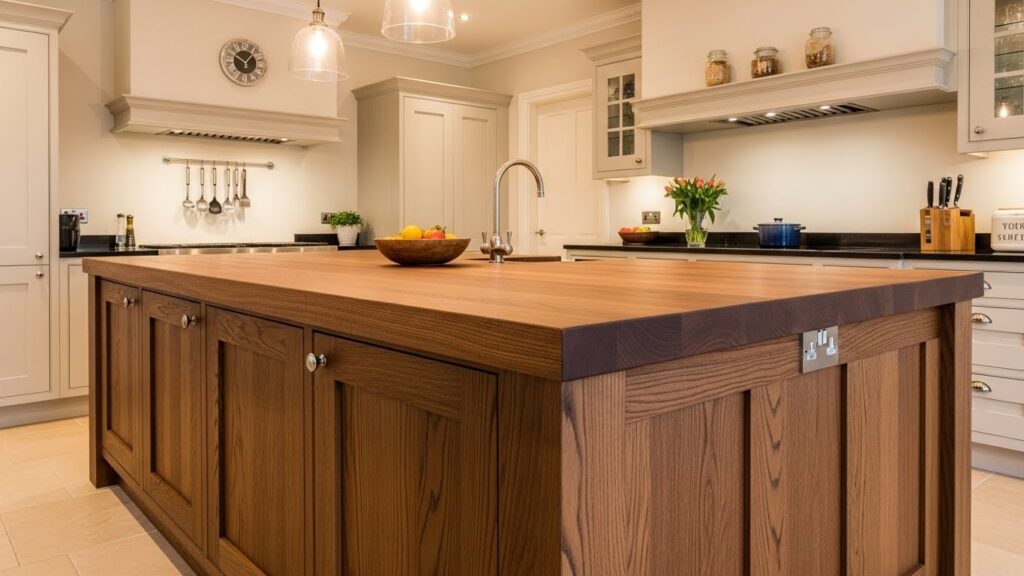
If your island is made of wood, consider staining instead of painting. A stain highlights the natural wood grain. It adds depth and richness. Dark stains can hide minor scratches and wear. Test the stain on a hidden spot first. Apply a protective top coat after staining. This will seal the wood and make it easy to clean. Staining is a very effective way to achieve a high-end, custom look on a modest budget.
9. Add Functional Bar Stools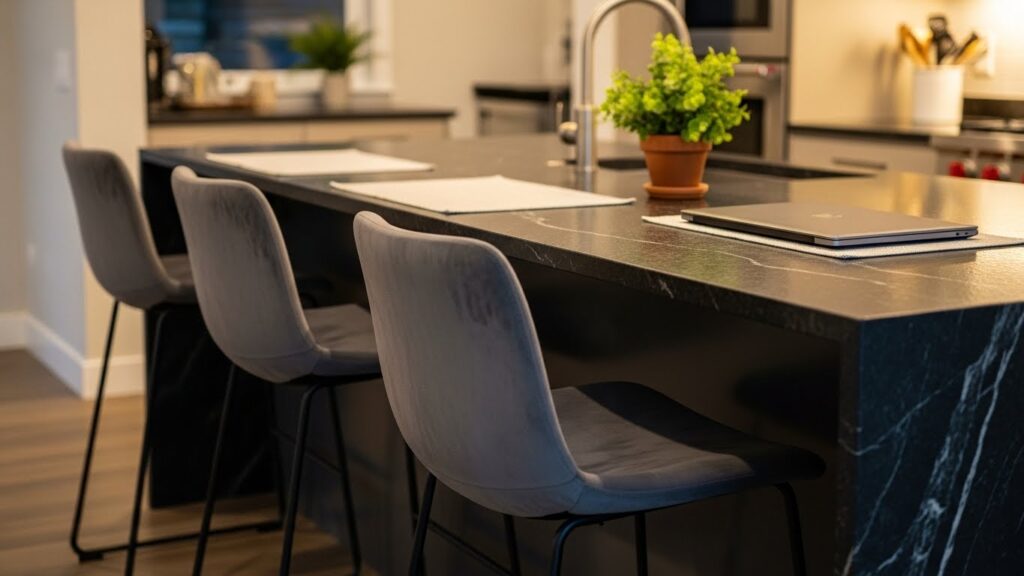
The right stools make your island more useful. Look for stools that are the correct height for your counter. Backless stools are easy to push completely under the overhang. Stools with backs offer more comfort for longer sits. Check online marketplaces for like-new stools at a lower cost. You can also update old stools with a coat of spray paint and new seat cushions. This is a simple way to refresh the entire area.
10. Incorporate a Butcher Block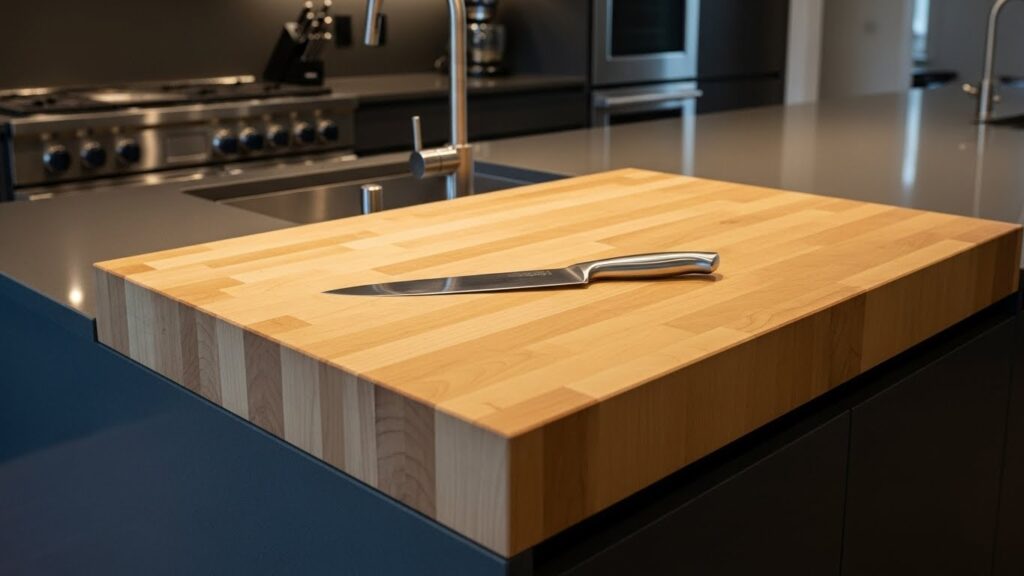
Butcher block is a warm and practical countertop material. You can use it for the entire island top or just a section. It is perfect for chopping and food prep. To keep it looking good, oil it regularly with mineral oil. Butcher block is often more budget-friendly than stone. You can buy a pre-made butcher block countertop from a home improvement store. It adds instant character and function to your kitchen.
11. Tile a New Backsplash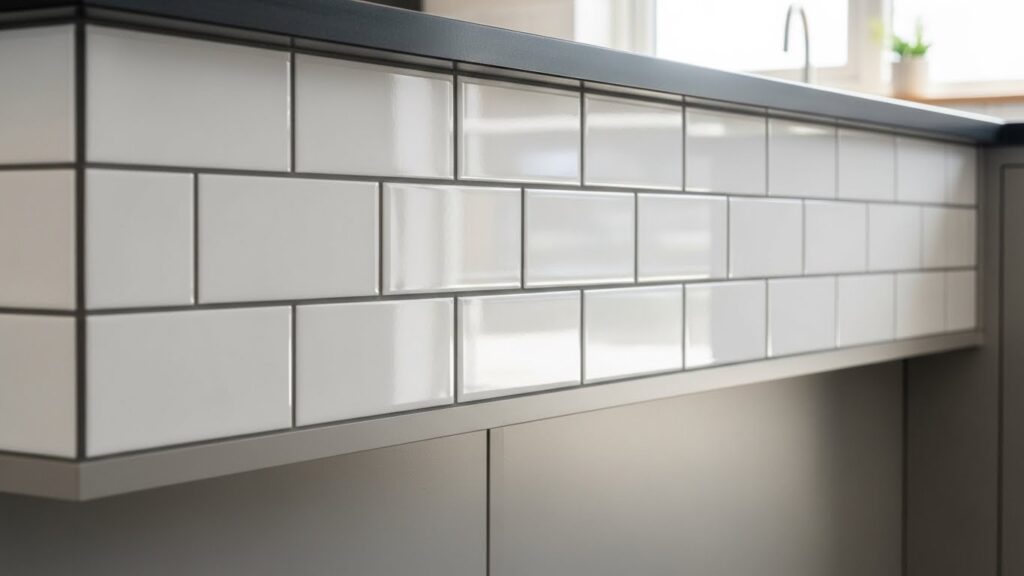
A backsplash on the sides of your island protects against splatters. It also adds texture and pattern. Peel-and-stick tile options make this a simple DIY project. You can achieve a high-end look without the mess of mortar. Use a level to ensure your first row is straight. This is the key to a professional-looking finish. A colorful or patterned tile can turn the island into a piece of art. This upgrade is both practical and stylish.
12. Build in Appliance Garages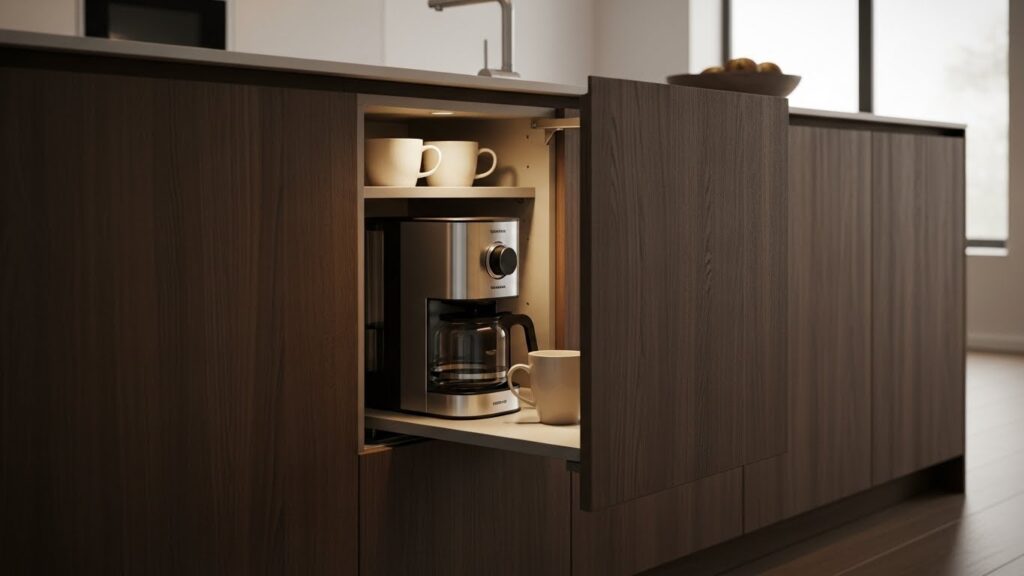
Appliance garages are small cabinets that hide countertop clutter. They keep your toaster, blender, or coffee maker out of sight. You can retrofit an existing cabinet with a simple roll-up door or a hinged one. This creates a much cleaner look. Repurpose a standard cabinet by adding an outlet inside. This keeps cords managed and appliances ready to use. It is a smart way to maintain a tidy and functional workspace.
13. Create a Seating Nook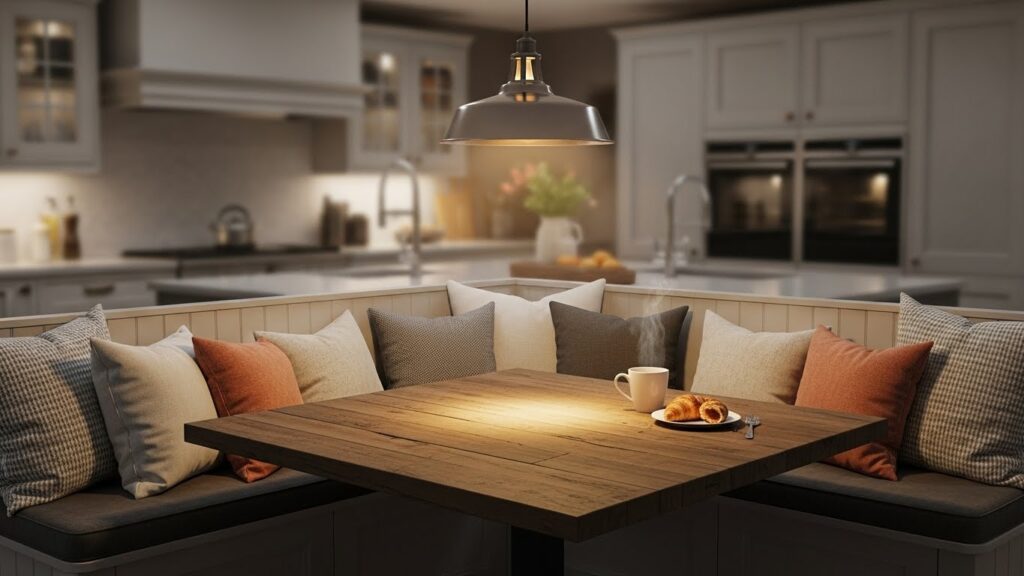
If your island is in a corner, consider adding built-in bench seating. This creates a cozy breakfast nook. You can build a simple bench frame and add comfortable cushions. This is a great use of otherwise wasted space. Use storage bins under the bench for extra kitchen items. This makes the nook both comfortable and practical. It is a wonderful spot for family to gather. This project adds charm and function.
14. Go Bold with Wallpaper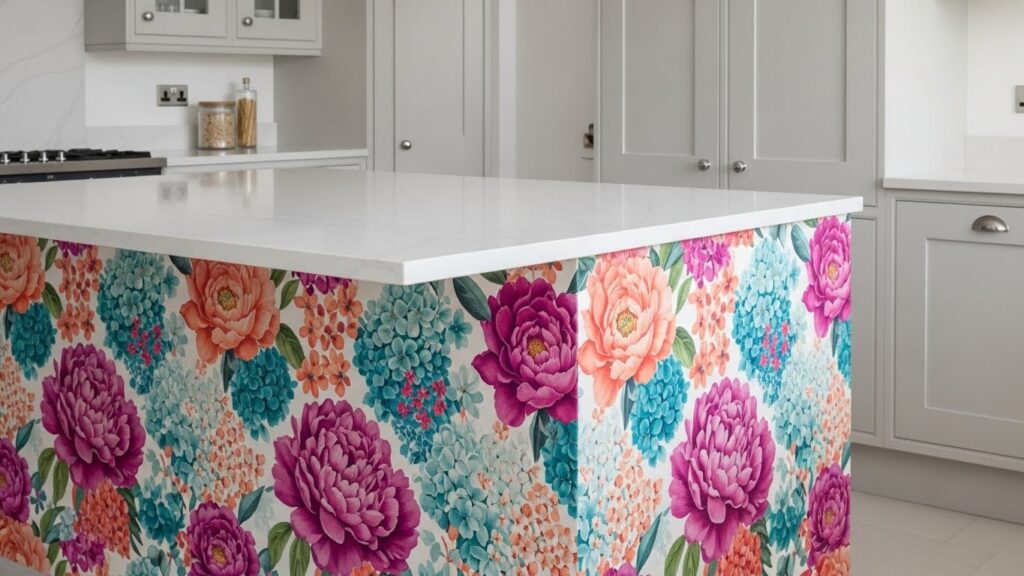
Wallpaper is not just for walls. Apply a bold pattern to the end panels of your island. This adds a huge dose of personality. Use a vinyl or washable wallpaper for durability. For a budget-friendly and temporary option, try peel-and-stick paper. It is easy to remove if you change your mind. Seal the edges with a clear topcoat to prevent peeling. This is a very low-commitment way to experiment with pattern.
15. Install Under-Cabinet Lighting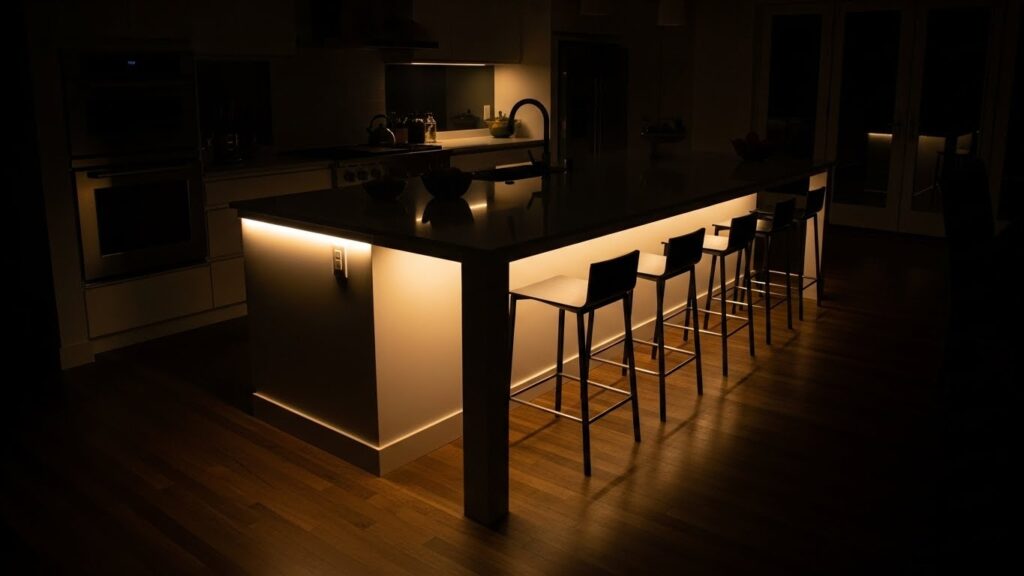
Lighting underneath the island’s counter overhang serves two purposes. It provides task lighting for the floor and adds a beautiful ambient glow. LED tape lights are easy to install and energy-efficient. Many are adhesive-backed and plug into an outlet. Choose warm white LEDs for a cozy feel. This simple addition makes your island feel more inviting in the evening. It is a small project with a big impact on the room’s atmosphere.
16. Add Wheels for Mobility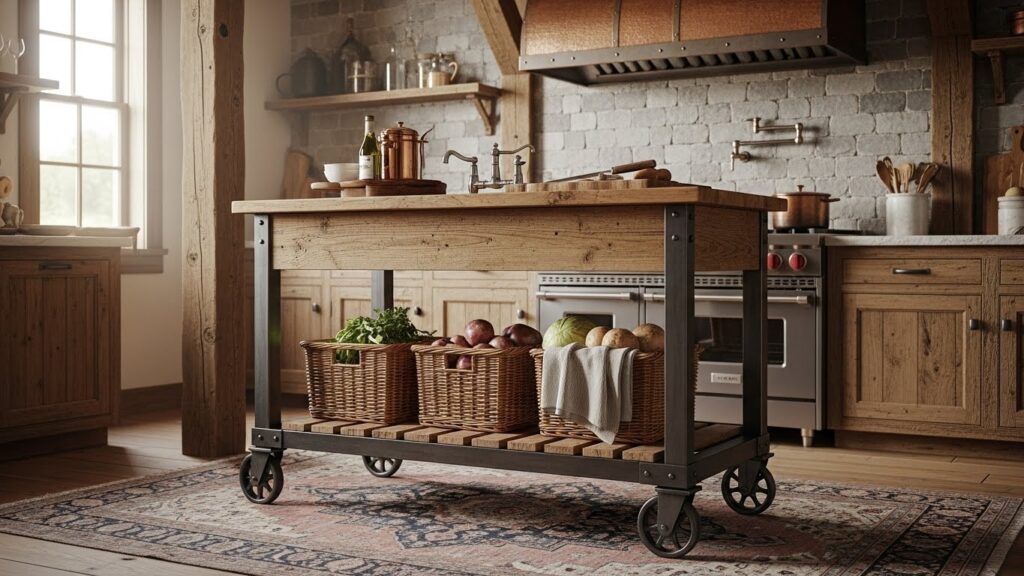
A mobile island offers incredible flexibility. You can move it for cleaning or to create more space when needed. You can convert a old table or a sturdy cart into a rolling island. Locking casters are essential for safety and stability. Look for wheels that can handle the weight. This is a perfect solution for renters or those who like to rearrange their space often. It adds function without a permanent installation.
17. Refresh with Peel-and-Stick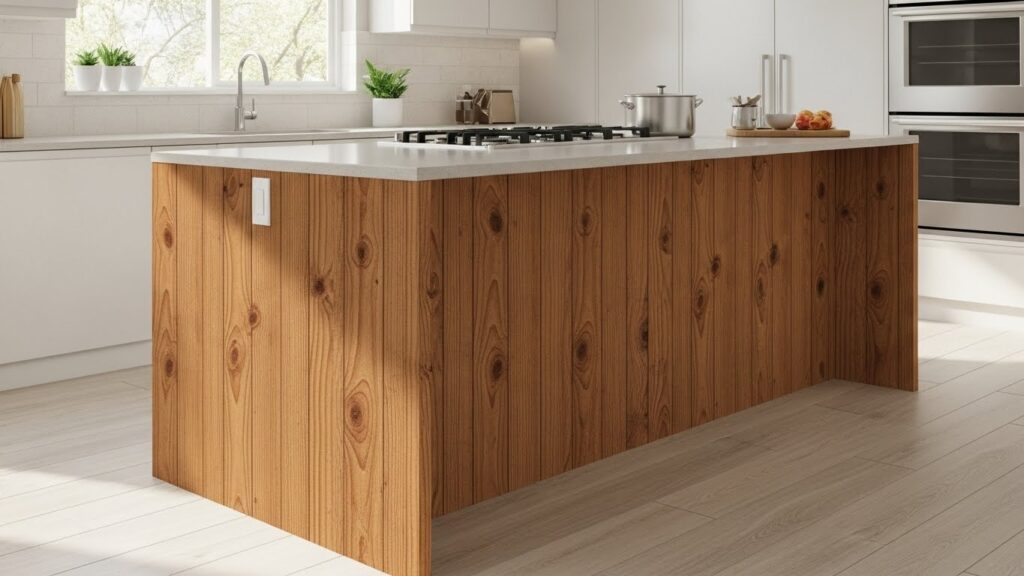
Peel-and-stick vinyl covers are a renter’s best friend. They can mimic wood, tile, or even marble. They are easy to apply and just as easy to remove. This lets you completely change the look of your island without any permanent changes. Make sure the surface is clean and dry before application. Use a squeegee to smooth out air bubbles. This is the ultimate low-cost, low-commitment makeover. It is perfect for experimenting with new styles.
18. Incorporate Woven Baskets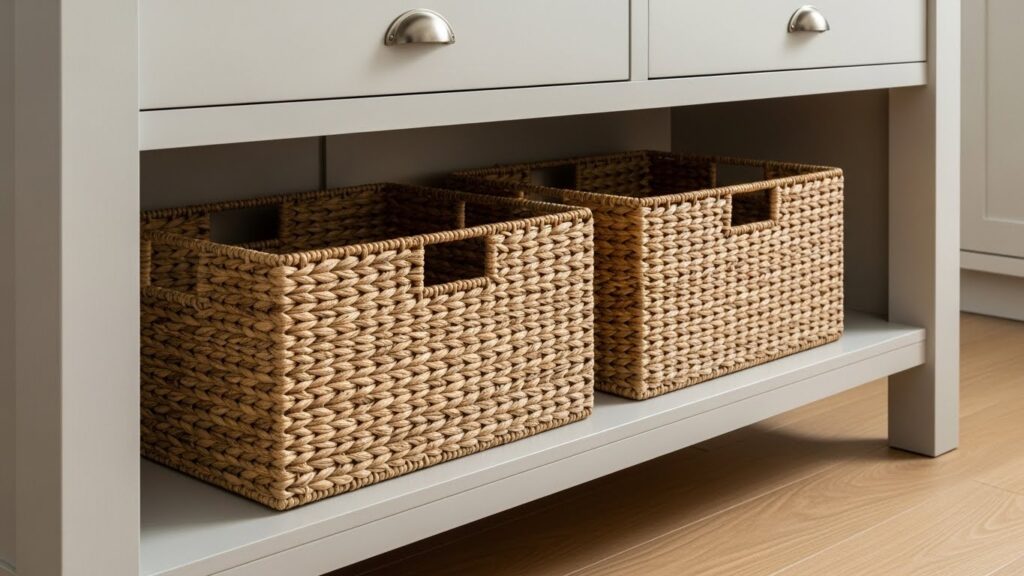
Woven baskets are both beautiful and useful. Use them on open shelves or under the island to corral items. They hide clutter like potatoes, onions, or cleaning supplies. Baskets add warmth and texture to the space. You can often find them at thrift stores or discount home goods shops. Label the baskets so everyone knows what is inside. This is a simple and affordable organizing system. It keeps your kitchen looking tidy and styled.
19. Style a Designer Vignette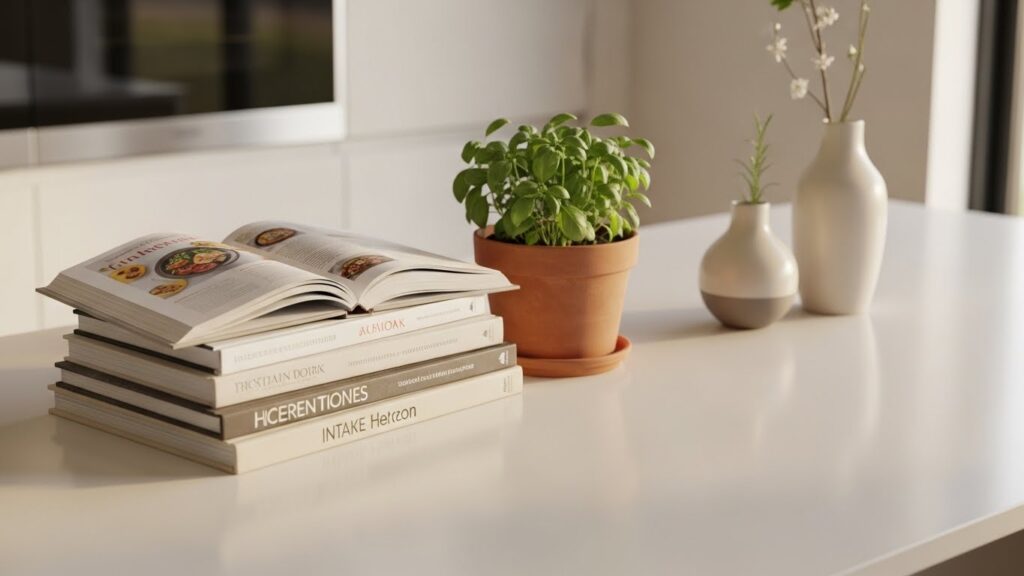
The top of your island is a prime spot for styling. Keep it functional but beautiful. A simple vignette might include a wooden cutting board, a vase with fresh herbs, and a stack of cookbooks. Rotate your decor with the seasons. Change out the items every so often to keep the look feeling new. This costs nothing if you use items you already own. It makes your kitchen feel cared for and personal.
20. Hang Pot Racks Above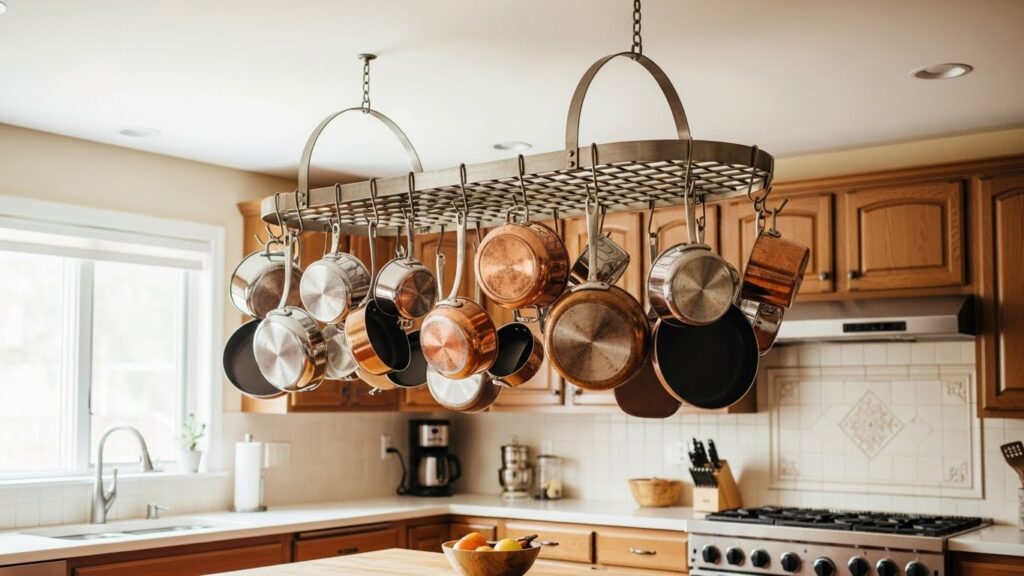
A pot rack above the island frees up cabinet space. It keeps your most-used pots and pans within easy reach. It also becomes a striking visual feature. You can find pot racks in many styles, from modern to rustic. Ensure the rack is securely mounted to a ceiling joist. This is a very practical solution for cooks who want their tools handy. It turns utilitarian items into part of the decor.
21. Define with a New Overhang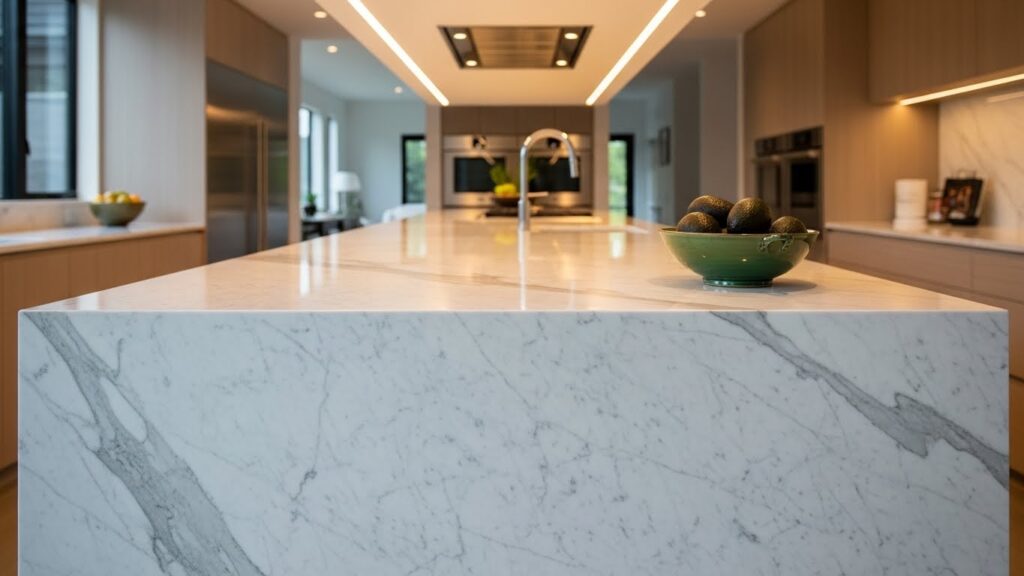
The profile of your island’s countertop affects its style. A waterfall edge, where the countertop material continues down the sides, looks very modern. A more pronounced overhang on one side defines a seating area. Replacing the countertop is the most direct way to achieve this. A carpenter can sometimes extend an existing overhang by reinforcing the base structure. This change gives your island a more custom and intentional design.
22. Integrate Charging Stations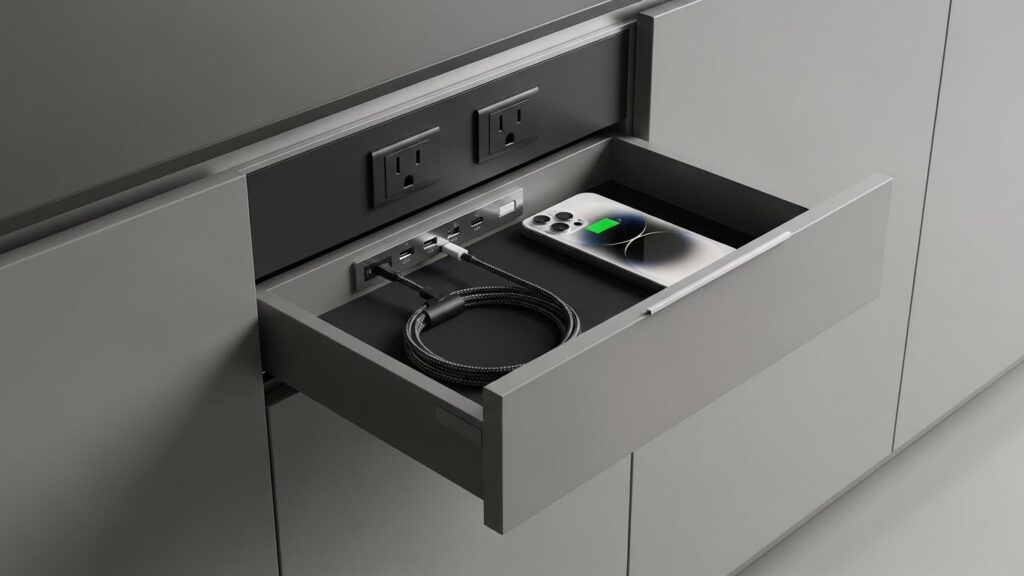
A built-in charging drawer keeps devices powered up but out of sight. You can purchase kits designed for this purpose. They include a power strip that fits inside a standard drawer. This prevents cord clutter on your countertops. Hire an electrician to add a new outlet inside the cabinet if needed. For a simpler fix, use a power strip in a drawer with a hole drilled for the cord. This small addition brings big convenience to a busy kitchen.
You do not need to do everything at once. Pick one idea that feels manageable. A single change can make your kitchen feel new. Start with a project that fits your weekend schedule. See how a small update can change the whole room. Your kitchen will feel more like you.