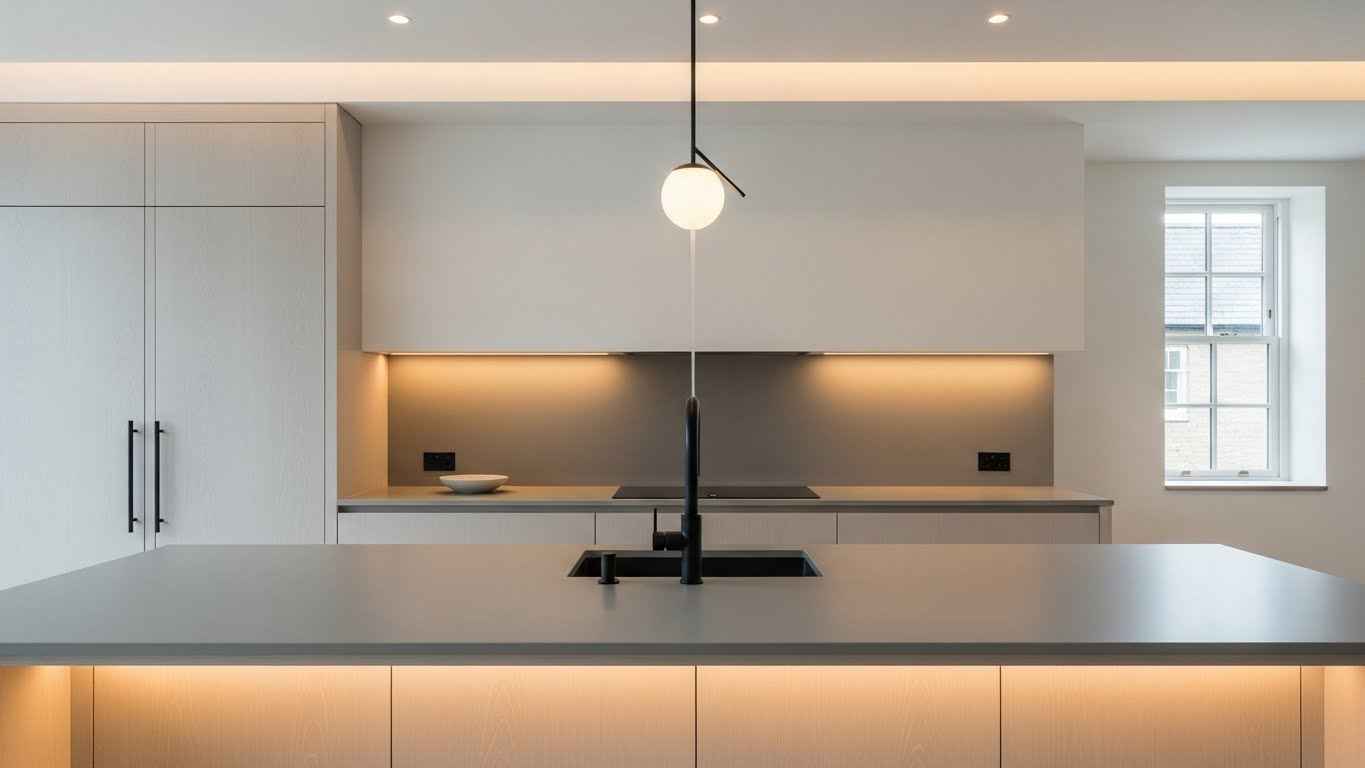
A kitchen island often becomes the heart of a home. It is a place for cooking, eating, and gathering. Giving it a new look can change the whole room. You do not need a full renovation. Small changes make a big difference. These ideas range from simple weekend projects to more involved updates. Find the right style for your space and budget.
1. A Fresh Coat of Paint
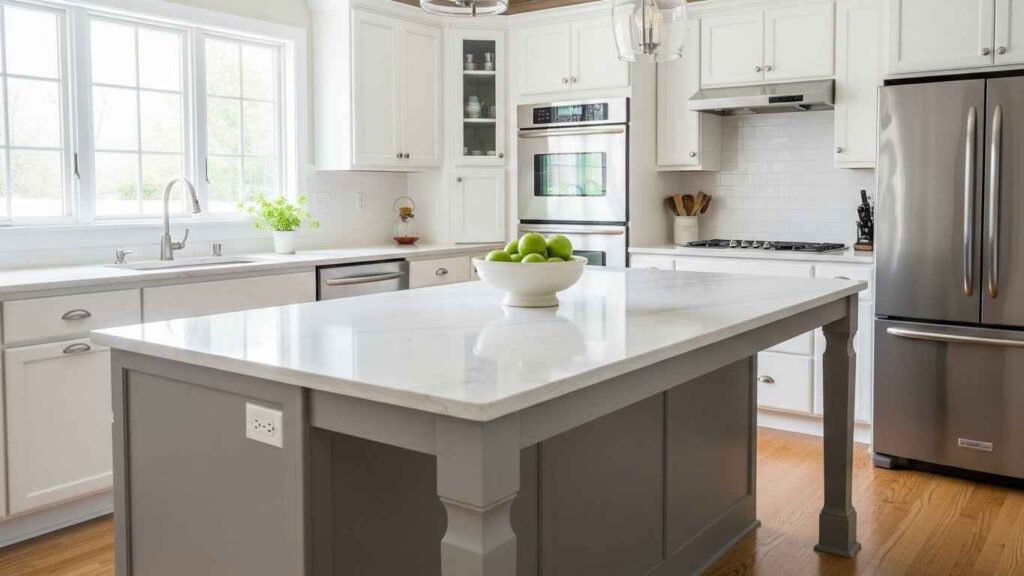
Painting your island is a fast way to create a new centerpiece. Choose a color that stands out from your other cabinets. A deep blue or a warm green adds personality. Proper prep work is key for a smooth finish. Clean the surfaces well and use a good primer. A DIY paint job can save a lot of money. Use a high-quality brush for clean lines. This single change makes the whole kitchen feel new.
2. Modernize with New Hardware

Swapping out knobs and pulls is like giving your island new jewelry. It is one of the easiest updates you can do. Choose a finish that complements your faucet and lighting. Black, brass, and chrome are popular choices. This is a very budget-friendly project that takes just an afternoon. Keep the old hardware to measure for new holes. Or, find new pieces that use the existing holes to make it even simpler.
3. Install a Statement-Making Countertop
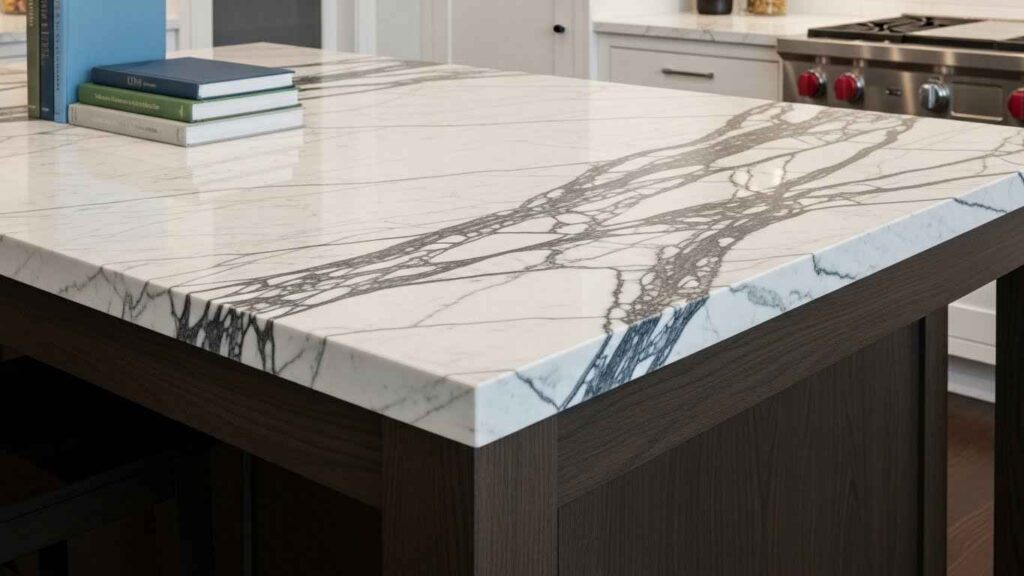
Your countertop is the island’s work surface and a major style element. A beautiful material like quartz, marble, or butcher block becomes a focal point. If a full slab is too costly, consider a less expensive option. A DIY-friendly tile countertop can create a custom look for less. Another idea is to use a remnant piece of stone from a supplier. This works perfectly for an island’s smaller surface area.
4. Add a Second-Level Breakfast Bar

A second level adds function and style. It gives people a place to sit and chat without being in the cook’s way. The different heights create visual interest. You can build this with wood that matches or contrasts your main counter. This is a great DIY project for someone with basic skills. Pre-cut wood from a home center makes it easier. It provides extra seating without taking up more floor space.
5. Incorporate Open Shelving

Open shelves replace solid cabinet panels. They make an island feel less heavy and more open. Use them to display pretty dishes, cookbooks, or small plants. This is a practical way to keep everyday items within reach. Building simple wood shelves is an affordable weekend task. You can use brackets or build a floating shelf design. It adds a casual, collected feel to your kitchen’s centerpiece.
6. Create a Contrasting Color Palette

Painting your island a different color defines its space. A dark island with light cabinets is a classic look. Or try a warm cream island with gray cabinets. The contrast makes the island the clear star of the room. This is a low-cost visual trick with high impact. You only need paint for the island itself. Test paint samples on a large board first to see the color in your kitchen’s light.
7. Install Under-Cabinet Lighting

Lighting underneath the island overhang is both pretty and practical. It provides task lighting for people sitting at the island. It also makes the island appear to float, adding a modern touch. Battery-operated LED tape lights are a simple DIY solution with no wiring needed. They stick on easily and often come with a remote. This small addition creates a cozy atmosphere in the evening.
8. Add a Pop of Color with a Base
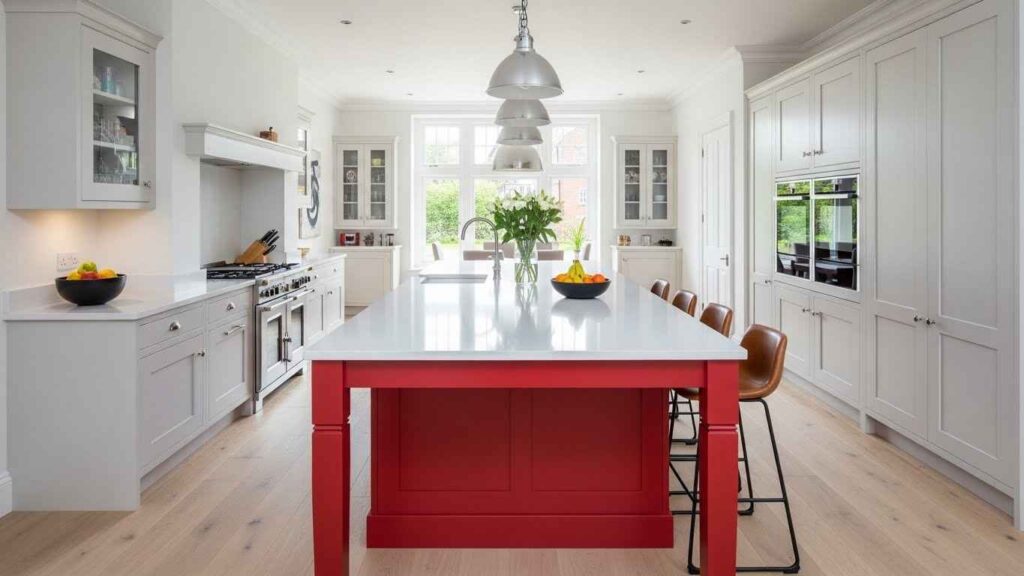
If you love color, let your island show it. A vibrant base adds energy and personality to a neutral kitchen. Think about a sunny yellow, a rich emerald, or a cheerful coral. This is a safe way to experiment with a bold hue. A gallon of colorful paint is all you need for this change. If you change your mind later, it is easy to paint over. It is a commitment that is not permanent.
9. Swap Out the Sink and Faucet
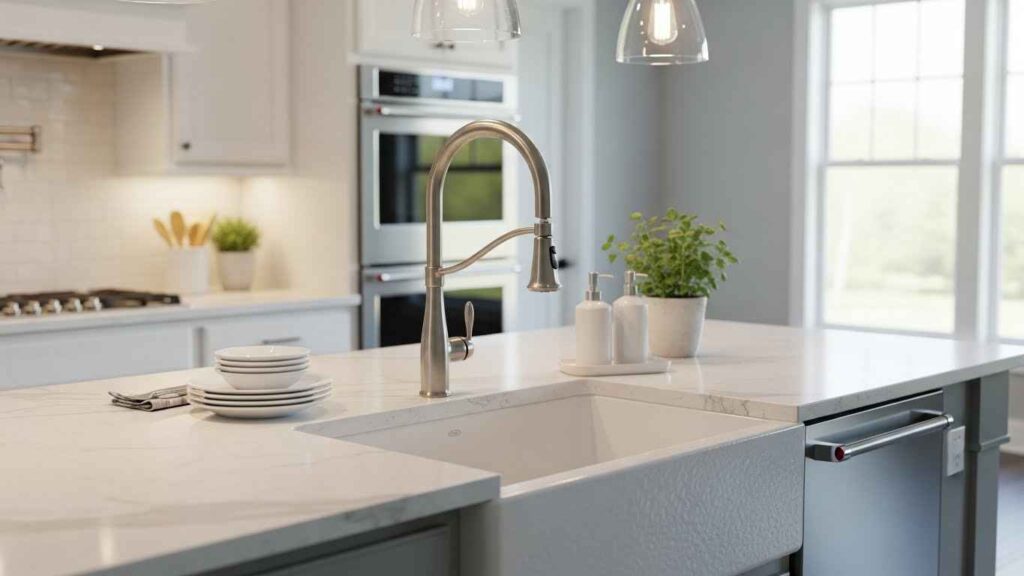
An island sink is a great prep area. Updating it improves function and style. A deep, single-bowl sink is perfect for washing large pots. A new faucet with a pull-down sprayer makes cleaning easier. Look for a faucet with a finish that matches your other hardware. This creates a cohesive look. You can often install a new faucet yourself with basic tools.
10. Apply a Peel-and-Stick Backsplash
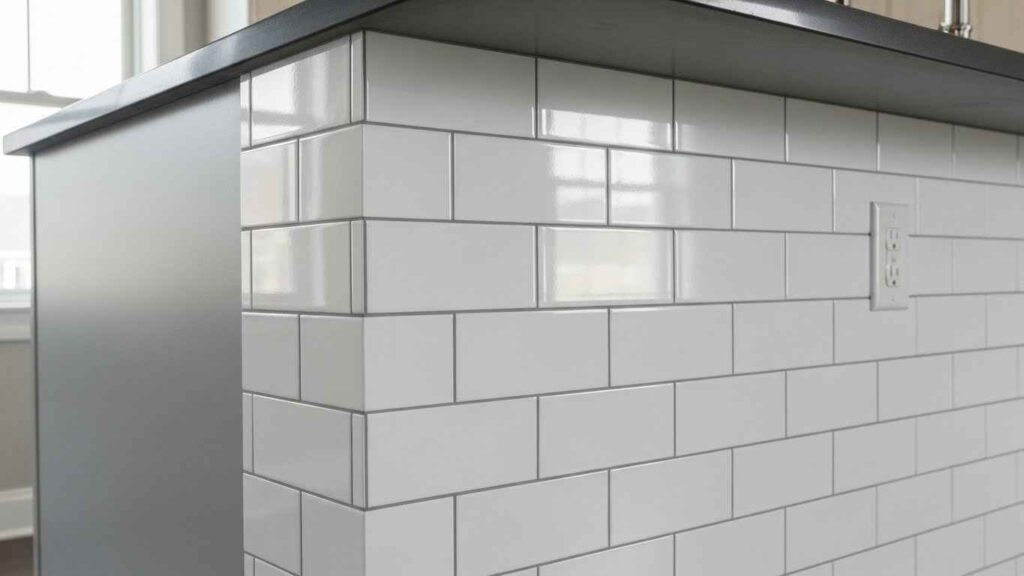
The sides of your island are a perfect spot for a mini backsplash. It protects the surface from kicks and spills. Peel-and-stick tiles are a renter-friendly and budget-conscious choice. They come in many styles, from marble to metallic. This is an easy, no-mess DIY project. You can complete it in a few hours. If you make a mistake, you can peel it off and try again. It adds detail without the cost of real tile.
11. Integrate a Built-In Wine Rack
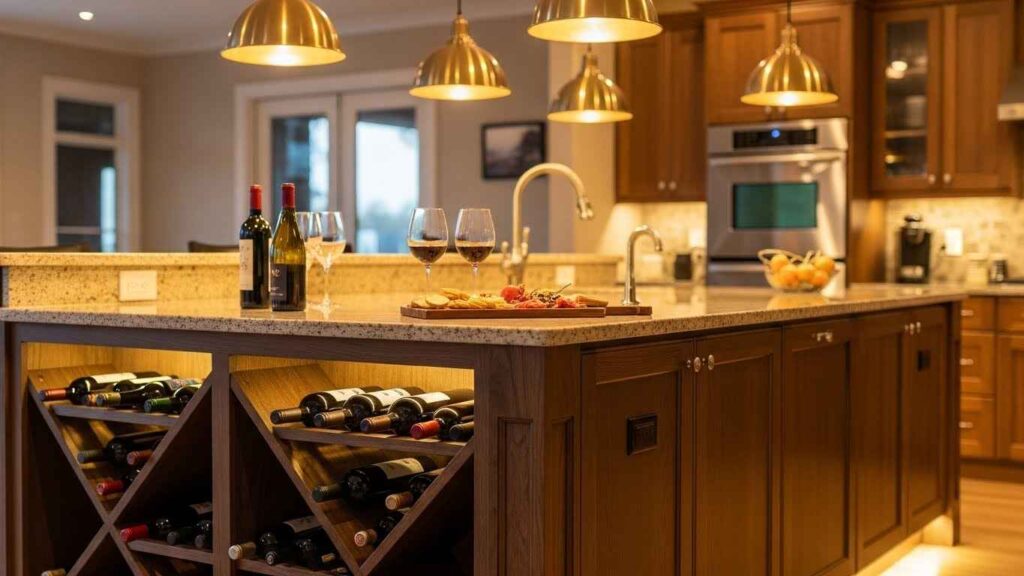
A built-in wine rack turns your island into a entertainment hub. It keeps your favorite bottles handy for dinners and parties. The design can be simple X-shaped dividers or a more modern grid. Building a basic wine rack is a achievable woodworking project. You can find pre-made rack inserts at home improvement stores. This adds a custom, hospitable touch to your kitchen.
12. Create a Dedicated Coffee Station

Dedicate a corner of your island to coffee. It keeps your morning routine contained and efficient. Use a tray to corral the coffee maker, mugs, and supplies. Install a small shelf underneath for storing coffee and filters. A simple wooden tray is a budget-friendly way to define the space. Add a small basket for sweeteners and stir sticks. This makes your island multi-functional from breakfast onward.
13. Update with Chic Bar Stools

Bar stools are both furniture and decor. New stools can instantly modernize your island’s look. Choose a style that fits your kitchen, like industrial metal or warm wood. Consider backless stools for a sleek profile that saves space. Shopping for secondhand stools can lead to great finds. You can often repaint or reupholster them to match your new style. They complete the seating area with purpose.
14. Install a Butcher Block Top

Butcher block brings warmth and a natural feel to a kitchen. It is a forgiving surface that is gentle on dishes. You can use it for food prep directly on the surface. Butcher block is often more affordable than stone countertops. Many home centers sell pre-cut slabs that are ready to install. Regular oiling keeps it looking beautiful and protects it from stains.
15. Add Wheels for a Moveable Island

A mobile island offers ultimate flexibility. You can move it for cleaning, parties, or to create more space. This is ideal for a rental or a frequently changing layout. You can convert a existing table or a sturdy cart into an island. Attach heavy-duty locking casters to the legs. This gives you a portable work surface and storage that goes where you need it.
16. Incorporate Pattern with Wallpaper

Wallpaper on the island’s end panels is a bold move. It adds pattern and texture without overwhelming the room. Choose a durable, wipeable vinyl wallpaper for easy cleaning. Peel-and-stick wallpaper makes this a simple, temporary update. You can apply it just to the side panels for a surprise element. It is a great way to express your personal style in a small dose.
17. Define the Space with a Runner Rug

A runner rug adds softness, color, and pattern underfoot. It helps define the work zone around the island. It also protects your floor and reduces noise. Choose a flat-weave or indoor-outdoor rug for easy cleaning. These rugs are durable and can handle spills. A rug makes a large kitchen feel more intimate and comfortable for those standing at the island.
18. Build in Appliance Garages
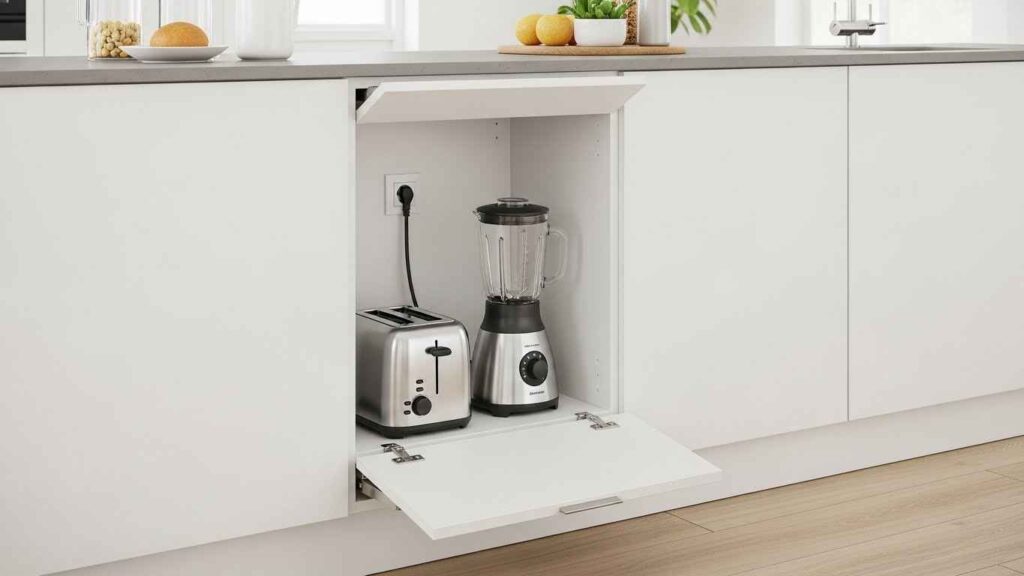
Appliance garages are small cabinets that hide countertop clutter. They keep your toaster, mixer, or blender out of sight but within reach. This gives your island a clean, streamlined look. You can build a simple box with a hinged door to create one. Install an outlet inside so appliances can be plugged in and ready to use. It is a smart solution for a tidy counter.
19. Create a Seamless Look with Matching Cabinetry

Matching your island to the surrounding cabinets creates a unified, expansive feel. This works well in smaller kitchens where contrast might feel too busy. It makes the space look larger and more custom-built. Using the same paint color is the easiest way to achieve this. If you are building a new island, use the same cabinet door style. The result is calm and orderly.
20. Add Character with Corbels and Legs

Decorative corbels and legs make your island look like a piece of furniture. This adds architectural interest and a sense of history. Corbels provide physical support for a heavy countertop overhang. You can find pre-made corbels at most home improvement stores. They are easy to install with strong brackets. This detail turns a basic box into a custom-designed centerpiece.
21. Install Functional and Stylish Outlets

Modern islands need power for phones, laptops, and appliances. Pop-up outlets installed in the countertop keep cords off the surface. They disappear when not in use for a clean look. Choose a finish that matches your hardware. A pop-up outlet is a practical upgrade for any household. Many are designed for DIY installation into a hole cut in the countertop. It combines function with a sleek appearance.
Start with one small project that feels manageable. A new coat of paint or some updated hardware can set a new tone. Each change you make builds toward a kitchen that works better for you and feels more like home. Your island is waiting for its next chapter.