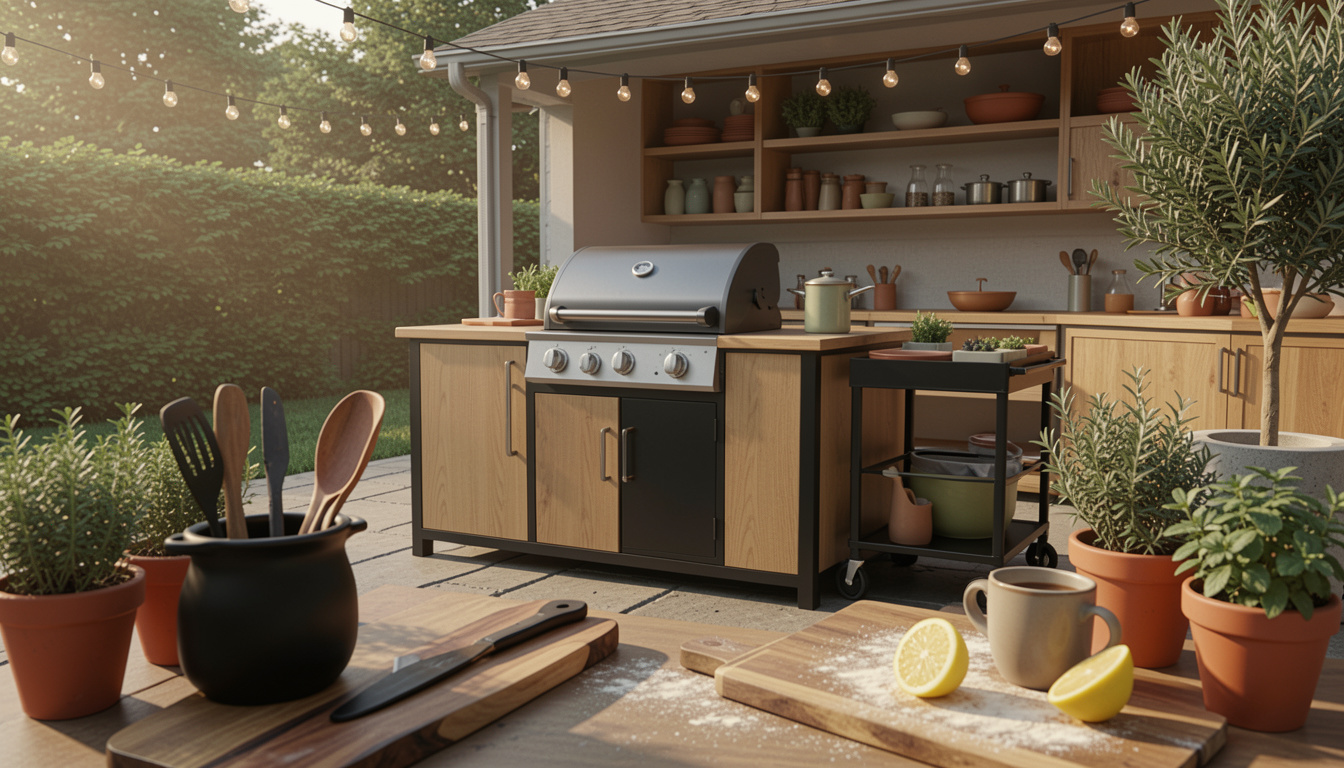
I burned through three summers before I learned the trick: start with the cooking core and build the rest around it. If you want a budget backyard outdoor kitchen that reads custom, begin with grill plus prep surface, then layer storage, lighting, and a single anchor material. Below are 15 real setups I actually used or styled, most under $500 and a few splurges around $1,200.
Warm, layered, and wearable in the yard. Most looks here run from mostly under $75 for accents up to a few elements around $300 to $1,200 for structures. These suit farmhouse, modern rustic, and small patios. A scan of 20 trend posts showed string lights and warm wood accents among the top recurring ideas, per DecorAI and Country Living.
1. Freestanding Grill With Rolling Prep Cart Zone
Style: Modern Rustic | Budget: $150 to $500 | Best For: Renters & small yards
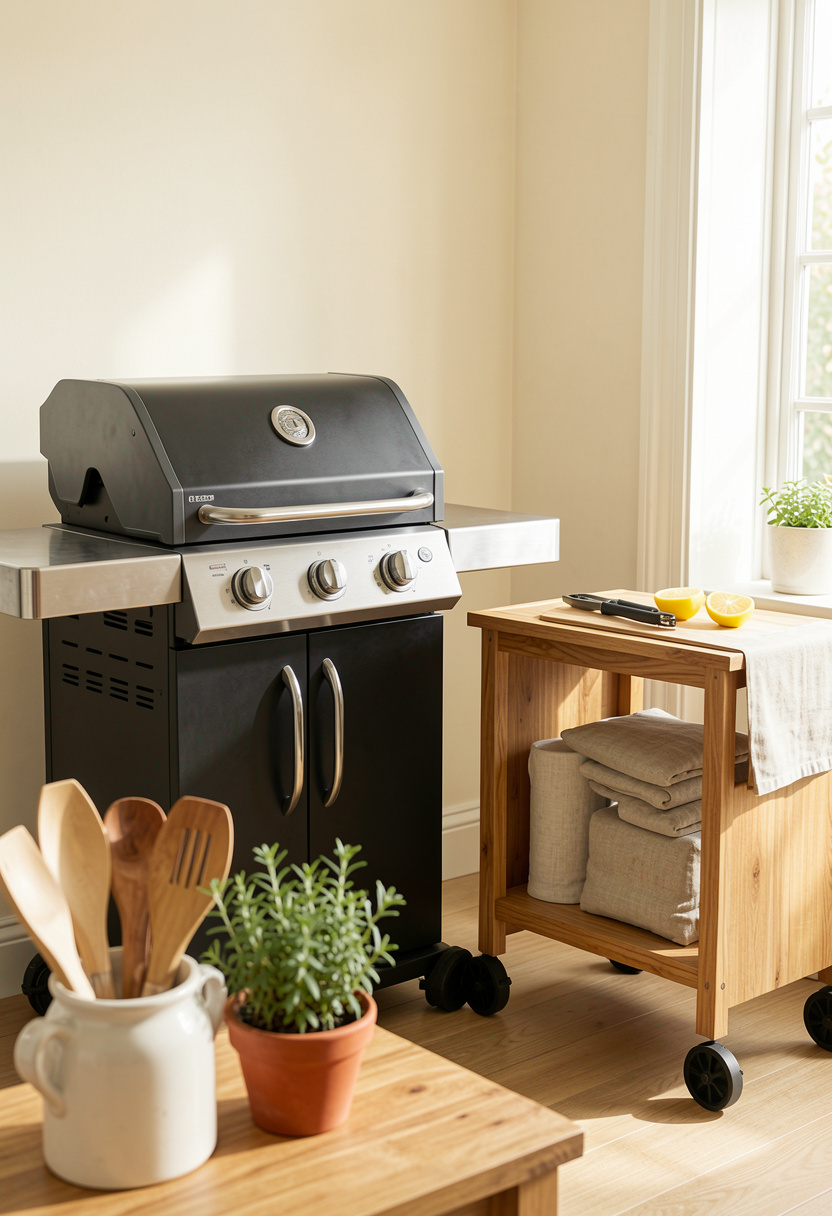
Start here if you only want one thing that actually cooks. I used a portable gas grill and paired it with a rolling prep cart to create a kitchen that looks intentional without building in. The trick is matching finishes, like a matte black cart frame with a warm wood top, so it reads coordinated. Expect to spend around $120 to $450 for a decent grill plus cart. Quick tip, secure the cart wheels with locks and cover the grill when not in use so weather won’t dull finishes.
Shop this idea:
2. Open Shelving With Warm Wood and White Ceramics
Style: Bright & Airy | Budget: $40 to $150 | Best For: Styling and storage
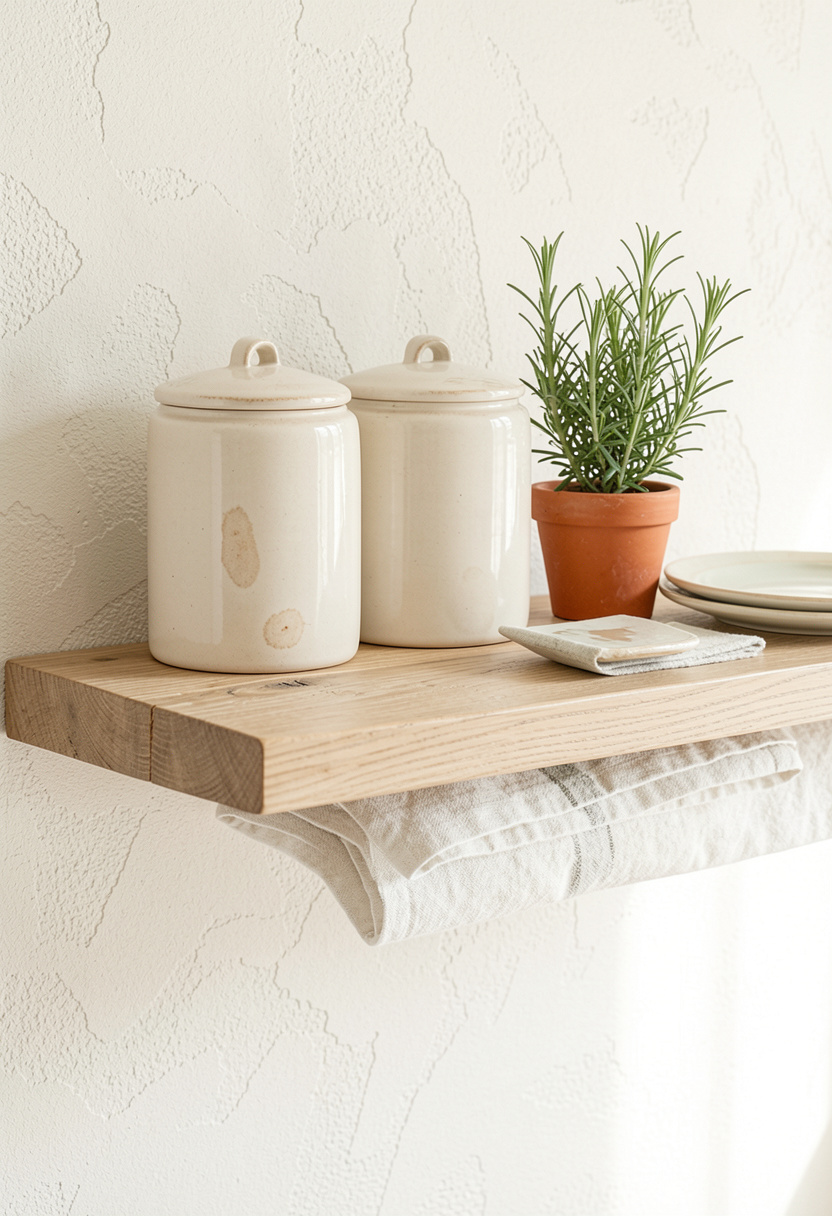
Open shelves changed my outdoor counter from junky to curated. I mixed matte white ceramic canisters with a leaning acacia board and a single herb cluster. Price anchor: good shelves and three ceramic canisters run around $60 to $140. Installation tip, use heavy-duty anchors and leave lower shelf for daily cook tools so countertops stay clear. I once overloaded small brackets; lesson learned, spend a few extra dollars on rated hardware.
Shop this idea:
3. String Lights and Lantern Glow Layering
Style: Cozy Entertaining | Budget: $25 to $120 | Best For: Nighttime gatherings
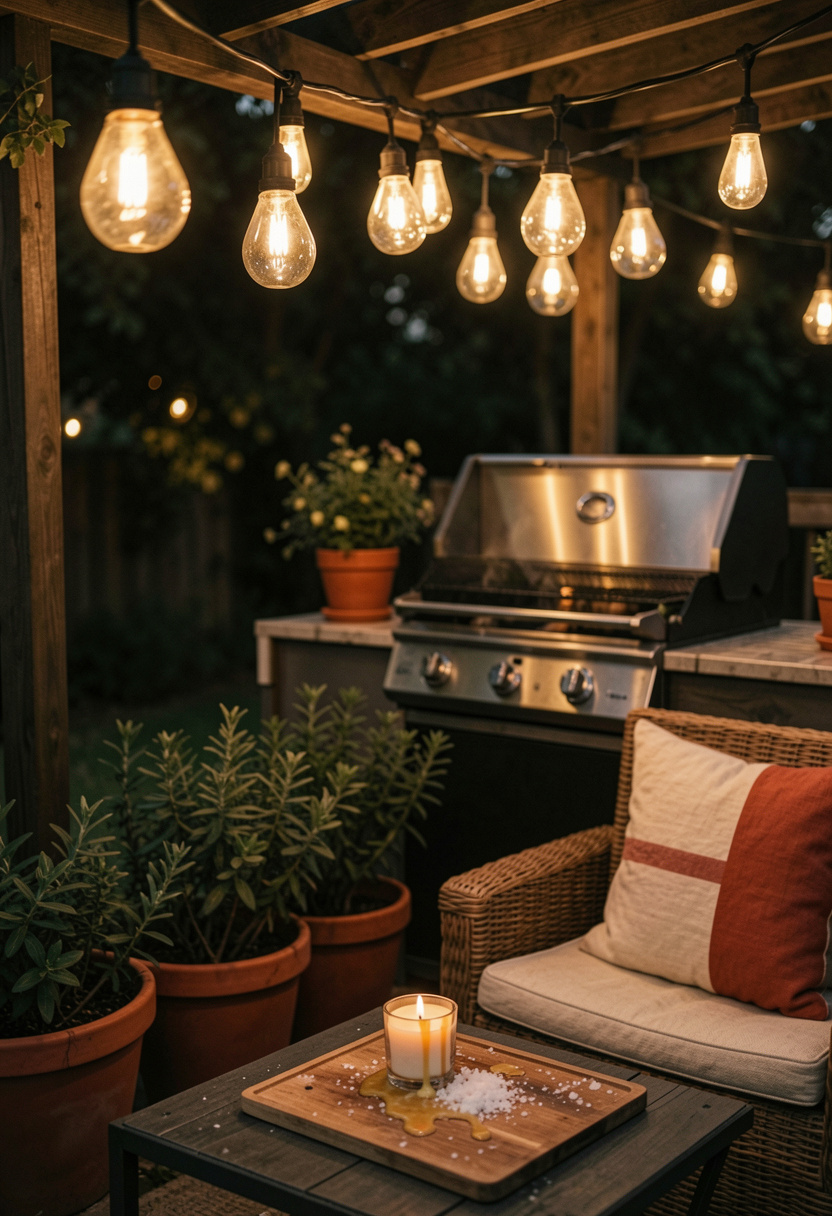
String lights are the single easiest upgrade that makes a budget backyard outdoor kitchen feel finished. I hung warm white outdoor string lights across my pergola and swapped in solar lanterns on the counter. You can create ambience for around $25 to $80. Pro tip, hang them in gentle arcs rather than straight lines to avoid a market-stall vibe. I used dimmable bulbs so the glow felt like candlelight, not a parking lot.
Shop this idea:
4. Repurposed Dresser Turned Prep Station
Style: Rustic Cottage | Budget: $50 to $300 | Best For: Upcycling lovers
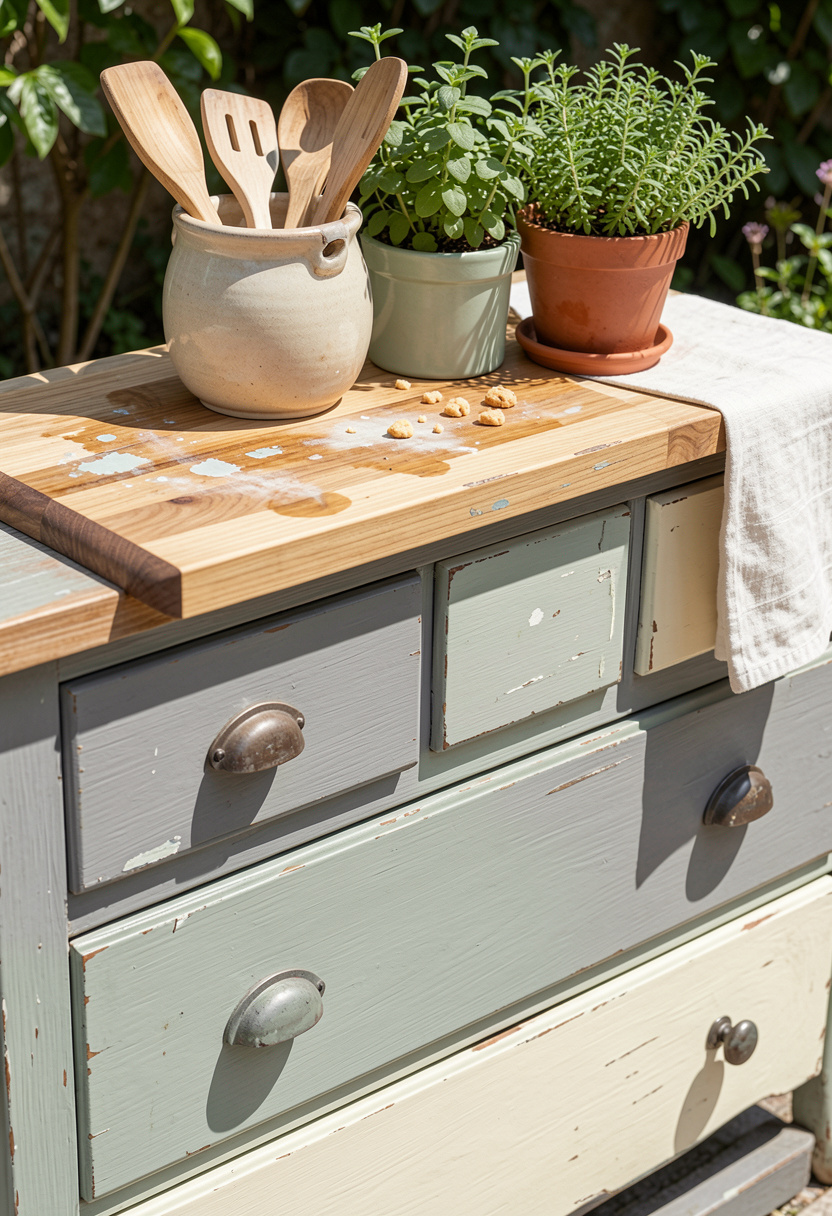
I rescued a thrifted dresser and swapped the top for a sealed butcher block, turning it into instant outdoor storage. This reads bespoke because of the scale and hardware, and cost me under $200 including sealing. Tip, use exterior-grade polyurethane and replace bottom drawer slides with baskets for airflow. Ugly truth: untreated indoor furniture warps fast outside, so always seal and elevate off the ground.
Shop this idea:
5. Cinder Block Base With Simple Top
Style: Industrial Utilitarian | Budget: $100 to $400 | Best For: DIY builders
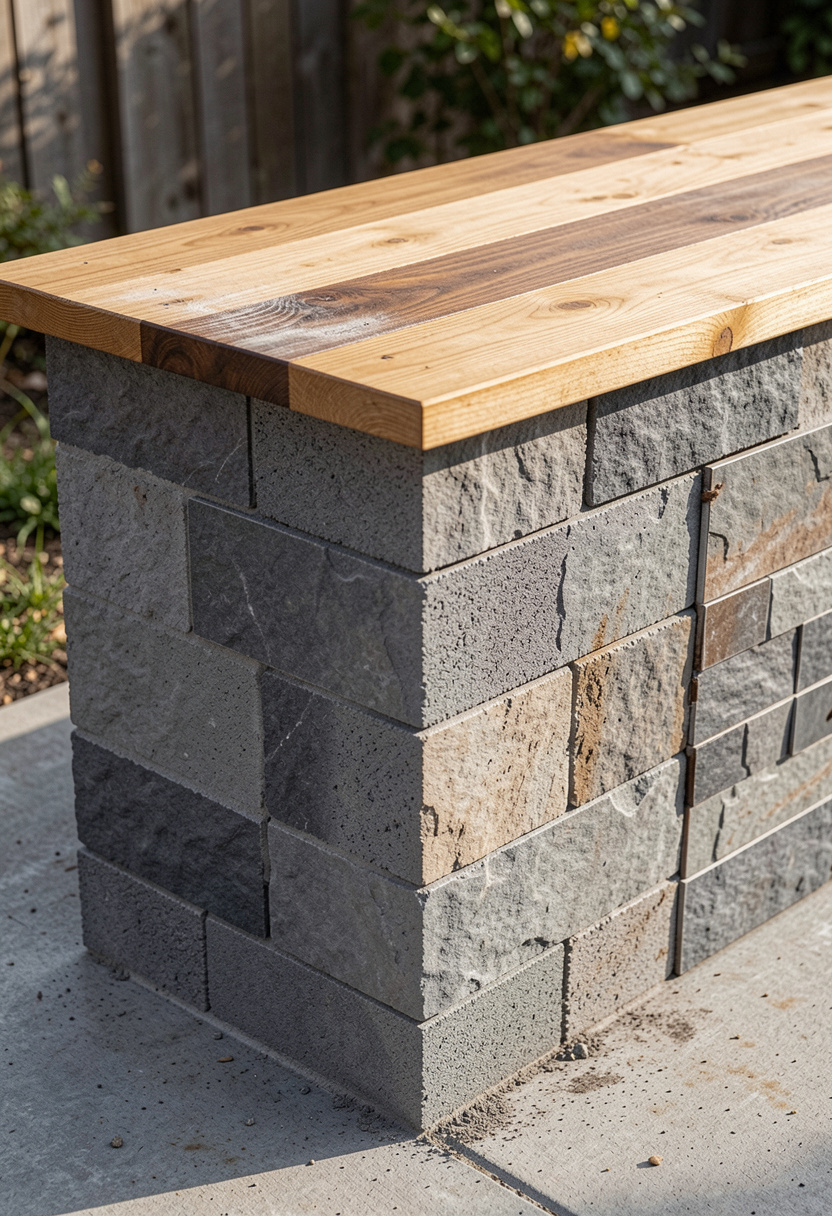
Cinder blocks are the no-brainer fast base when you want a built-in look on a tight budget. I stacked sealed cinder blocks, capped them with exterior plywood and thin stone-look tile. Cost was about $120 to $300. Practical tip, anchor the blocks with masonry adhesive and use outdoor sealant on the top. What doesn’t work: leaving raw plywood exposed. It soaks up moisture and peels quickly.
Shop this idea:
6. Brick or Stone Grill Nook
Style: Classic Rustic | Budget: $250 to $900 | Best For: Anchoring a focal wall
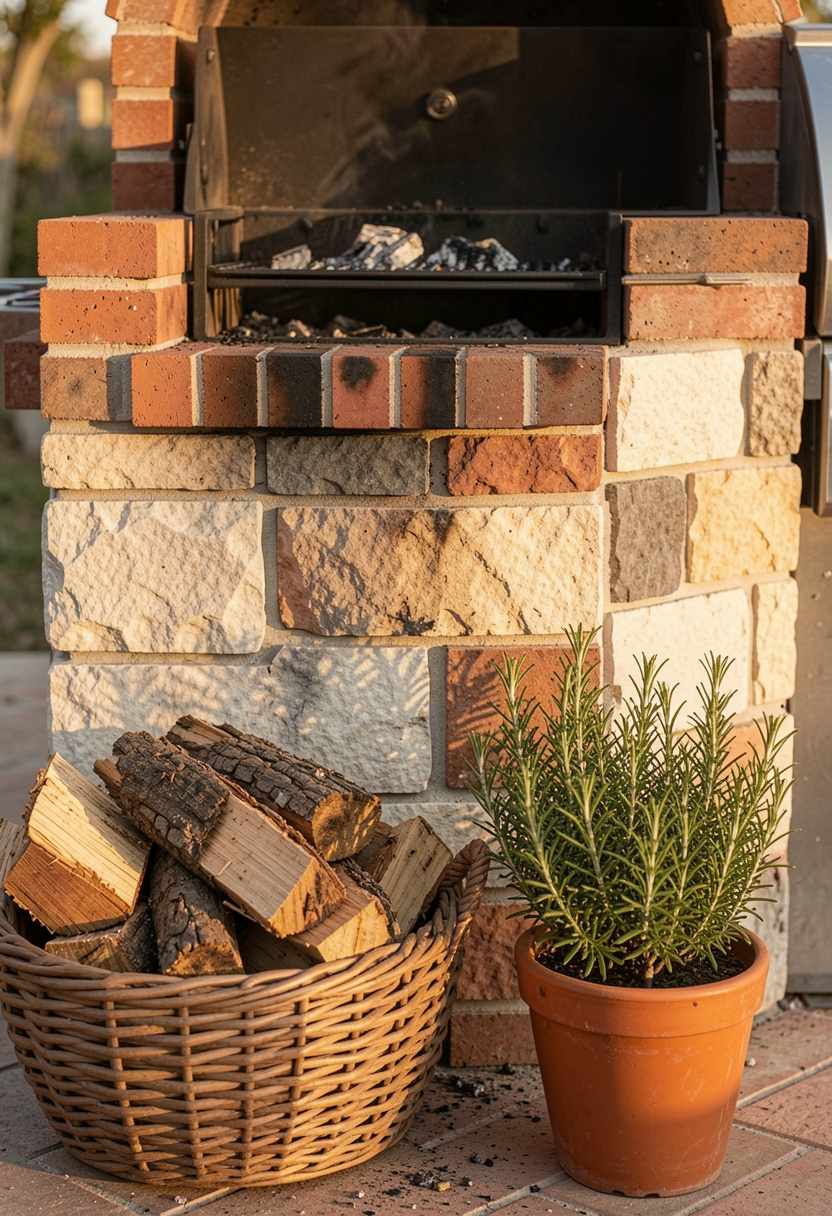
A partial brick or stone surround makes even an inexpensive grill feel built-in. I used a brick veneer clipped to a plywood frame and set a stone cap ledge for serving. Expect $250 to $900 depending on veneer choice. Tip, keep one material dominant to avoid a patchwork look. Honest bit: full stone kitchens look amazing, but on small budgets they often consume funds and leave no room for lighting or seating.
Shop this idea:
7. Pergola-Framed Dining and Cooking Area
Style: Mediterranean-Lite | Budget: $300 to $1,200 | Best For: Defined outdoor rooms
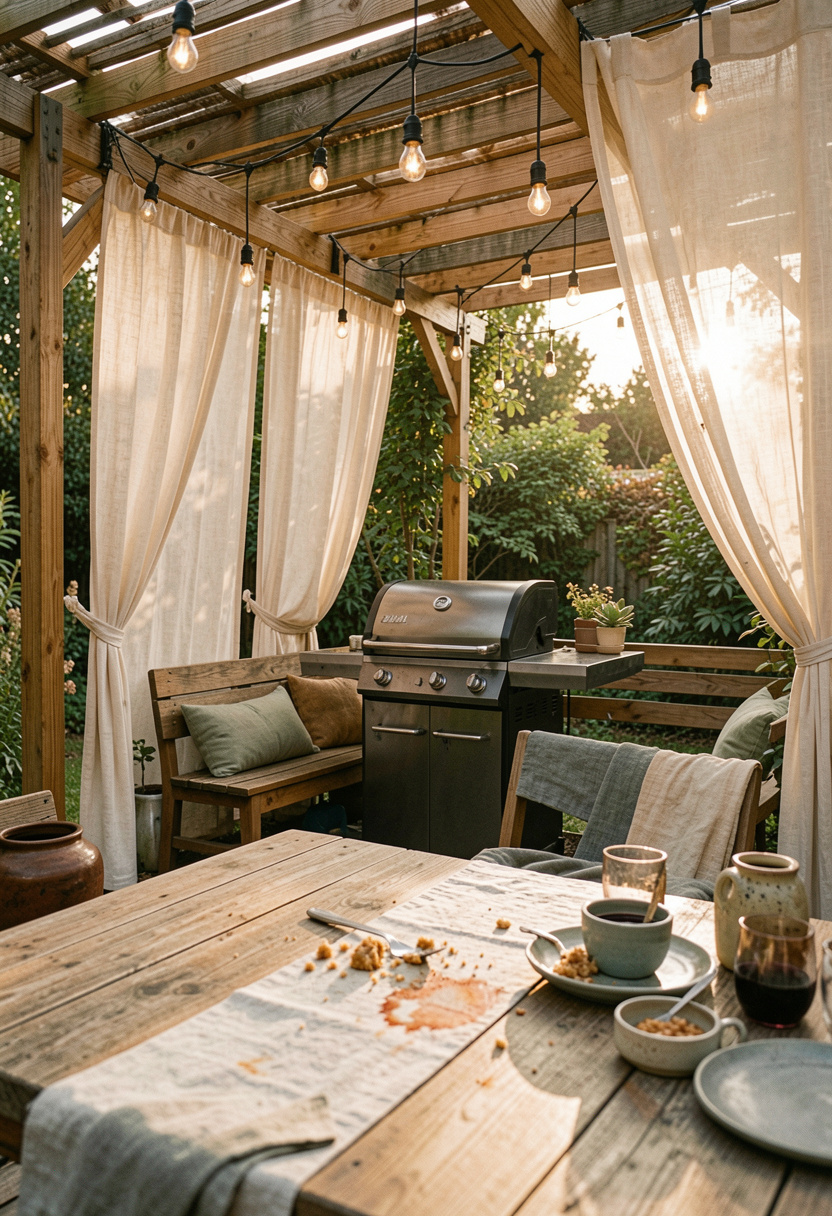
A modest pergola instantly defines the kitchen as a room. I installed a simple kit and hung curtains plus string lights. It cost about $300 to $1,200 depending on size. Practical note, anchor posts properly into concrete and plan shade orientation to avoid afternoon glare. Little-known save: paint the pergola a muted cream for a designer look without custom carpentry.
Shop this idea:
8. Potted Herb Cluster for the Counter
Style: Coastal Cottage | Budget: $20 to $80 | Best For: Fresh flavor and look
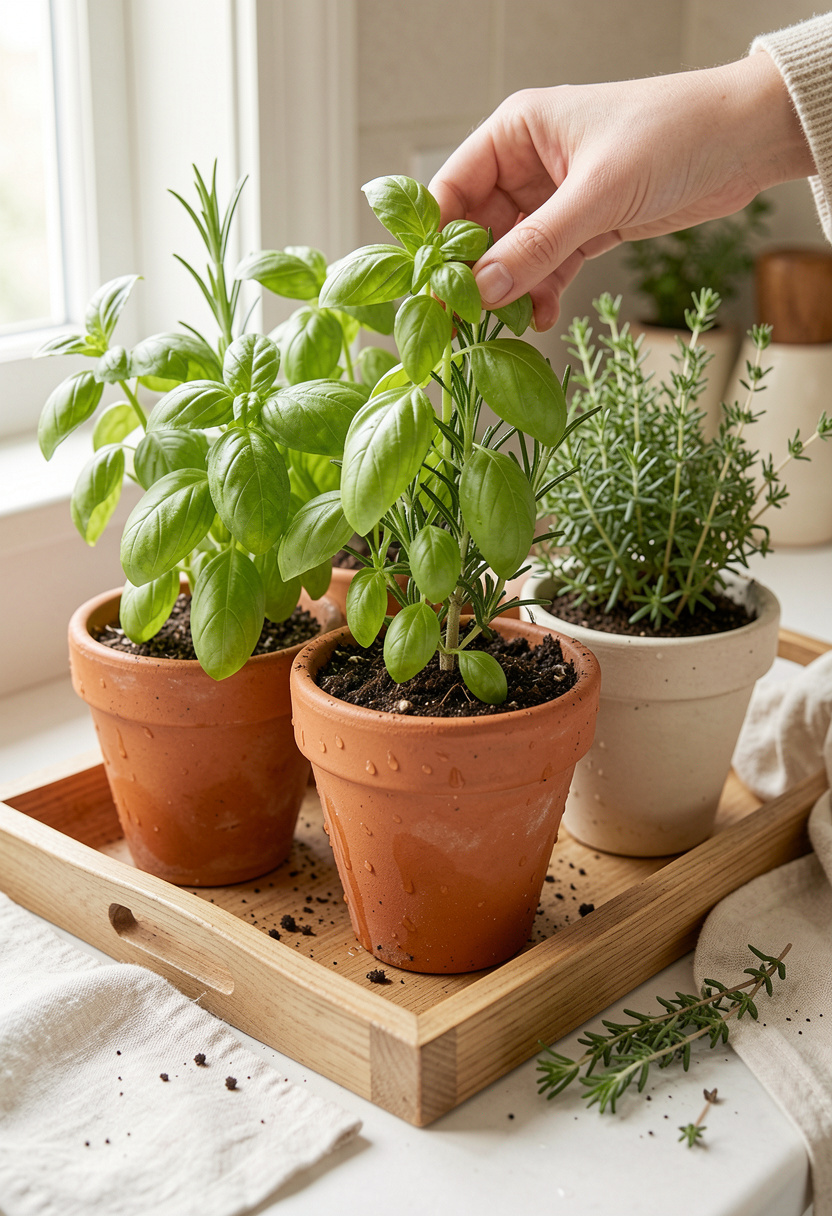
Tiny herb pots are the fastest change that adds life to a budget backyard outdoor kitchen. I cluster three terracotta pots on a tray near the grill for quick snips while cooking. This costs around $20 to $60. Maintenance tip, choose sun-tolerant herbs like rosemary and oregano and use saucers to protect surfaces. I once planted basil in a tiny pot and it dried out in a week; bigger pots last longer.
Shop this idea:
9. Wall-Mounted Tool and Board Display
Style: Farmhouse Industrial | Budget: $30 to $100 | Best For: Saving counter space
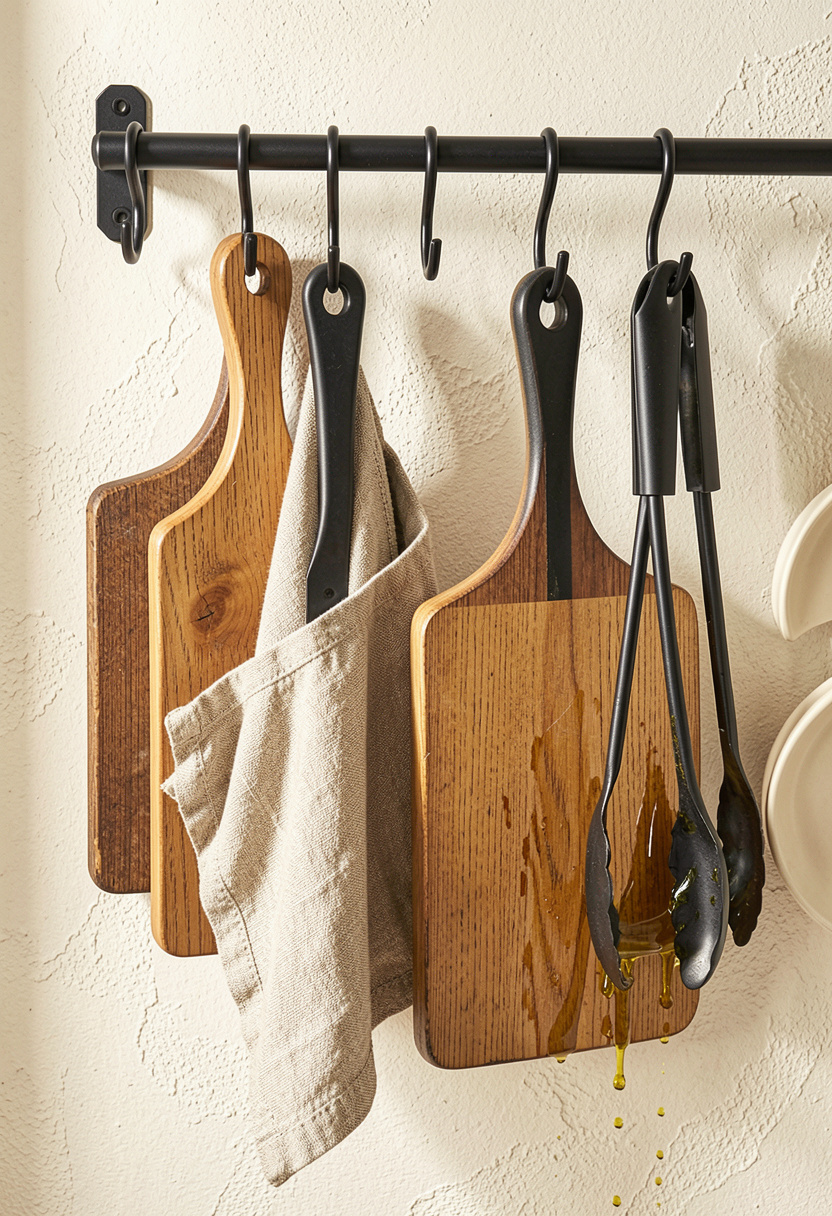
Hanging your tools turns storage into decor. I installed a black metal hook rail and leaned a decorative acacia cutting board behind the prep area. Cost: about $30 to $80. Tip, group tools by use and keep heavy items lower for safety. Honest moment: mixing too many hardware finishes made my first attempt feel random; switching everything to matte black unified the wall instantly.
Shop this idea:
10. Corrugated Metal Fronts for a Tough Look
Style: Industrial Modern | Budget: $75 to $250 | Best For: Hiding cheap shelving
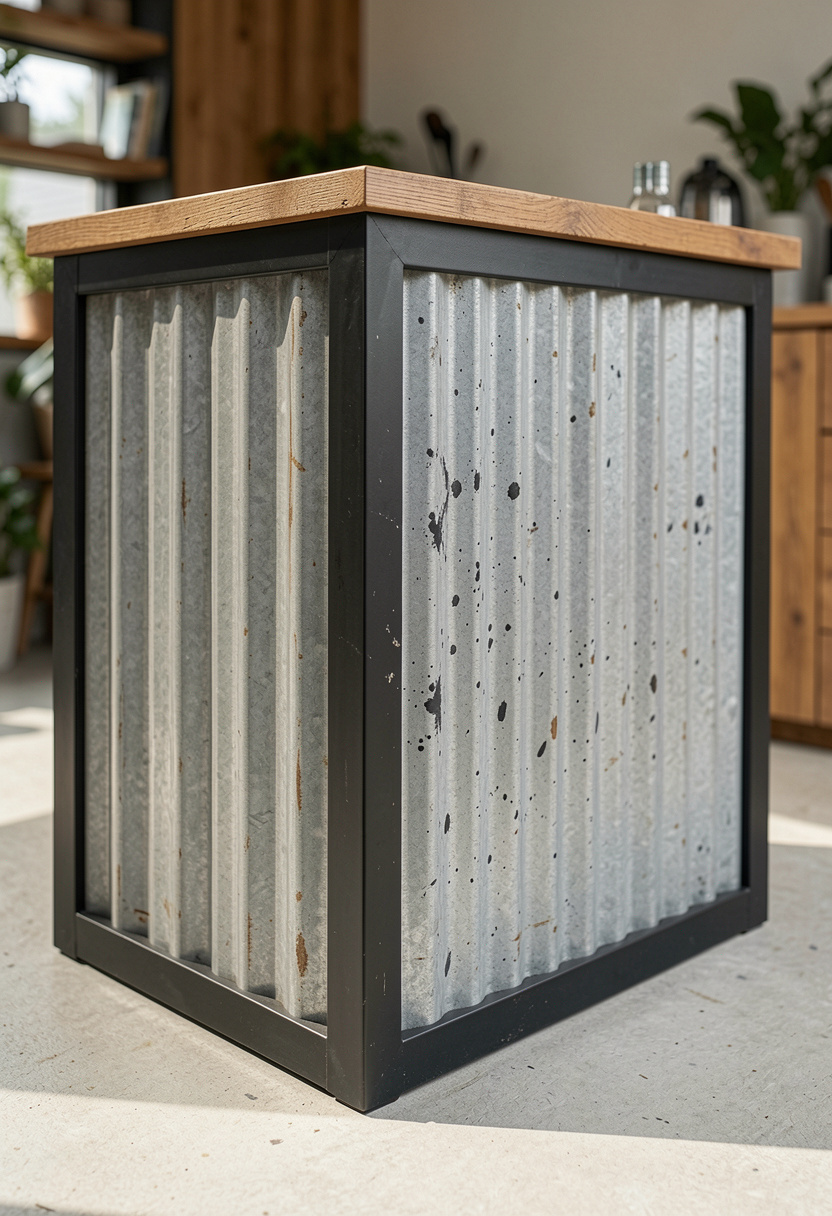
Corrugated metal panels make a simple base feel purposely industrial. I used corrugated panels over a basic plywood island and painted trim in matte black. Expect $75 to $250. Installation tip, pre-drill holes and use rubber washers to prevent rust stains. What doesn’t work is mixing corrugated metal with glossy brass hardware; pick one metal story and stick to it.
Shop this idea:
11. Fold-Down Serving Shelf or Mobile Table
Style: Minimalist Flexible | Budget: $40 to $250 | Best For: Small patios and renters
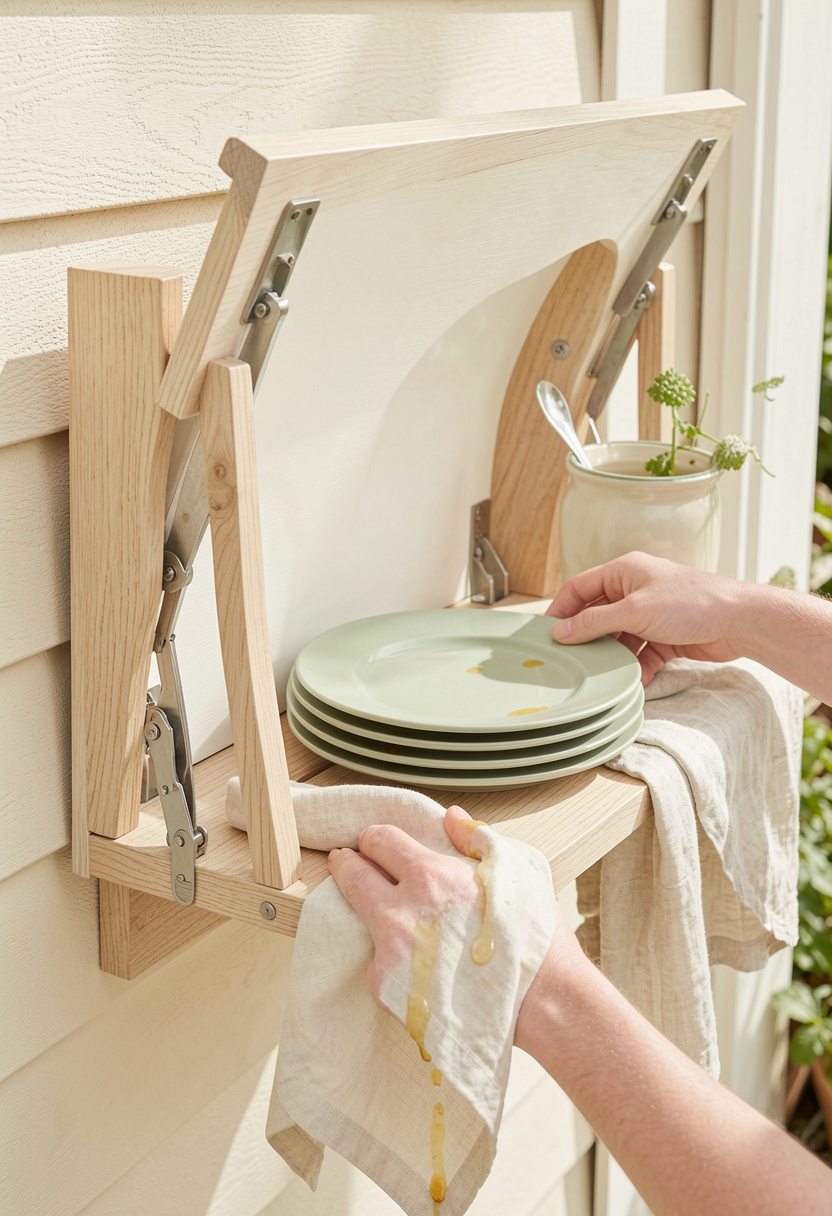
If you need serving space that disappears, a fold-down shelf or wheeled table is a game saver. I installed a narrow fold-down ledge near my grill and added a compact folding table on wheels. Cost runs $40 to $200. Tip, use stainless hinges and add a cleat for stability. Rental truth: these are removable, look intentional, and keep your landlord happy.
Shop this idea:
12. Simple Tile or Peel-and-Stick Backsplash
Style: Transitional | Budget: $150 to $600 | Best For: Making a focal wall
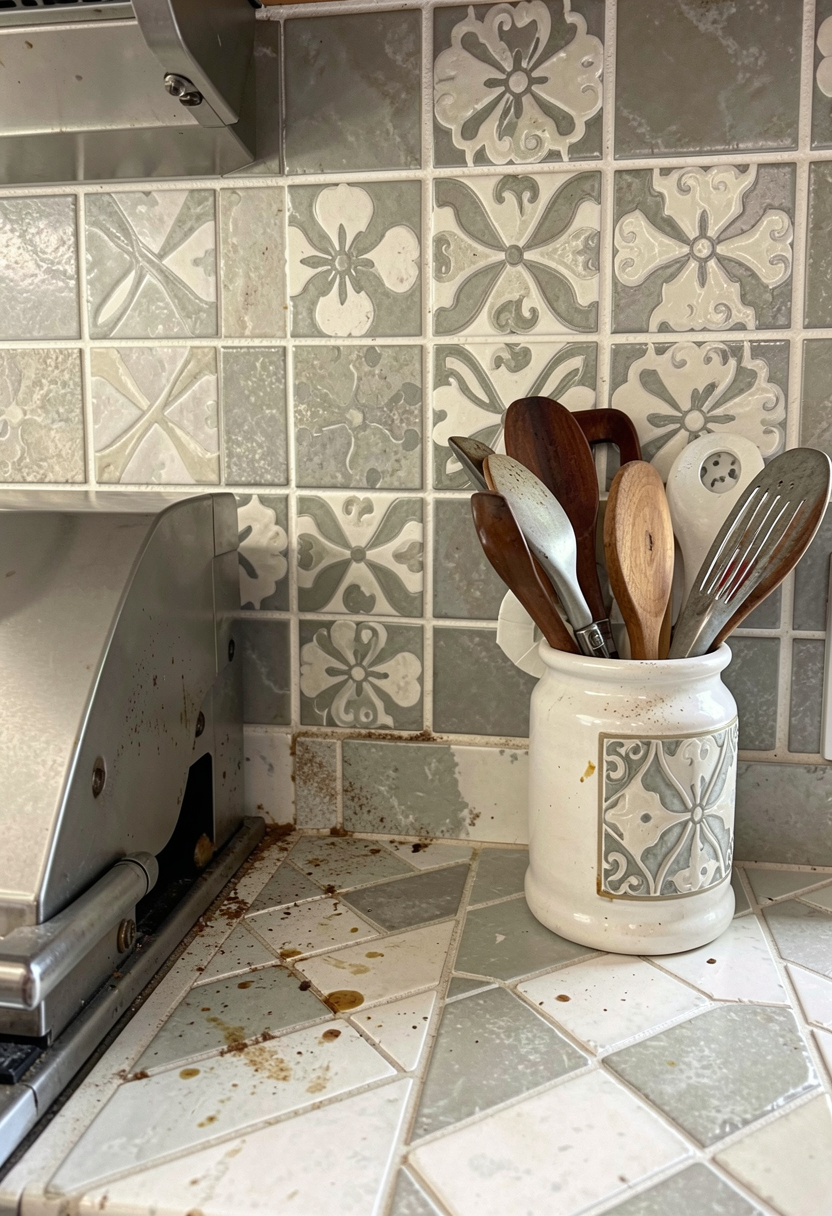
A tile backsplash behind your grill gives the most finished payoff per dollar. I used peel-and-stick ceramic tiles for easy install and a grout sealer. Expect $150 to $400 for a small section. Tip, prep the wall with a degreaser so tiles stick outdoors. Ugly truth: cheap adhesive fails if you skip surface prep, so take the extra 10 minutes to sand and clean.
Shop this idea:
13. Modular Grill Cabinets for a Built-In Look
Style: Contemporary Transitional | Budget: $300 to $1,500 | Best For: Staged upgrades
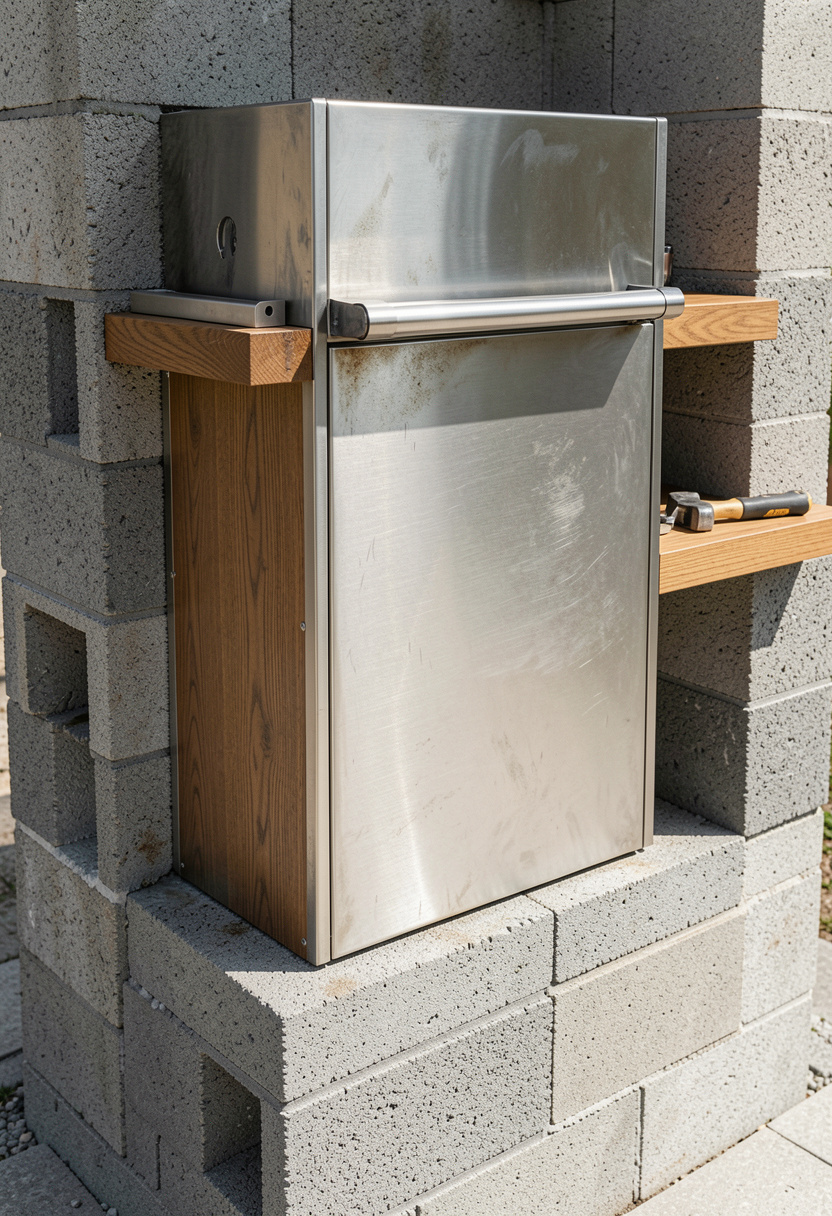
Modular cabinets and grill surrounds mimic built-ins without the contractor bill. I fitted a ready-made stainless modular cabinet into a cinder base and added a stone cap. Price ranges widely, roughly $300 to $1,500. Tip, measure grill widths carefully and leave ventilation gaps. I once bought a cabinet that didn’t clear the grill handle; measure twice, buy once.
Shop this idea:
14. Picnic-Style Entertaining Corner
Style: Casual Boho | Budget: $80 to $400 | Best For: Family meals and guests
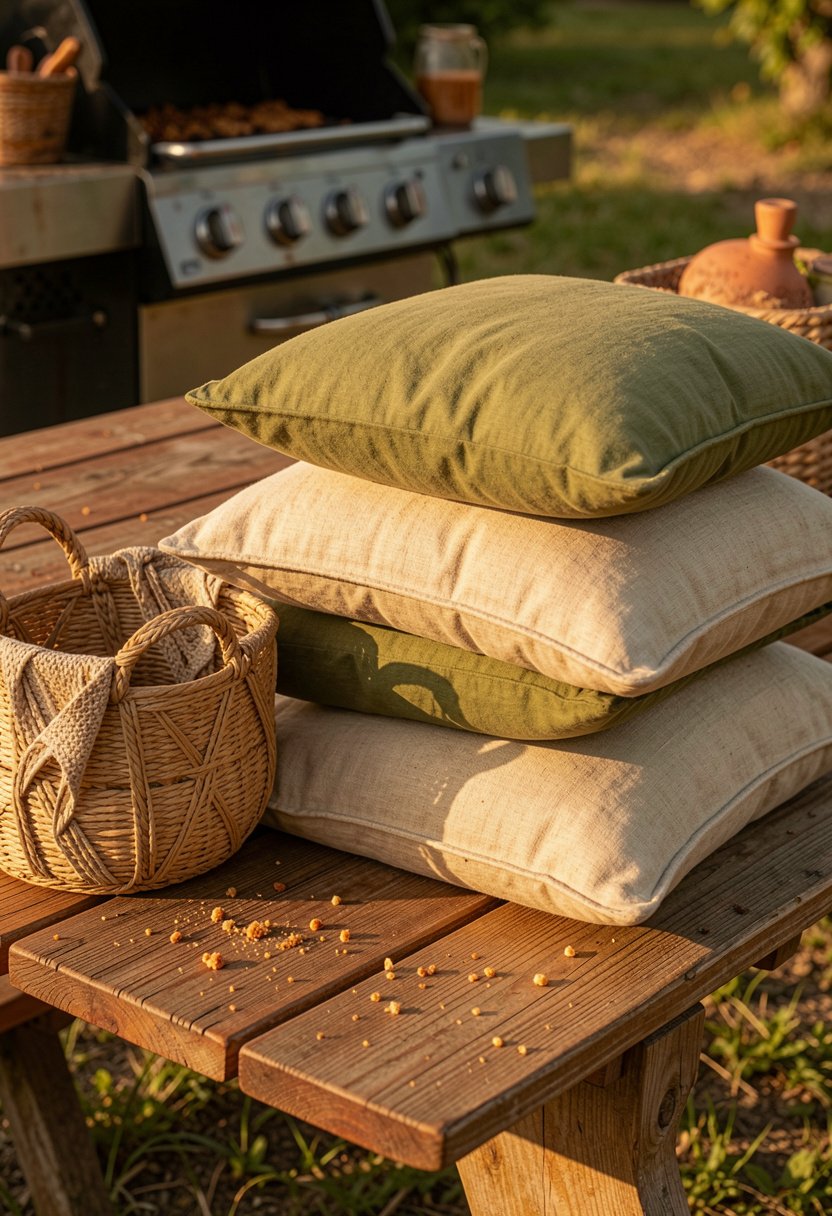
A simple picnic table and bench make the space feel intentional and cozy. I swapped formal chairs for a picnic bench and layered weatherproof cushions. Budget runs $80 to $400 depending on materials. Tip, choose removable seat cushions for easy washing. Real talk: expensive dining sets look great, but a well-styled bench is friendlier for kids and fits narrow patios.
Shop this idea:
15. Faux Olive Tree as a Corner Anchor
Style: Lived-In Editorial | Budget: $70 to $110 | Best For: Making a small kitchen feel designed
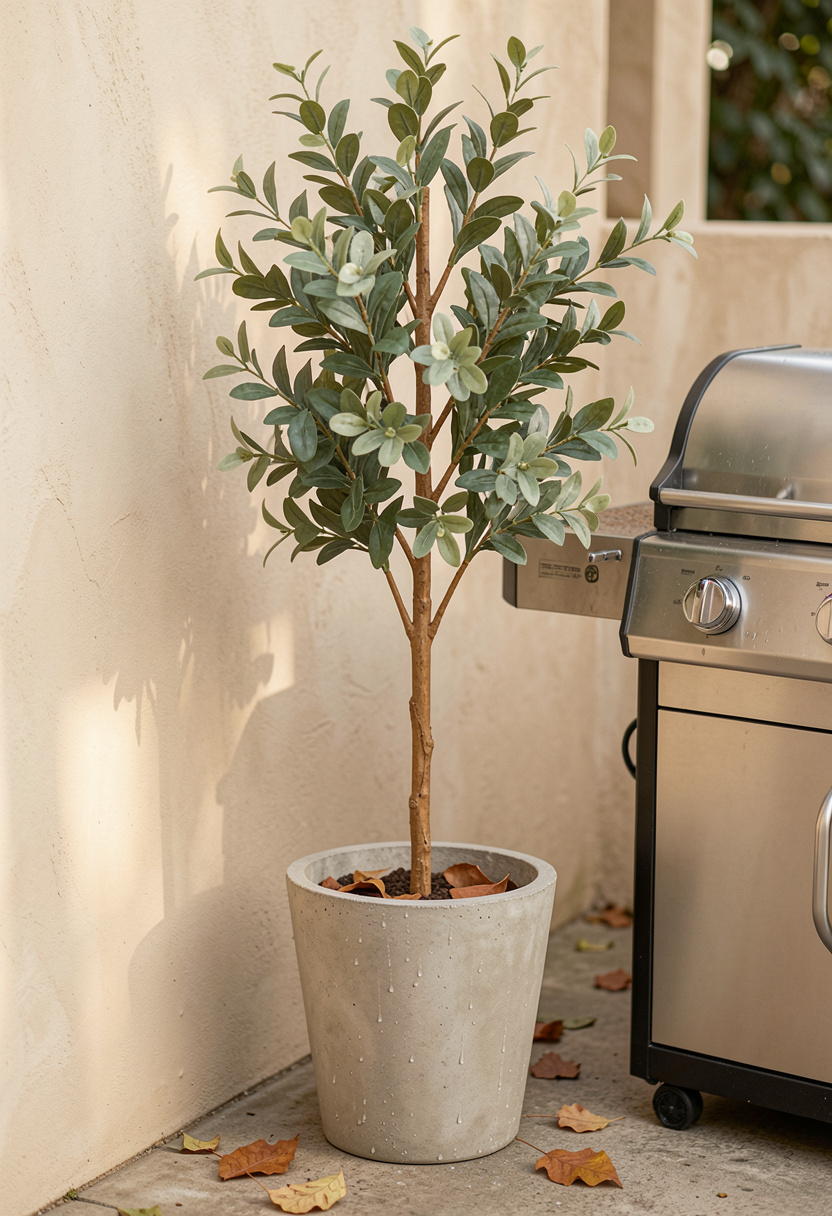
A single faux olive tree makes a small outdoor kitchen read curated and finished. I placed a 5 ft faux olive tree in a cement pot at the corner of my cooking zone and it anchored the whole vignette. Cost was about $70 to $110. Tip, add a layer of pebbles on top of soil to hide the base and secure it against wind. Honest note: real trees need pruning and water; fake gives the same visual payoff with zero upkeep.
Shop this idea:
What You'll Need to Get This Look
Countertop & Storage
- Butcher block prep top around $45 to $120
- Rolling prep cart around $60 to $250
- Modular grill cabinet around $300 to $1,200
Wall Decor & Open Shelving
- Floating shelf reclaimed wood around $30 to $120
- Black metal hook rail around $15 to $40
Textiles & Soft Goods
- Sage linen tea towels set around $15 to $30
- Weatherproof seat cushions neutral around $30 to $90
Greenery & Freshness
- Terracotta herb pots set around $15 to $40
- Faux olive tree 5 ft cement pot around $70 to $110
Budget Swaps
- Weathered metal storage tins set similar finds at HomeGoods for less
- Folding prep table portable cheaper at discount stores like Target seasonal
Shopping Tips for These Looks
Buy the core first: Start with a portable gas grill and rolling prep cart, then add lighting and storage. See a well-reviewed portable gas grill around $120 to $450.
Thrift the big pieces: Look for dressers and benches at thrift stores, then add a sealed butcher block top. I found a perfect dresser at a local thrift for $45.
Time lighting buys for sales: Outdoor string lights go on deep discount in late summer. Pick warm white options like these warm white outdoor string lights.
Match one metal finish: Repeat matte black or aged brass to make mixed pieces read cohesive, for example matte black cabinet pulls.
Seasonal swap hack: Use removable textiles in spring and summer, swap to darker cushions for fall. I store cushions in a waterproof bin through winter.
Frequently Asked Questions
Q: How much does a budget backyard outdoor kitchen cost?
A: A starter setup with a portable grill, rolling cart, and string lights can be under $300, while a defined corner with a pergola or veneer runs $300 to $1,200. For a quick starter, consider a rolling prep cart.
Q: What is the cheapest way to build an outdoor kitchen?
A: Use cinder block bases, a sealed plywood top, and a portable grill. It’s sturdy and inexpensive. Grab basic supplies like cinder blocks and exterior plywood.
Q: Can renters create an outdoor kitchen?
A: Yes. Choose removable pieces: a portable grill, fold-down shelf, and mobile cart. These give the built-in look without permanent changes. A good option is a folding prep table portable.
Q: How do I make a small outdoor kitchen feel upscale?
A: Pick one strong material cue, like warm wood or tile, and repeat it across counters and shelves. A small peel-and-stick backsplash like peel-and-stick tile can lift the whole space.
Conclusion
Start with the basics and build in phases: grill, prep surface, lighting, then a single material anchor like wood or stone. My best tip, learned the hard way, is to match one finish and leave counter space clear so the kitchen looks used, not cluttered. Which of these 15 setups fits your backyard best — a quick grill cart or a brick nook?