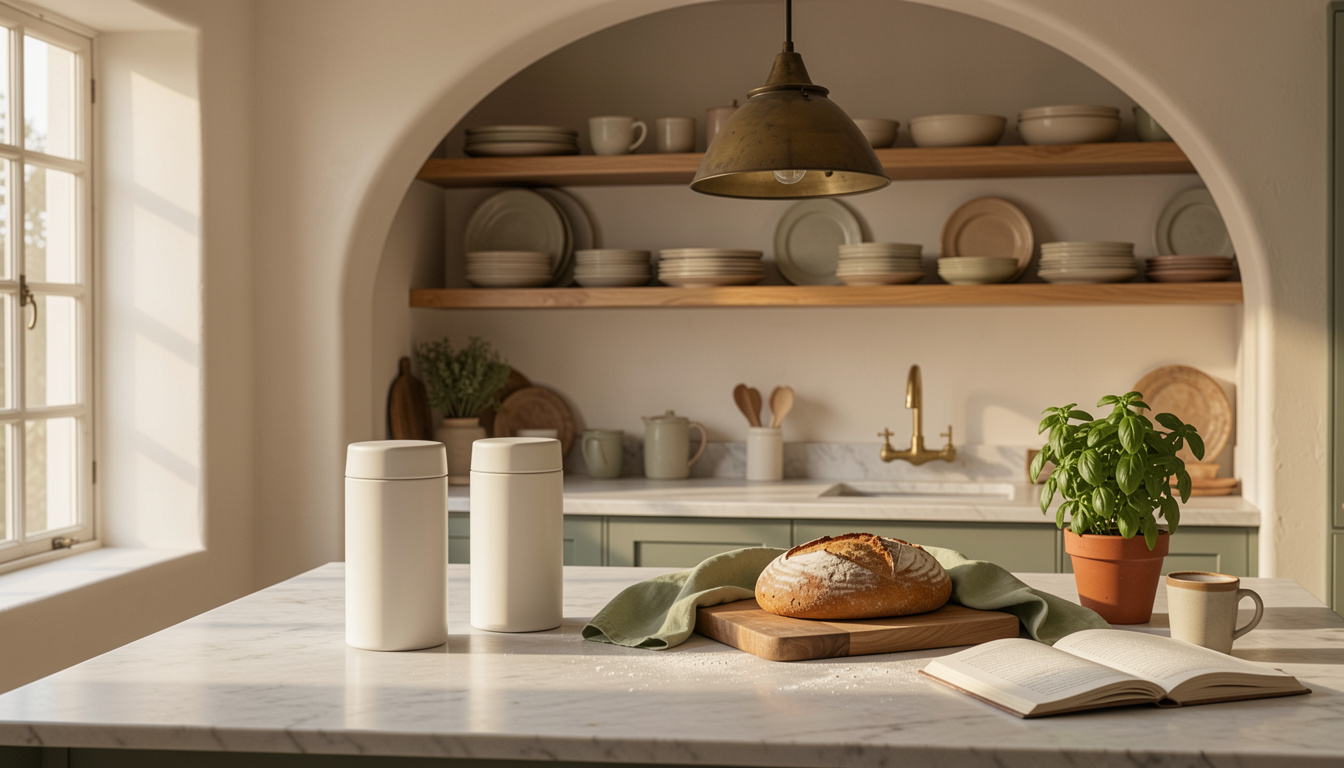
I ripped out a boxed doorway and installed my first arch, and the whole kitchen felt softer that evening. These 13 kitchen archway ideas are the exact tweaks I used, most under $150, a few splurges around $800. If you want a remodel that reads warmer and richer without gutting the layout, these are the looks I’d try first.
My focus is on tactile, curvilinear details for modern, farmhouse, and small open-plan kitchens. Most ideas run under $50 to $500; a couple of custom trim options land near $700 to $900. I’ve noticed designers favoring arch openings and rounded details for 2025’s softer architecture trend.
1. Open Shelving With Warm Wood and White Ceramics
Style: Bright & airy | Budget: Under $75 | Best For: Open-plan kitchens
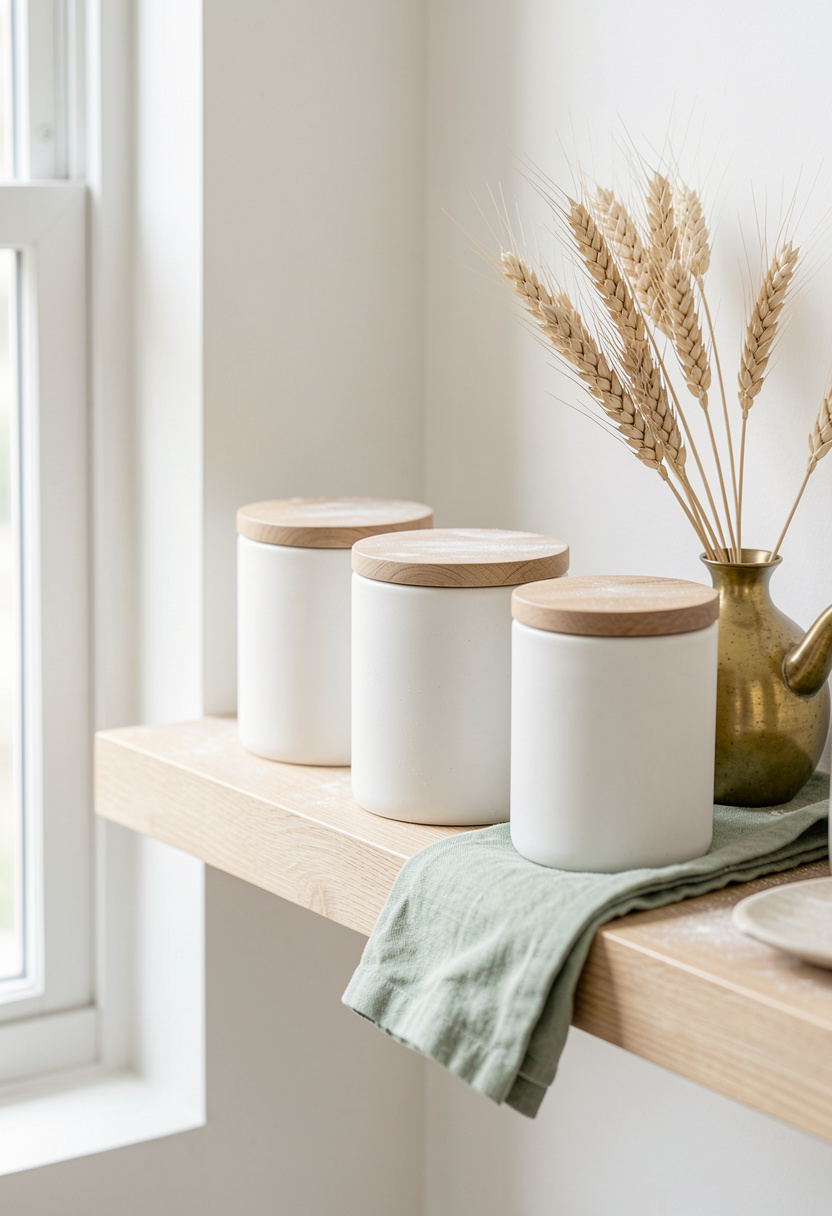
Open shelving in an arched reveal keeps the line soft and lets pottery breathe. I used acacia boards in 24 inch widths and styled them with a matte white ceramic canister set I found on Amazon for around $35 to $50. Tip: mount shelves on hidden brackets 1.5 inch from the arch edge to avoid boxing the curve. Ugly truth: open shelves show clutter fast, so commit to editing weekly.
Shop this idea:
2. Rounded Pass-Through With Low Shelf
Style: Modern farmhouse | Budget: $75 to $250 | Best For: Small kitchens
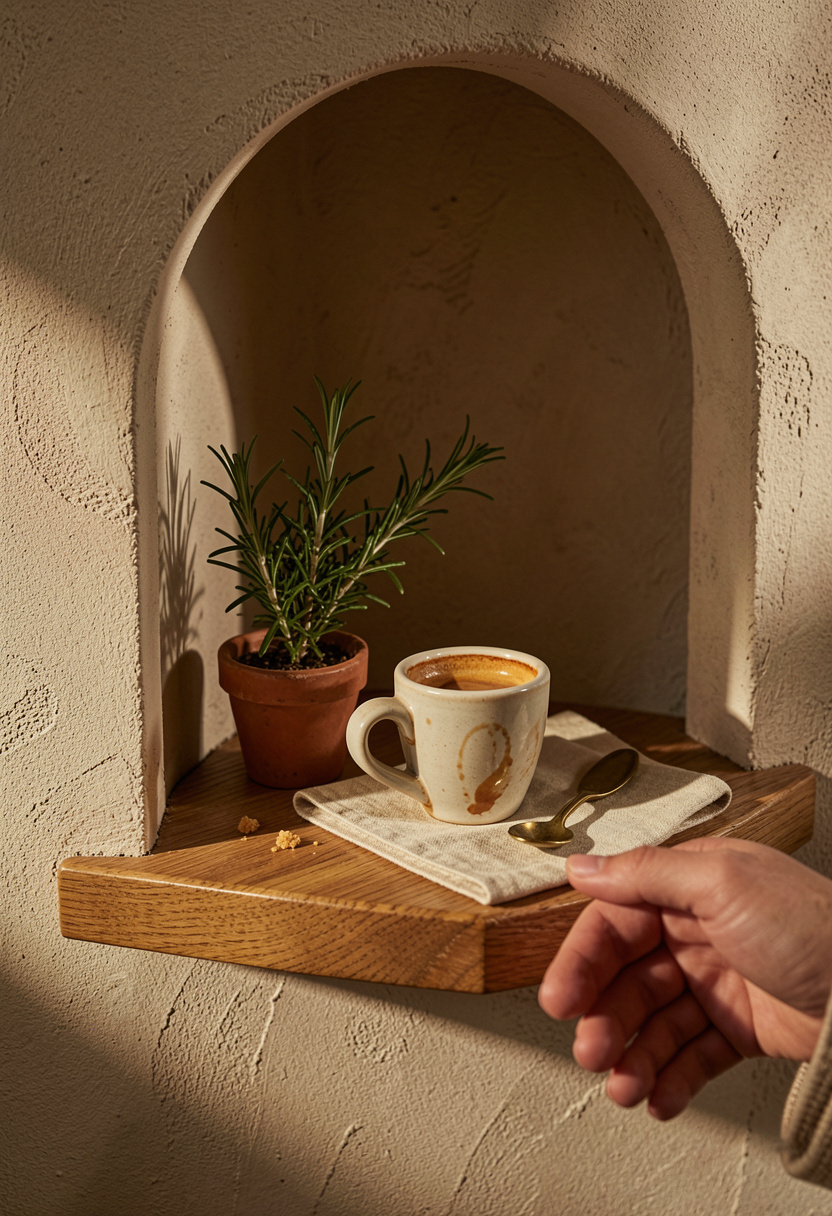
A slim oak ledge inside an arch makes a breakfast pass-through feel intentional. I added a 6 inch deep acacia shelf and anchored it with brackets hidden in the plaster. I bought a slim shelf kit on Amazon for around $45 to $90. Practical tip: seal the shelf with clear satin polyurethane to repel coffee stains. Ugly truth: too shallow and the shelf becomes a clutter magnet, measure first.
Shop this idea:
3. Soft-Curtain Arch for Visual Privacy
Style: Bright & airy | Budget: Under $50 | Best For: Open kitchens near living areas

If you need quick separation without construction, a curved curtain rod and linen panel soften the arch. I installed an arched curtain rod and a natural linen Roman-style panel for around $25 to $60. Installation tip: anchor the rod into studs or use heavy-duty anchors to support weight. Ugly truth: standard straight rods look awkward in arches, buy one shaped for curves.
Shop this idea:
4. Reclaimed Oak Arch Trim for Richness
Style: Moody & cozy | Budget: $250 to $800 | Best For: Traditional and farmhouse

Adding reclaimed oak trim immediately reads layered and collected. I ordered a pre-cut reclaimed oak arch trim kit for around $350 to $700 and stained it warm walnut. Pro tip: dry-fit the pieces before glue and use gap-filling wood filler colored to the stain. Ugly truth: matching old wood tones can take several stain tests. Guests notice the grain first.
Shop this idea:
5. Textured Plaster Around the Opening
Style: Bright & airy | Budget: $40 to $150 | Best For: Mediterranean and cottage

A hand-textured plaster finish lifts an arch from flat to tactile. I used a textured plaster patch kit for around $25 to $60 and finished with a limewash for depth. Tip: work in small sections and sand light once dry to avoid visible tool marks. Ugly truth: smooth skim coats hide less imperfections but look flat; texture forgives uneven framing.
Shop this idea:
6. Statement Pendant Framed by an Arch
Style: Bold & saturated | Budget: $60 to $220 | Best For: Island or peninsula archways
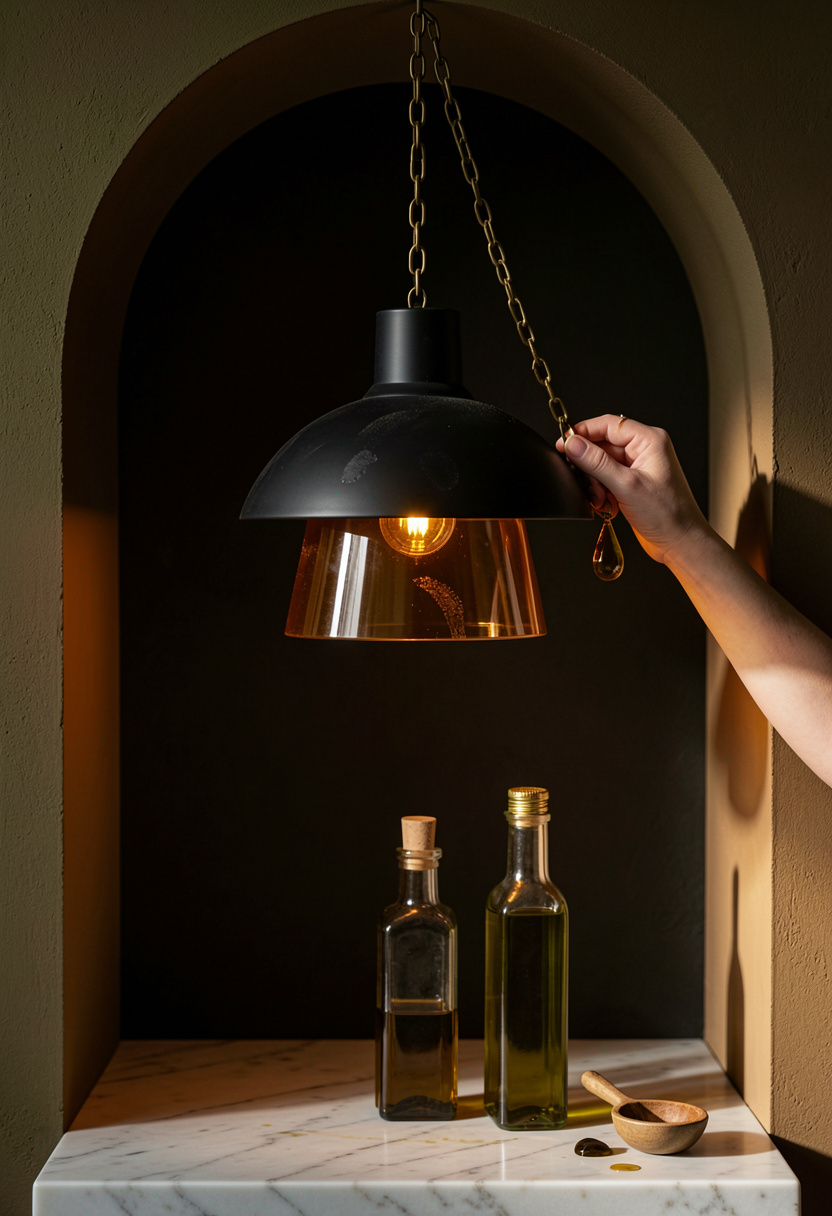
Center a pendant so the arch becomes a frame, not a distraction. I picked a matte black pendant 12 inch shade that cost around $80 to $160 and hung it 30 inches above the island. Tip: use a dimmer so the pendant reads moody at night and bright in the day. Ugly truth: too large a fixture makes a small arch feel squashed.
Shop this idea:
7. Paint the Inside of the Arch a Deep Color
Style: Bold & saturated | Budget: Under $50 | Best For: Modern and eclectic kitchens
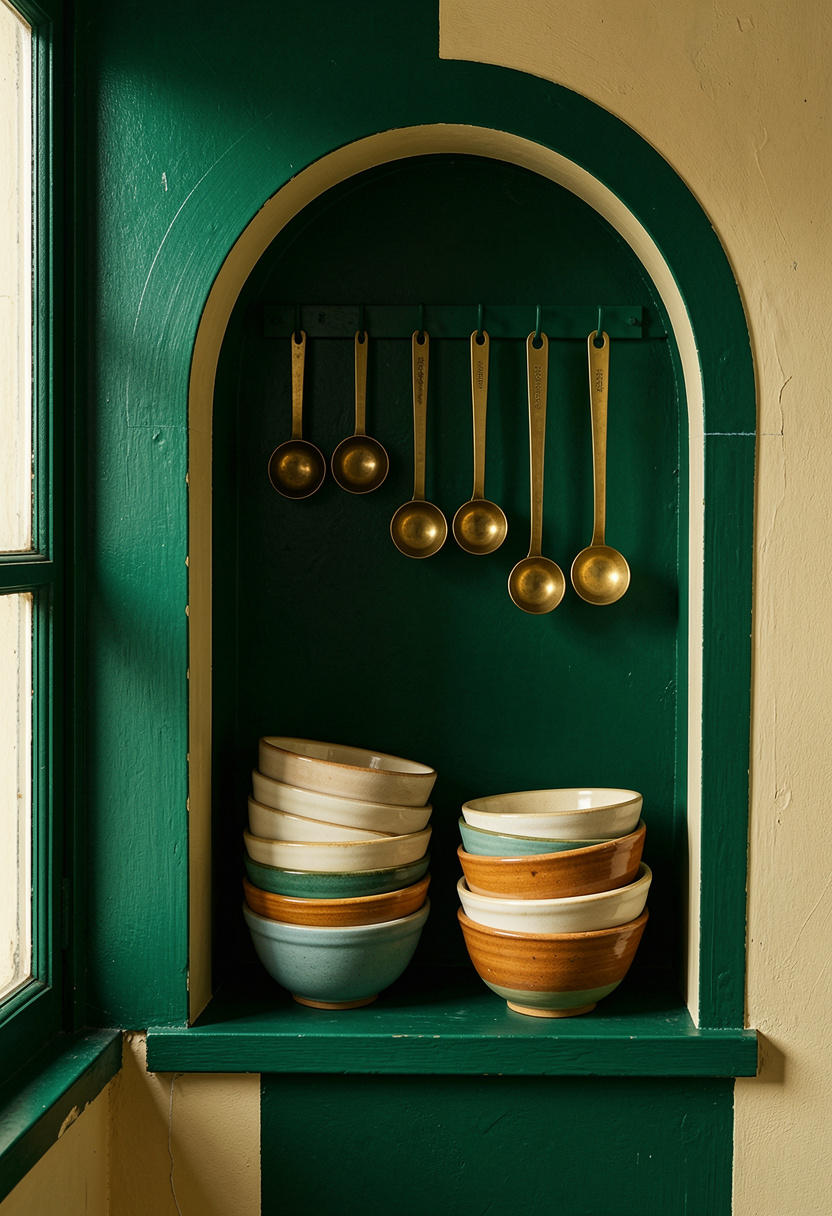
Painting the arch interior a deep forest green gives depth and drama. I used a milk paint sample in deep green for around $12 to $30 and rolled two thin coats for even coverage. Practical tip: tape only the curve, not the entire opening, to avoid paint ridge. This trick hides scuffs and makes white cabinetry feel richer.
Shop this idea:
8. Terrazzo Threshold to Define the Change
Style: Bold & saturated | Budget: $40 to $200 | Best For: Transitioning to dining or entry
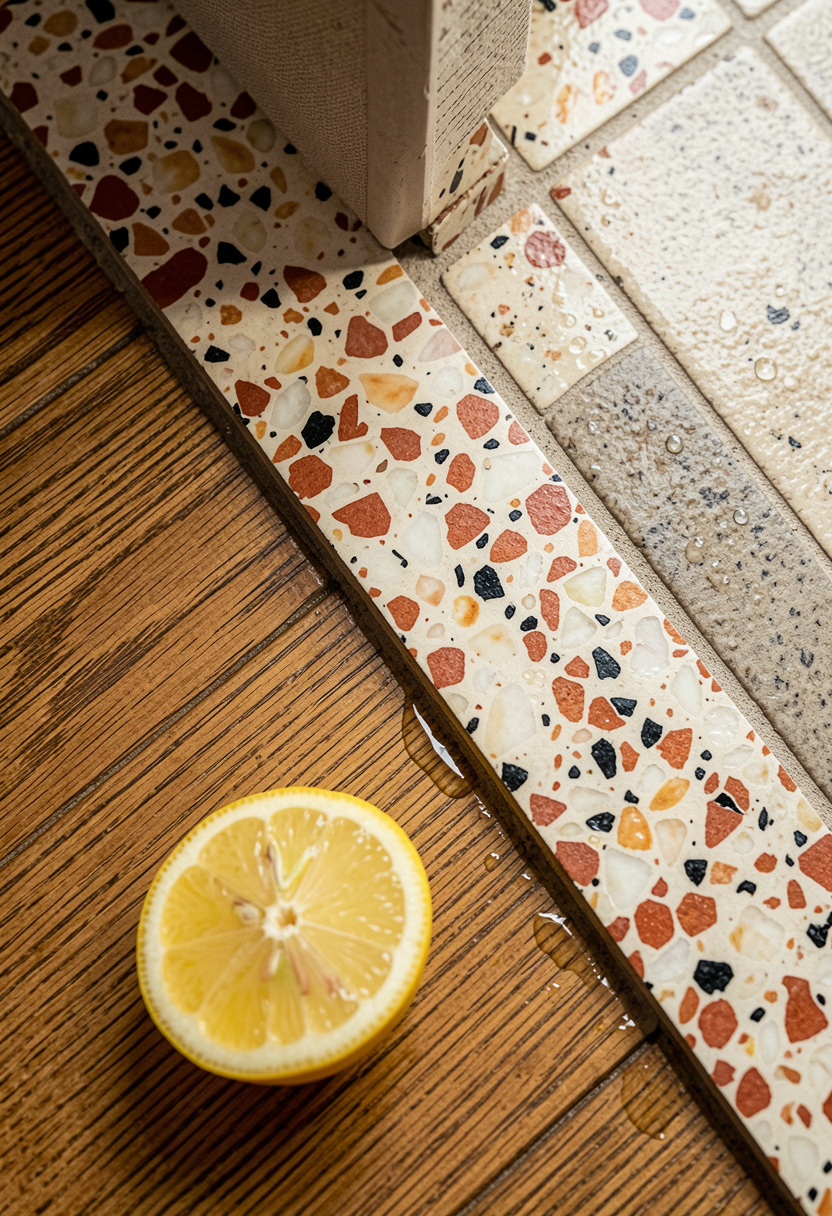
A terrazzo threshold anchors an arch and reads custom. I installed a 36 inch terrazzo threshold strip for around $45 to $150 and eased the grout for a clean line. Installation tip: use a flexible sealant where materials meet to avoid cracking. Ugly truth: thresholds show dirt, so choose a flecked pattern to disguise traffic marks.
Shop this idea:
9. Curved Banquette Nook Inside a Wide Arch
Style: Moody & cozy | Budget: $200 to $900 | Best For: Breakfast nooks

Build a curved banquette under a broad arch for intimate mornings. I retrofitted a curved banquette cushion and seat frame, buying custom foam and an oatmeal linen cover for about $250 to $600. Tip: leave a 2 inch gap between bench back and arch for airflow and cushion removal. Ugly truth: DIY curved upholstery takes patience, plan for an extra week.
Shop this idea:
10. Brass Half-Moon Pulls on a Curved Island
Style: Moody & cozy | Budget: $25 to $80 | Best For: Cabinet and island fronts
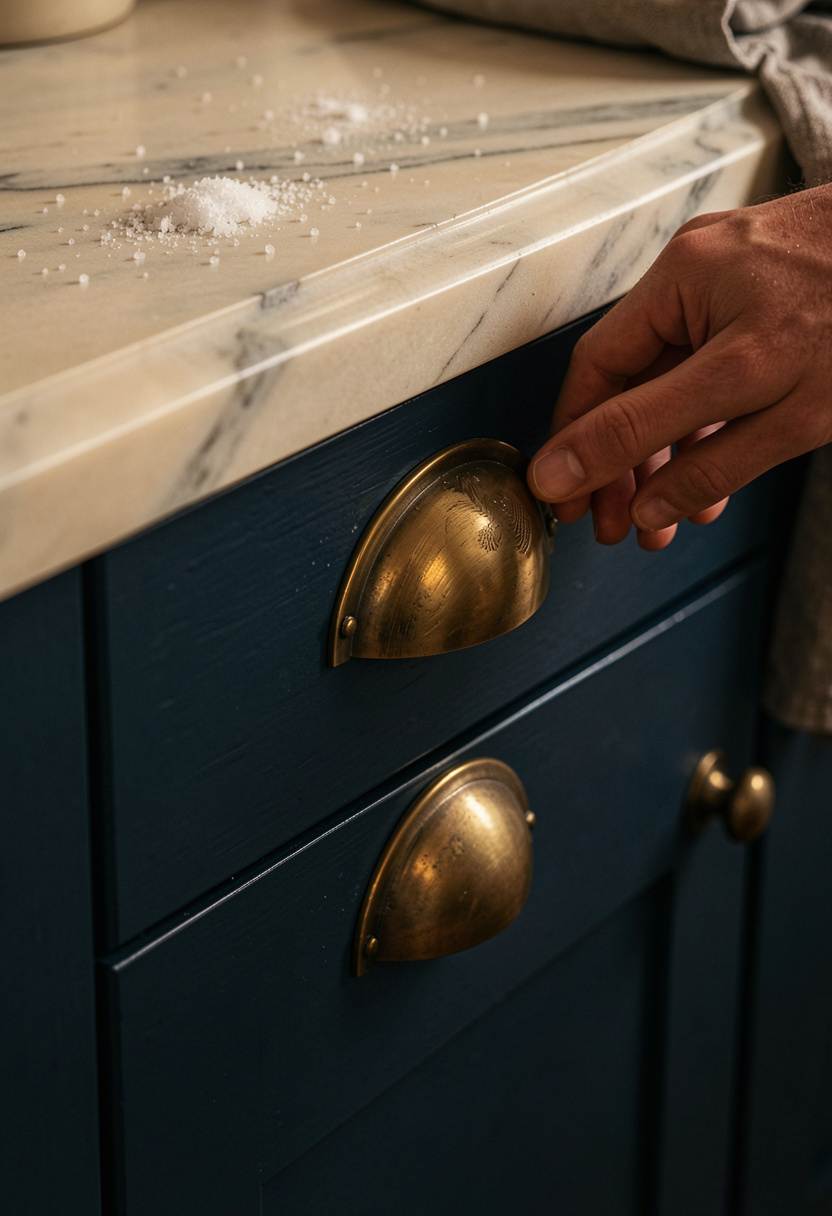
Small hardware in a half-moon shape amplifies curves. I swapped standard pulls for a brass half-moon set that cost around $20 to $45 and drilled new holes centered on the curve. Practical tip: use a jig for consistent placement and thread-lock on the screws to avoid loosening. Guests comment first on the sheen.
Shop this idea:
11. Glass Arch Divider to Let Light Flow
Style: Bright & airy | Budget: $150 to $500 | Best For: Open-plan separation
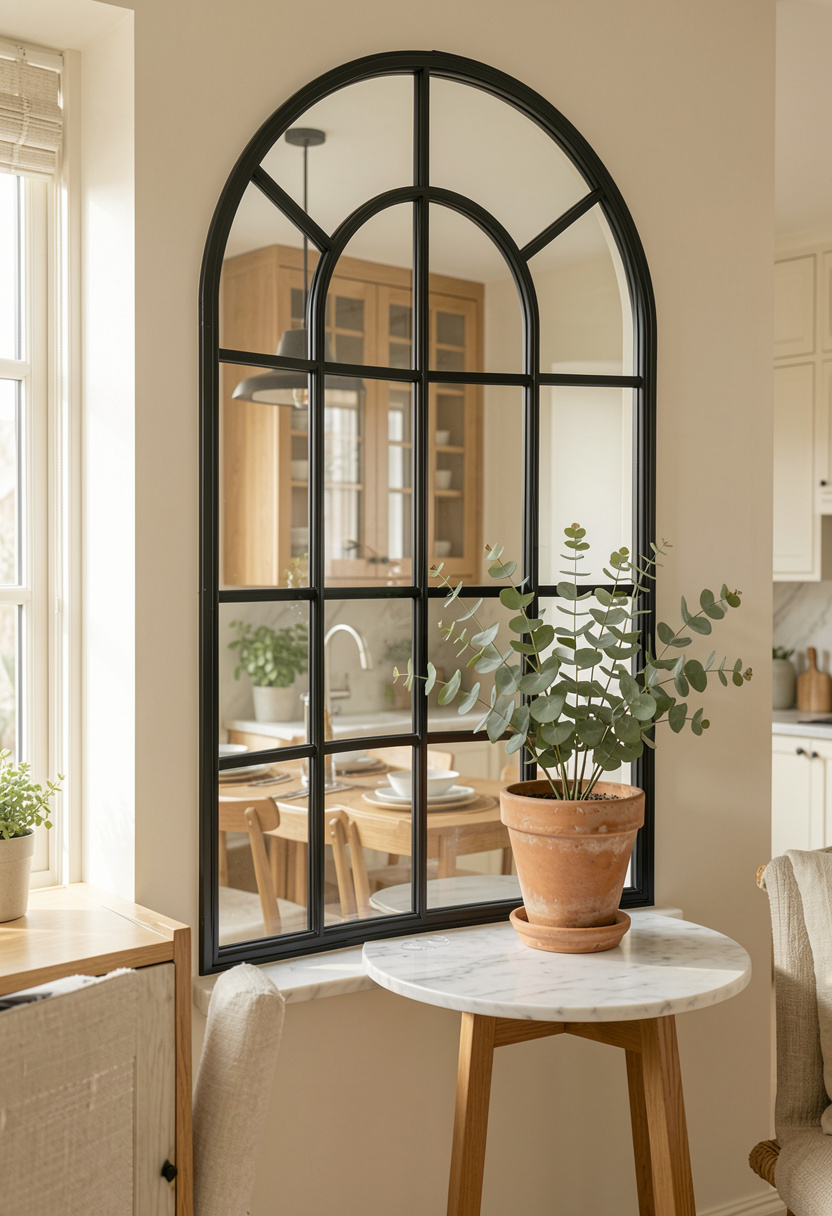
A slim arched glass divider keeps sightlines while defining zones. I installed a freestanding arched glass panel for about $180 to $420. Pro tip: use tempered, easy-clean glass and floor protectors so the panel won’t scratch wood floors. Ugly truth: glass shows fingerprints, so keep a microfiber cloth handy.
Shop this idea:
12. Mirror With Built-In Shelf in the Arch
Style: Bright & airy | Budget: $60 to $220 | Best For: Small galley or pantry door arches

A mirror inside an arch adds depth and catches light. I used an arched mirror with a slim oak shelf for around $70 to $180 and styled it with a single ceramic vase. Tip: hang mirror on a cleat for secure support in plaster walls. Guests love how it doubles the view into the kitchen.
Shop this idea:
13. Roman Shade Inside the Arch for Texture
Style: Bright & airy | Budget: $30 to $120 | Best For: Windowed archways

A custom Roman shade inside an arch adds softness and privacy. I ordered a natural linen roman shade sized to the curve for around $35 to $120 and trimmed the hem for a tailored fit. Practical tip: mount the shade inside the reveal and use clip rings designed for curved windows. Ugly truth: off-the-shelf sizes rarely match arches, expect a minor alteration.
Shop this idea:
What You'll Need to Get This Look
Countertop & Storage
- Matte white ceramic canister set around $35 to $50
- Acacia floating shelves 24 inch around $40 to $90
- Terrazzo threshold strip 36 inch around $45 to $150
Wall Decor & Open Shelving
- Arched mirror with shelf around $70 to $180
- Arched glass room divider 48 inch around $180 to $420
- Reclaimed oak arch trim kit around $350 to $700
Textiles & Soft Goods
- Natural linen roman shade 28×64 around $35 to $120
- Sage linen dish towels set around $15 to $30
Greenery & Freshness
- Eucalyptus stem faux around $8 to $20
- Small terracotta herb pot around $6 to $18
Budget Swaps
- Textured plaster finish kit around $25 to $60 (try patches from Habitat for Humanity ReStore for less)
- Arched curtain rod 28 inch around $20 to $50 (similar rails at HomeGoods for less)
Shopping Tips for These Looks
Measure Twice, Order Once: Measure the arch depth, width, and return. For custom trim try a pre-cut kit like the reclaimed oak arch trim kit around $350 to $700.
Time Your Purchases: Big trims and glass panels go on sale late winter; I saved about 15 percent buying in February. See clearance sections like the Amazon Home deals.
Mix Thrift and New: I scored an old brass sconce at a flea market and paired it with a new matte black pendant. Try local thrift first, then backfill on Amazon with small brass bud vase.
Seasonal Fabric Swaps: Use lightweight linen panels in spring and padded Roman shades for winter warmth. A natural linen roman shade runs around $35 to $120.
Pick Fingerprint-Friendly Finishes: For high-touch arches choose textured plaster or matte finishes to hide smudges; glass will need daily wiping, have a microfiber cloth ready.
Use a Placement Jig: For hardware and pulls, use a cabinet pull jig for consistent spacing, it saves returns and wasted drill holes. I linked an angled sash brush for clean paint lines in edges.
Follow the 3-Inch Rule: Keep arch details about 3 inches from counters for cleaning clearance; this avoids chips and makes wiping easy.
Frequently Asked Questions
Q: How hard is it to install an archway trim myself?
A: It’s doable if you have carpentry basics, a miter saw, and patience. For easier installs, use a pre-cut trim kit like the reclaimed oak arch trim kit and follow the dry-fit-first rule. One extra tip, practice staining on scraps to match tone.
Q: Will an arch reduce my counter space?
A: Not if you keep the original layout. Rounded reveals and shelves reclaim visual space without losing counters. For small shelves try Acacia floating shelves 24 inch for compact storage.
Q: What arch finish hides imperfections best?
A: Textured plaster hides uneven framing better than a smooth skim coat. I used a textured plaster finish kit and limewash for a forgiving surface. Also sand very lightly for a soft look.
Q: Are glass dividers a lot of maintenance?
A: Glass shows fingerprints but it reflects light and makes spaces feel bigger. Tempered panels and a microfiber cloth are the main upkeep; a small squeegee helps after cooking splatter.
Q: Can I add an archway without a contractor?
A: Narrow, non-load-bearing openings are the easiest DIY projects. For structural changes consult a pro. For interior finishes like paint, trim and shelving, most homeowners manage with one weekend and basic tools.
Conclusion
Start with one simple change, like painting the arch interior or adding a single acacia floating shelf, and see how the room reads warmer overnight. If you’re ready to go bigger, try reclaimed oak trim or an arched glass divider for a richer result. Which arch idea would you try first in your kitchen?