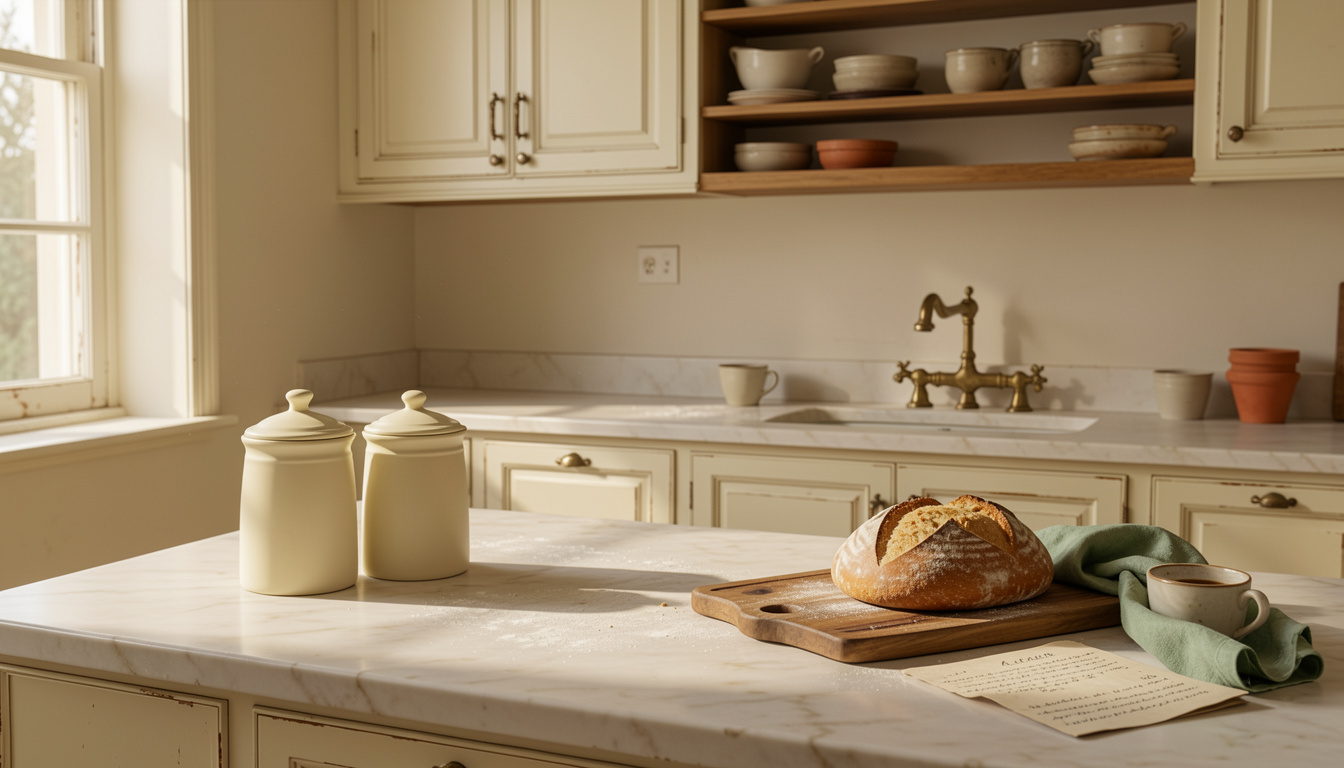
Cream antique kitchen cabinet ideas have a way of making a room feel like it’s been lived in for years. I pulled together 15 realistic, warm options that cost mostly under $200, with a few splurges around $500 to $900. These are practical styling moves for collected kitchens, not just staged shots.
I’m focusing on lived-in, layered looks that suit farmhouse, modern vintage, and open-plan kitchens. Most ideas are under $75, a handful $120 to $900 for hardware or restoration. Trend note: reclaimed wood and mixed metals are still in for 2025.
1. Open Shelving with Warm Wood and White Ceramics
Style: Bright & Airy | Budget: Under $75 | Best For: Open-plan kitchens
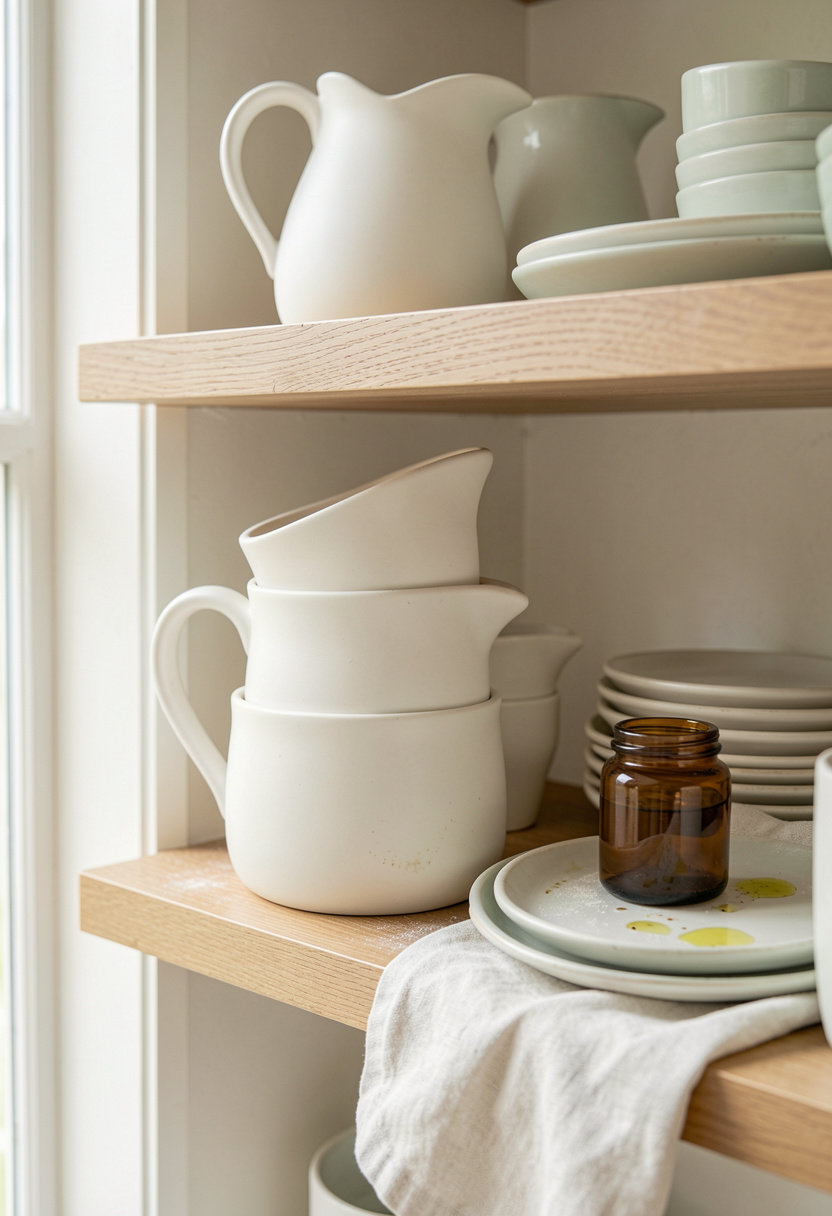
The trick is matching cream cabinets to the shelf wood tone. I used 1×6 acacia floating shelves to bridge the gap between antique cream and modern counters. One mistake is choosing a too-dark shelf that fights the cabinet finish. I linked a reliable set below that cost around $40 to $75 and cleaned the shelves with vinegar and water weekly.
Shop this idea:
2. Glass-Front Cabinets for Displaying Vintage China
Style: Collected Vintage | Budget: $120 to $500 | Best For: Cabinets with upper doors
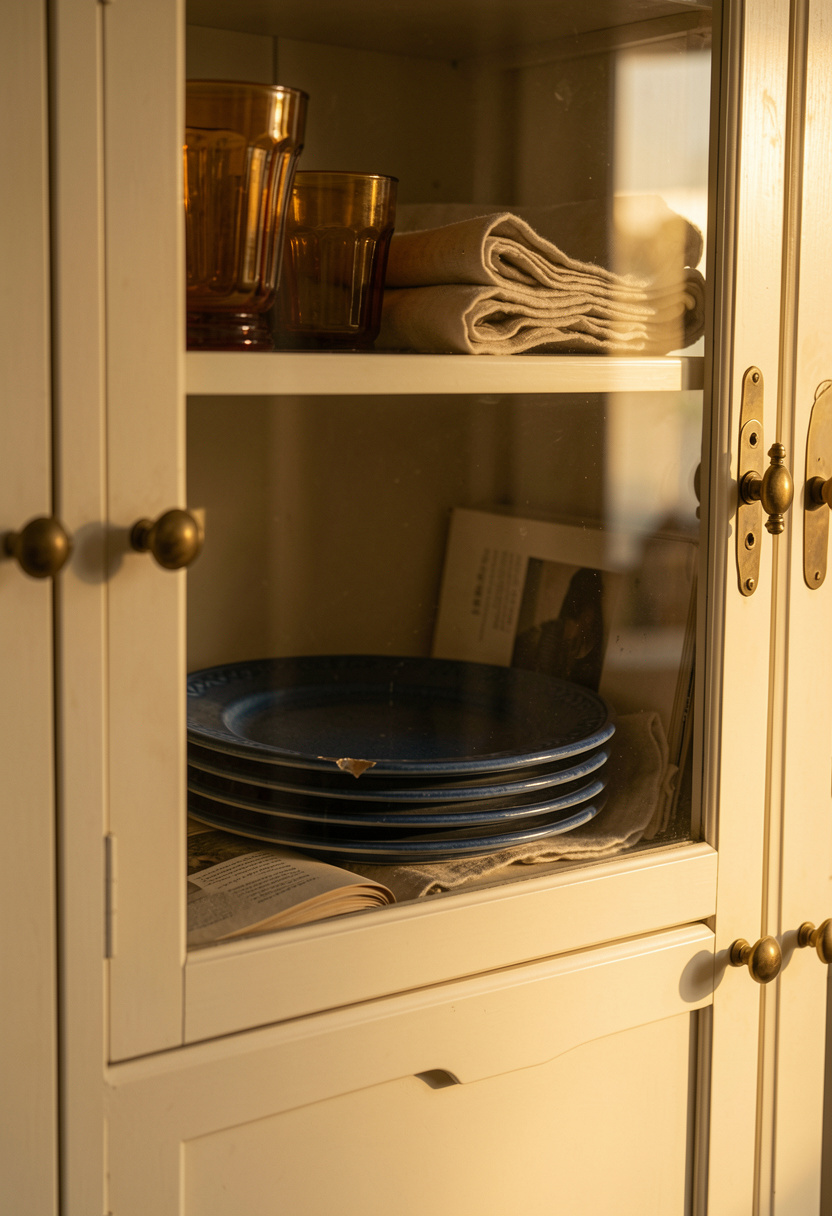
Glass-front doors make antique cream cabinets feel curated, not cluttered. I retrofitted two doors with seeded glass and swapped in aged brass knobs. Ugly truth: glass reveals dust and mismatched pieces, so you’ll need a consistent palette for the shelves. A seeded glass panel kit cost around $120 to $250 and was a weekend DIY.
Shop this idea:
3. Distressed Cream Paint and Glazed Finish
Style: Farmhouse Collected | Budget: $80 to $300 | Best For: Old solid-wood cabinets

A glaze over cream paint deepens the nooks and hides years of wear. I used an oil-based glaze diluted 10% for subtle patina. Ugly truth: overly distressed finishes read fake. My tip is to focus distressing only on corners and handles. A DIY kit ran me about $80 to $120, and I would not skip a test board.
Shop this idea:
4. Mix Aged Brass and Matte Black Hardware
Style: Collected Modern | Budget: $30 to $250 | Best For: Hardware refreshes

I swapped mismatched pulls for a curated mix of aged brass on doors and matte black on drawers. The practical tip is to keep backplate sizes consistent to avoid extra drilling. Ugly truth: mixing metals can look chaotic if finishes are too shiny. My combo cost around $60 to $200 depending on finish and took an afternoon to install.
Shop this idea:
5. Antique Glass Knobs for Soft Shine
Style: Vintage Charm | Budget: $40 to $120 | Best For: Upper cabinets and pantry doors

Glass knobs soften a cream antique finish with subtle sparkle. I swapped these into my baking cabinet and suddenly my plain jars looked like a display. Tip: use felt washers to prevent wobble. Price range was around $40 to $80 for a set. I once bought cheap acrylic knockoffs and they fogged after a month, lesson learned.
Shop this idea:
6. Cream Cabinets with Marble-Look Countertop
Style: Collected Classic | Budget: $200 to $900 | Best For: Counter-to-cabinet contrast

A honed marble-look quartz balances cream cabinetry with minimal maintenance. I chose a soft vein and honed finish to keep the kitchen feeling warm. Practical tip: choose a quartz with subtle veining to avoid a cold look with cream. This upgrade was a splurge at $600 to $900 but saved me from sealing real marble.
Shop this idea:
7. Open Cabinets with Rattan Baskets for Hidden Storage
Style: Layered Collected | Budget: Under $75 | Best For: Pantry and base shelves
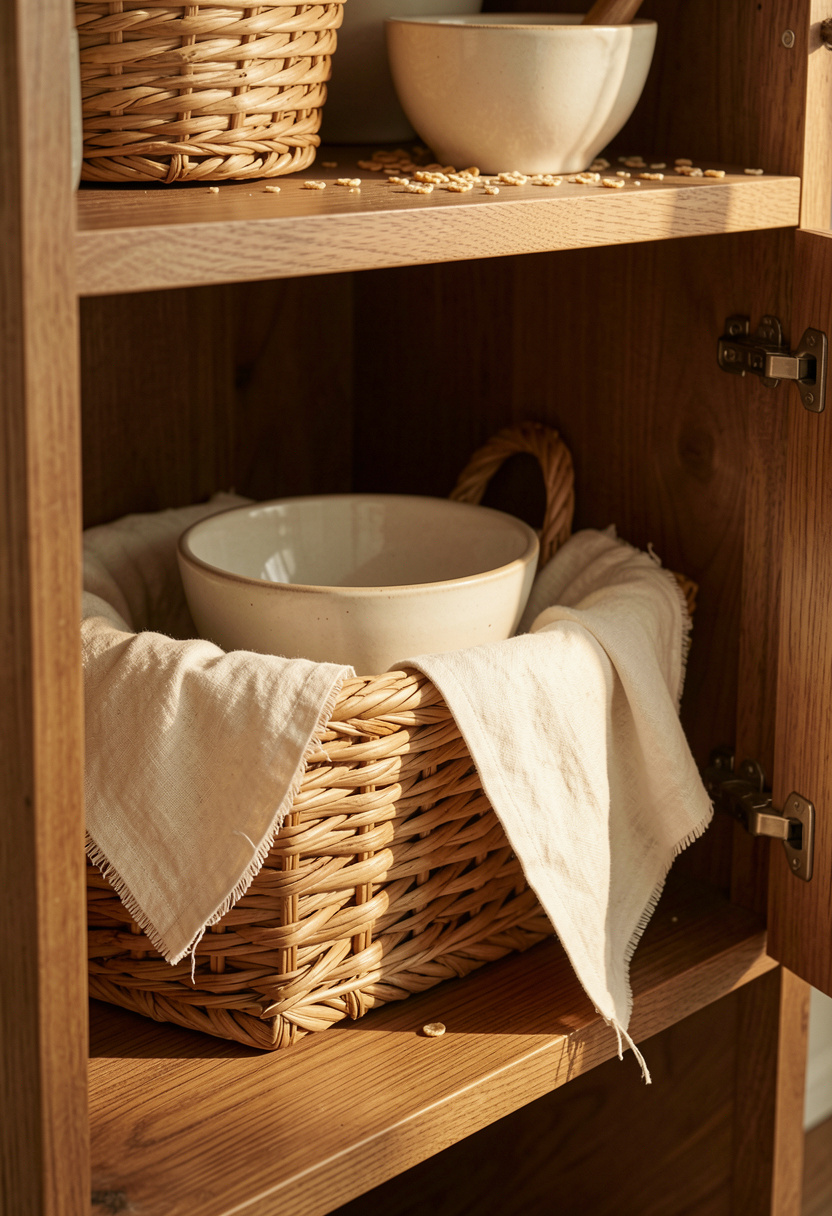
Rattan baskets break up cabinet facades and hide mismatched Tupperware. I sized three baskets to fit my base cabinets and labeled them with brass tags. Practical tip: measure interior depth and leave 1 inch clearance. Baskets cost around $25 to $60 each. Ugly truth: woven baskets collect crumbs, so plan for occasional vacuuming.
Shop this idea:
8. Cream Cabinet Backdrops for Open Shelving Nooks
Style: Bright & Airy | Budget: Under $50 | Best For: Small alcoves
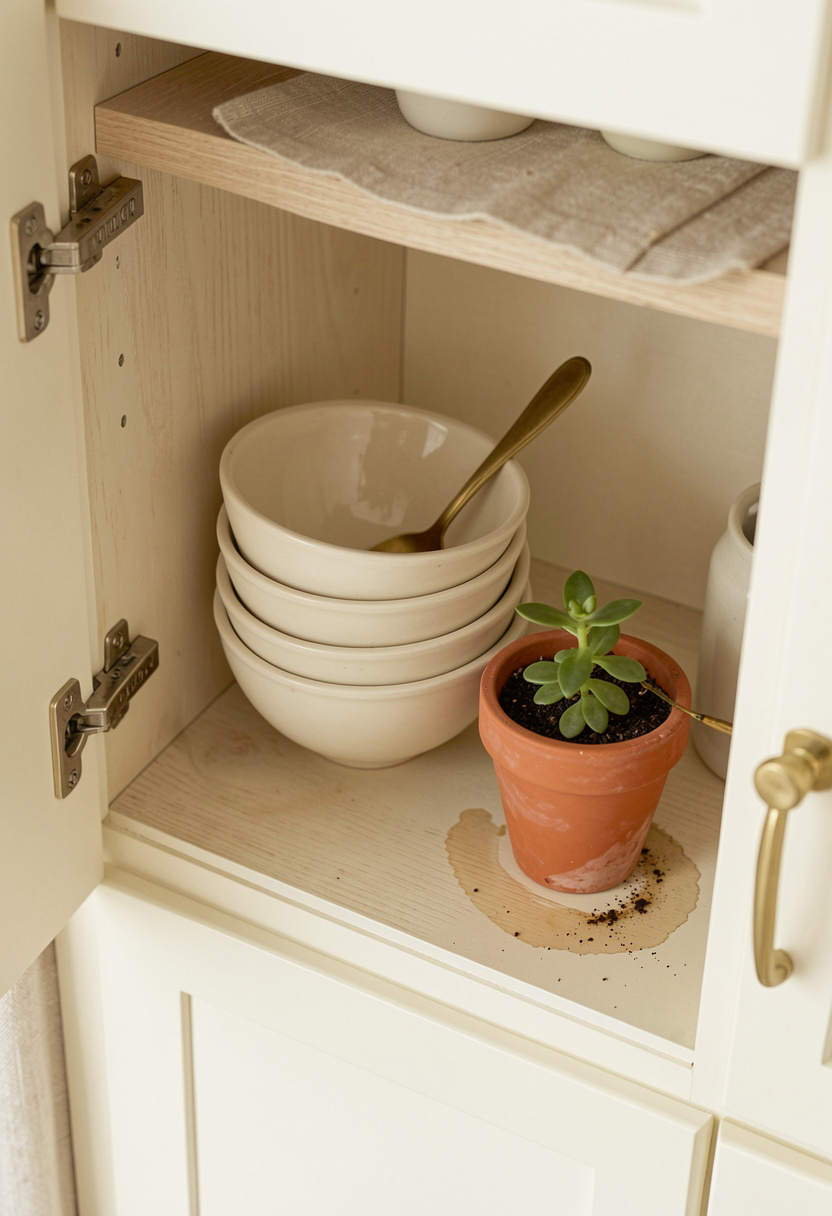
Painting the interior of cabinet nooks a slightly warmer cream adds depth. I used a satin enamel and rolled lightly for an even finish. Tip: try sample pots before committing, cabinet interiors show undertone shifts. Paint supplies cost around $20 to $50. I once painted a nook too yellow; the redo cost time and money and taught me to always test at dusk light.
Shop this idea:
9. Antique Plate Rail to Show Collections
Style: Collected Antique | Budget: $60 to $250 | Best For: Upper wall space
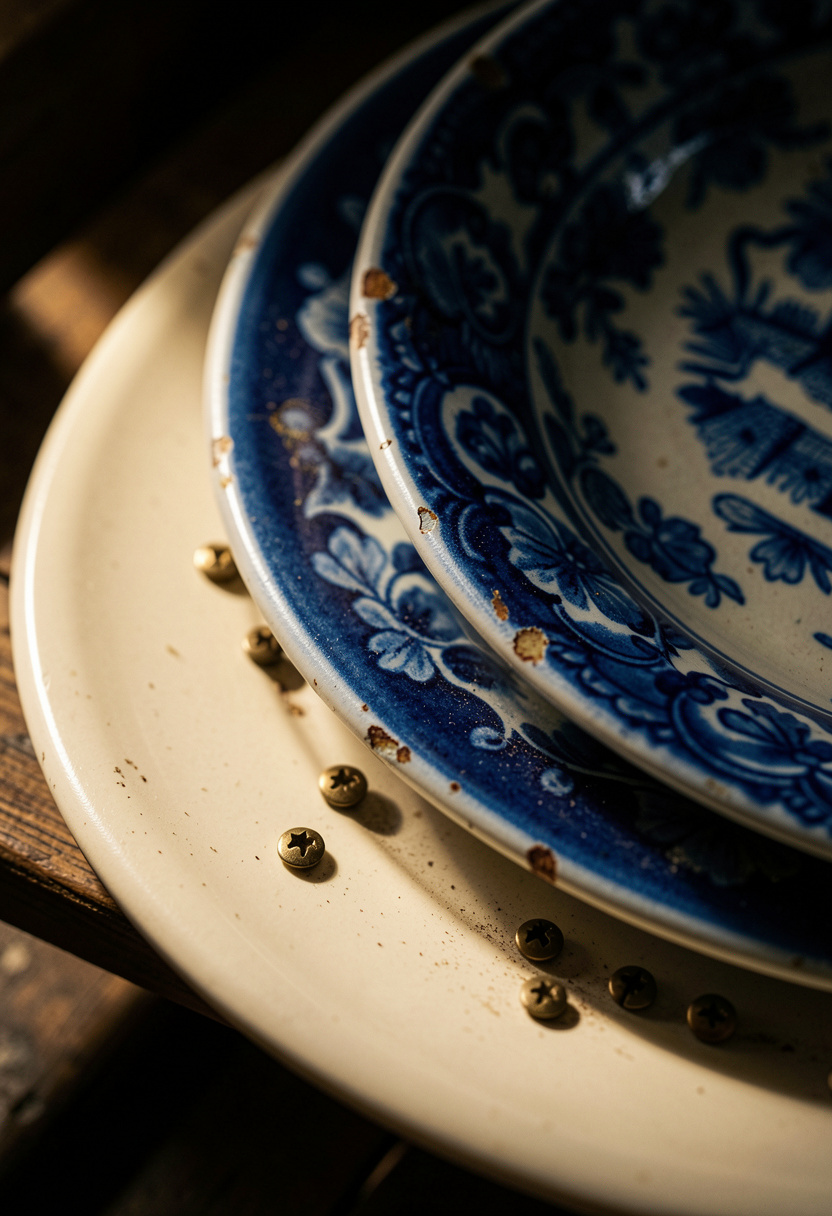
A plate rail turns cream cabinets into a gallery. I mounted mine above the backsplash and staggered plate sizes for a collected look. Practical tip: use plate hangers for heavy vintage pieces and anchor into studs. Rail hardware and hangers cost around $60 to $120. Ugly truth: heavy plates can tip if not secured, so respect weight limits.
Shop this idea:
10. Mix Terracotta Accents with Cream Cabinets
Style: Bold & Saturated | Budget: Under $75 | Best For: Warm palette kitchens
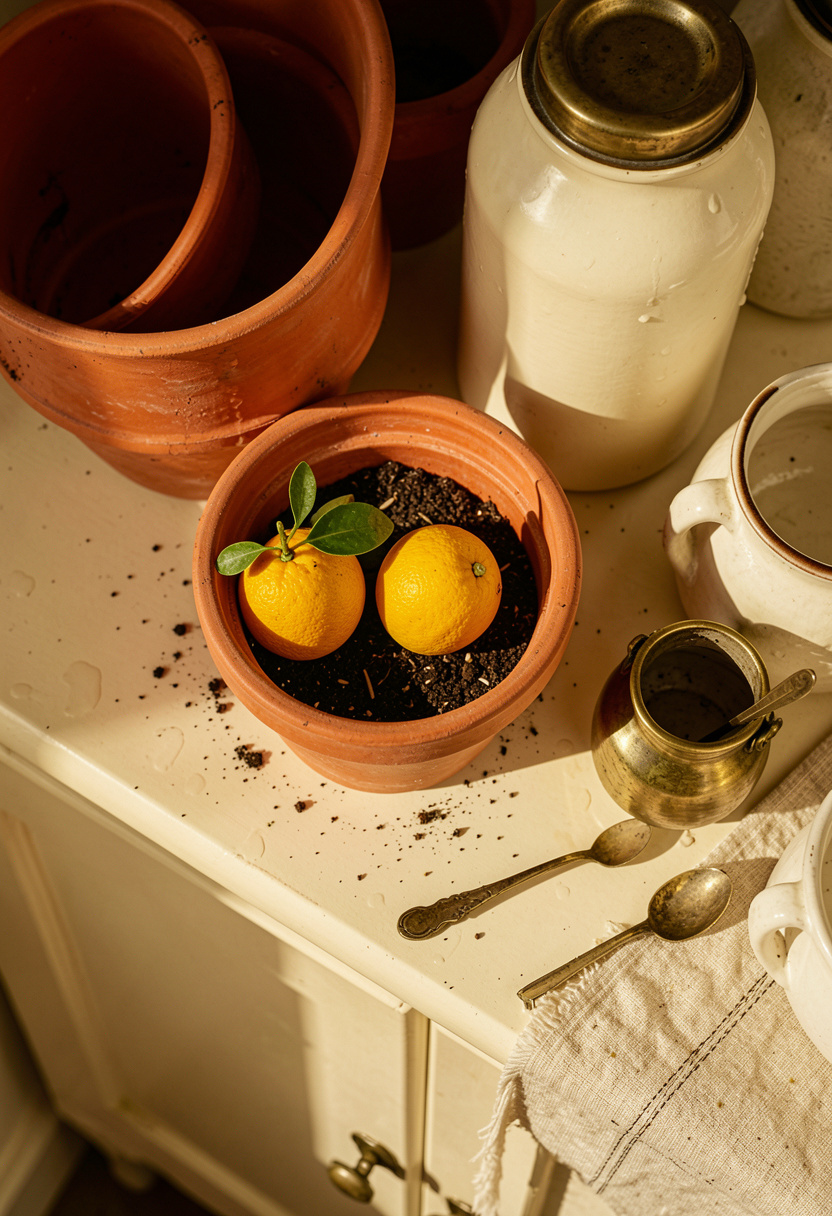
Terracotta brings warmth against cream cabinetry and hides scuffs from day-to-day use. I group small pots near the sink and rotate herbs seasonally. Tip: use saucers to prevent water rings and keep pots elevated slightly. My terracotta set cost about $25 to $60. I learned the hard way that cheap saucers crack with temperature changes.
Shop this idea:
11. Butcher Block Insert for Prep Nooks
Style: Collected Functional | Budget: $50 to $300 | Best For: Prep zones
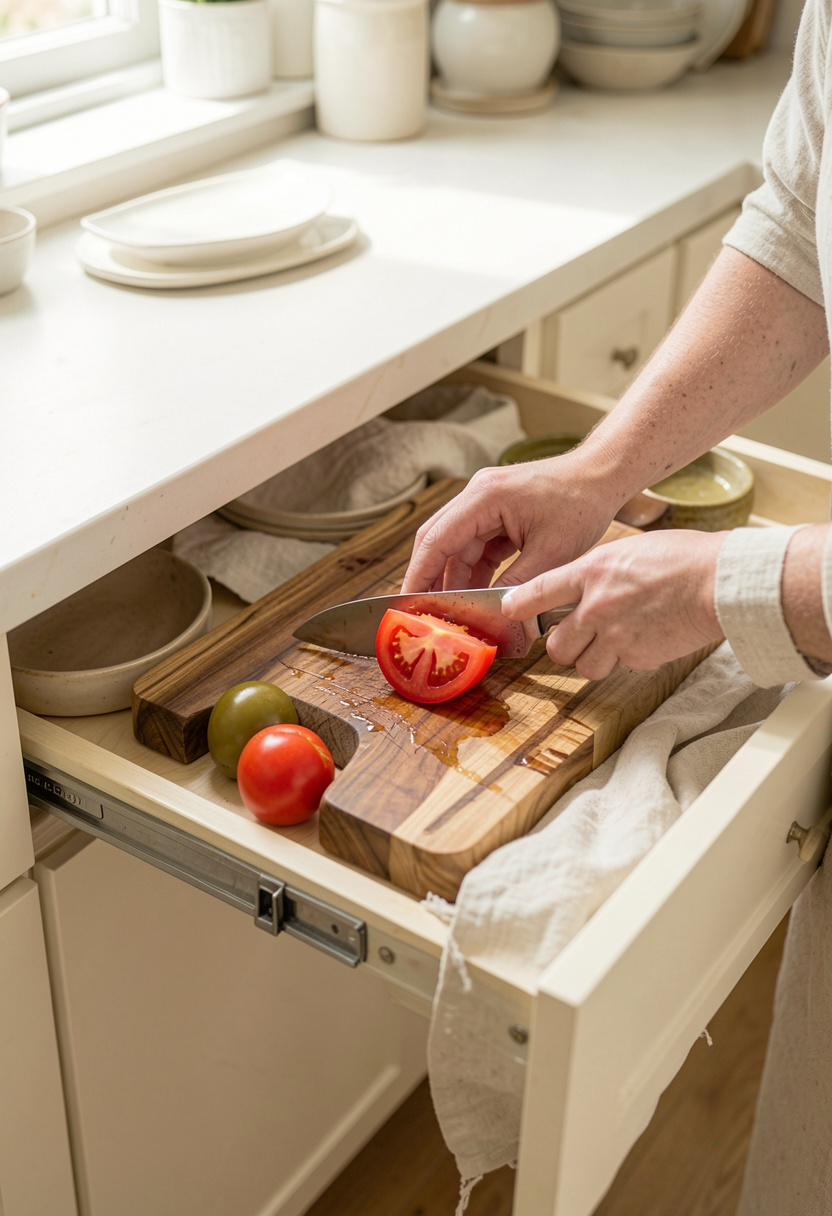
A pull-out butcher block is real estate-saving and practical. I had one built to sit flush with the countertop and it became my go-to chopping spot. Practical tip: oil the board monthly with food-grade mineral oil to prevent splitting. Pricing varied from $75 to $300 depending on custom size. Ugly truth: cheap blocks warp if not properly sealed.
Shop this idea:
12. Vintage-Style Canisters That Double as Counter Decor
Style: Collected Charm | Budget: $25 to $80 | Best For: Counters and islands

I keep flour, sugar, and tea in cream enamel canisters on the counter. They feel functional and styled at once. Tip: pick lids with silicone seals for freshness. My set cost around $30 to $70. One mistake was buying tall canisters that blocked sightlines; shorter, wider ones read better with antique cabinets.
Shop this idea:
13. Under-Cabinet Lighting to Warm Cream Tones
Style: Functional Collected | Budget: $40 to $160 | Best For: Task lighting

Warm under-cabinet LED strips prevent cream cabinets from reading flat. I installed tunable warm LEDs and set them to 2700K for evenings. Tip: choose dimmable strips and hide wiring with small cable channels. This cost me around $40 to $120. Ugly truth: harsh cool LEDs make cream look dingy, so temperature matters more than lumens.
Shop this idea:
14. Antique Mirror Backsplash Accent
Style: Collected Antique | Budget: $80 to $300 | Best For: Small kitchens wanting depth

A small antique mirror panel behind the sink adds reflectivity and vintage flair. I sourced a reclaimed mirror and framed it in aged brass. Tip: seal the back and keep mirrors away from direct splash zones or use a small glass protector. My mirror was $120 to $300 at a salvage shop but you can find smaller options online.
Shop this idea:
15. Layered Textiles: Linen Curtains and Tea Towels
Style: Lived-In Collected | Budget: Under $50 | Best For: Windows and counters
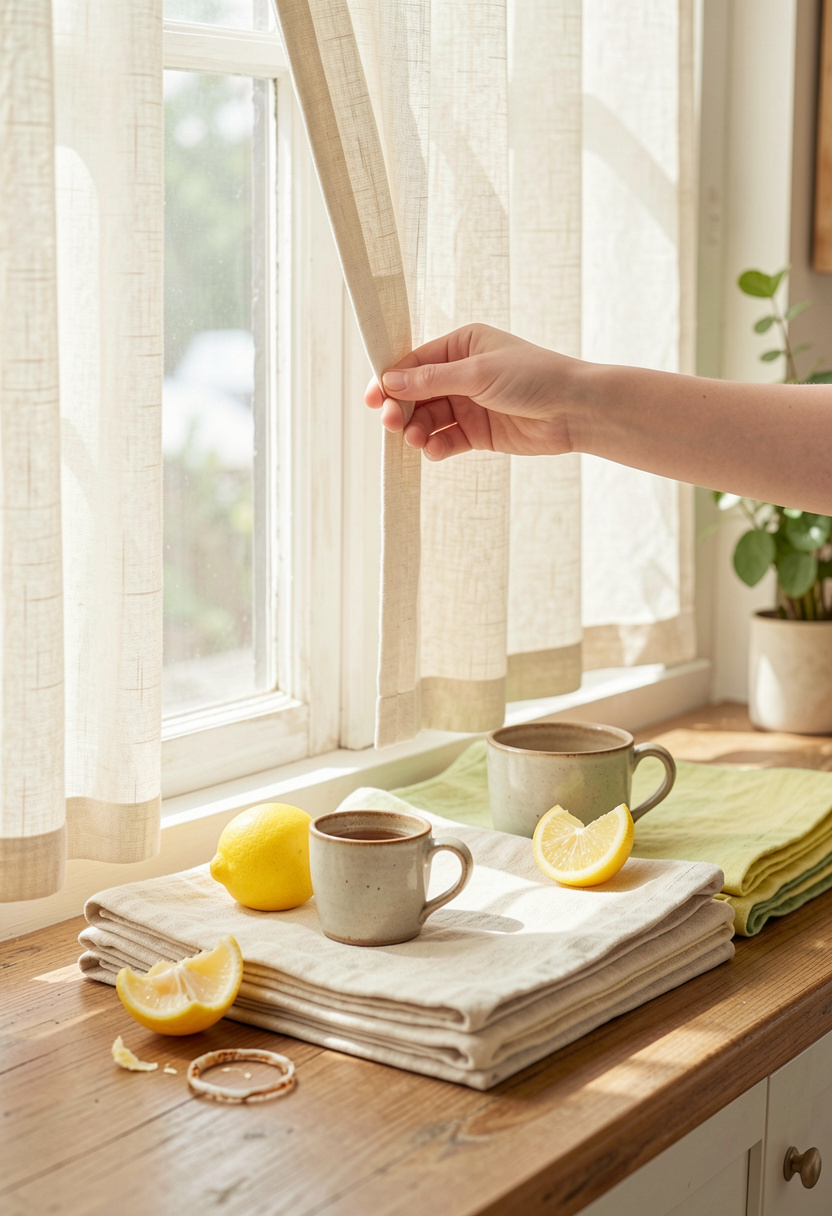
Soft linen curtains and tea towels tone down glossy cream cabinets and feel collected. I hang lightweight cafe curtains at sink height and rotate tea towels weekly. Practical tip: pre-wash linen to avoid shrinkage and use colorfast natural dyes. My set of linen towels cost about $20 to $40. Honest note: linen wrinkles, but that’s part of the lived-in look I like.
Shop this idea:
What You'll Need to Get This Look
Countertop & Storage
- Acacia floating shelves 24 inch around $40 to $75
- Marble look quartz sample around $20 to $50
- Acacia butcher block 18×12 around $50 to $200
Wall Decor & Open Shelving
- Wall mounted plate rail 48 inch around $60 to $160
- Seeded glass cabinet panels around $120 to $250
Textiles & Soft Goods
- Lightweight linen cafe curtains around $20 to $60
- Natural linen tea towels set around $15 to $40
Greenery & Freshness
- Small terracotta planters set around $20 to $60
- Herb starter kit indoor around $15 to $40
Budget Swaps
- Rattan storage baskets medium similar finds at HomeGoods for less, around $15 to $45
- Cream enamel canister set thrifted versions possible at flea markets for under $20
Shopping Tips for These Looks
Measure Twice, Buy Once: Always measure cabinet face frame and reveal before ordering hardware, then buy a pack with consistent backplate sizing. See brass knobs and compare prices.
Seasonal Scoring: Buy larger pieces like butcher blocks or quartz during spring sales; I saved about 15% last March. Check quartz sample packs.
Thrift Mix: Hunt for one real vintage piece, like a mirror or plate rail, then fill in with new matching finishes. I found a brass rail at a salvage sale.
Light Temperature Matters: Pick warm 2700K to 3000K LEDs for under-cabinet lights so cream reads warm not dingy. Look at warm LED strips.
Test Paint at Dusk: Paint swatches can shift at different times. Paint a 12×12 sample and look at it in morning and evening light. Sample pots help avoid costly mistakes.
Frequently Asked Questions
Q: Can cream cabinets yellow over time?
A: Yes, older oils and cheap paints can yellow, especially near stoves. Use low-VOC satin cabinet paint and good exhaust. I recommend this durable cream cabinet paint sample.
Q: Are open shelves practical with kids?
A: They are if you corral breakables into lower, secured baskets and keep everyday items on lower shelves. A set of rattan baskets helps hide clutter.
Q: How do I stop antique hardware from tarnishing?
A: Wipe brass with a microfibre cloth weekly and use clear wax if you want to lock the patina. For easy replacements try this aged brass chamber set.
Q: Is mixing matte black and brass trendy or risky?
A: It’s a current 2025-forward trend but needs restraint. Keep both finishes slightly muted so they read cohesive, not clashing. Try these matte black knobs.
Conclusion
Start small, for example swap just the knobs or add linen tea towels to test the vibe. My favorite quick win was under-cabinet warm LEDs and one vintage brass knob, both inexpensive and high-impact. Which corner of your kitchen will you refresh first with a cream antique touch?