how to update a 90s kitchen without replacing cabinets was the first thing I typed into my phone after an awkward dinner where guests asked if my cabinets were original. I wanted the look of a new kitchen without a contractor bill.
I did it for about $700. You’ll learn where to spend, what to skip, and how to layer color and texture so your cabinets read current, not dated.
Two trends I kept in mind: people are leaning into open shelving and mixed metals, and modest refreshes often beat full renovations on cost. Remodeling Magazine reports cabinet refacing can cost far less than full replacement, and Houzz shows open shelving holding steady as a popular edit.
1. Start with the Foundation: Counter and Cabinet Reset

Start here because your counter surface and cabinet faces are what the eye reads first.
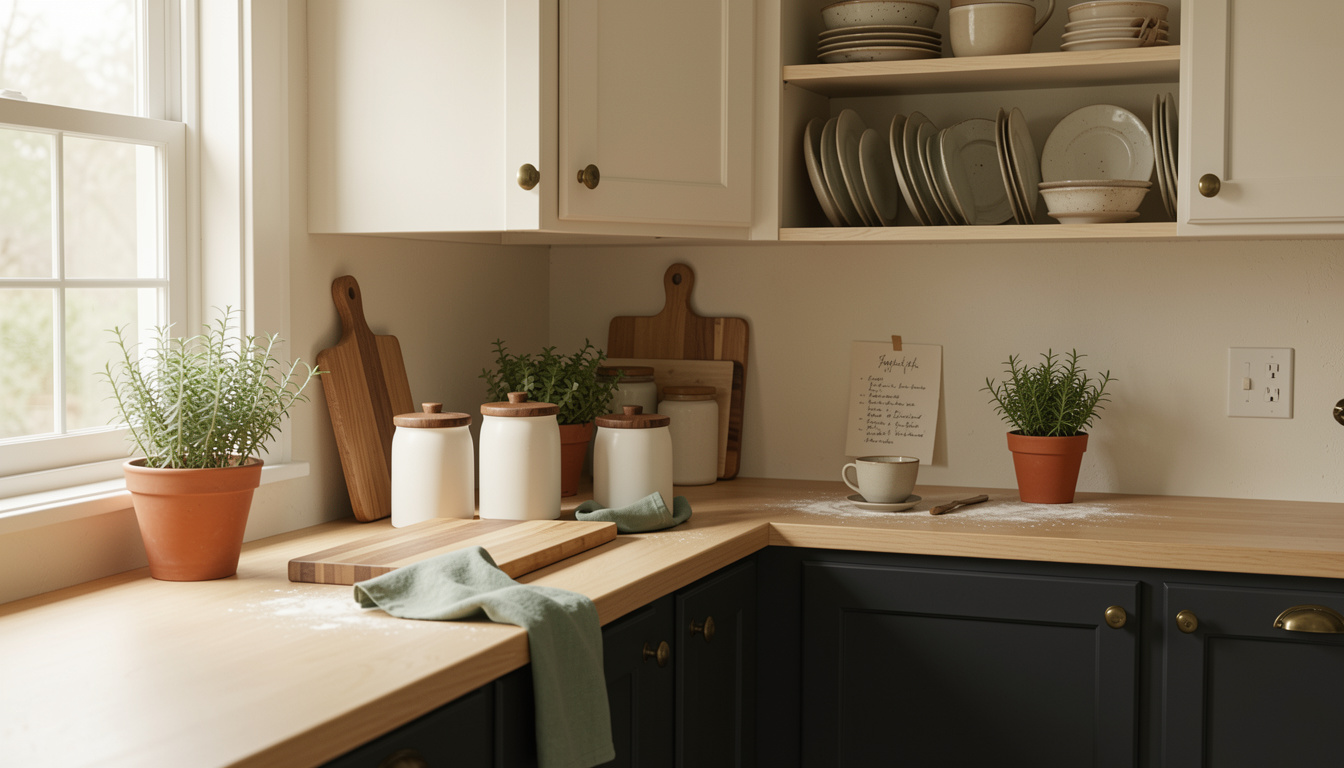
Swap visual clutter for a few curated anchors: a Large acacia cutting board 18×12 around $25 to $45, and a Matte white ceramic canister set with acacia wood lids around $35 to $50.
If counters scream 90s laminate, a short-term fix is a peel and stick countertop cover quartz look about $40 to $120 per sheet. Place large boards parallel to the faucet for flow, and keep functional items in a 2-foot zone near prep areas.
Visual principle: replace noise with three focal pieces in odd numbers. Mistake people make: piling lots of small gadgets across the counter. Instead, group items and leave negative space so your cabinets feel intentional.
2. Layer Warmth with Wood and Linen Textures

Open shelving or a wood trim beneath upper cabinets immediately softens plastic-looking cabinetry.
I added a 24 inch acacia floating shelf around $30 to $60 and paired it with aged brass shelf brackets 7 inch approx $12 to $25 each.
Style tip: place the shelf 18 inches above the counter. Use a 60/30/10 rule: 60 percent practical dishes, 30 percent bowls/wood pieces, 10 percent decorative (small art, vase).
Visual principle: mix temperatures. Warm wood next to cool cabinet paint creates depth. Mistake: loading shelves with everything. Instead, rotate items seasonally and leave breathing room so the original cabinets read curated, not cramped.
3. Add Height and Drama with Open Shelving and Focal Lighting
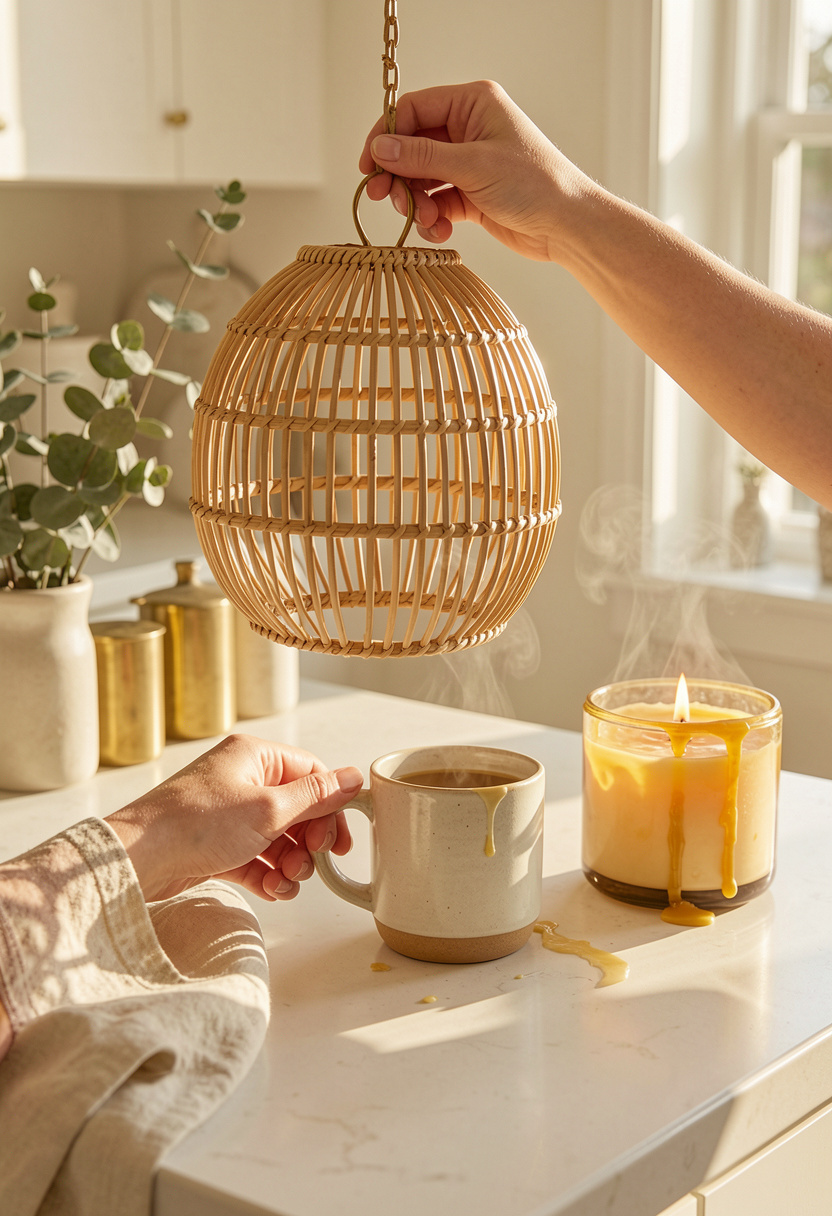
A pendant or two gives a sense of height and intention that cabinet boxes alone cannot.
I chose a Rattan pendant light 15 inch around $40 to $90 and added under cabinet LED puck lights warm white about $20 to $50 for task glow.
Place pendants 30 to 36 inches above counters. The visual principle: layered light creates focal planes and hides cabinet age by drawing the eye up and out.
Ugly truth: an oversized chandelier on a tiny island makes your cabinets feel smaller. Pick scale to suit the island width (pendant diameter roughly one third of island width).
4. Create Ambiance with Hardware, Backsplash, and Small Details
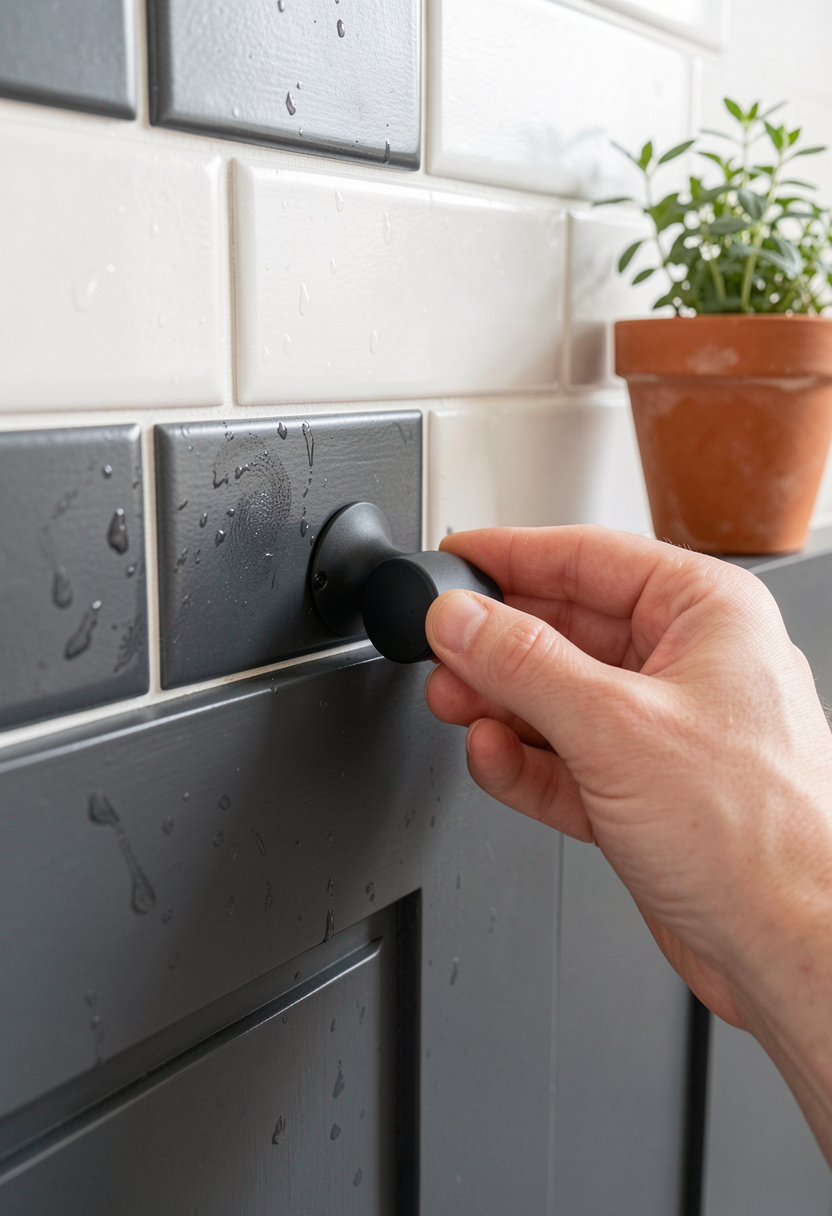
New hardware and an inexpensive backsplash read like a full remodel.
Swap dated pulls for Matte black cabinet pulls 3.5 inch approx $10 to $25 per set and use a peel and stick subway tile backsplash white around $15 to $60 per sheet for impact.
Visual principle: contrast. Dark pulls on light countertops create rhythm. Styling instruction: use a single finish for larger hardware and introduce one accent metal in small doses for warmth.
Mistake: swapping everything to match perfectly. Instead, mix one accent metal (aged brass faucet or shelf brackets) for a collected look.
Common Styling Mistakes to Avoid
Mistake: Lining up canisters at the same height on the counter
Why it doesn't work: Looks flat and staged, no focal point.
Do this instead: Vary heights in odd numbers and mix materials with a Graduated ceramic canister set around $40 to $70.
Mistake: Choosing a pendant that swallows a small island
Why it doesn't work: Overpowers the space and ages cabinets.
Do this instead: Pick a scaled pendant like a Small brass pendant 12 inch around $35 to $80.
Mistake: Matching every metal finish exactly
Why it doesn't work: Feels manufactured and flat.
Do this instead: Introduce one contrasting piece like a Mixed metal hardware set approx $20 to $50.
What You'll Need for This Look
Foundation Pieces
Large acacia fruit bowl 12 inch around $25 to $60
Oversized marble cutting board 20×14 around $30 to $75
Woven jute counter runner 24×72 approx $30 to $80
Textiles & Soft Goods
Sage linen dish towels set of 4 around $18 to $35
Wool kitchen runner 2×6 neutral approx $70 to $150
Linen oven mitts set around $12 to $30
Lighting
Under cabinet LED puck lights warm white approx $20 to $50
Rattan pendant light 15 inch around $40 to $90
Finishing Touches
Terracotta herb pot 4 inch approx $8 to $20
Matte white ceramic canister set with acacia wood lids around $35 to $50
Stoneware mixing bowl set 3 piece approx $25 to $60
Budget Swaps
Peel and stick subway tile backsplash white cheaper than tile installation
Kitchen art print 8×10 around $8 to $25 (thrift framed art for character)
Shopping Guide for This Look
Buy pendants in late fall sales: lighting often hits clearance; try Rattan pendant light 15 inch around $40 to $90.
Thrift hack: find vintage brass knobs and pair with new pulls; see Vintage brass knob set approx $15 to $40.
2025 trend nod: add open shelving and mixed metals; pick aged brass shelf brackets 7 inch approx $12 to $25 each.
Splurge vs save: splurge on quality cutting board like Large acacia cutting board 18×12 $25 to $45, save on towels like sage linen dish towels set of 4 $18 to $35.
Seasonal tip: buy herbs in spring for best selection; small terracotta herb pot 4 inch around $8 to $20.
Conclusion
Start with one high-impact change: new hardware or a single shelf. That one move will shift how your whole kitchen feels.
The principle to keep in mind: create three visual layers—foundation, texture, and accents—and let the eye move between them.
Which one update will you try first?