My first early 1900s kitchen redo cost $420 and turned into the room everyone noticed. An early 1900s kitchen needs beadboard, brass hardware, and a few lived-in pieces to feel right. Here are 13 practical, budget-minded styling ideas—most under $120, a few splurges around $300—that brought authenticity and real cooking-life back to my space.
I’m aiming for a warm, slightly rustic vibe that works for farmhouse, cottage, and small urban kitchens. Most ideas are under $120, with three splurges around $250 to $350. Lately I’ve noticed everyone adding brass accents and open shelves to vintage kitchens, mixed with modern durability for daily use.
1. Beadboard Backsplash in Satin White
Style: Classic Cottage | Budget: Under $120 | Best For: Renters & homeowners
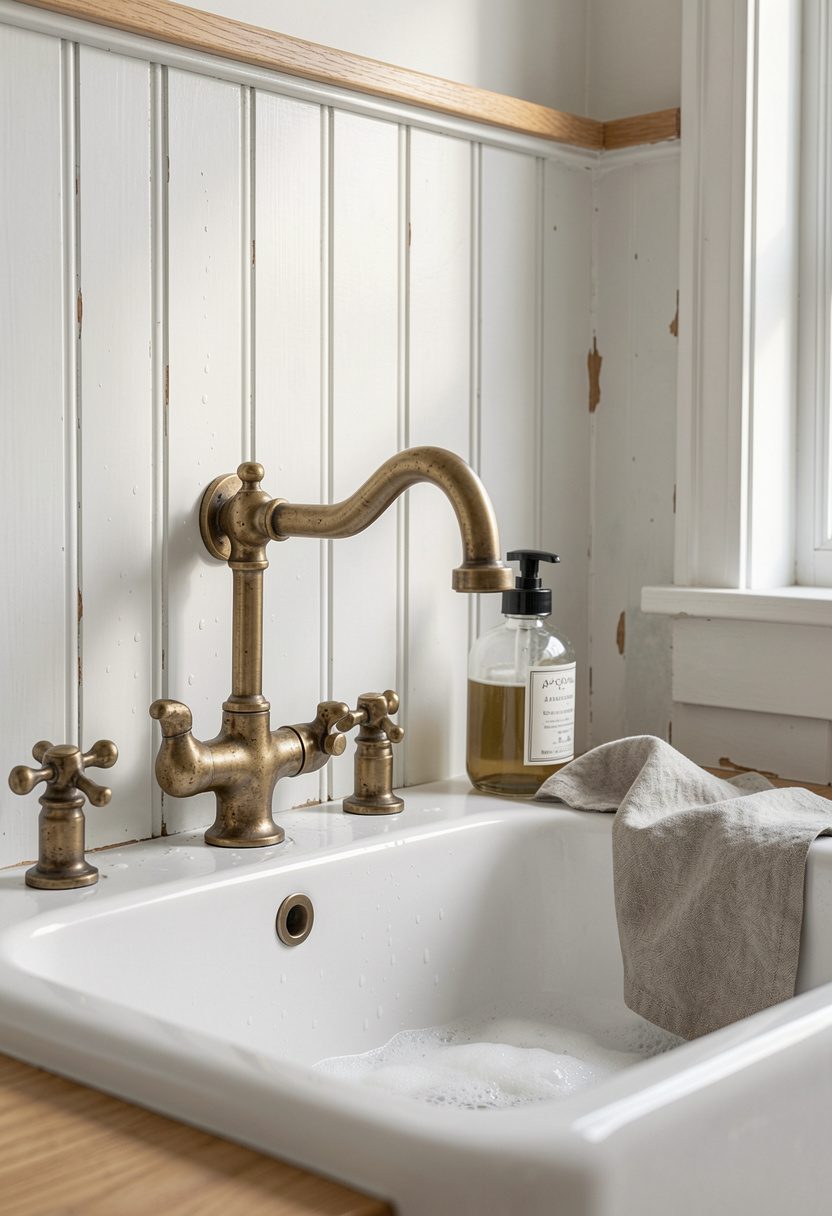
Beadboard instantly reads like an early 1900s kitchen. I used 4-inch tongue-and-groove panels in satin white to hide uneventful tile, and it cost about $90 to cover a 4-foot run. Tip: prime first to avoid cupping, then caulk the seam near the counter. Ugly truth: fake beadboard vinyl peels after steam exposure, so invest in painted wood panels if you cook daily. I found my panels at a local lumber outlet for $7 each.
Shop this idea:
2. Aged Brass Bridge Faucet That Anchors
Style: Vintage Revival | Budget: $150 to $350 | Best For: Historic homes
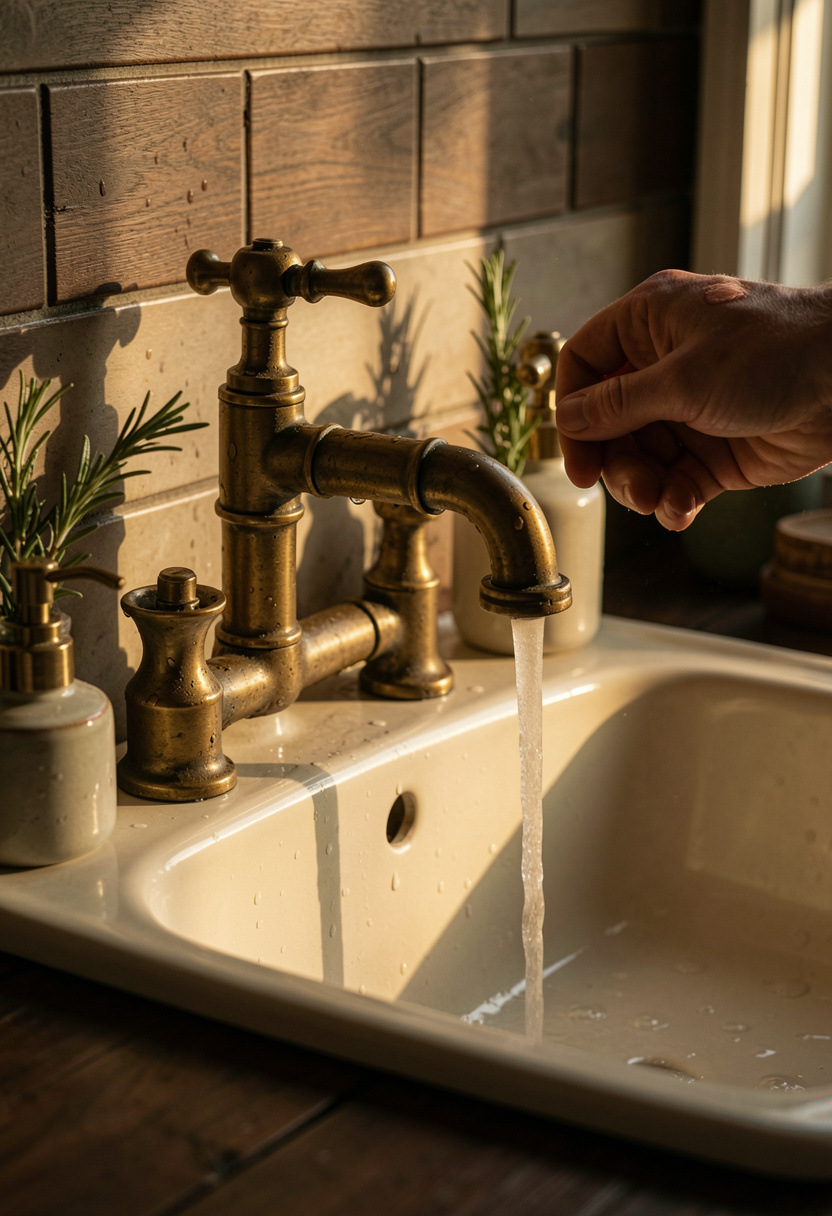
A brass bridge faucet reads century-old and cleans up modernly. I picked a 9-inch spout in aged brass for $279 and the room felt anchored. Practical tip: match valve spacing to your sink holes before ordering. Ugly truth: polished brass shows fingerprints, so choose unlacquered or satin brass and plan for weekly wipe-downs. When my neighbor saw it she asked where I bought it and then mirrored the finish in her bathroom.
Shop this idea:
3. Open Shelving with Warm Oak and White Ceramics
Style: Bright & Airy | Budget: Under $120 | Best For: Small kitchens, renters

Open shelves show off beadboard and brass. I used 24-inch acacia shelves and kept three plate stacks, a bowl cluster, and a single brass vase. Tip: install metal L-brackets hidden under the shelf for weight support. Ugly truth: open shelving collects grease and clutter; keep only everyday items on view. I thrifted a set of white ironstone plates at HomeGoods for $28 and they make the shelves feel collected.
Shop this idea:
4. Glass-Front Cabinets Dressed With Linens
Style: Collected Vintage | Budget: Under $200 | Best For: Open-plan kitchens
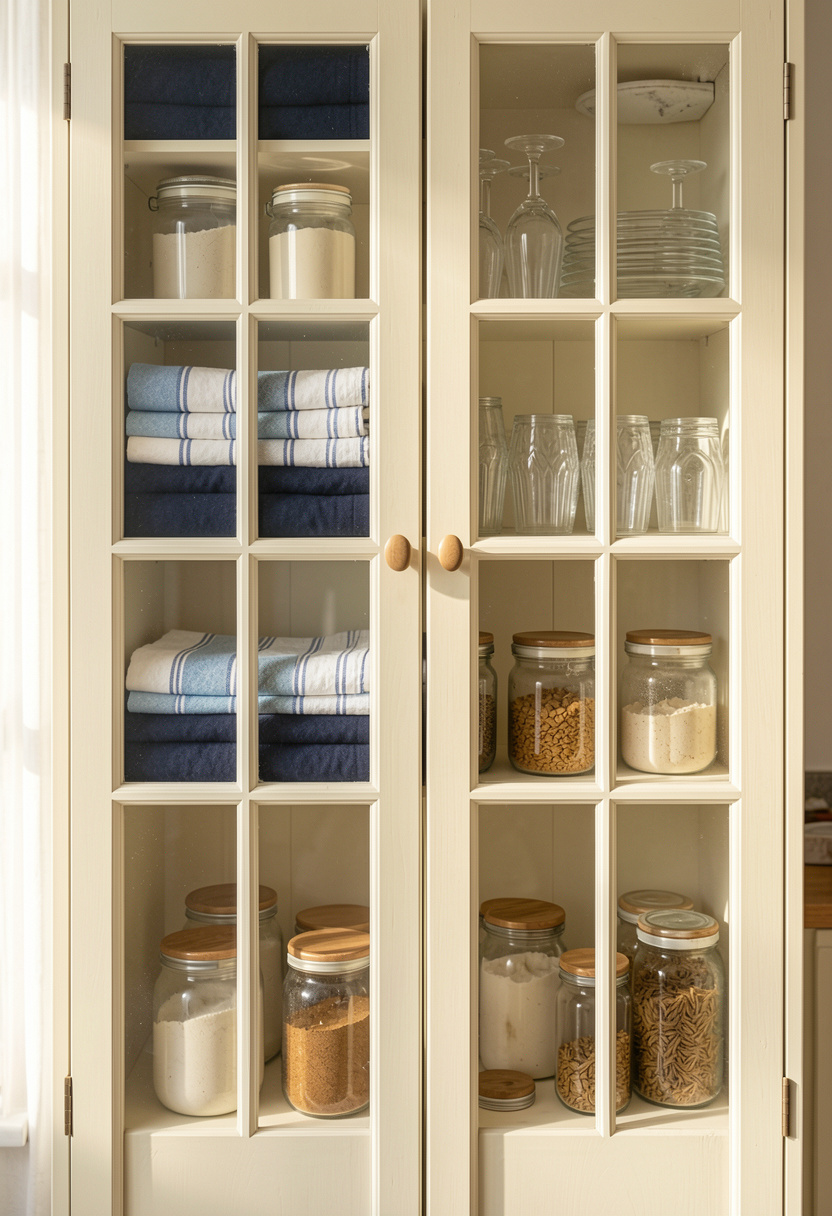
Glass-fronts feel original to an early 1900s kitchen. I swapped a solid door for mullioned glass and placed folded indigo tea towels, vintage jars, and a brass salt cellar inside. Tip: use museum glass for glare reduction if you have direct sun. Practical price anchor: new panes ran me $120 for two doors. I learned the hard way that glass reveals messy backs, so photograph your shelf and edit down items before closing the door.
Shop this idea:
5. Fireclay Apron Sink With Deep Basin
Style: Rustic Farmhouse | Budget: $250 to $600 | Best For: Serious cooks
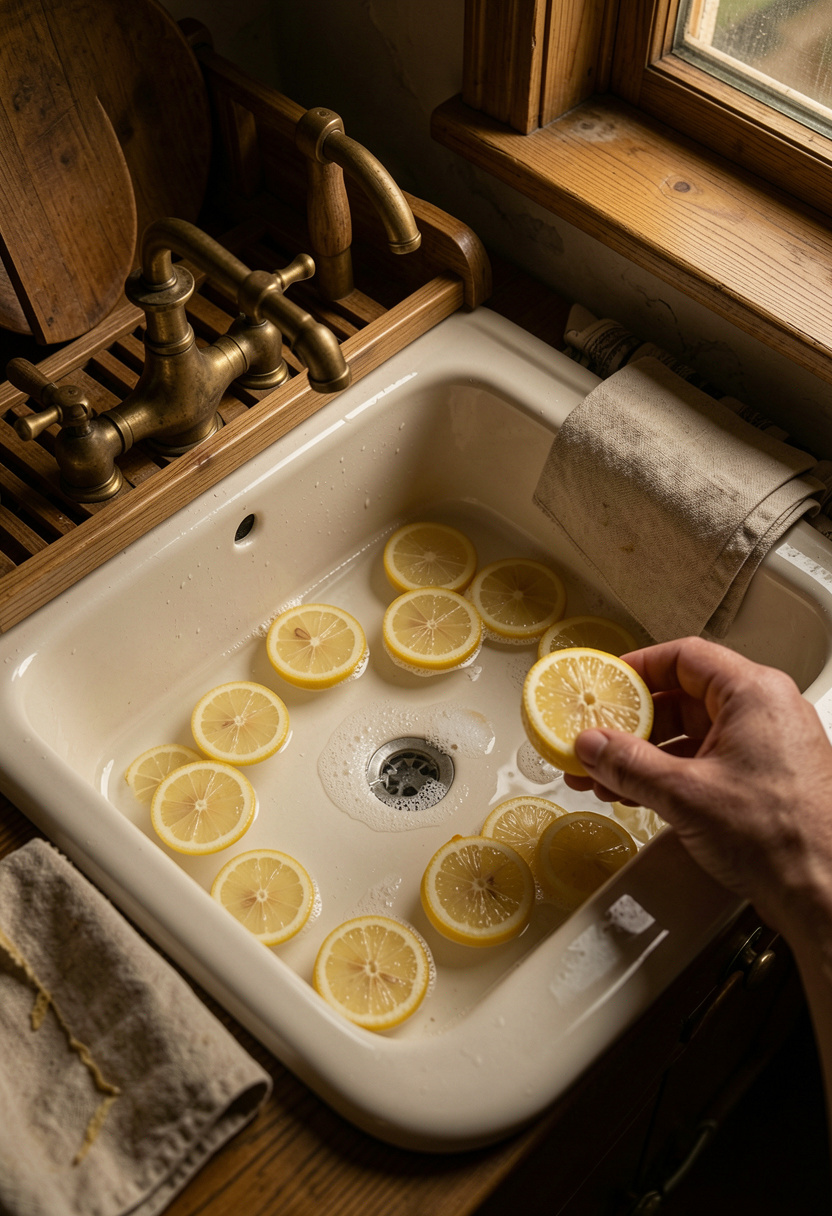
A fireclay apron sink reads century-old and takes a beating. I splurged $320 on a 30-inch single basin, and it handles my oversized roasting pans. Tip: pair with a brass grid to protect the bottom. Ugly truth: fireclay can chip if you drop cast iron, so avoid heavy impacts. I almost returned mine after a hairline scratch, but a metal polish and a patient hand buff fixed it.
Shop this idea:
6. Vintage-Style Canisters as Counter Décor
Style: Collected & Lived-In | Budget: Under $75 | Best For: Small counters
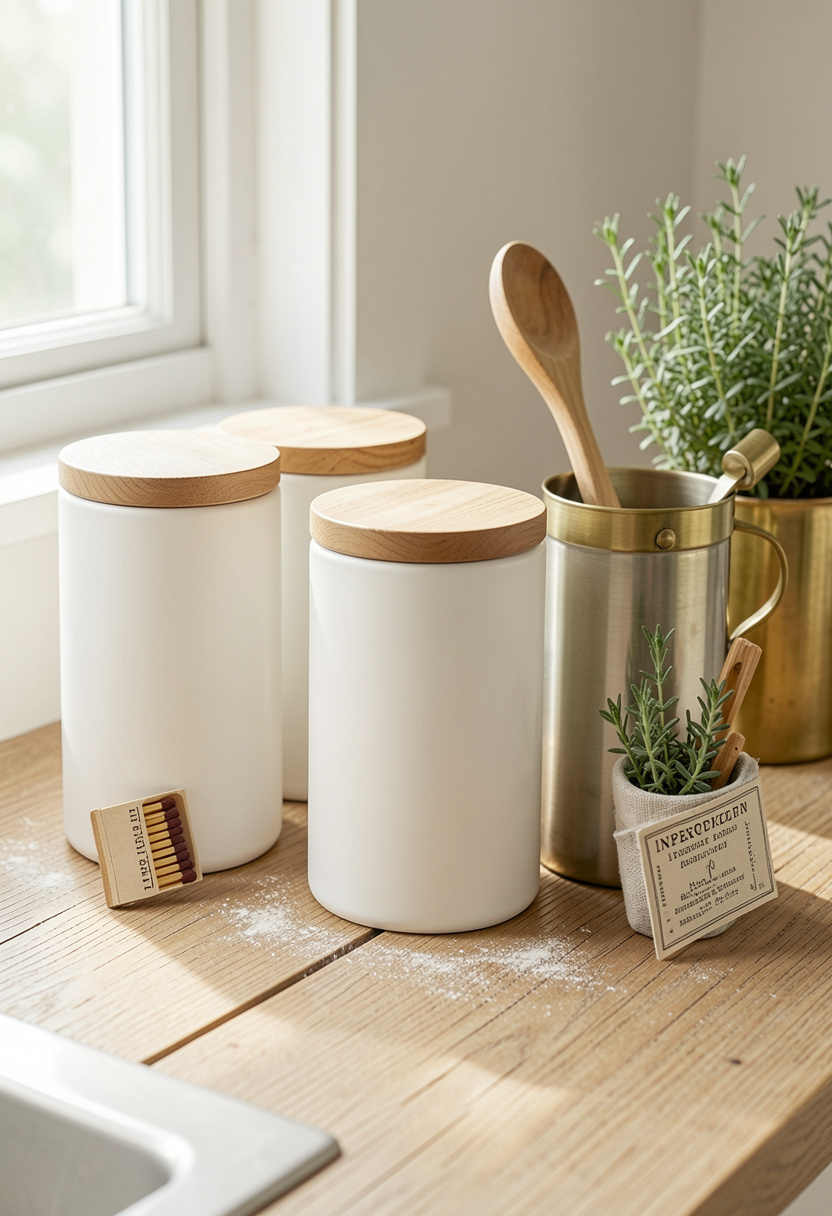
Counter canisters keep flour, sugar, and coffee handy and look like they belong. I bought a three-piece matte white set with acacia lids for $42 and labeled them in pencil on the underside. Tip: keep the largest for flour and the smallest for coffee to avoid stale beans. Ugly truth: glossy canisters show coffee stains; matte finishes hide spills better. I scored mine at HomeGoods on clearance and still recommend the simple shape.
Shop this idea:
7. Built-In Pantry Nook With Beadboard Shelves
Style: Practical Vintage | Budget: $80 to $250 | Best For: Small homes, cottages
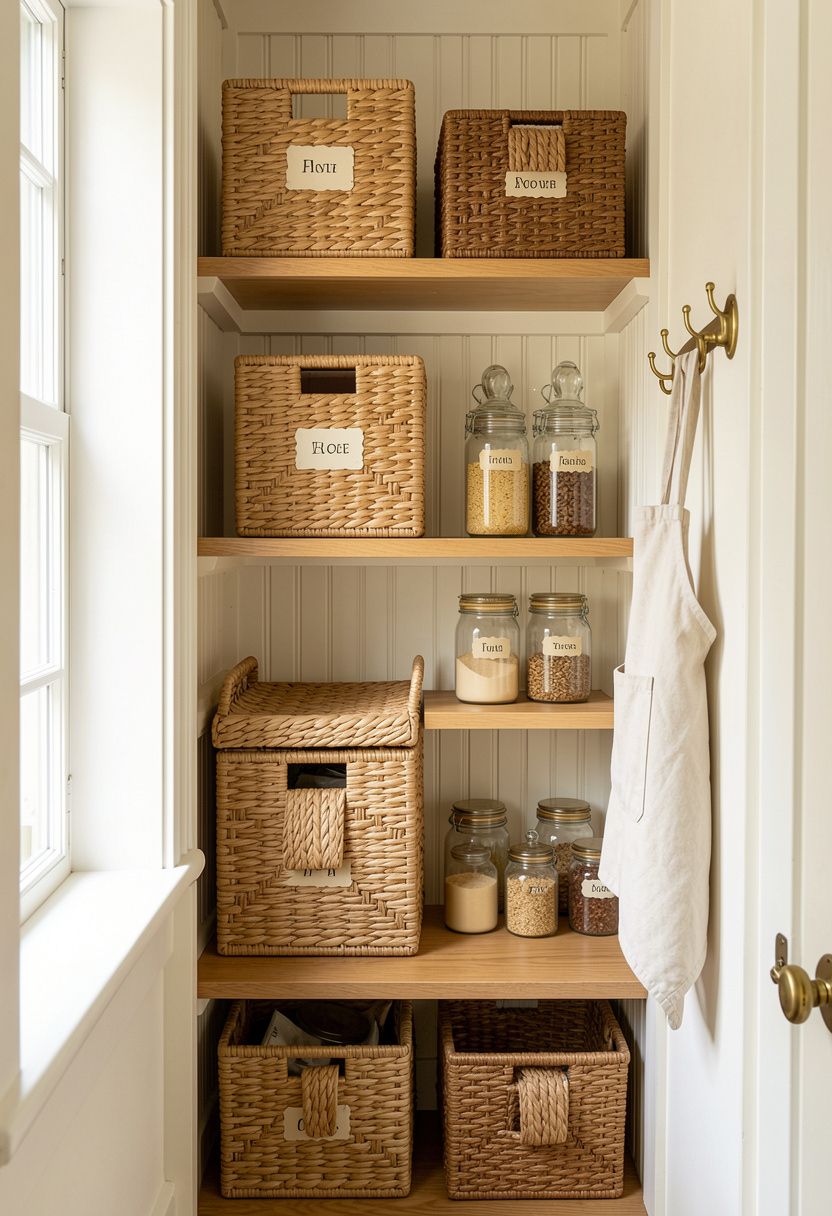
A narrow built-in pantry with beadboard backing makes canned goods look intentional. I added three adjustable beadboard shelves and labeled jars for $140 total. Tip: use clear jars for staples and keep a small step stool nearby. Ugly truth: deep pantries hide expired tins; do a quarterly purge. My neighbor asked how my small pantry looked so tidy, I showed her the edge labels I made for $2 each.
Shop this idea:
8. Restore An Icebox Door For Character
Style: Statement Restoration | Budget: $120 to $360 | Best For: Historic remodels

Turning an old fridge into an icebox-style facade adds personality. I added beadboard panels and a brass latch for about $220 in materials. Tip: ensure ventilation and service access remain intact before altering the door. Practical moment: I overpainted once and the finish looked flat; sanding between coats fixed it. People comment on the latch like it’s original, and that small bit of drama costs less than a new appliance.
Shop this idea:
9. Patterned Encaustic-Style Tile Runner
Style: Bold & Saturated | Budget: Under $150 to $400 | Best For: Hallway kitchens
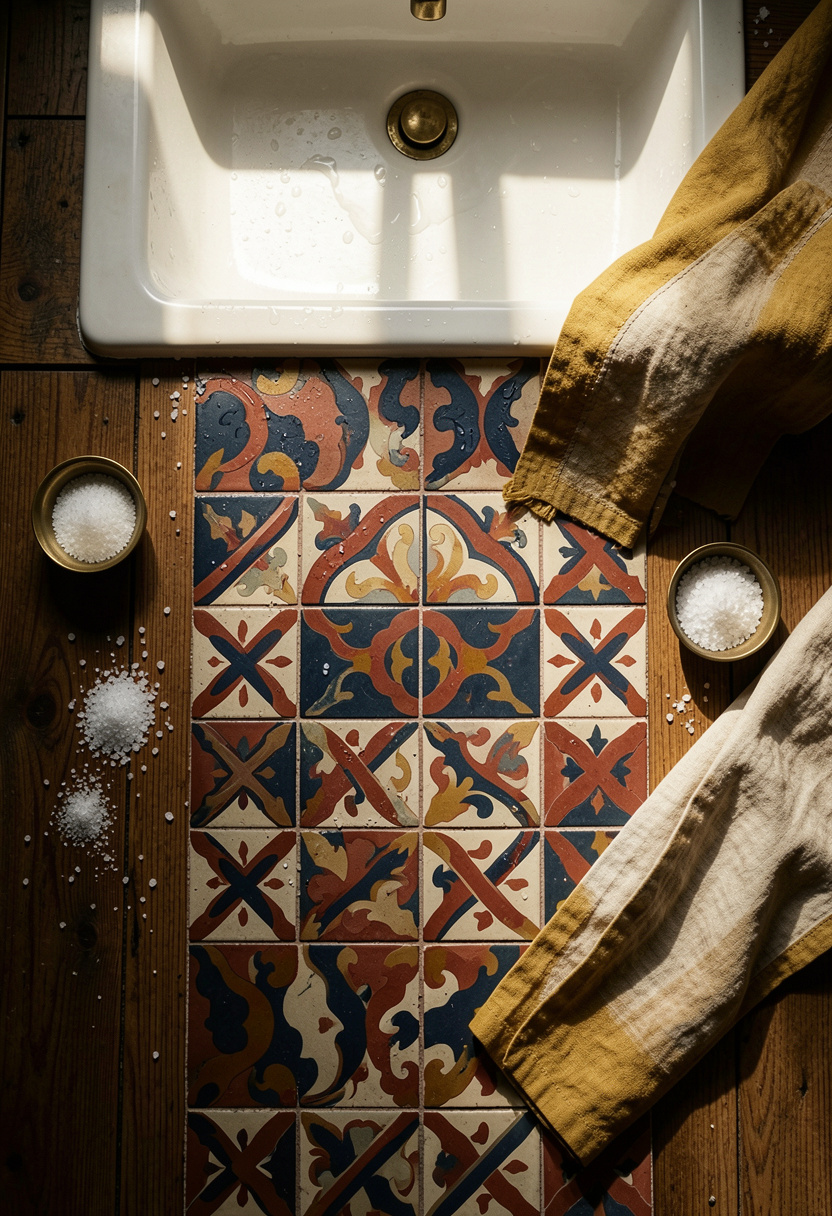
A patterned tile runner channels early 1900s charm without retiling the whole floor. Peel-and-stick encaustic-look tiles cost me about $90 for a 2×6 runner. Tip: seal edges with clear silicone to avoid curling. Ugly truth: real encaustic tile is expensive and heavy; faux tile is a much more budget-friendly trick. I placed mine in front of the sink and it became the visual anchor of the room.
Shop this idea:
10. Two-Tone Cabinets: Sage Lower, Cream Upper
Style: Layered & Curated | Budget: $120 to $300 | Best For: Medium kitchens
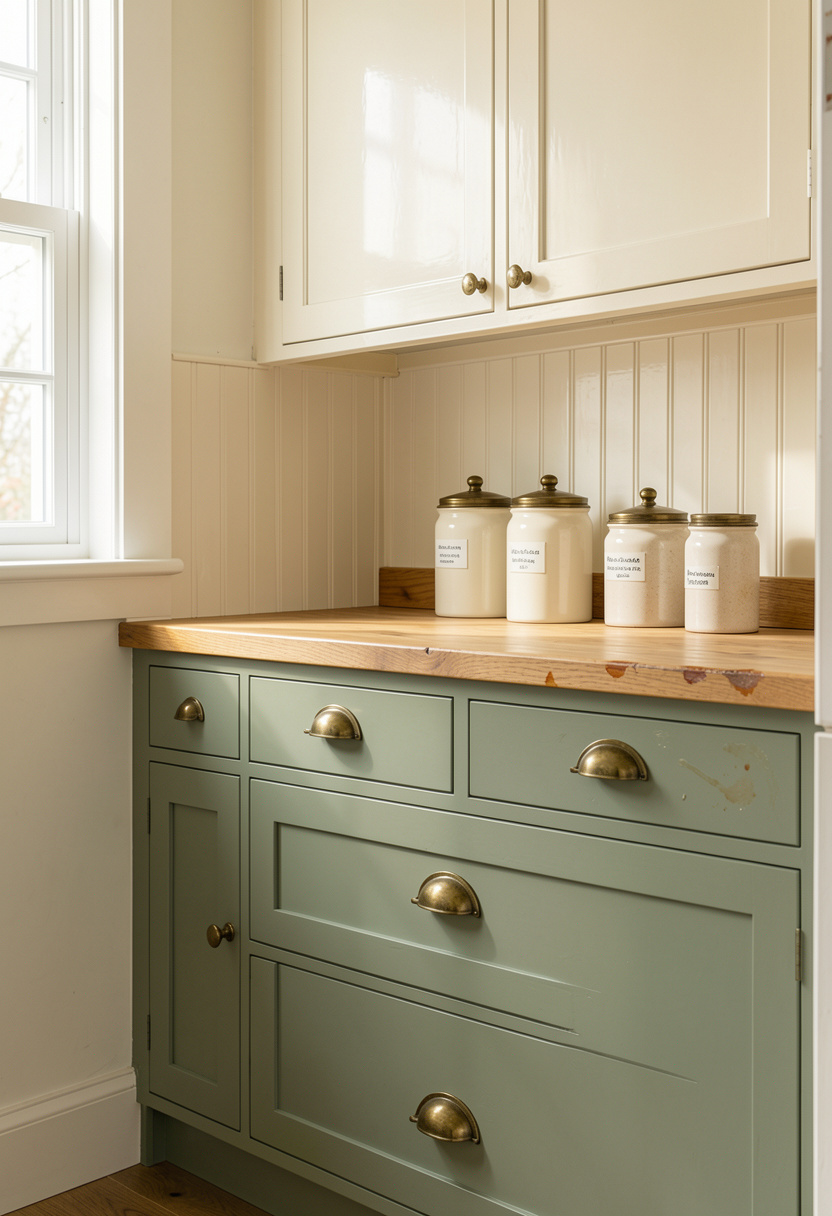
Two-tone cabinets add period-appropriate depth. I painted lowers in a muted sage and kept uppers cream, spending $140 on paint and supplies. Tip: use satin finish on lower cabinets for durability and eggshell on uppers for a soft look. Ugly truth: poorly prepped cabinet surfaces flake quickly; sanding and primer aren’t optional. I once skipped sanding and had to repaint within a year, learned my lesson the expensive way.
Shop this idea:
11. Appliance Garage with Beadboard Door
Style: Practical Vintage | Budget: Under $150 | Best For: Clutter-prone counters
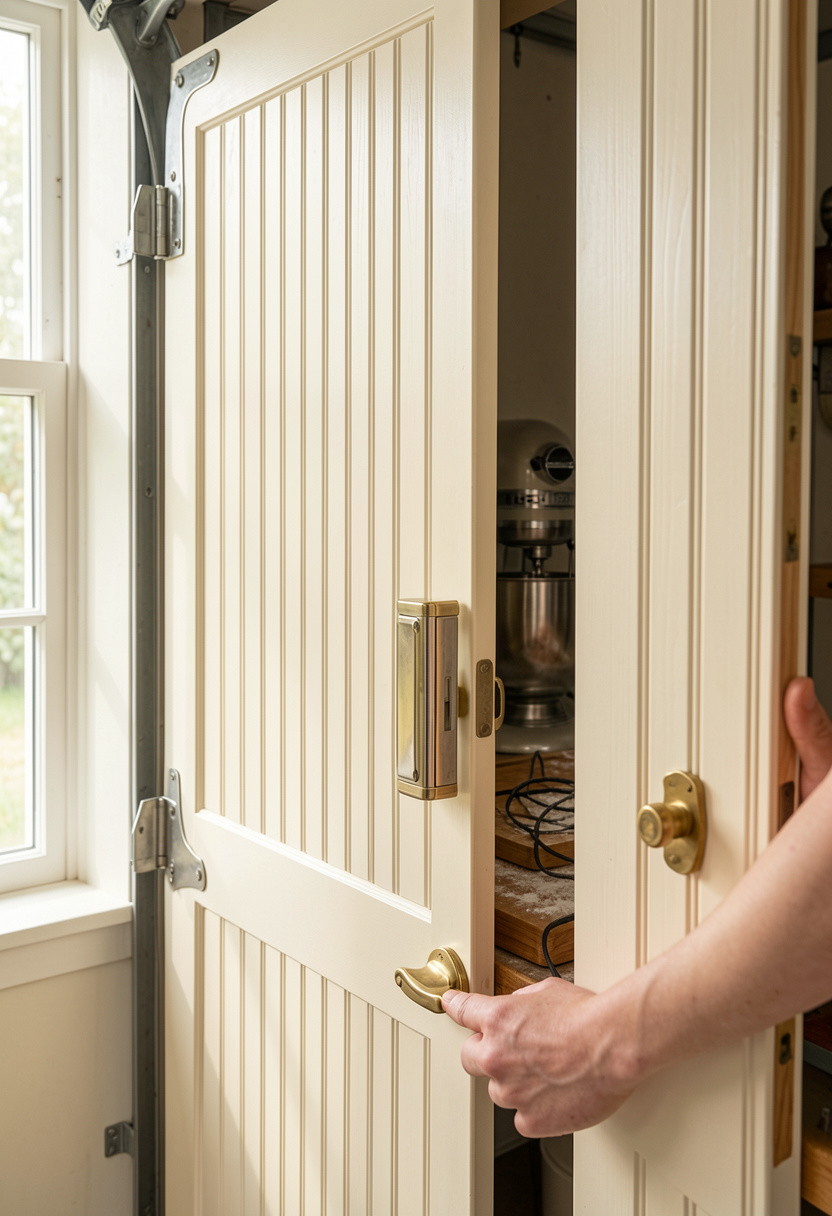
An appliance garage hides the toaster or mixer behind a beadboard door. I built a 20-inch garage and used a brass swing pull for $95 in parts. Tip: add a small vent or open back if your appliance runs hot. One mistake I made was using a shallow hinge that didn’t clear the countertop; measure the door swing carefully. Guests love the reveal when I slide the door open for baking demos.
Shop this idea:
12. Hanging Pot Rack in Patina Brass
Style: Moody & Cozy | Budget: $90 to $220 | Best For: Active cooks
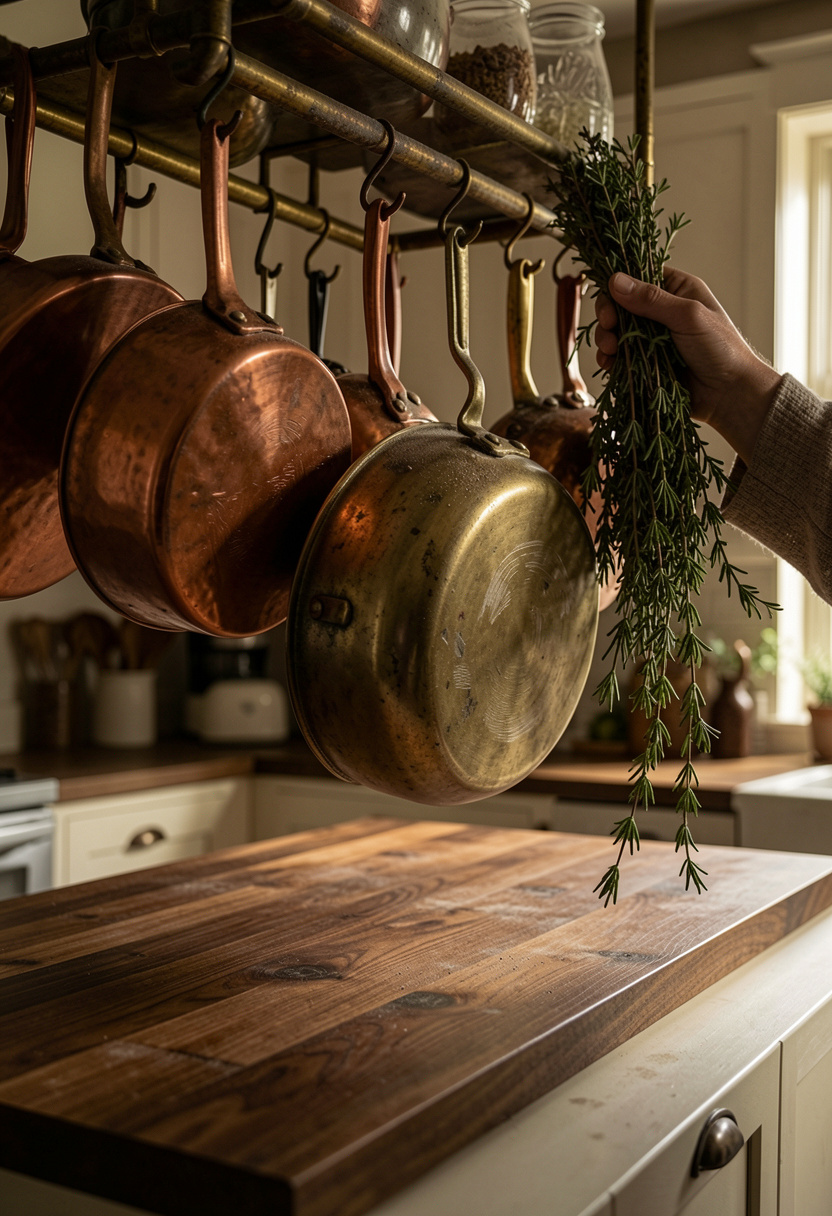
A hanging pot rack keeps pans accessible and reads like an authentic early 1900s kitchen detail. I installed a 36-inch patina brass rack for $135 and it freed up two cupboards. Tip: anchor into ceiling joists or use toggles rated for 100+ pounds. Ugly truth: pot racks collect grease; plan for periodic deep clean. I once overloaded mine and a S-hooks slipped, so I learned to space hooks evenly.
Shop this idea:
13. Window Herb Shelf with Small Brass Planters
Style: Fresh & Functional | Budget: Under $60 | Best For: Sunny windows

A narrow shelf in the window provides fresh herbs and a brass accent. I mounted a 24-inch oak ledge and used three brass planters, total $46. Tip: rotate planters weekly for even sun exposure and use saucers to protect the sill. Small moment: my first basil died from overwatering, but a smaller pot and less water solved it. Guests pick herbs off the shelf mid-cooking and it’s the simplest luxury.
Shop this idea:
What You'll Need to Get This Look
Countertop & Storage
- Matte white ceramic canister set around $35 to $50
- Acacia floating shelves 24 inch around $40 to $90
- Glass storage jars set around $20 to $45
- Brass sink grid around $20 to $40
Wall Decor & Open Shelving
- 4-inch beadboard panel around $6 to $12 each
- Concealed shelf brackets around $10 to $25
- Mullioned cabinet glass doors around $60 to $180
Textiles & Soft Goods
- Indigo striped tea towels set around $12 to $25
- Sage linen dish towels around $15 to $35
Greenery & Freshness
- Small brass planters set around $15 to $40
- Herb starter kit around $20 to $50
Budget Swaps
- Peel-and-stick encaustic-look tile similar at thrift markets for less, around $15 to $90
- Antique brass cup pulls swap with thrifted hardware, around $6 to $25 each
- Acacia utensil crock similar finds at HomeGoods for less, around $12 to $30
Shopping Tips for These Looks
Time Your Paint Purchases: Buy paint late winter when brands run promos, I saved 15% on my sage quart with a promo code. Try sage cabinet paint quart around $25 to $45.
Seasonal Hardware Hunting: Hardware goes on sale around President’s Day and Black Friday, wait if you can and snap up brass cup pulls for less.
Thrift Hack: Mix a thrifted enamelware pitcher with new ceramic canisters for authenticity, and check local flea markets for brass planters.
Measure Twice, Order Once: For faucets and sinks, measure hole spacing and depth, then order a matching aged brass bridge faucet to avoid returns.
2025 Trend Tip: I’m seeing more people layer matte finishes with subtle patina brass for warmth; try pairing matte white canisters with a patina brass pot rack.
Frequently Asked Questions
Q: How durable is beadboard behind a stove?
A: Beadboard is fine if you use a non-combustible splash near open flames; use tile or metal behind the cooktop and beadboard on adjacent walls. Consider a 4-inch beadboard panel and seal edges.
Q: Will brass tarnish quickly in a kitchen?
A: Brass patinas over time, which many owners like. Wipe weekly with a microfiber cloth and use a mild cleaner for spots; a brass polish cloth kit helps.
Q: Can open shelving work in a busy family kitchen?
A: Yes, if you limit items to everyday wares and accept more frequent dusting; keep fragile or seldom-used pieces in cabinets. I recommend acacia floating shelves 24 inch.
Q: Is a fireclay sink worth the splurge?
A: For durability and period look, yes, but avoid dropping cast iron. A 30-inch fireclay apron sink pairs well with a brass sink grid to protect the basin.
Conclusion
Start small: add beadboard behind the sink and a brass faucet to see how the room settles. My favorite quick win was open shelves with white ironstone, which cost under $100 and changed the whole flow. Which of these 13 early 1900s kitchen ideas will you try first?

