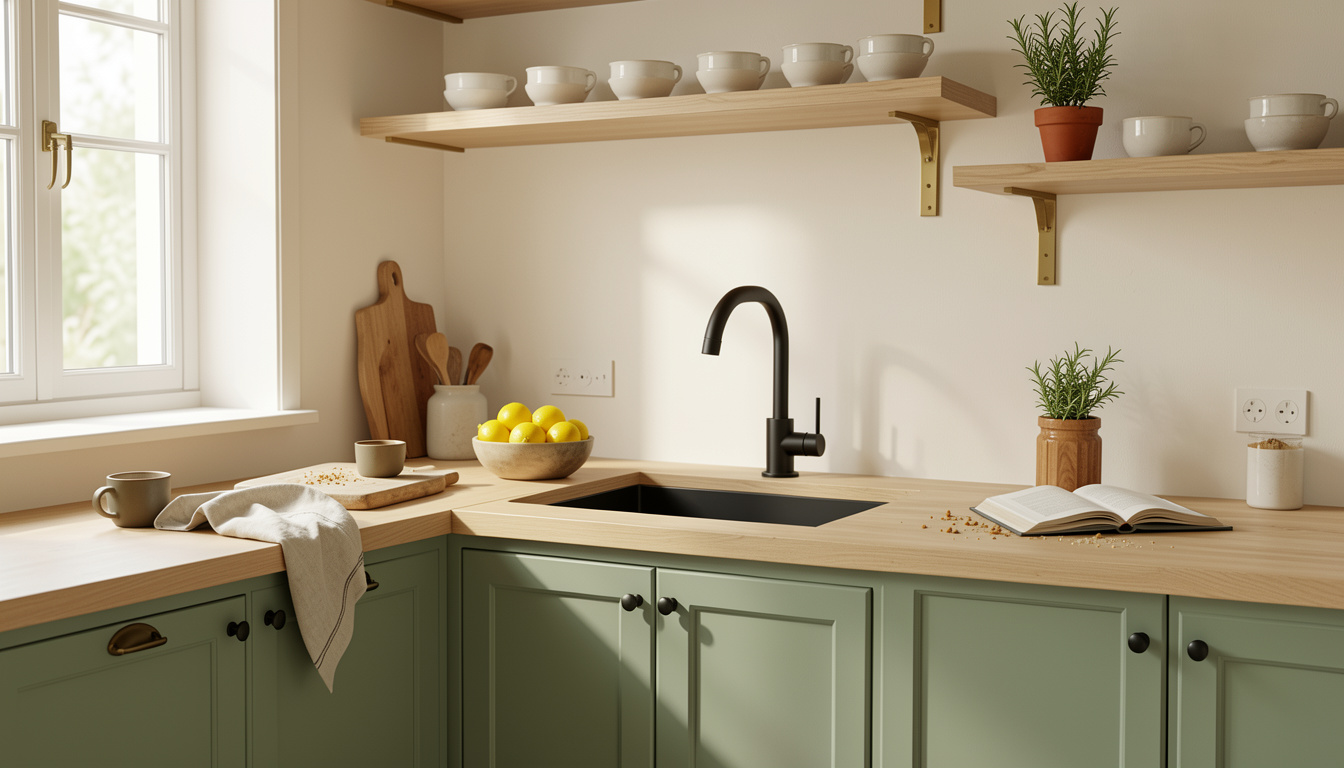
I ripped out the old builder-grade cabinet pulls and painted just the bottom row of my 10×10 kitchen and the room suddenly felt like it had a personality. If you have 10×10 kitchen cabinets on a budget this list gives 11 specific cabinet-forward tweaks under typical budgets, most under $50 with a few splurges around $120. I’ll show what worked, what I binned, and the reactions from guests.
I’m aiming for clean, lived-in looks that suit modern, farmhouse, and small urban kitchens. Most ideas cost under $50, a couple hit $100 to $150. I’ve noticed open shelving and two-tone cabinets keep coming up in design feeds, and research from Houzz and NKBA supports that storage and focal cabinets top homeowner wish lists.
1. Paint Lower Cabinets Deep Navy
Style: Bold & Saturated | Budget: Under $75 | Best For: Small 10×10 kitchens
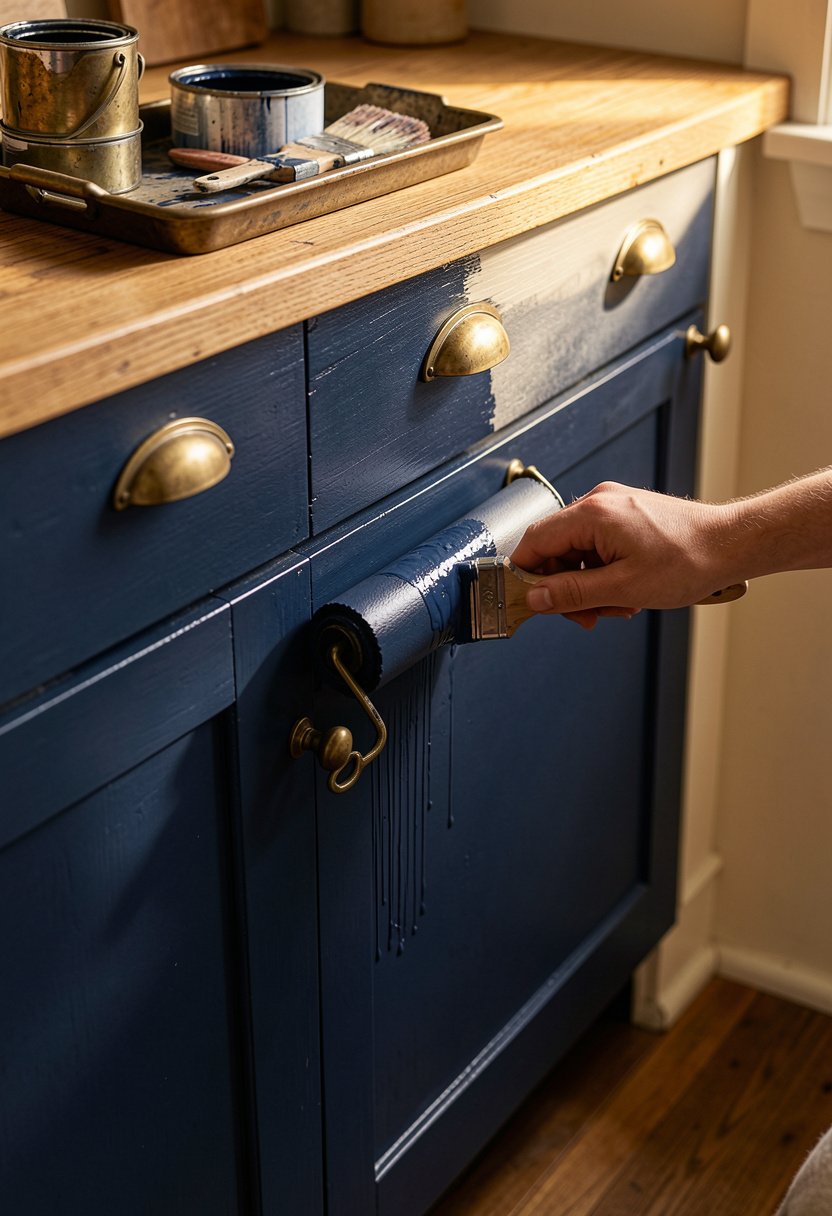
Painting the lower cabinets navy made my counters pop and hid scuffs from daily cooking. I used satin cabinet paint and a $22 angled brush, which left fewer brush marks than a foam roller. Tip: remove doors, label hinges, and use 120-grit sanding block first. People assume darker paint shows dust, but in a 10×10 it actually reads intentional and grounded. I paid about $38 for paint and still swapped out cheap pulls for aged brass for roughly $18 each.
Shop this idea:
2. Add Inexpensive Shaker Facade Overlays
Style: Modern Farmhouse | Budget: $80 to $150 | Best For: Builder basic doors
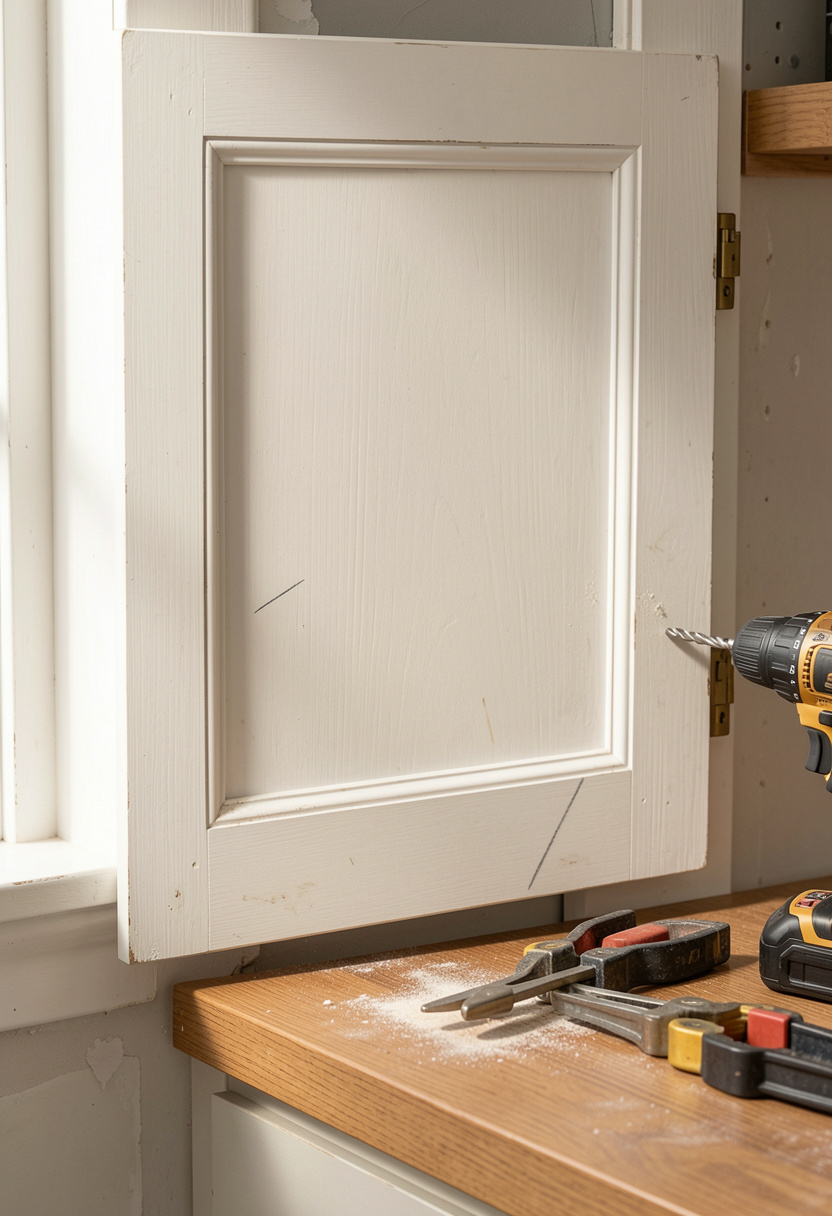
Overlay panels are the secret I wish I’d known sooner. Instead of replacing cabinets, I added pre-primed shaker overlays for about $90 a door and painted them to match. The trick is precise measuring and a jigsaw for trim cuts. This solves the “cheap veneered box” look without a full remodel. I learned the hard way that cheap adhesive leaves gaps, so I used small screws and wood filler for a seamless finish.
Shop this idea:
3. Swap Hardware to Matte Black
Style: Bright & Airy | Budget: Under $50 | Best For: Any 10×10 cabinet set
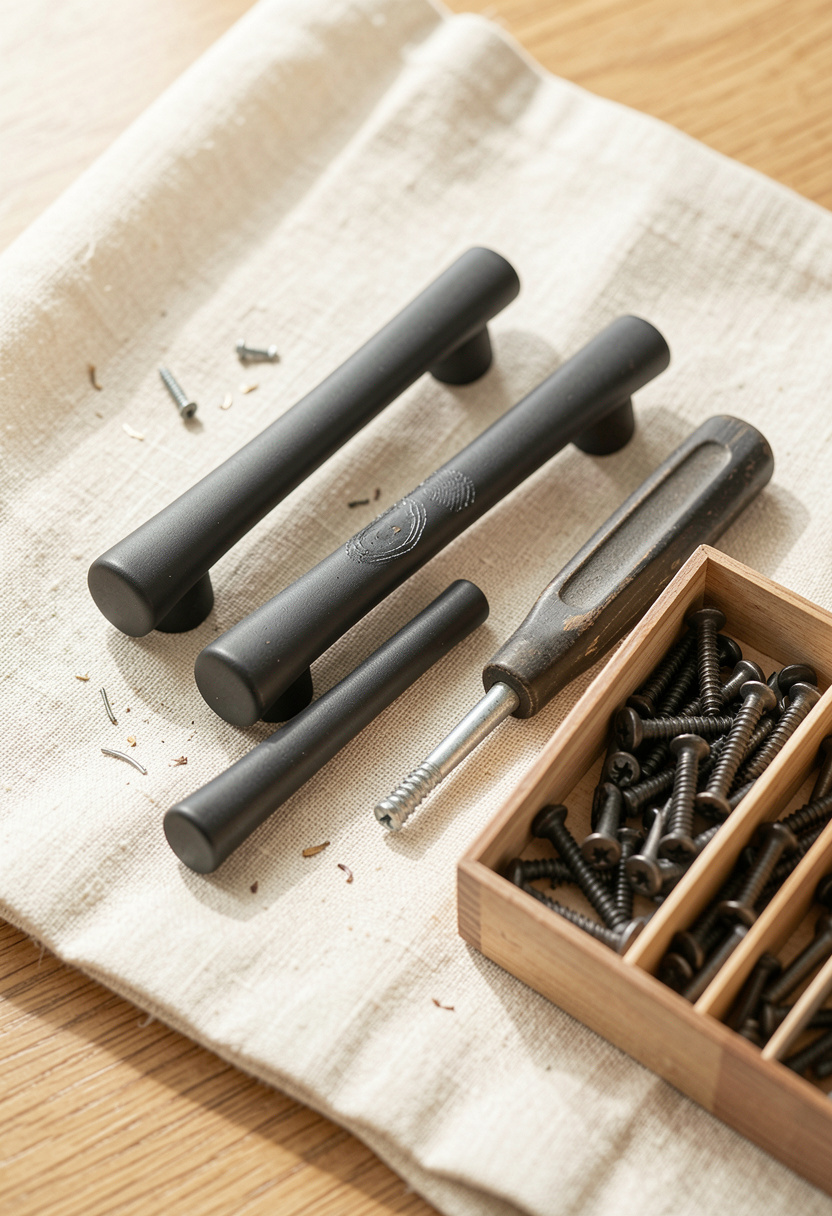
Changing pulls is an instant upgrade. I replaced ten mismatched knobs with slim matte black bar pulls for about $28 total and the kitchen felt custom. Measure your hole spacing first, most kits include adapters. Ugly truth: cheap plated knobs chip fast, buy solid metal. I once bought glossy replacements and regretted it after a month of sticky fingerprints.
Shop this idea:
4. Two-Tone Cabinets: Paint Top Row Cream
Style: Modern Farmhouse | Budget: $40 to $90 | Best For: Tight vertical spaces
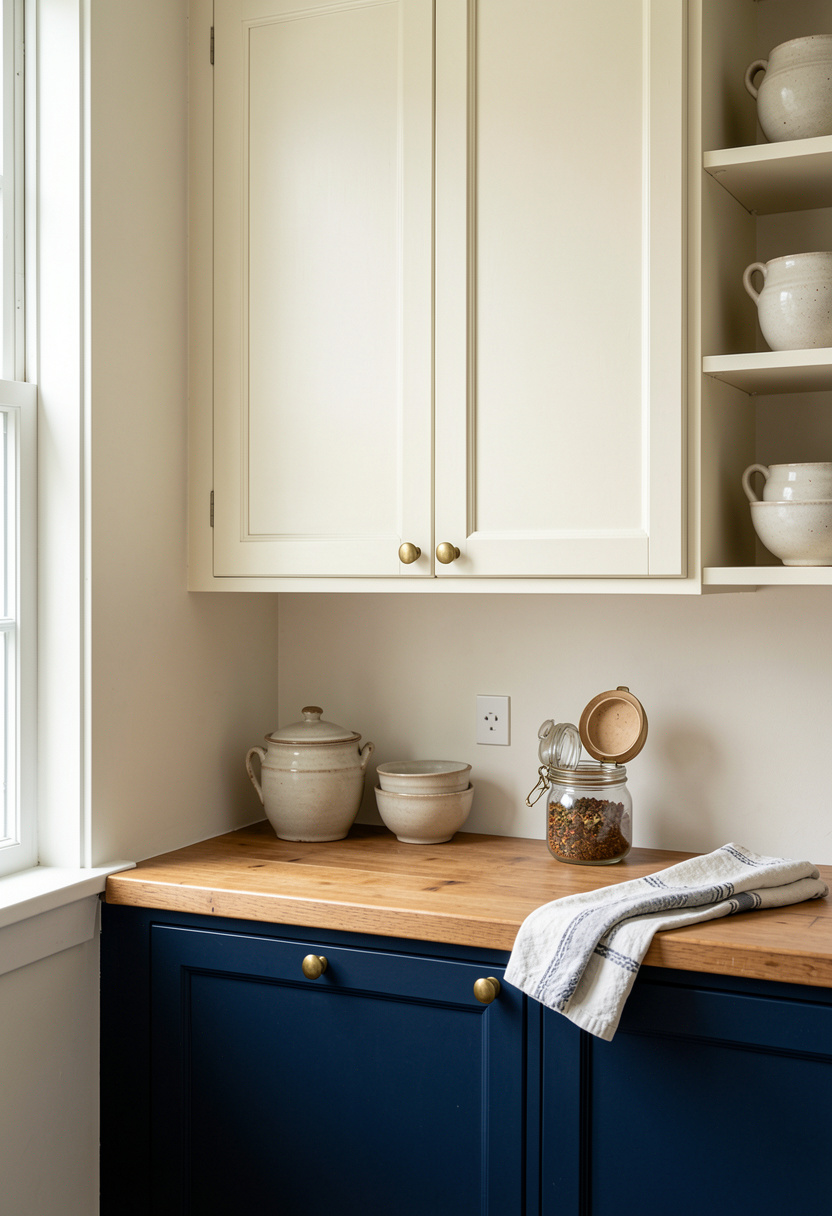
Two-tone saved my small kitchen from feeling boxy. I painted uppers a warm cream and kept lower cabinets navy. The visual trick makes the ceiling feel higher. Research and my feeds show two-tone keeps popping up for small kitchens, and for good reason. Tip: use eggshell on uppers to hide handprints, semi-gloss on lower for wipeability. My neighbor asked if I remodeled for months.
Shop this idea:
5. Open Shelving On One Wall
Style: Bright & Airy | Budget: Under $60 | Best For: Showing ceramics

I swapped a shallow upper cabinet for two oak floating shelves and suddenly my kitchen breathed. Open shelving forces you to edit, which is a pain, but the payoff is a curated look. Don’t overcrowd; three to five pieces per shelf reads intentional. I learned the ugly truth that cheap brackets sag over time. Invest in proper steel supports and anchor into studs.
Shop this idea:
6. Add Beadboard Inside Cabinet Doors
Style: Farmhouse | Budget: Under $40 | Best For: Hiding laminate fronts
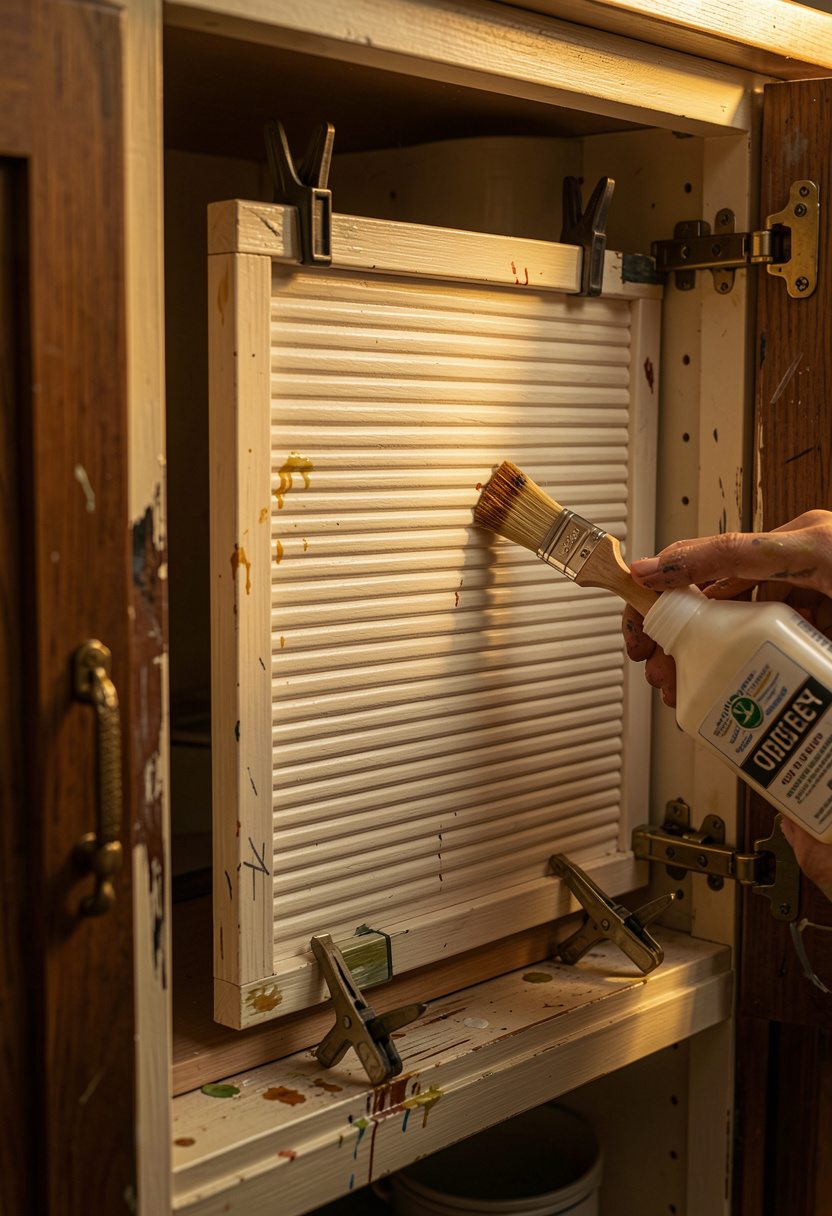
Beadboard lining inside door frames adds texture for pennies. I cut thin MDF beadboard strips and glued them into door recesses; it hid ugly laminate edges and made the cabinets read custom. Tip: prime before install to stop swelling. Ugly truth: beadboard looks great at first but can trap grease near the stove, so keep a wipe bucket handy.
Shop this idea:
7. Peel-and-Stick Faux Veneer on Door Faces
Style: Bold & Saturated | Budget: $30 to $80 | Best For: Rental kitchens

In my rental, peel-and-stick wood grain saved the day. I matched a dark walnut vinyl to my butcher block. The key is careful placement and a heat gun for tight corners. Ugly truth: cheaper vinyl peels at edges in humid months. Expect reapplication after a few years, but it’s far cheaper than replacing cabinets.
Shop this idea:
8. Install Under-Cabinet LED Tape Lighting
Style: Bright & Airy | Budget: Under $35 | Best For: Task lighting
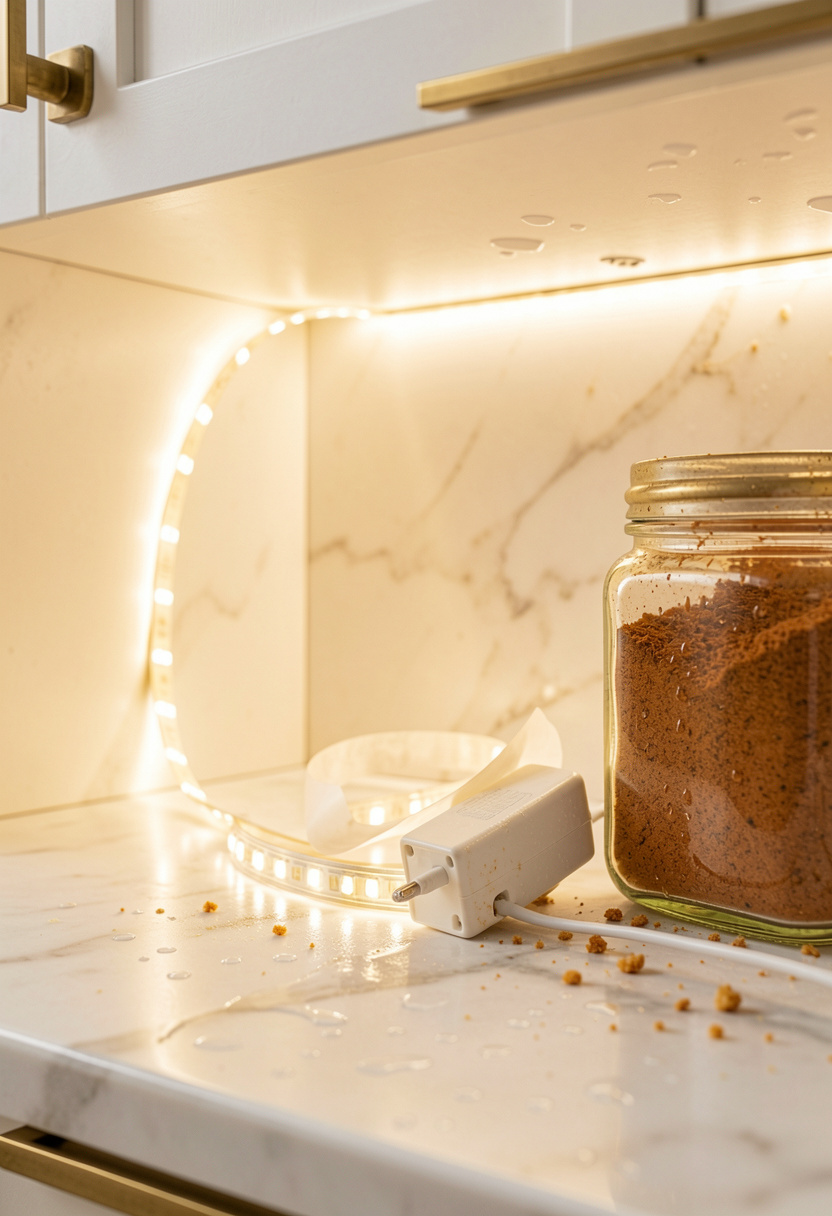
LED tape changed my counter game. It brightened prep zones and made my cabinets feel more expensive. Choose warm 2700K for a cozy look and surface-mount connectors to avoid visible wires. Most kits run $20 to $35 and plug into an outlet, so no electrician needed. Ugly truth: never stick LEDs to greasy spots, they peel fast.
Shop this idea:
9. Replace One Door With Glass Front
Style: Modern Farmhouse | Budget: $50 to $120 | Best For: Showing curated dishes

I swapped one upper door for glass and it makes the whole wall feel lighter. Use tempered glass and add a back panel in a contrasting paint so contents appear staged. Keep only three to five items inside to avoid clutter. I once put an overfull shelf behind glass and it looked worse than before, so edit ruthlessly.
Shop this idea:
10. Add Decorative Toe-Kick
Style: Moody & Cozy | Budget: Under $40 | Best For: Hiding scuffed baseboards
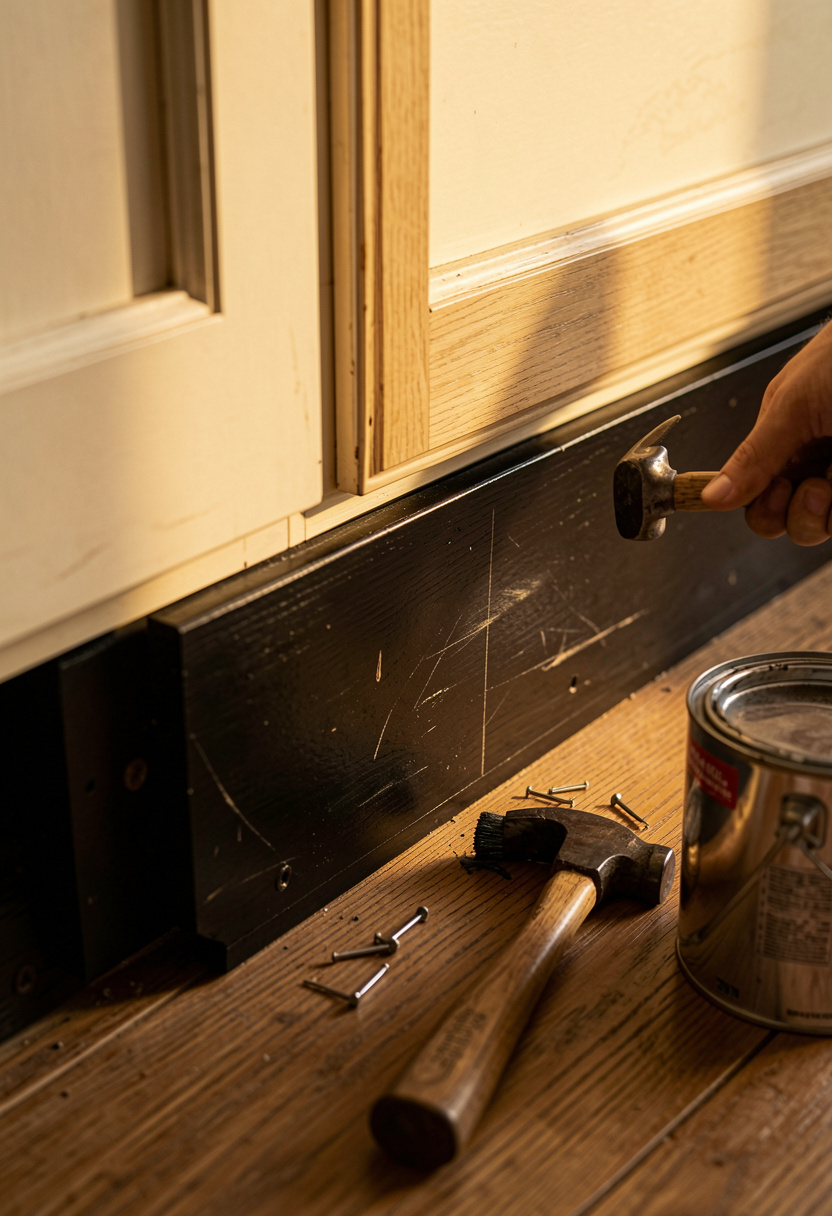
A painted toe-kick is a small detail that reads high-end. I installed a 3-inch toe-kick in matte black to ground pale cabinets and hide years of scuffs. It cost under $30 and took under an hour. Ugly truth: skip this if your floors are uneven, the kick will show gaps. Use flexible caulk to finish the seam.
Shop this idea:
11. Layered Countertop Styling With Trays
Style: Bright & Airy | Budget: Under $50 | Best For: Hiding clutter
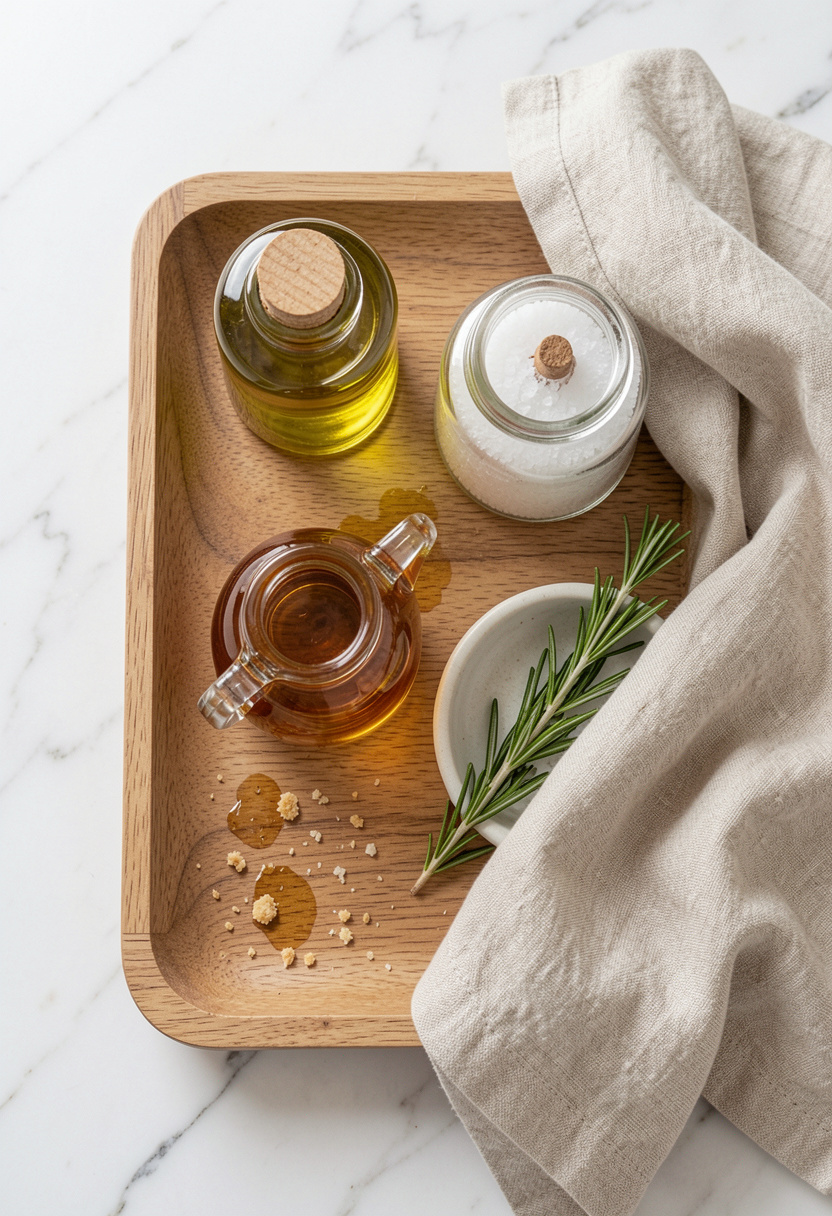
A tray groups everyday items so your countertop reads styled, not messy. I use a rectangular oak tray near the stove for olive oil, salt, and my go-to spoon. It hides outlets and gives a focal point. Tip: choose a tray that’s 60 to 70 percent of the counter depth for balance. I once used a tiny round coaster and the result looked accidental.
Shop this idea:
What You'll Need to Get This Look
Countertop & Storage
- Acacia cutting board large around $25 to $60
- Rectangular oak serving tray around $15 to $35
- Matte black cabinet pulls around $18 to $40
Wall Decor & Open Shelving
- Acacia floating shelves 24 inch around $25 to $70
- Tempered glass cabinet insert around $35 to $120
Textiles & Soft Goods
- Sage linen dish towels set of 4 around $12 to $30
- Natural linen tea towels set around $10 to $25
Greenery & Freshness
- Small terracotta herb pot around $6 to $20
- Demi rosemary plant around $8 to $25
Budget Swaps
- Walnut peel and stick veneer similar options at thrift stores
- Warm LED tape lighting kit thrift-store lamp rewiring for under $10
Shopping Tips for These Looks
Time purchases seasonally: Buy paint and hardware during spring sales for better deals, I saved 20 percent on a hardware set. Matte black cabinet pulls
Thrift hack: Hunt for vintage knobs at flea markets, clean brass with lemon and baking soda before sealing, then pair with new bar pulls. Brass knob set
Know the trend: Two-tone and open shelving keep rising in 2025 feeds, so choose paint and wood that will age well. Cream cabinet paint quart
Measure three times: I still made a drilling mistake once; use a cabinet jig for consistent pulls. Cabinet jig template
Buy for maintenance: Satin finishes hide fingerprints, semi-gloss wipes clean. Cabinet paint satin
Frequently Asked Questions
Q: How do I update 10×10 kitchen cabinets on a budget without replacing them?
A: Paint, swap hardware, or add overlays for a fresh look at low cost. For renters try walnut peel and stick veneer. Pro tip: label hinges so reassembly is painless.
Q: Are open shelves practical in a small kitchen?
A: Yes, if you edit contents to 3–5 curated pieces per shelf and use sturdy brackets. I recommend acacia floating shelves 24 inch for strength.
Q: Will darker lower cabinets show more dirt?
A: Not always. Dark lower cabinets hide scuffs and ground the space, especially in a 10×10. Use semi-gloss on lowers for easy wiping, try navy cabinet paint quart.
Q: Can peel-and-stick last in humid kitchens?
A: It can with a heat gun installation and clean surfaces, but expect reapplication in a few years. Consider walnut peel and stick veneer as a low-cost test.
Conclusion
Start with one small switch, like hardware or a painted lower row, and live with it for a week before committing to bigger swaps. My fastest win was $28 in new pulls and suddenly guests thought the whole kitchen had been redone. Which cabinet tweak are you tempted to try first?