How to add privacy to kitchen windows was my obsession after a passing neighbor complimented my sourdough and stared into my sink.
I solved it without losing the sunlight and without ripping out the windows. Below I show low-cost to midrange options (around $20 to $450) that keep daylight while stopping sightlines.
My approach suits modern farmhouse, coastal, and small-city kitchens. You can refresh on a $100 to $200 budget or upgrade to smart privacy for $300 to $450.
I’ve noticed a shift toward light-filtering layers and natural textures in 2025 styling. The trick is keeping the top third of the window open to daylight while screening the lower view.
1. Start with the Foundation: Filtered Light Treatments
Begin with treatments that block sightlines but let light through.
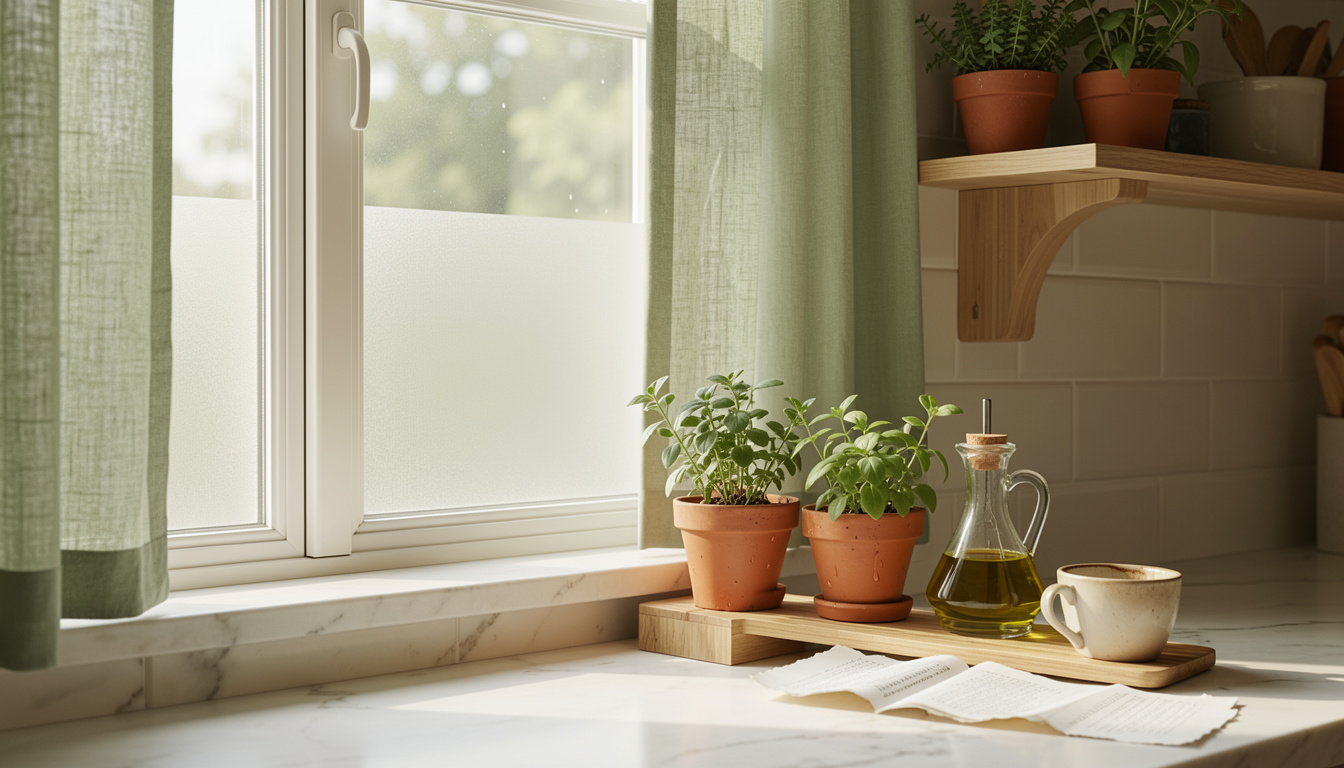
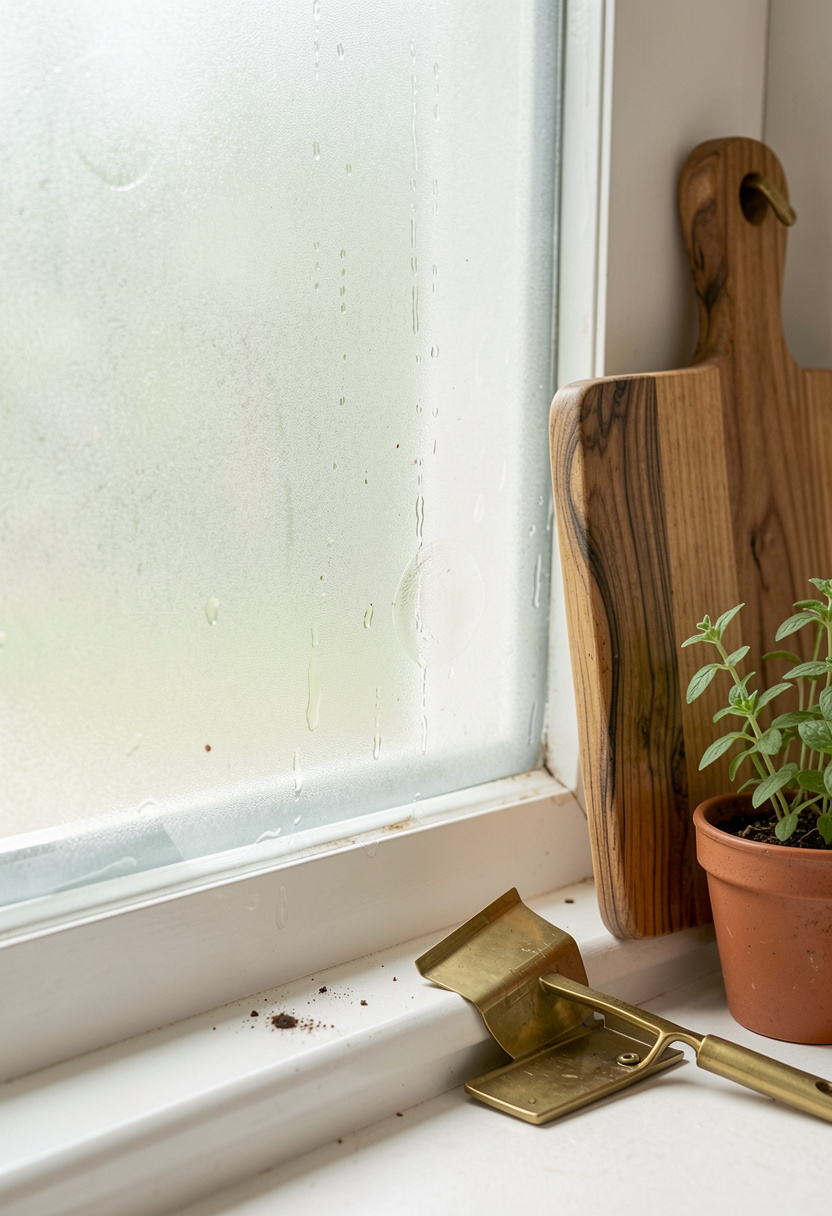
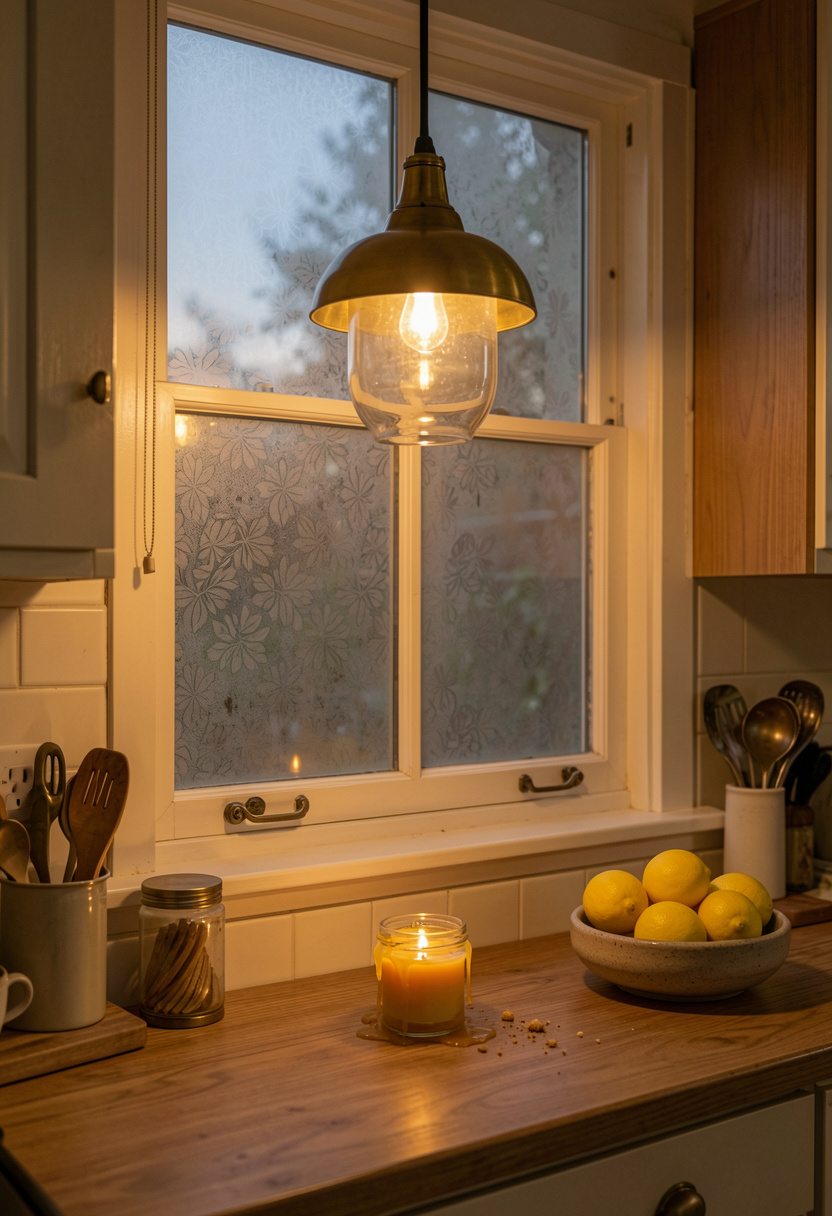
I used frosted static film on the lower half of my window first because it is cheap and reversible. It gives a milky glow without cutting daylight. Try Frosted static cling privacy film 36×72 around $15 to $30 or a patterned Etched glass look window film 24×36 approx $20 to $40.
If you want a more polished base, top-down bottom-up cellular shades let you open the top for sky light and lower the bottom for privacy. I recommend Top down bottom up cellular shade 24×64 around $60 to $120.
Visual principle: keep contrast low but texture present. A smooth frosted pane reads light; a soft shade reads layered. Mistake people make: covering the whole window with heavy blackout curtains. That removes the daylight and makes the kitchen feel smaller.
2. Layer With Light Fabrics: Cafe Curtains And Sheers
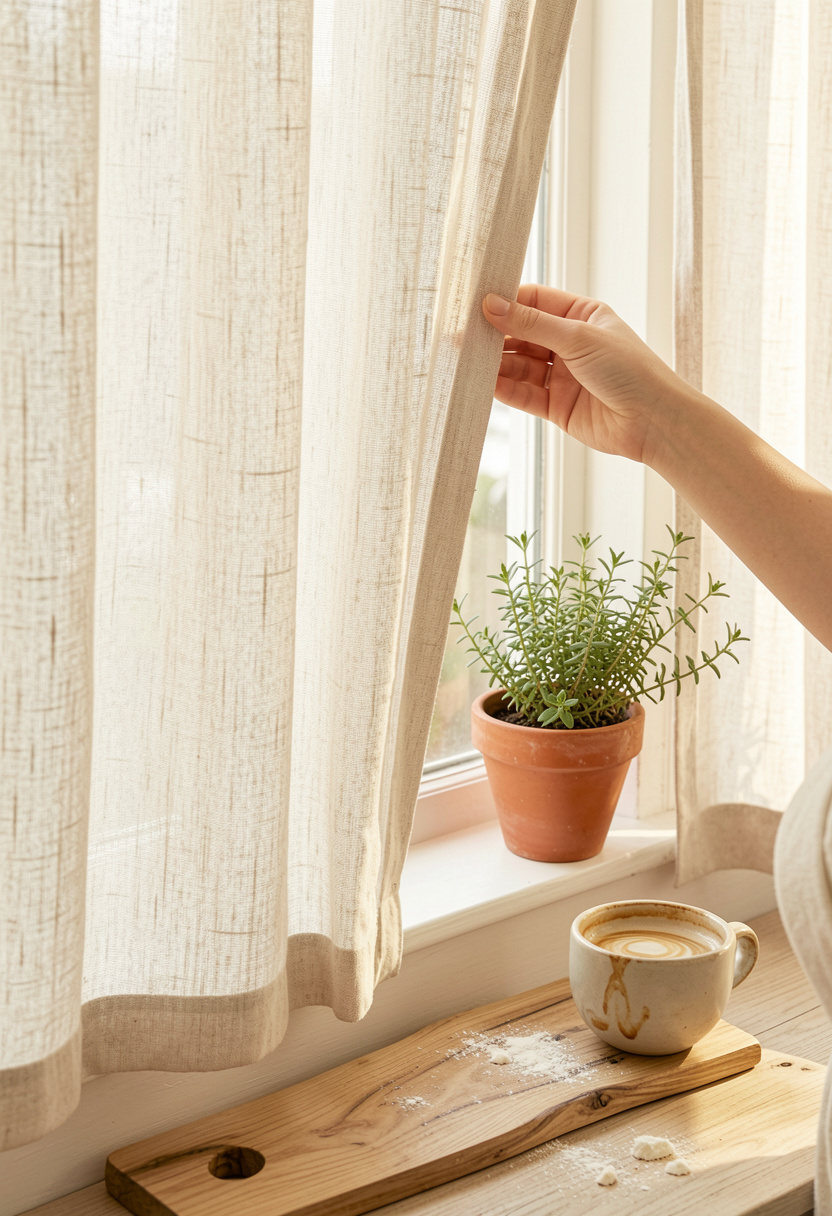
The trick is layering. I paired a light linen cafe curtain at the lower third with an upper sheer.
Cafe curtains give waist-high privacy while sheers diffuse glare. Look for Sage linen cafe curtains 24×36 set of 2 around $25 to $45 and White voile sheer panel 52×84 approx $20 to $40.
Placement guideline: hang cafe curtains so the rod sits 4 to 6 inches above the sill and sheers reach just below the top sash. That keeps proportions balanced and preserves the view to treetops.
Visual principle: layered translucency increases depth while keeping brightness. Mistake: using heavy pattern over a small window. It overwhelms scale and blocks more light than needed.
3. Add Depth At The Sill: Herb Shelf And Styled Barriers
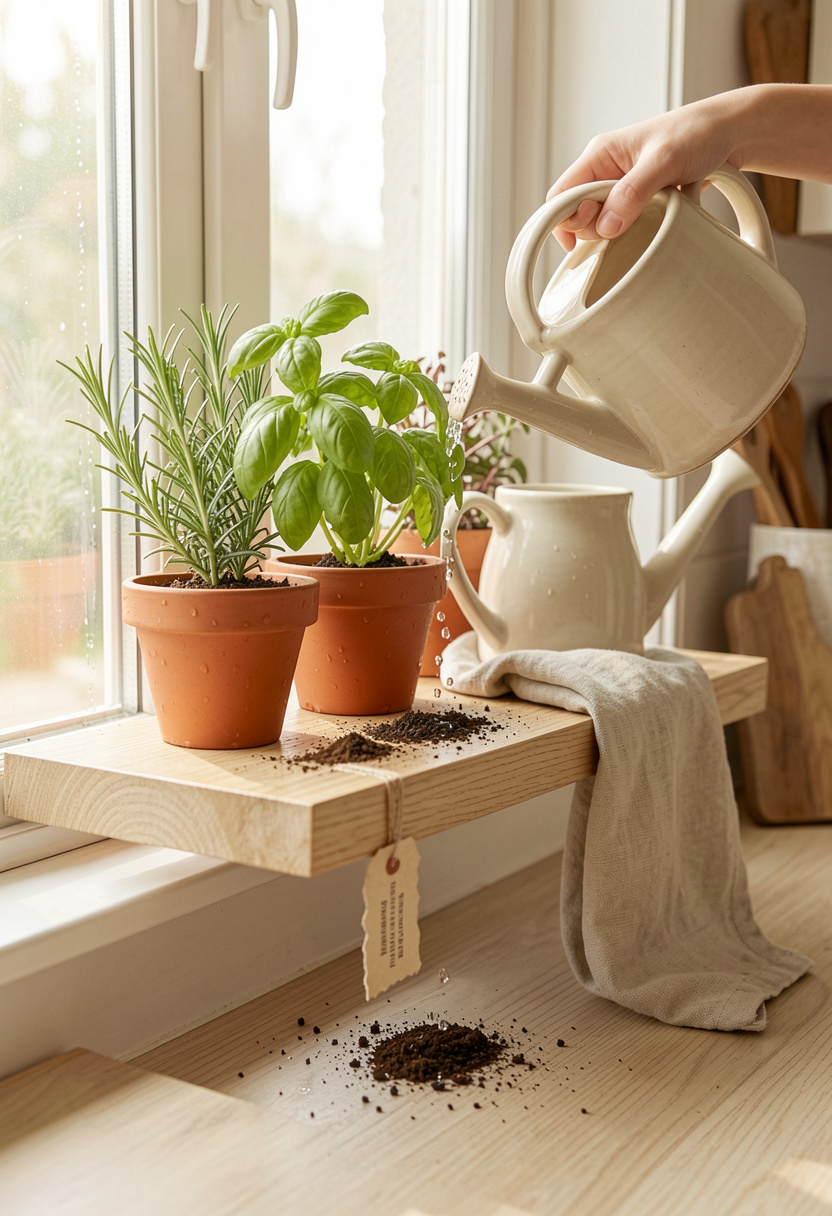
I installed a narrow floating shelf across the lower sash and it changed everything.
A 4 to 6 inch deep acacia shelf with three small terracotta pots creates a living privacy screen that still lets sky light in. I used Acacia floating shelf 24 inch around $30 to $60 and paired it with Terracotta herb pots 3 pack approx $15 to $30.
Visual principle: scale and repetition. Three matching pots in odd numbers anchor the eye. Placement rule: keep shelf no higher than the lower third of the window so top daylight is unobstructed.
Ugly truth: plastic faux plants read fake in direct daylight. Use real herbs or high-quality ceramic fauxs.
4. Finish With Night Privacy And Mood Lighting
Daylight is one thing. Nighttime privacy is another.
When interior lights are on, lighter treatments can reveal silhouettes. I solved that by adding low-watt warm under-cabinet lights and closing a second layer like a roller shade after sunset. Try Warm LED under cabinet strip light 12 inch around $18 to $40 and Blackout roller shade 24×72 for night use approx $30 to $80.
Visual principle: control contrast. Keep interior light levels lower near windows or add a second opaque layer for night. Mistake: relying on thin sheers alone after dark. They look pretty by day and transparent by night.
Common Styling Mistakes to Avoid
Mistake: Using heavy curtains across the whole window
Why it doesn't work: It kills daylight and shrinks the room visually.
Do this instead: Use Light-filtering cafe curtains around $20 to $45 and layer.
Mistake: Relying on a single opaque solution for day and night
Why it doesn't work: What blocks view at night also removes daylight.
Do this instead: Combine Top down bottom up cellular shade approx $60 to $120 with sheers.
Mistake: Overplanting sill with large pots
Why it doesn't work: Large pots block light and look cluttered.
Do this instead: Choose Small terracotta herb pots 3 pack approx $15 to $30 and use odd numbers.
What You'll Need for This Look
Foundation Pieces
FROSTED static cling privacy film 36×72 around $15 to $30
Top down bottom up cellular shade 24×64 around $60 to $120
Acacia floating shelf 24 inch around $30 to $60
Textiles & Soft Goods
Sage linen cafe curtains set of 2 around $25 to $45
White voile sheer panel 52×84 approx $20 to $40
Natural fiber kitchen runner 2×5 ft around $35 to $80
Lighting
Warm LED under cabinet strip light 12 inch around $18 to $40
Rattan pendant light 15 inch approx $60 to $140
Finishing Touches
Terracotta herb pots 3 pack approx $15 to $30
Matte white ceramic canister set with acacia lids around $35 to $50
Beeswax candle short jar approx $10 to $20
Budget Swaps
Static cling privacy film 12×36 small sample around $7 to $12 (thrift: check Habitat for Humanity ReStore for leftover blinds)
Shopping Guide for This Look
Seasonal timing tip: Buy linen cafe curtains in late summer for best deals; try Linen curtain set 24×36 around $20 to $50.
Thrift hack: Score mismatched small terracotta pots at flea markets and pair with Acacia plant tray approx $15 to $35.
2025 trend pick: Light-filtering woven shades are rising; test Bamboo woven shade 24×64 around $40 to $90.
Splurge vs save: Splurge on a quality Top down bottom up cellular shade for insulation; save with Frosted film for day use.
US Department of Energy notes that daylighting can reduce electric lighting use by up to 40 percent, so these approaches save brightness and energy.
Conclusion
Start with one change that gives the biggest visible return. For me that was the frosted film on the lower pane plus a tiny herb shelf.
Keep the top third of the window open to sky light, layer a linen cafe curtain for daytime privacy, and add a closing roller shade for night.
Which window in your kitchen would you try this on first?