Mixing wood and painted cabinets used to look patchy in my first kitchen. I tried a walnut island with white uppers and it read as two unfinished projects instead of one intentional design.
The trick is deliberate contrast and a few consistent threads that tie wood and paint together. In this guide I’ll show a realistic plan you can do for around $300 to $1,200 depending on swaps. You’ll learn where to start, which finishes to pair, and three mistakes that always make this look amateur.
NKBA’s 2024 design notes that two-tone cabinets keep showing up in professional projects. I found homeowners get best results when they control contrast, texture, and hardware rhythm.
1. Start with the Foundation: Counter and Cabinet Reset
Start here because the counter and base cabinets read as the heaviest visual pieces. Fix scale and color on the bottom first so painted uppers feel intentional.
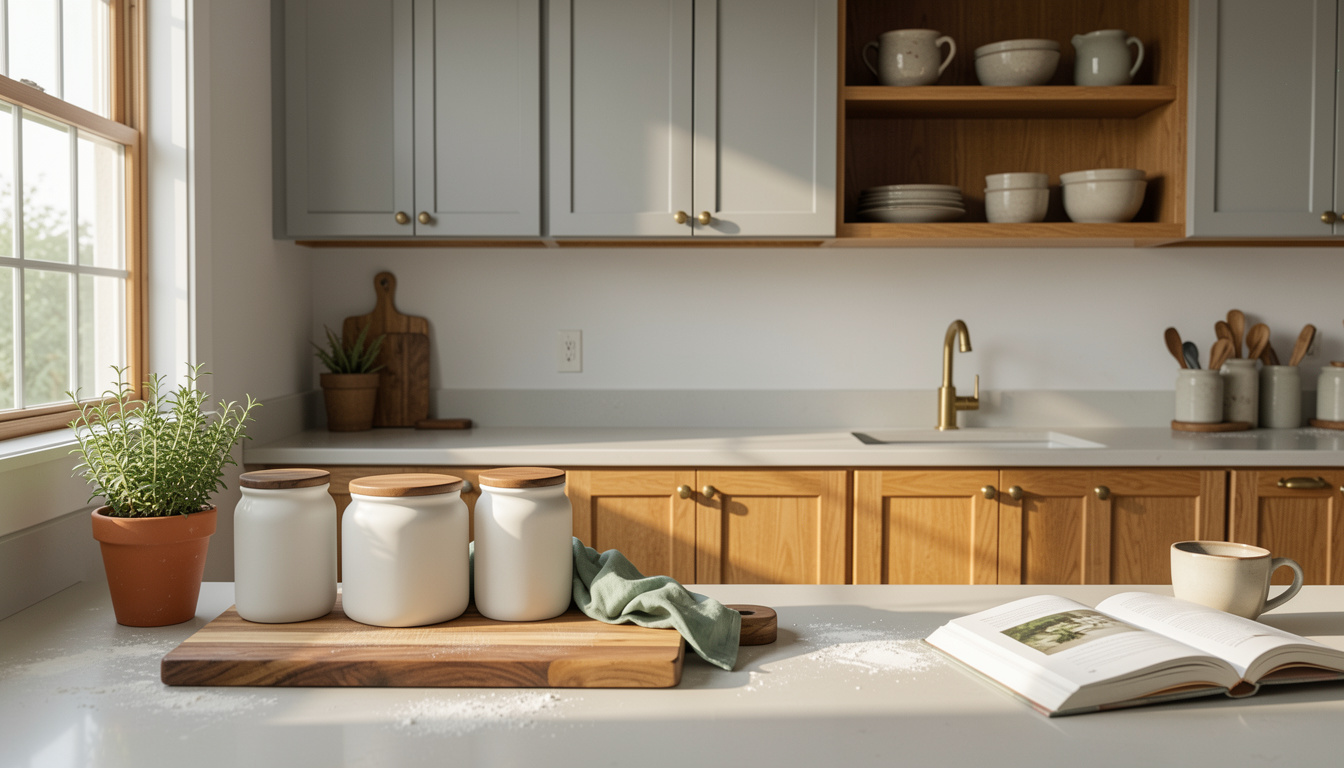
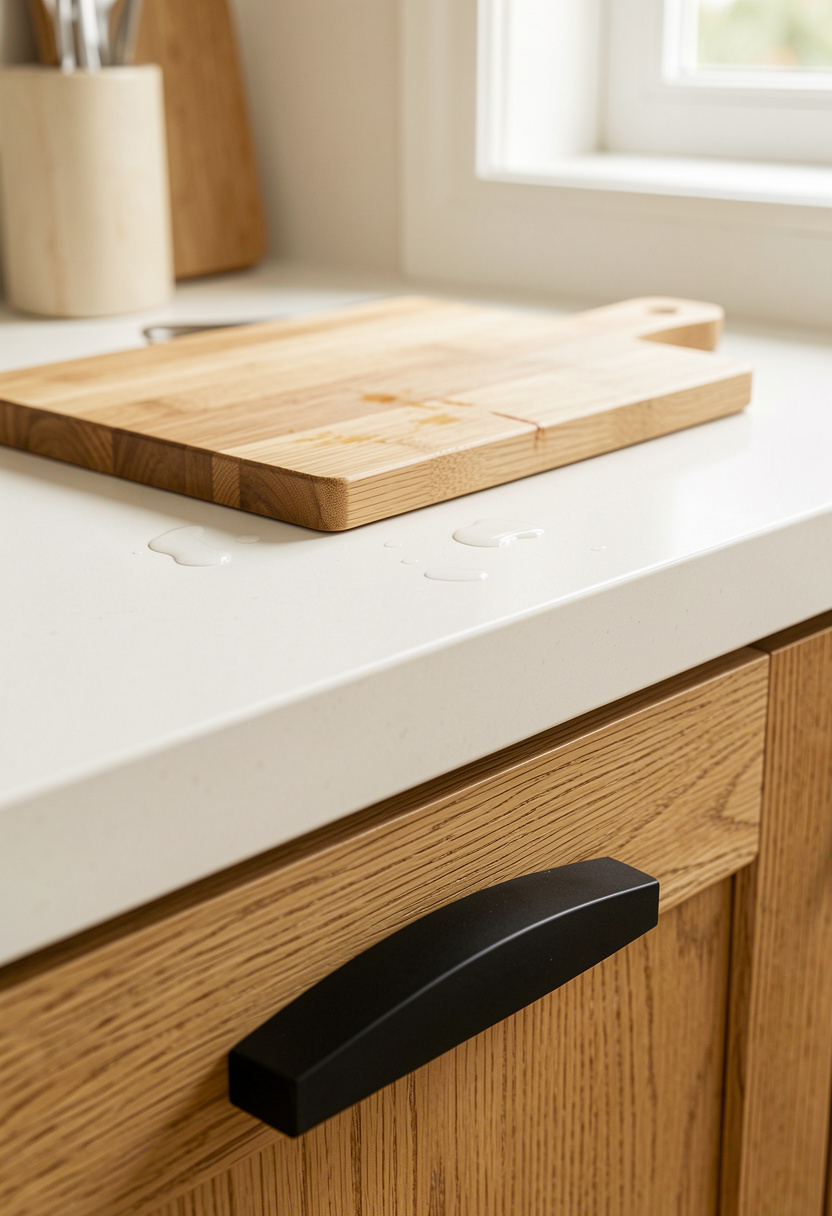
Add a large cutting board at a 30 to 40 degree lean against the backsplash to bridge oak grain and painted surfaces. I use a Large acacia cutting board 24 inch around $35 to $60 and it grounds the lower run.
Choose a neutral countertop that reads warm or cool depending on paint. A honed quartz in warm cream keeps oak from looking orange. The visual principle is weight and temperature balance. Keep the counter items in a 60/40 painted-to-wood ratio so the eye reads one coherent plane.
Mistake: stacking too many wood cutting boards in a row. It looks cluttered. Do one statement board and one small ceramic bowl instead.
2. Layer Warmth with Wood and Linen Textures
The trick is texture, not more wood. Introduce linen and ceramics to soften the junction between painted uppers and wood lowers.
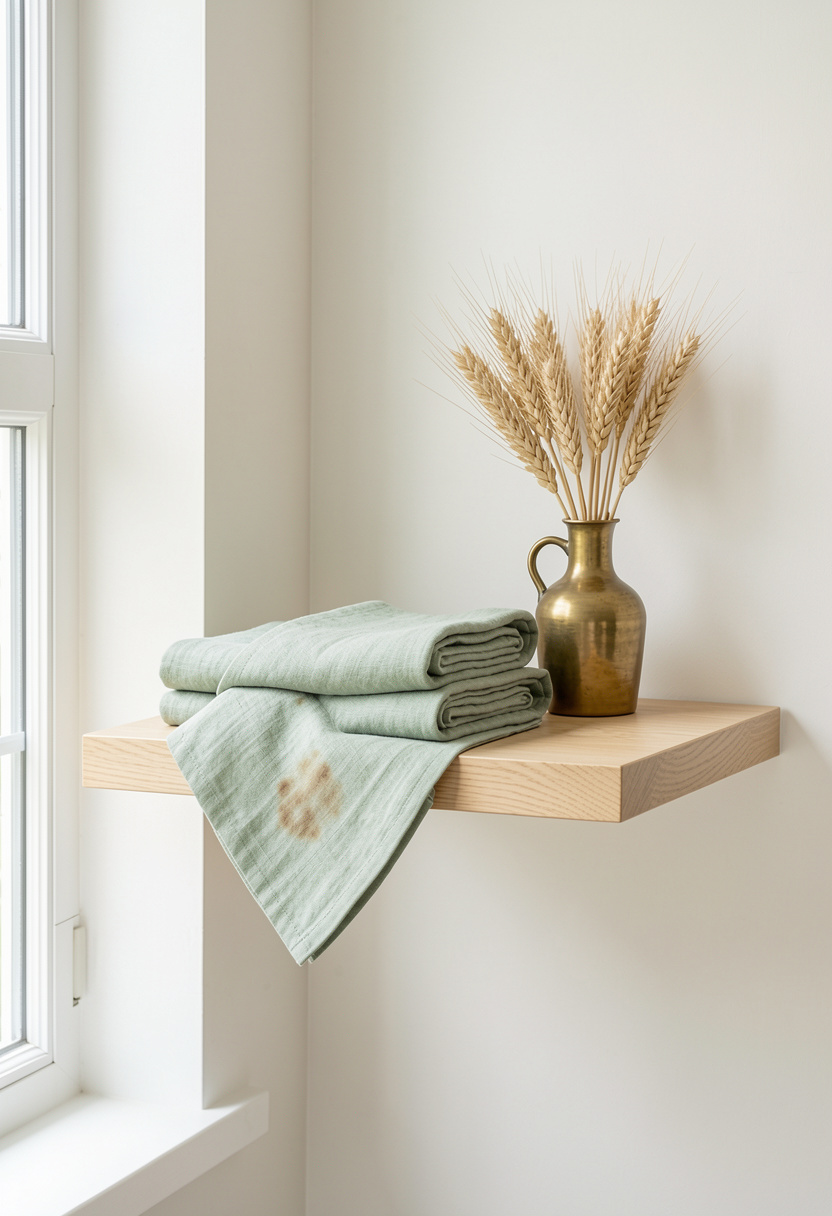
Install an Acacia floating shelf 24 inch and style with folded Sage linen dish towels set of 4 and a single small brass vase. Keep items grouped in odd numbers.
This uses contrast by texture plus a repeating color. Repeating a small brass accent ties to hardware later. Place the shelf 16 to 20 inches above the counter for usable space without crowding the uppers.
Mistake: matching every wood tone exactly. That creates sterile mimicry. Instead, choose one dominant wood (here honey oak) and let smaller pieces vary in tone.
3. Add Height and Drama with Open Shelving
Open shelves let you control transitions between painted and wood by breaking the plane visually.
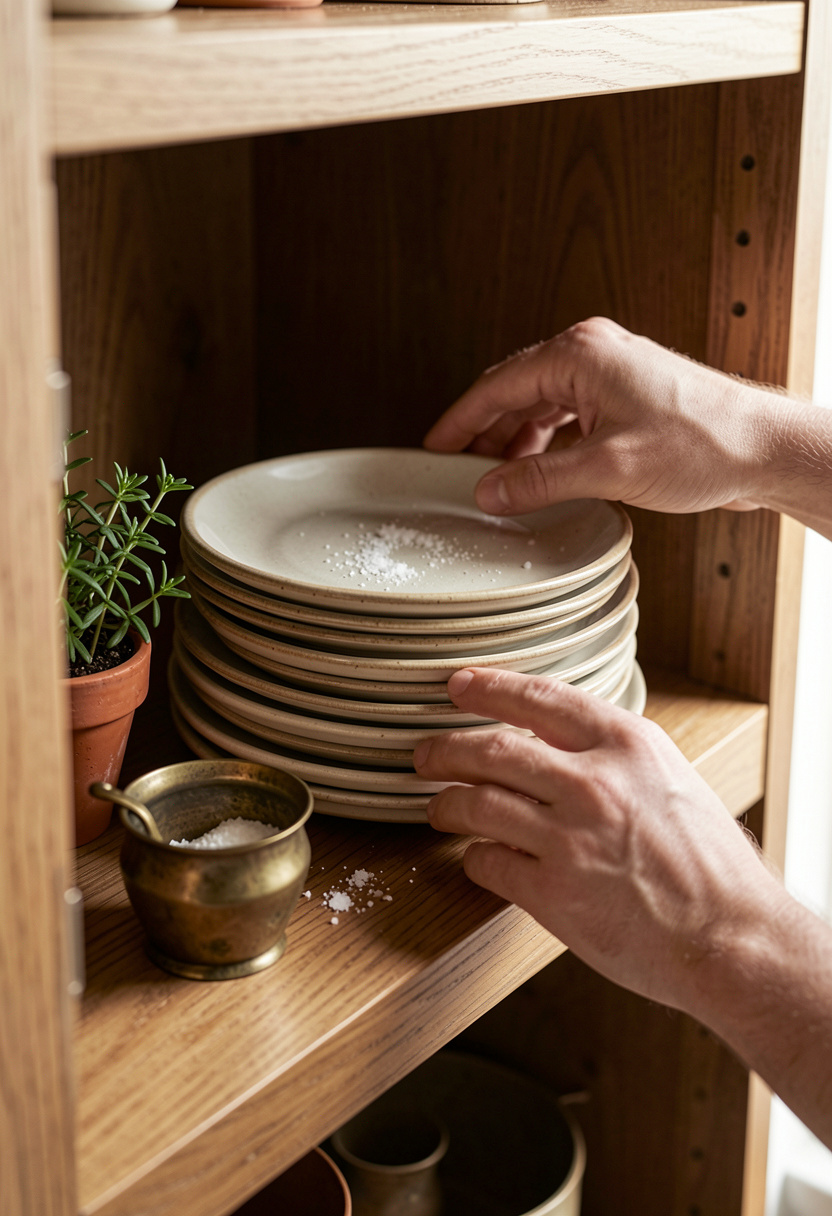
Balance painted uppers by stopping them at eye line and adding a 12 to 18 inch open shelf run above the counter. I use Stoneware dinner plate set neutral around $35 to $80 for a curated look.
The visual principle is vertical rhythm. Alternate stacks of plates with single sculptural objects. Keep shelf depth shallow, 10 to 12 inches, so items read layered not lost.
Mistake: overfilling shelves. It reads cluttered. Leave negative space equal to the stacked group width.
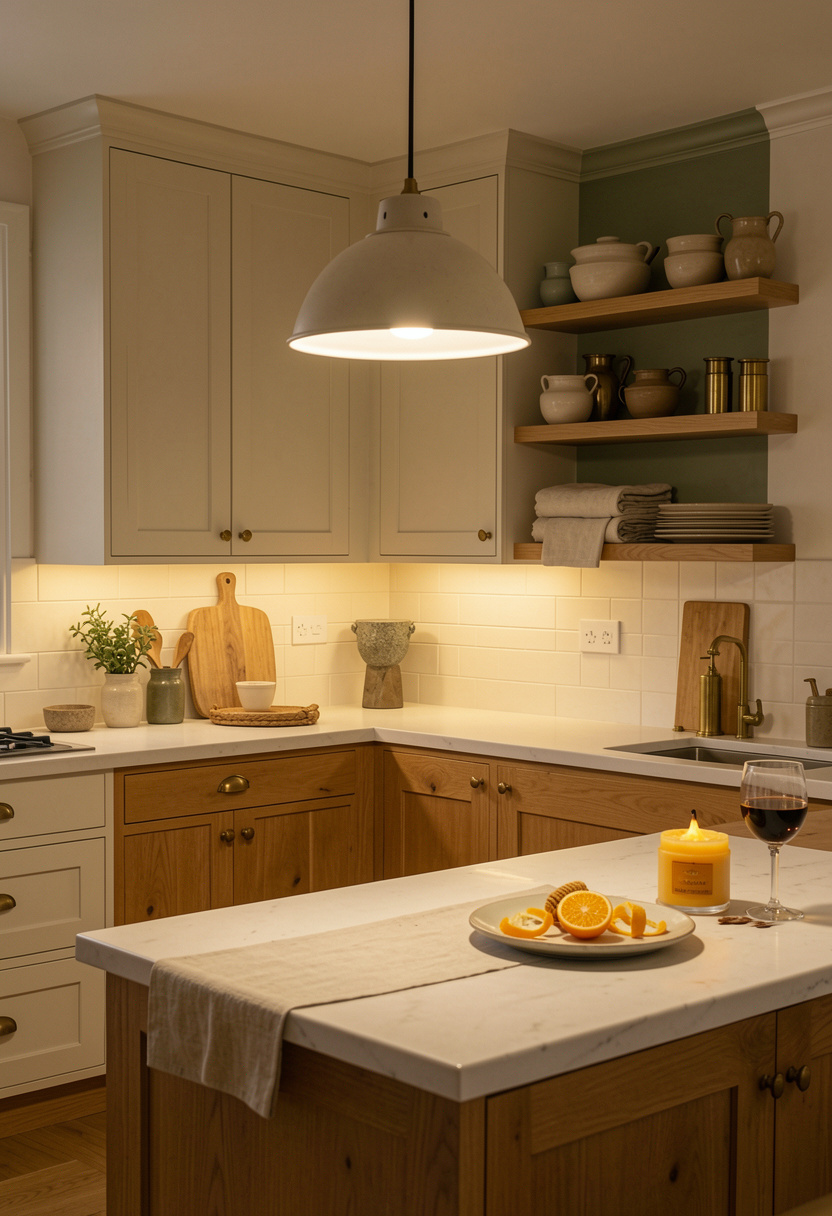
4. Create Ambiance with Warm Diffused Lighting
Lighting makes painted uppers read like a design choice rather than a repair job.
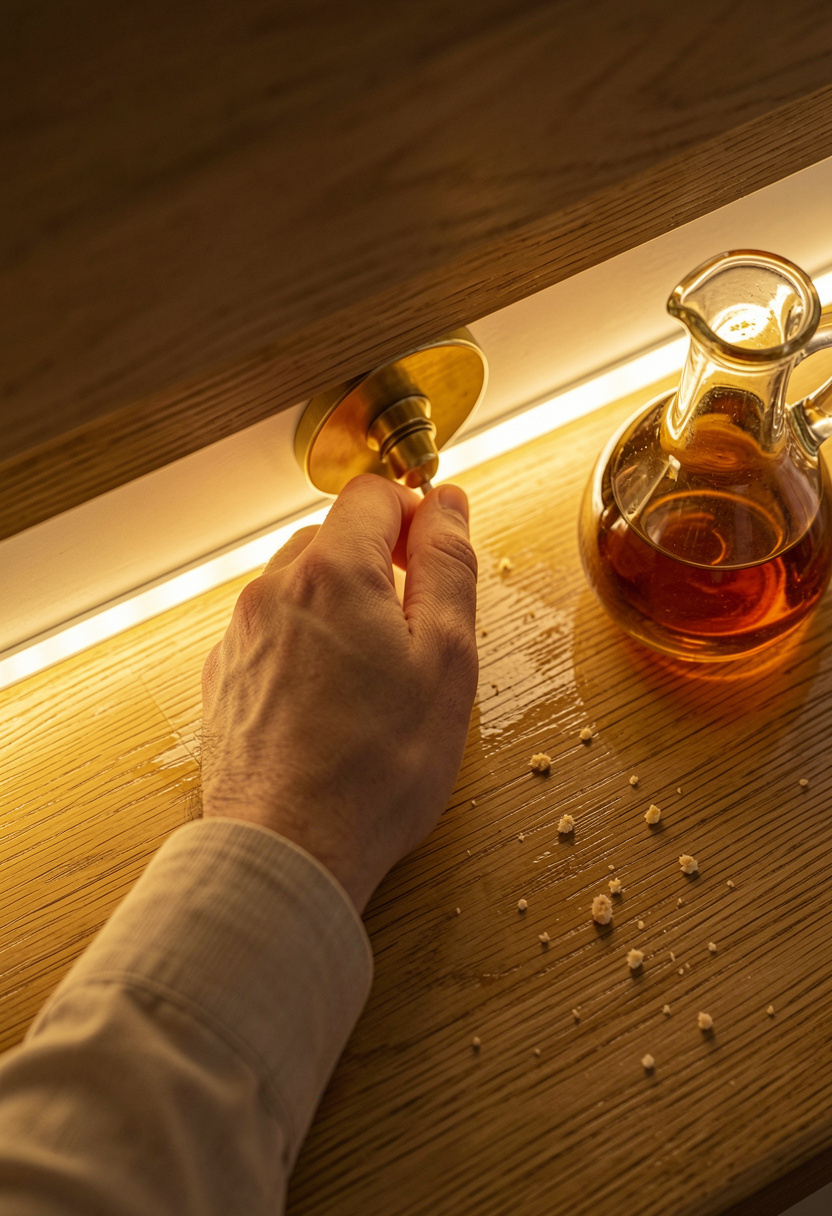
Start with warm under-cabinet lighting to reduce contrast between bright paint and deep wood. An Warm under cabinet LED strip 6ft approx $20 to $40 is an easy swap.
Add a single 12 to 15 inch rattan pendant over the prep zone to echo natural textures. I used a Rattan pendant light 15 inch around $60 to $120 and it pulled both finishes together.
Mistake: cool white lights that make oak look flat. Choose warm color temperature and layer light for depth.
Common Styling Mistakes to Avoid
Mistake: Using too many different woods
Why it doesn't work: The eye gets confused, the kitchen reads patched.
Do this instead: Pick one dominant wood and repeat it. Acacia floating shelf 24 inch
Mistake: Matching hardware to cupboards exactly
Why it doesn't work: It flattens contrast and looks contrived.
Do this instead: Use one metal across pulls and faucets. Matte black cabinet pulls 3 inch around $10 to $25 for a set.
Mistake: Full wood islands with bright white uppers and no tying elements
Why it doesn't work: It feels like two separate projects.
Do this instead: Repeat a textile or brass accent across both zones. Sage linen dish towels set of 4
What You'll Need for This Look
Foundation Pieces
Large acacia cutting board 24 inch around $35 to $60
Honed white quartz counter cleaner kit approx $12 to $25
Matte white ceramic canister set with acacia wood lids around $35 to $50
Textiles & Soft Goods
Sage linen dish towels set of 4 $18 to $35
Neutral runner kitchen rug 2×6 ft $30 to $80
Beechwood utensil holder acacia $12 to $30
Lighting
Warm under cabinet LED strip 6ft $20 to $40
Rattan pendant light 15 inch $60 to $120
Finishing Touches
Neutral stoneware dinner plate set $35 to $80
Small brass vase 4 inch $15 to $35
Herb pot terracotta 4 inch $8 to $20
Budget Swaps
Reclaimed wood shelf bracket pair $12 to $30 (thrift a similar plank for less)
Vintage brass cabinet pulls search $12 to $40 (thrift markets often have unique pieces)
Shopping Guide for This Look
Time purchases by finishes: Buy hardware during spring sales. Matte black cabinet pulls 3 inch approx $10 to $25.
Thrift hack: Hunt for used cutting boards and brass vases at flea markets, then buy matching linens new. Large acacia cutting board 24 inch $35 to $60.
2025 trend pick: Layered textures are staying, so stock neutral stoneware sets now. Neutral stoneware dinner plate set $35 to $80.
Splurge vs save: Splurge on a quality countertop cleaner and lighting. Save on dishes and small accessories. Warm under cabinet LED strip 6ft $20 to $40.
Conclusion
Start small. Change one element that ties wood and paint, like a brass pull or a sage linen towel, and watch the room read as intentional.
My favorite quick win is swapping pulls across the whole kitchen. It costs under $100 and the room stops reading patched.
Which cabinet finish are you leaning toward for your kitchen?