My first experiment in luxury kitchen diy upgrades cost $72 and got so many compliments guests asked for design details. luxury kitchen diy upgrades are about small choices that read expensive, not big renos.
I’ll show you five high-impact phases you can do in a weekend for roughly $150 to $500, depending on what you buy. These work best in white or light-cabinet kitchens, but I’ll note swaps for darker cabinets and small galley layouts.
Renovation surveys from design sites like Houzz and NKBA show that lighting and curated storage are among the most-requested refreshes homeowners choose first. I lean into those two for big effect on a low budget.
1. Start with the Foundation: Counter and Cabinet Reset
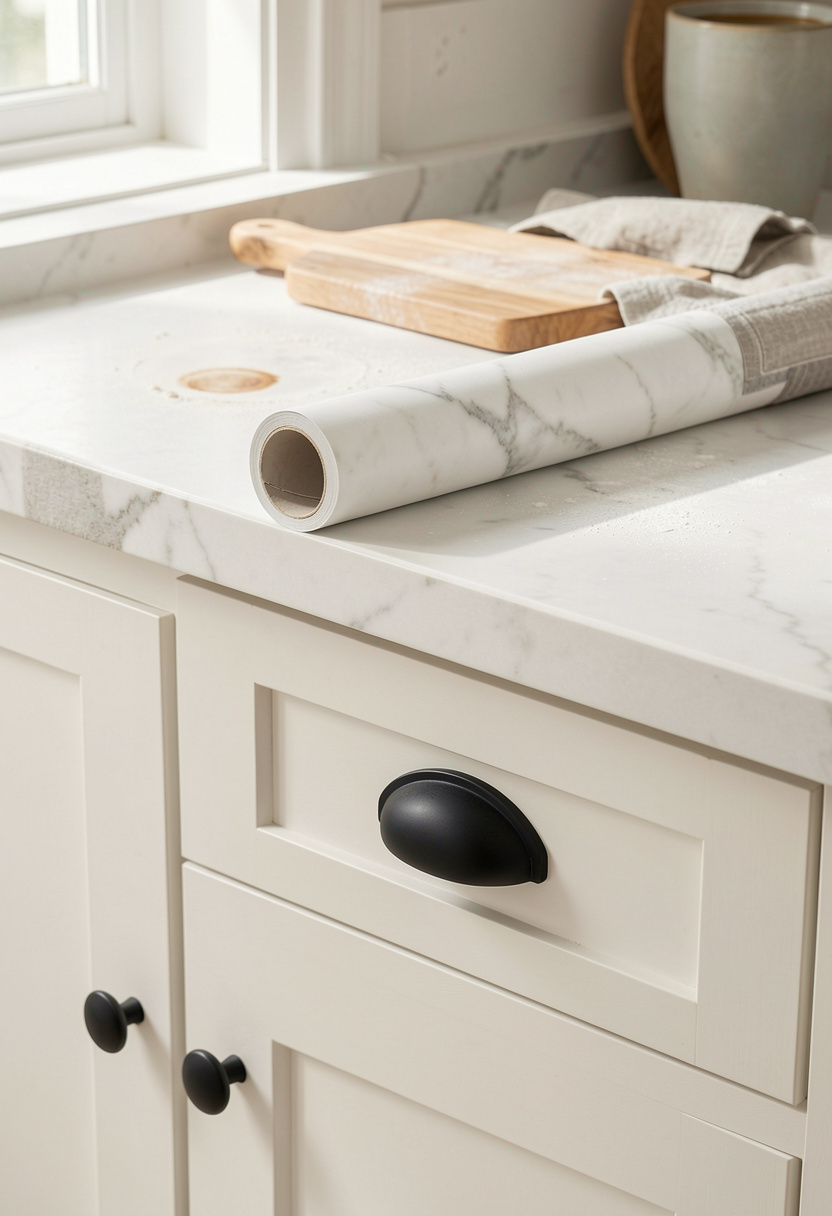
Start here because counters and hardware set the room’s tone. Swap dated pulls for matte black to sharpen the look and use contact paper on a tired countertop for marbled interest.
Try a Honed marble contact paper roll around $12 to $25 and pair with Matte black cabinet pulls 5-inch approx $15 to $30 for a drawer set.
The visual rule: high-contrast hardware on soft cabinets reads custom. Keep metal finishes consistent with one accent (matte black here) for balance.
Mistake people make: covering every inch with pattern. Instead, do a small patch or an island face. That keeps scale right and prevents a busy look.
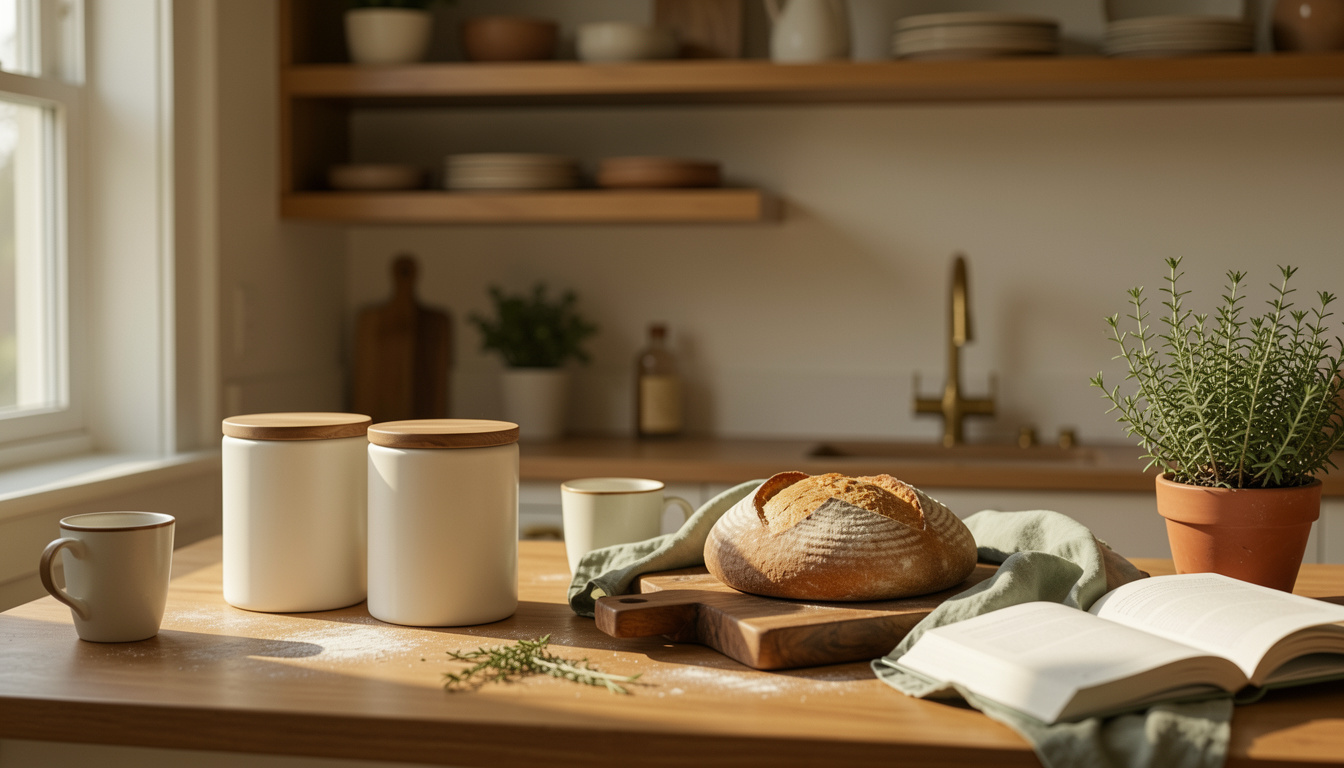
2. Layer Warmth with Wood and Linen Textures
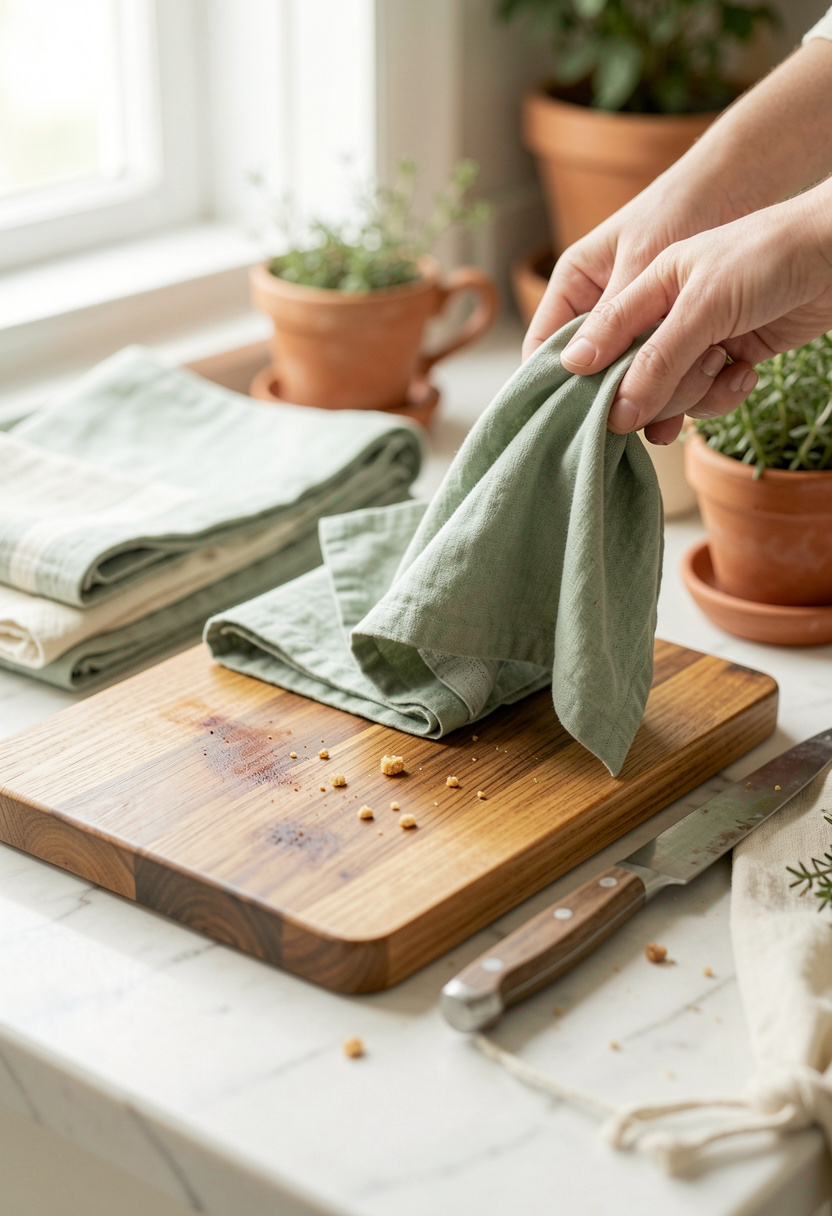
Wood and linen bring a lived-in luxury without cost. Layer a large Large acacia cutting board 20×14 around $30 to $60 vertically against the backsplash as a visual anchor.
Add Sage linen dish towels set of 4 approx $18 to $35 for softness. Arrange in odd numbers: one cutting board, one bowl, two towels.
This phase uses texture contrast. Warm wood next to cool marble reads curated. Keep the tallest item slightly off-center (about one third from the sink) to guide the eye.
A common error is matching everything to the benchtop. Instead, mix a warm wood tone like acacia with cool stone to create depth.
3. Add Height and Drama with Open Shelving
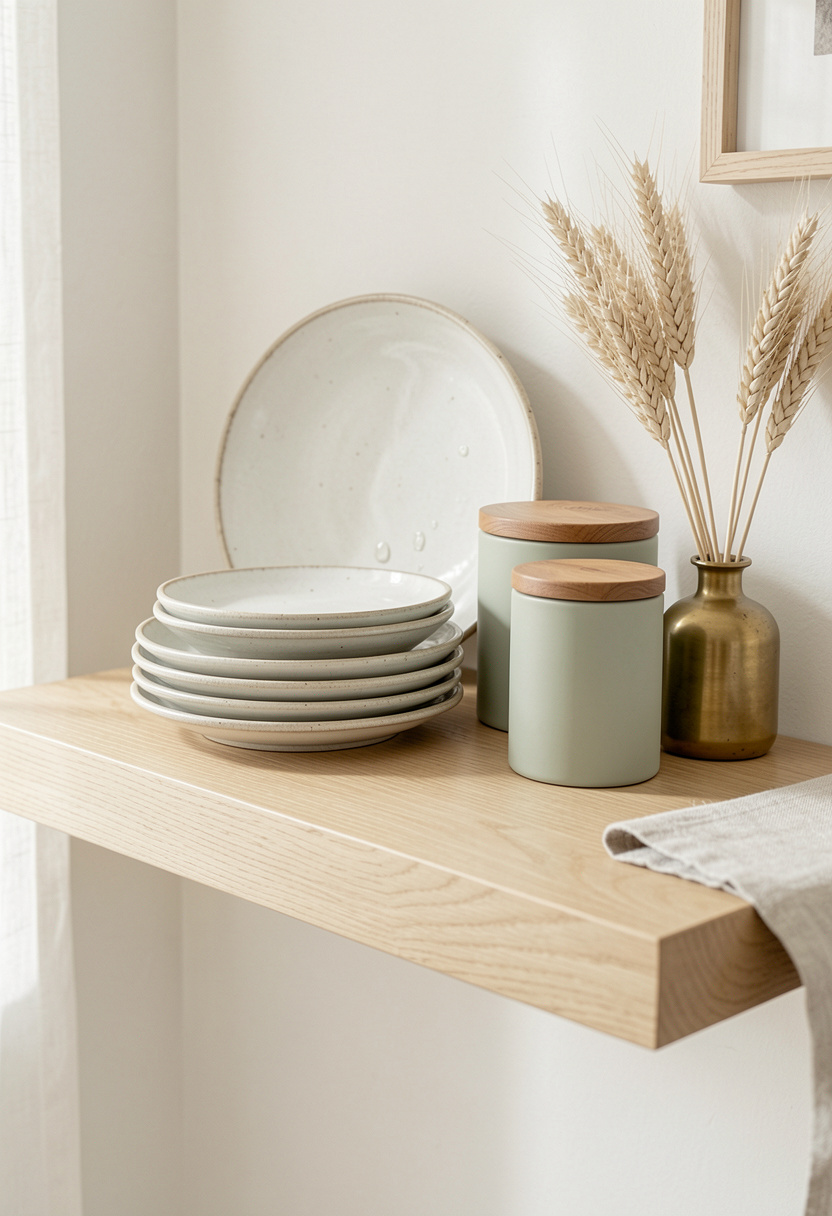
Open shelving raises the eye line and makes kitchens feel custom. Install a single Open oak floating shelf 36 inch above the counter and style with a Vintage-look stoneware dinner plate set around $30 to $70.
Principle: scale up toward the center of the shelf. Stack plates on the left, a tall canister in the middle, short ceramics on the right for balance.
Most people overfill shelves. Leave negative space and group in threes. The result reads intentional, not cluttered.
4. Create Ambiance with Warm Diffused Lighting
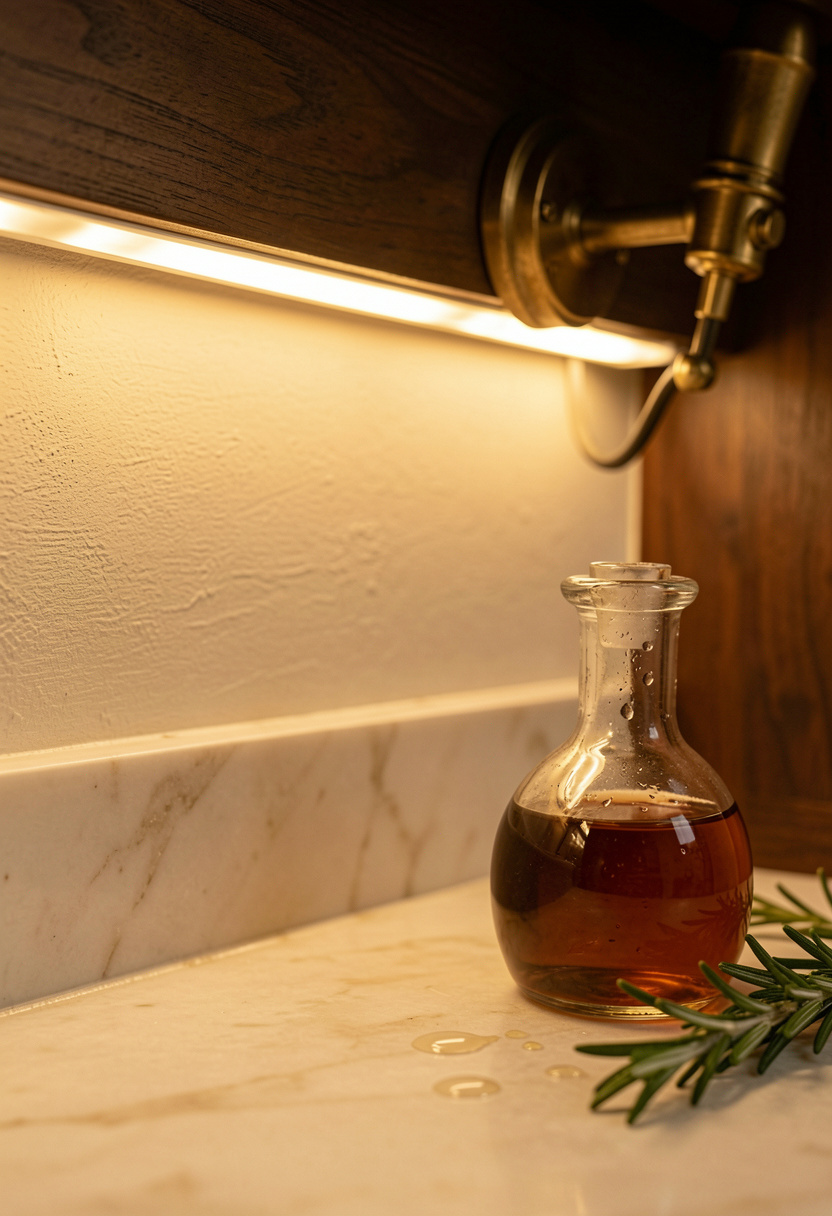
Lighting makes surfaces sing. Add a Warm dimmable LED under cabinet strip approx $25 to $50 to wash the backsplash and a Rattan pendant light 15 inch woven around $40 to $120 over a breakfast nook.
Use warm color temperature (2700K to 3000K) for cozy reflections on brass and wood. Layer light: task from strips, ambient from pendants, accent from a small plug-in sconce.
What fails: bright cool LEDs that flatten texture. Swap to warm dimmable options for depth and mood.
5. Finish with Collected Details and Herb Life
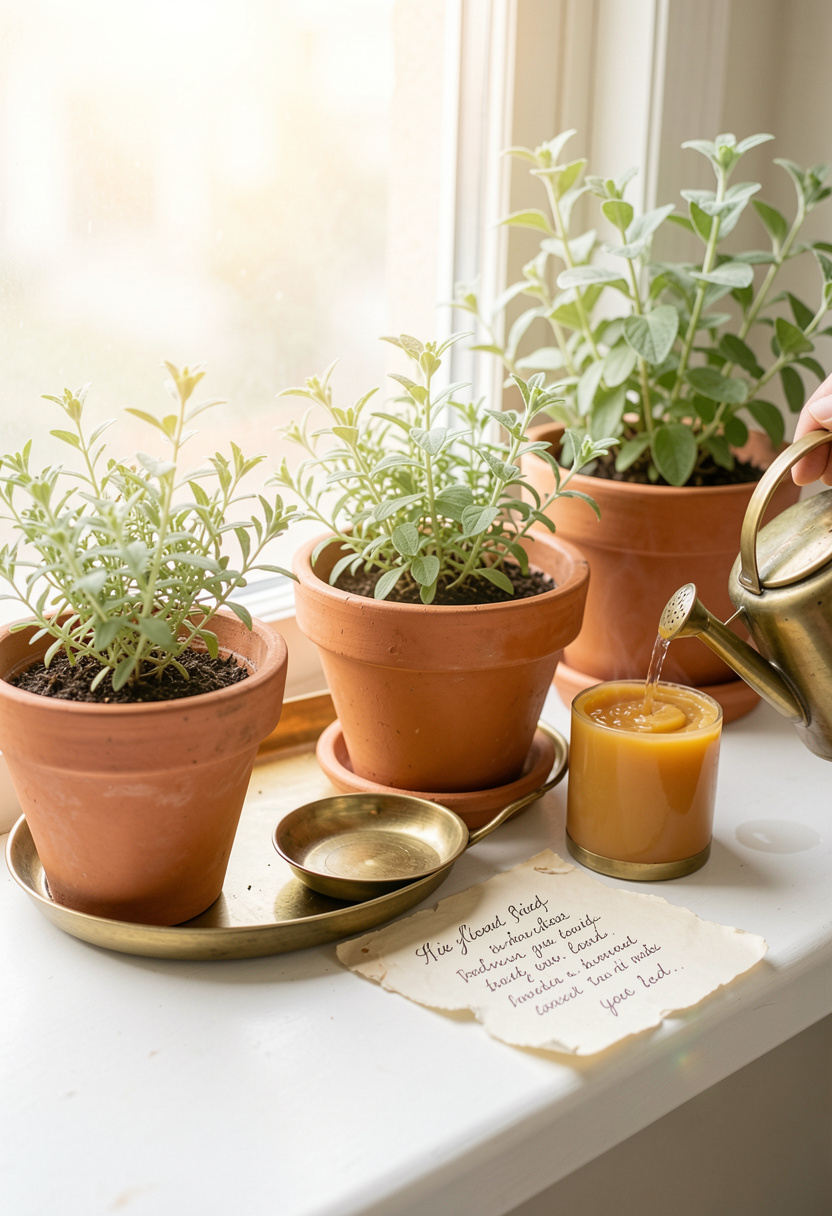
Small details sell the luxury look. Group Terracotta herb pots 4-inch around $12 to $30 on a Small brass serving tray 12 inch approx $20 to $45.
Keep display heights varied: tallest item about 14 to 18 inches, shortest 3 to 4 inches. Use odd-number groupings and repeat a color (sage or brass) three times for cohesion.
Ugly truth: matching everything to one trend looks manufactured. Instead, mix new purchases with a thrifted brass cup or aged cutting board for personality.
Common Styling Mistakes to Avoid
Mistake: Lining canisters at identical heights
Why it doesn't work: Eye needs variation to rest and move.
Do this instead: Vary heights in odd numbers and use a Matte ceramic canister set with acacia lids around $35 to $50.
Mistake: Using cool white LEDs over wood surfaces
Why it doesn't work: Washes out warmth and flattens grain.
Do this instead: Choose a Warm dimmable LED under cabinet strip approx $25 to $50.
Mistake: Filling open shelves with many small items
Why it doesn't work: Reads cluttered instead of curated.
Do this instead: Group in threes and add a Large acacia cutting board 20×14 around $30 to $60 as an anchor.
What You'll Need for This Look
Foundation Pieces
Honed marble contact paper roll around $12 to $25
Matte black cabinet pulls 5-inch approx $15 to $30
Large acacia cutting board 20×14 around $30 to $60
Textiles & Soft Goods
Sage linen dish towels set of 4 approx $18 to $35
Natural fiber kitchen rug 24×60 around $40 to $90
Lighting
Warm dimmable LED under cabinet strip approx $25 to $50
Rattan pendant light 15 inch woven around $40 to $120
Finishing Touches
Matte ceramic canister set with acacia lids around $35 to $50
Terracotta herb pots 4-inch around $12 to $30
Small brass serving tray 12 inch approx $20 to $45
Budget Swaps
Peel-and-stick marble tile sample pack approx $8 to $18 (similar at HomeGoods for less)
Brass-look spray paint 12 oz around $6 to $12
Shopping Guide for This Look
Time your buys: Buy pendant lights in fall clearance for best deals; try a Rattan pendant light 15 inch woven for $40 to $120.
Thrift hack: Mix a thrifted brass bowl with a new Small brass serving tray 12 inch approx $20 to $45 for instant polish.
2025 trend tip: Makers and natural textures are still hot; choose Large acacia cutting board 20×14 around $30 to $60.
Splurge vs save: Splurge on layered lighting like a Rattan pendant light 15 inch woven; save on textiles with Sage linen dish towels set of 4 approx $18 to $35.
Conclusion
Start with one high-impact change: swap hardware or add under-cabinet lighting. Those two moves alone will make counters and finishes read custom.
Keep buying with an eye for texture repeats and odd-number groupings. A single brass tray or terracotta pot ties the scheme together.
Which one of these five phases would you try first?